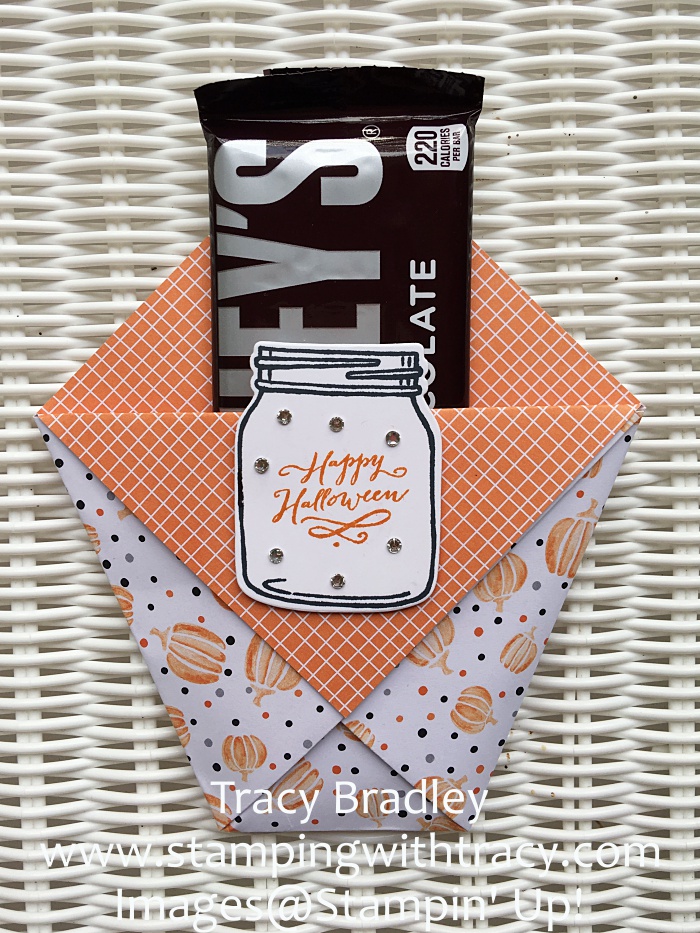
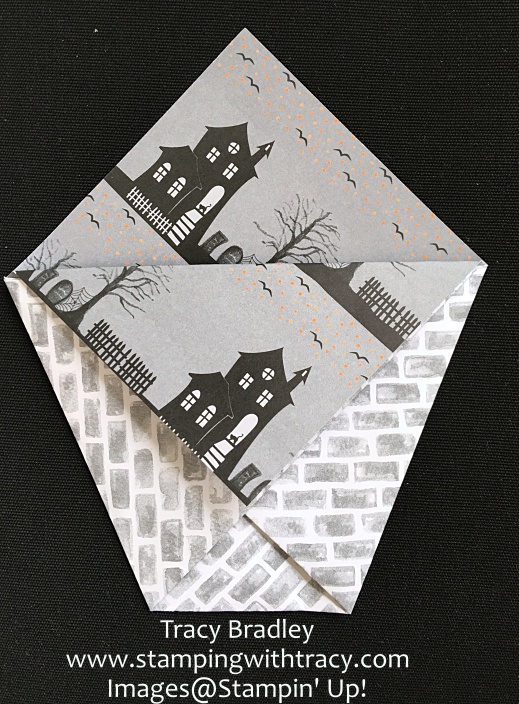
Thank you for visiting today! This is my last Halloween treat project and it’s another quick and easy one to make! I first saw this project on the Facebook page of Sara Douglass, the Stampin’ Up! CEO, this summer. She made several projects out of one sheet of Designer Series Paper and my holder today was one of them, but she used it as a utensil holder for a picnic.
I have some pictures below that will show how I created it but if you would like to see a video of Sara making it, click here to go to her Facebook page.
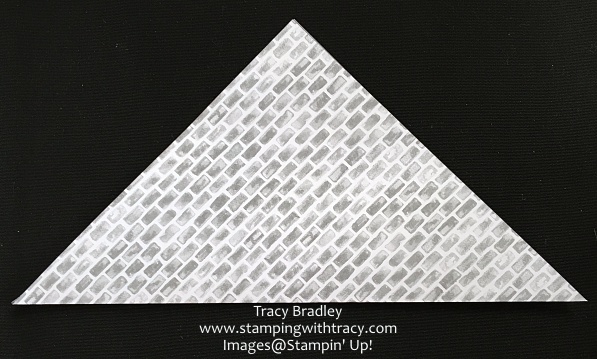
Step 1: You’ll start with a piece of DSP that measures 9″ x 9″ Fold it in half. (I am sorry if it’s difficult to see with this paper).
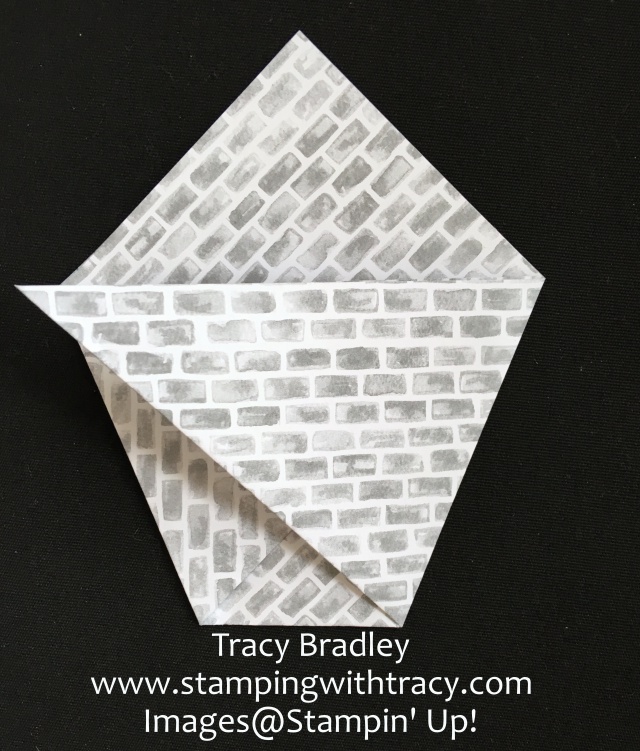
Step 2: Bring the left side over to the other side. Be sure that the top is parallel to the bottom.
This is what it will look like.
Step 3: Bring the other side over. In the picture it looks like it will extend past the edge of the paper but it shouldn’t.
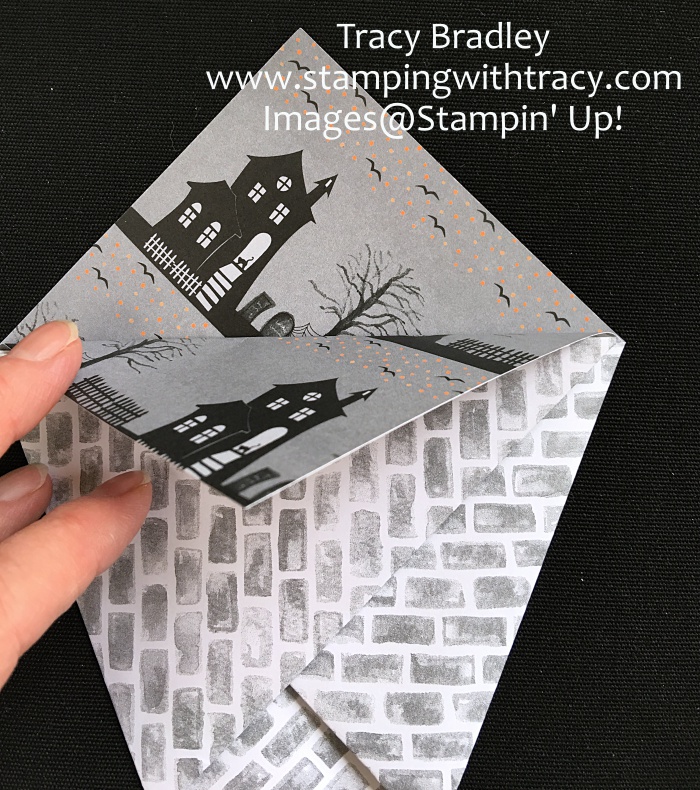
Step 4: Now you’ll take one of the top pieces and bring it down.
Step 5: Fold it down and crease it well. No glue is needed! Just a note: When I folded this part down, I didn’t like how it looked so I switched the two pieces that I folded in Step 2 & 3. You’ll understand this step when you make it.
If you have any questions, don’t hesitate to ask!
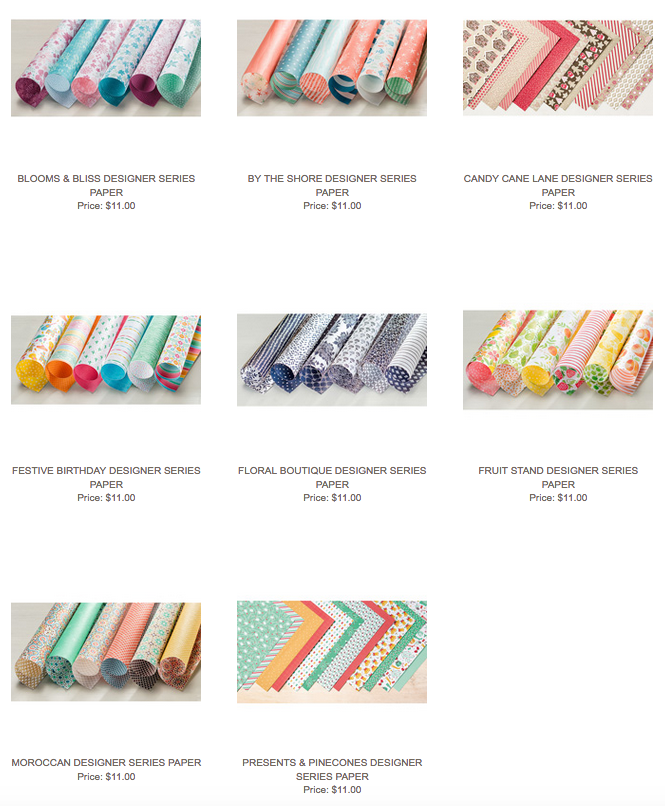
Product List- To make a purchase, click on any of the products below and you’ll be taken to my Stampin’ Up! online store.
Spending time with family is everything, isn’t it? I returned a few days ago from a fun trip to Palm Springs with my daughters and grandchildren. Several years ago we started the tradition of going on a mini vacation together and we called it our Girls Weekend. This year we included my grandson and next year, we want the guys to join us too! It’s time for a new name!
The day we left was a busy one. I was running around getting things done and I ran right into the highchair. Since I’ve retired from teaching, I tend to go barefoot or wear sandals. Not such a great idea. I hit my toe and oh. my. gosh! Painful! I wish I could say this is the first time I’ve run into something with my foot but it isn’t. My toe and the top of my foot are an ugly shade of black and blue. It’s pretty sore to walk on and made our trip a bit more challenging but we still managed to have lots of fun!
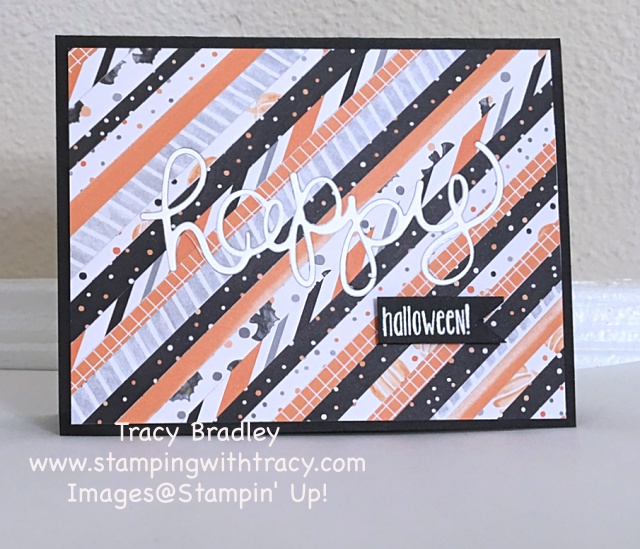
Before we left for our trip, I made a quick card. I saw the Striped Inlay technique on Jennifer McGuire’s blog and I tried my hand at it with Stampin’ Up! products.
She did her card with solid cardstock (I’m trying that next) but I used our Halloween Night Specialty Designer Series Paper. I cut the paper into different sized strips, no need to make them all the exact same size. Then I used a non Stampin’ Up! product called Stick It. It’s a full sized sheet of paper with adhesive (you certainly could use our Multipurpose glue). I attached the full sheet of Stick It to our grid paper and then cut it down to a smaller size. It was easy to then add the strips of paper, making sure to get them nice and close to each other. After they’re all adhered to the paper, turn the piece over and just snip off all the excess paper!
This may be hard to see but I didn’t glue the word happy onto the top of the strips. I actually cut the word out of the striped piece and made sure to save all of the little pieces too (inside each of the letters). I cut another “happy” out of Whisper White cardstock. I added another little strip of the Stick It adhesive on the back of my background so that I could then put the white “happy” into the space that was created in my striped background. I carefully added all of the little pieces inside the letters.
I embossed the word Halloween using the stamp set Spooky Fun. The word Happy is also part of the sentiment but I trimmed my paper so that it wouldn’t show.
I already have solid cardstock cut so that I can give this technique another try! If you also try it, email me your creation! I’d love to see it!
Product List – To place an order, click any of the products below!
I’m posting late in the day, but welcome to Day 5 of my Treat Packaging series!
I love making little boxes for treats or a small gift of jewelry, candles, etc. This box is easy to make. You’ll need cardstock for the bottom of the box and Designer Series Paper for the top. Or you could make the entire box using cardstock and cut pieces of DSP to place on the top and sides.
I have a video below that I made last year (it uses retired product) but it will walk you through the construction of the box. All of the supplies I used to make my box can be found in the Product List below. If you have any questions, don’t hesitate to ask!
Product List – To place an order or for more information, click any of the products below
It’s Day 3 of my Treat Packaging series and I have a very quick and easy project for a lollipop!
When my husband and I moved to Florida from California for 7 years, I really, really missed See’s candy. I grew up with this candy store and it was always THE place to get candy. My dad, who really didn’t care for candy, loved their Rocky Road. It is so delicious. He didn’t really care for cake either (crazy, huh?) so one year we gave him a huge block of Rocky Road and stuck a candle in it. That was fun! Their lollipops are so good too and I’m especially partial to the Butterscotch flavor. If someone receives a See’s lollipop, they know they’re getting a special treat!
I have a video from a year ago that shows you how to make the lollipop holder. I’m using retired products but you’ll be able to see how to make one. In the video I turn down the paper up at the top. One of my samples is made this way and the other one is not.
If you are going to make it as I do in the video, your measurements will be 2″ x 8-1/2″ scored @ 1/2″, 4″ & 5″. If the top part is NOT turned over, your measurements will be 2″ x 8″ scored @ 3-1/2″ & 4-1/2″.
Below you’ll find the Product List for all the supplies I used.
Product List – Click any of the pictures below to be taken to my Stampin’ Up! online store.
It’s Day 2 of my Week of Treat Packaging! Today I’ve wrapped up some Ghirardelli chocolates in our Gusseted Cellophane Bags. I have 6 inside each bag but you could definitely add more! The bags can be found in the Annual catalog and are new this year. They are food safe so you can also use candy that isn’t wrapped up. If you’d like to give a non-food treat, a gift card would fit nicely inside as well.
I used a piece of Halloween Night DSP that measures 2-7/8″ x 8-3/4″ scored @ 1″ and 3″ The paper slips into the gusseted bag and the weight of the candy will make it stand up. I didn’t score the top part of the paper, but the extra gets folded over the top. I stapled the bag shut with our handheld stapler which comes with mini staples that are just 3/8″ long. Since the staple is holding the bag shut, it isn’t necessary to use the clip but I thought it was cute. Plus, once the recipient opens the bag, it can then be closed using the clip.
Aren’t the scarecrows adorable??? They are from the set Cookie Cutter Halloween and the bats on my project yesterday also came from this set. I had fun coloring them in with colored pencils. If you are considering purchasing this stamp set and the matching punch, please be aware that the punch is part of a bundle that includes the stamp set Cookie Cutter Christmas AND this punch also works with the stamp set I’ve used today, Cookie Cutter Halloween (I hope that isn’t too confusing).
Both of my sentiments come from the stamp set Spooky Fun. This stamp set can also be purchased as a bundle which includes the stamp set and the Halloween Scenes Edgelits Dies. All of items in our bundles CAN be purchased separately but I wanted you to be aware of the options!
All of the products I used for my projects today are listed in the product list below. By clicking any of the pictures, you’ll be taken to my Stampin’ Up! online store.
Below the project list, you will find the bundles that I’ve mentioned above.
Product List- Click on any of the items below to be taken to my Stampin’ Up! online store.
Please note: I forgot to include that I also used the Project Life Cards and Labels Framlelits. You can find a picture of this product below.