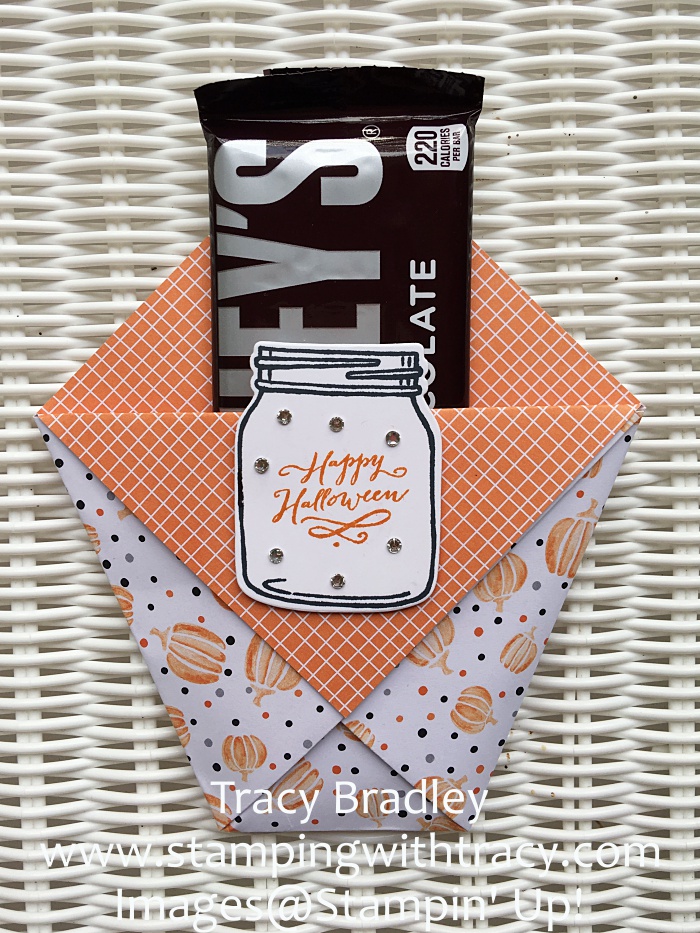
Thank you for visiting today! This is my last Halloween treat project and it’s another quick and easy one to make! I first saw this project on the Facebook page of Sara Douglass, the Stampin’ Up! CEO, this summer. She made several projects out of one sheet of Designer Series Paper and my holder today was one of them, but she used it as a utensil holder for a picnic.
I have some pictures below that will show how I created it but if you would like to see a video of Sara making it, click here to go to her Facebook page.
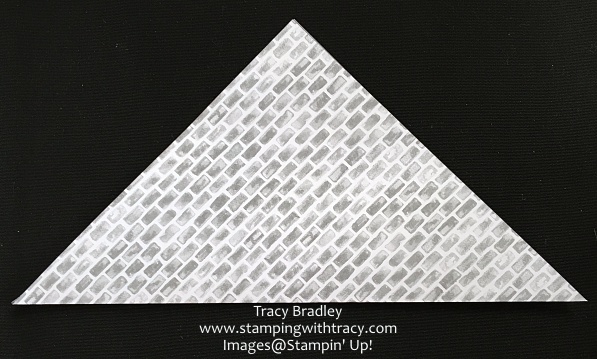
Step 1: You’ll start with a piece of DSP that measures 9″ x 9″ Fold it in half. (I am sorry if it’s difficult to see with this paper).
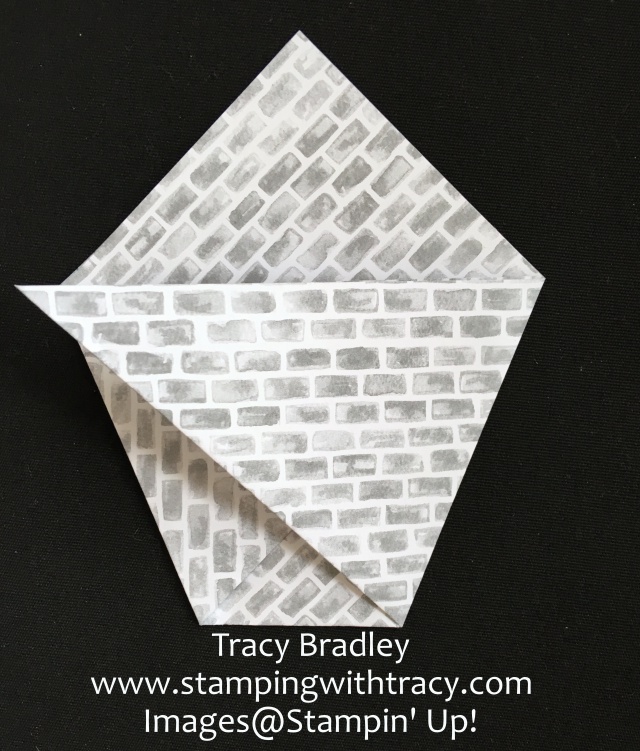
Step 2: Bring the left side over to the other side. Be sure that the top is parallel to the bottom.

This is what it will look like.

Step 3: Bring the other side over. In the picture it looks like it will extend past the edge of the paper but it shouldn’t.
Step 4: Now you’ll take one of the top pieces and bring it down.
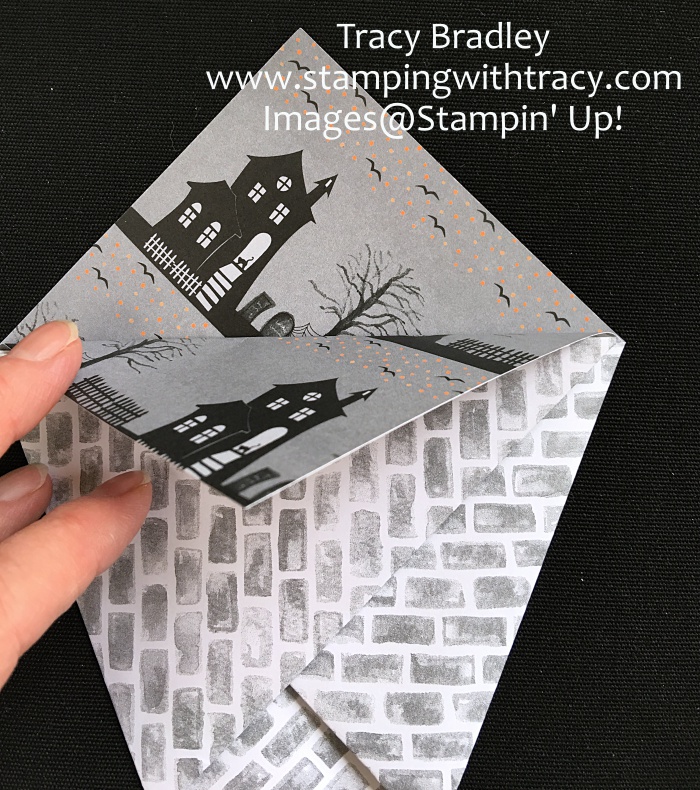
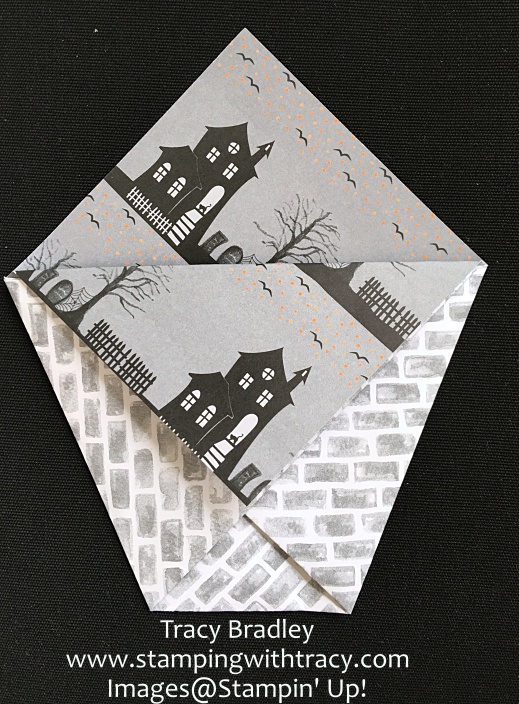
Step 5: Fold it down and crease it well. No glue is needed! Just a note: When I folded this part down, I didn’t like how it looked so I switched the two pieces that I folded in Step 2 & 3. You’ll understand this step when you make it.
If you have any questions, don’t hesitate to ask!
Product List- To make a purchase, click on any of the products below and you’ll be taken to my Stampin’ Up! online store.
|
|
|||


Use the October Host Code when you place your order and I’ll send you a gift as a thank you: GW4DWJQQ