A quick and easy box to make is the 2, 4, 6, 8 box. Its name comes from the fact that you score it at 2″, 4″, 6′ and 8″.
You’ll start with a sheet of cardstock measuring 8-1/2″ x 5-1/2″. On the long side you’ll score at 2″, 4″, 6′ and 8 inches.
On the short side, score it at 2 inches.
Next, cut up from the bottom of the paper, up to the 2 inch score line. These will be your flaps. Cut the small section out from the bottom right.
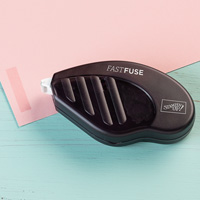
The picture below shows the inside of the box. If you want a hole so that you can see inside the box, put it on the panel indicated. Also, place adhesive (I recommend Sticky Strip or Fast Fuse for all of the areas where I indicate adhesive) on the flap shown. Tip: If you want to add DSP to your box, do it now BEFORE you cut a hole in the panel. You should have (4) pieces of DSP that measure 1-3/4″ x 3-1/4″.
This is the outside of the box. I’ve shown which flaps you should add adhesive to as well as what order to fold the flaps in when you start assembling. I’ve done it so that the last flap will fold towards the back of the box.
When putting the box together, I like to adhere the little flap to the opposite side first. Then fold the flaps in!
If you have any questions, let me know!
Product List – Click on any product and you’ll be taken to my Stampin’ Up! online store.
|
|
|
||
|
|
|
|
|
|
|
|
|
|
|
|


