Lately while creating in my craft room I’ve been trying to make several variations of the same card so that I’ll have a nice stash of cards to use! That means I have more than one card to share today! My cards were inspired by Jeanie Stark, a fellow Stampin’ Up! demo.
All of my cards use the same design but I changed them up with different paper and colors. All of the Designer Series Paper (DSP) comes from the Festive Birthday DSP and I have to say that I really love all of the bright, cheerful designs.
I always refer to the back of the package of paper or the catalog to see which colors coordinate and so, I used Melon Mambo, Tempting Turquoise, Crushed Curry and Whisper White. I stamped my sentiments in these same colors and cut them out with the Stitched Shapes Framelits which sit on top of one of the Layering Ovals Framelits.
The sentiments I used are included in the Watercolor Wishes Card Kit (a kit which includes a photopolymer stamp set and all of the supplies needed to make 20 different cards – you just need to supply adhesive).
The flower on each card was created with the Blossom Bunch Punch and I added an Enamel Shape to the center of each one.
If you’d like to create your own, the measurements are included below as well as all of the supplies I used for all of the cards.
Base of Card: 4-1/4″ x 11″ Score @ 5-1/2′
Cardstock: 3-3/8″ x 3-5/8″
Designer Series Paper: 3-1/8″ x 3-3/8″
Stamping Supplies – Click on any product below and you’ll head over to my Stampin’ Up! online store!
I love it when I buy a product and I can do more with it than I originally thought! The top of my box is actually a gift card envelope!
You can make an envelope in no time at all with this die but it can also be used to cover a box!
These boxes are a nice size and would be perfect for a small gift or candy. Each box measures 4″ long, 2-3/4″ wide and 1-1/2″ deep. Lots of possibilities!
To make the top of the box, it’s as easy as choosing paper, placing the large die on top and running it through your Big Shot. Fold on all of the score lines and it’s ready to place on top of your box!
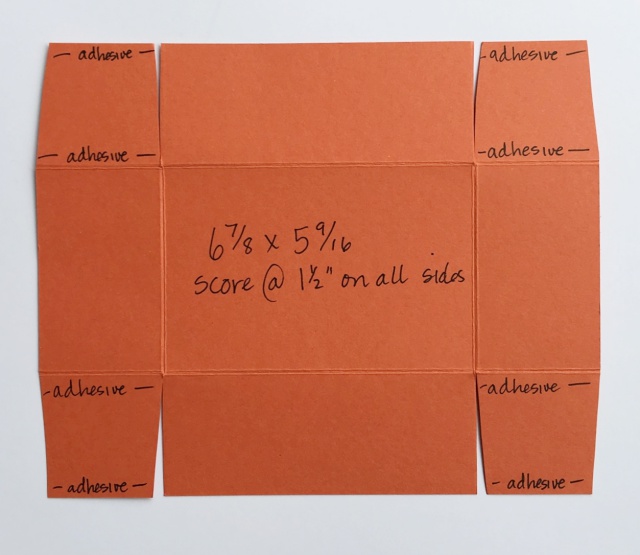
To make the box, choose a coordinating cardstock. Cut the cardstock to 6-7/8″ x 5-9/16″ and score it at 1-1/2″ on all sides. Next, cut on the score lines shown in the picture below.
The next step is to cut a small amount off of each flap. This helps the box to fold up with less bulk but if you skip this step, it’s fine. In the picture below I have trimmed the flaps and shown where you’ll add adhesive. Please note that this is the front side of the box.
Bring the flaps up to begin creating the box. My fingers are on the flaps that have adhesive on them.
Here’s how it looks with the sides adhered. Do this again on the other side and your box is done!
Place your lid on the box and then wrap it up with your favorite ribbon! The die also comes with extra pieces to create tags, which is what I used to create mine. I added a glue dot at the top of the tag and slipped it under the ribbon.
I love to see your creations so if you make your own box, I’d love to see it!
Below you’ll find a video from Stampin’ Up! showing how to make the box. I made the bottom of the box just a little bit different so choose which one works for you. If you’re reading this in an email, click here to head over to the Stampin’ Up! YouTube channel.
Product List – These are the products I used to create my boxes. They are shown along with their item number and price. When you click on the picture, you’ll be taken to that item in my Stampin’ Up! online store. From there it’s easy to add it to your cart. Choose a FREE item from the Sale-A-Bration Catalog for every $50 you spend (before tax/shipping).
MARCH HOST CODE: UAWUUQG4
Use this code when placing your online order and you’ll receive a gift with your thank you card!
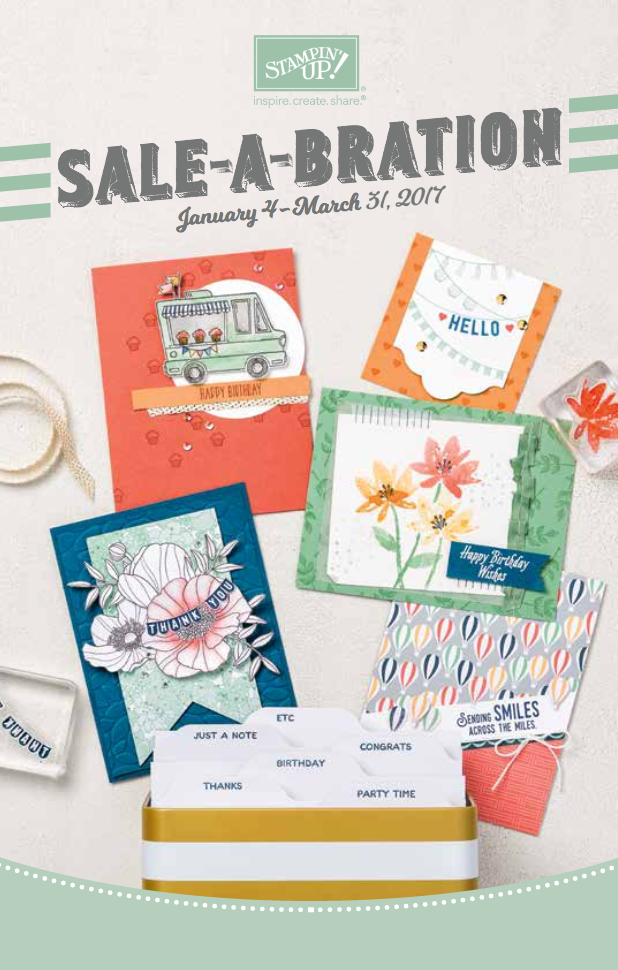
It’s Sale-a-bration time! Choose a FREE item for every $50 you spend (before tax/shipping). Click the catalogs below to take a look at what you can choose from!
Keep in Touch!
Sign up to receive notifications of my new blog posts by email. You may unsubscribe at any time.


 Ruched Ribbon")
 Ruched Ribbon")