by Tracy | Aug 26, 2016 | Uncategorized

Hi Friends!
Earlier this week I sent this card to a friend to let her know that I’ll be thinking of her on Monday. Her mom passed away in November and Monday would have been her birthday. It’s always so hard to convey that you care to people who are grieving. My father passed away almost seven years ago (it is shocking to write this and know it has been so long since that awful day). My mom received cards on the first anniversary of his death and it was such a comfort knowing that people remembered and cared enough to send a card.
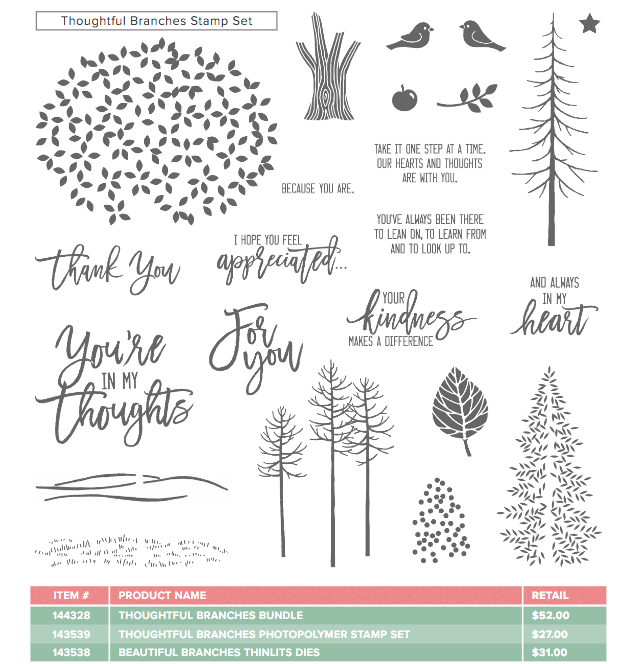
I wanted my sentiment, You’re in My Thoughts, to be the focal point of the card so I used the stamp set Thoughtful Branches. I was late to the game on purchasing this set. Funny how something doesn’t appeal to you and then you just HAVE to have it. I love sets with beautiful fonts and this one is perfect. If you think you want to add this to your collection, it is only available until August 31st and it has a matching Framelit. You can buy it as a bundle and save 10% or purchase the stamp set or the Framelit separately.
I used Blooms and Bliss paper (new in the Annual Catalog) with Mint Macaron cardstock. Rich Razzleberry gives it a nice pop of color. I punched my flowers out with the Petite Petals punch and used a sponge dauber to add some color around the edges. I wanted a teeny tiny flower in the middle and the Tree Builder punch came to the rescue. I also added some Wink of Stella to add glitter to each Petite Petals flower.
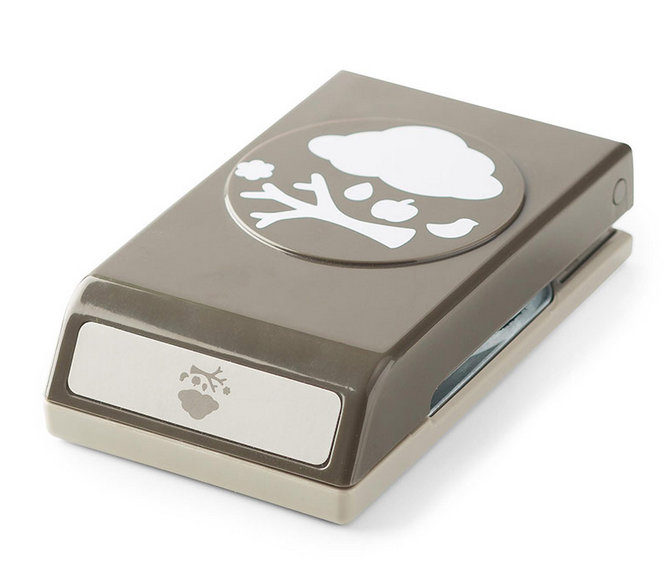
Tree Builder Punch
Many thanks to fellow SU! Demonstrator, Dena Rekow, for the inspiration for this card.
Have a terrific day! If you have any questions, please don’t hesitate to ask!
Product List – Below I’ve listed the products I used to make my card. Clicking on any of them will take you to my Stampin’ Up! online store.
by Tracy | Aug 11, 2016 | Uncategorized
Hi Friends!
Today I’d like to share a card with you and let you know about a new stamp set available this month with matching Thinlits!
I’ve been giving myself permission to do lots of experimenting with my craft products without the worry of having a completed project. I love the beautiful backgrounds you can achieve with ink and water and let me tell you, it can be quite addictive. Each piece is definitely one of kind. I can’t tell you how many backgrounds I have sitting on my craft table at the moment just waiting for me to turn them into a card!

I decided to make this card sweet and simple. To achieve the look of the background, I wet my watercolor paper and then dropped color onto it. The water spreads the ink. I embossed my sentiment using one of our new single stamps from the annual catalog – Stylized Birthday.

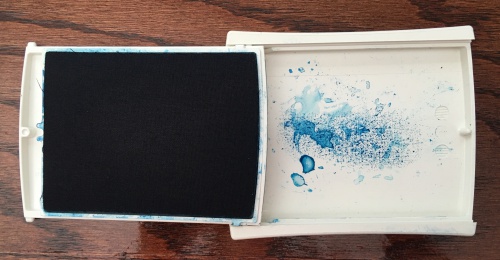
If you squeeze your Stampin’ Up! ink pad, you’ll find that the ink transfers to the lid. You can pick up the ink with the tip of an Aqua Painter and then start adding color to your wet watercolor paper. While the ink is still on the cover of the ink pad, you may need to add a few drops to mix the ink. As I mentioned above, before you add the color to your paper, wet the entire piece of paper first with a paint brush or Aqua Painter, being careful not to saturate it too much as you’ll have a lot of warping.
I made this panel last week and unfortunately I didn’t write down what colors I used. If I had to make a guess I would say, Pacific Point, Cucumber Crush and Daffodil Delight.
This really is a fun technique! Give it a try!!
Here’s the new stamp bundle I mentioned at the beginning of my post! It is available for purchase but only while supplies last. You can purchase it as a bundle and save 10% or buy the stamp set or Thinlits separately.
As a demonstrator I was given the opportunity to purchase this last month and I didn’t. I’ve seen so many cute cards using the set and I love the font used for the sentiments. So, I placed my order and it arrived yesterday. Can’t wait to create with it!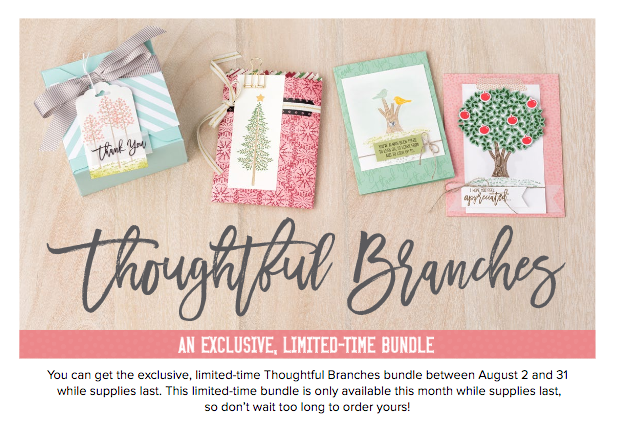

Product List- Below you’ll find the products I used to create my card. Click on a product to be taken to my online store! If you have any questions, don’t hesitate to email me: tracy@stampingwithtracy.com
by Tracy | Jul 18, 2016 | Uncategorized
Hi Friends,

Wow! What a fun promotion! Here are all of the details!

If you have any questions at all, don’t hesitate to send me an email!
tracy@stampingwithtracy.com
Click HERE to visit my online store!
by Tracy | Jun 1, 2016 | Uncategorized
Hi Friends!
I’m popping in to let you know that you can now order from the Stampin’ Up! 2016-2017 Catalog! I just placed my order and can’t wait to play with new stamp sets, Framelits and paper!

Want to take a look inside? Click on the catalog cover and see what’s new!
Click here to place an order! Use the host code for this month and receive an extra thank you from me in the mail!
June Host Code:
Questions? Don’t hesitate to email me: tracy@stampingwithtracy.com
by Tracy | May 7, 2016 | Uncategorized

Hi Friends!
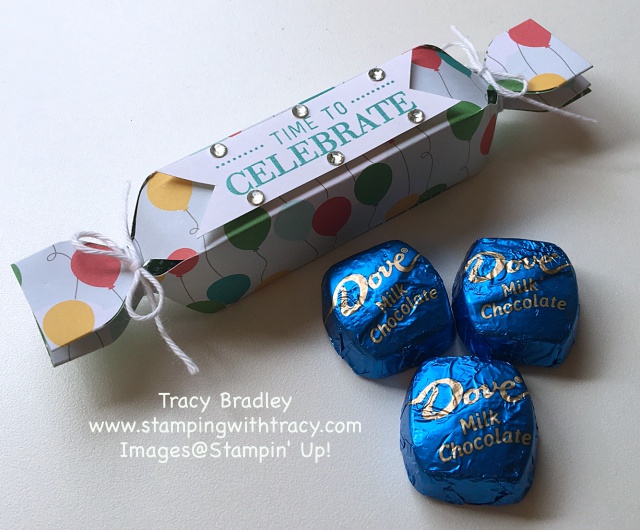
I’m back to share the directions for the Popper that I posted several days ago! It is fairly easy to make but it can be confusing with all of the steps. I’ve created a picture tutorial and I hope that if you decide to make one, it will be helpful!
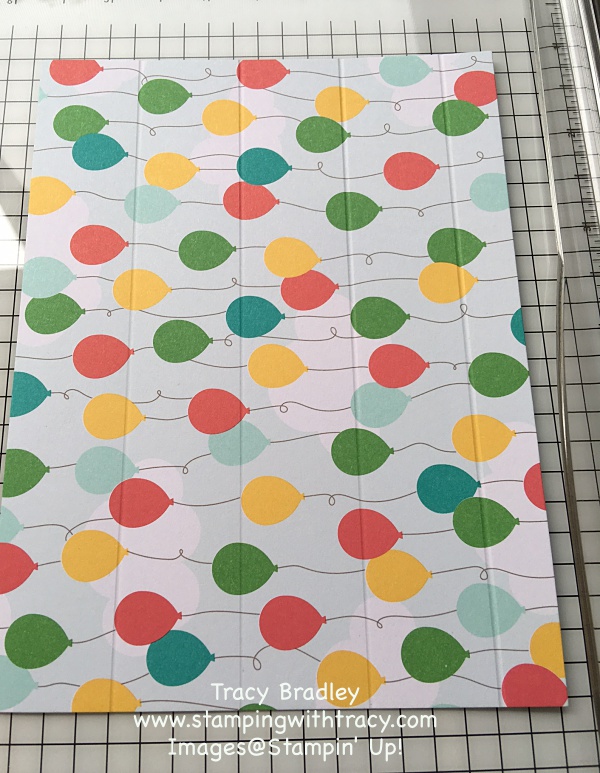
To start out, you’ll need paper and an Envelope Punch Board. You’ll need paper measuring 4-1/2″ x 6″. If you have a specific design on the paper that you want to be right-side up, such as my paper below, make sure that the design is going the correct way on the long side (hope that makes sense).
You’ll score it on the portrait side at 1″, 2″, 3″ and 4″.
Fold on all of the score lines. Then, notice that one end of the paper has a larger section than the other. Take the bigger end and place it at the 1″ mark on your Envelope Punch Board.

Punch. (Push that large “button” down.)

This is what your paper will look like when you remove it.

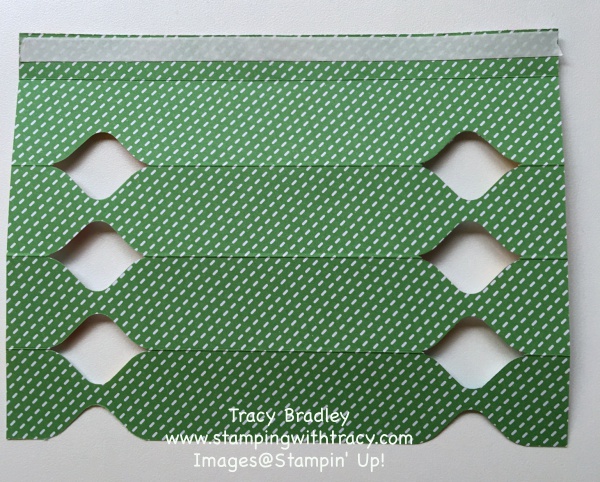
Now flip your paper over and do the same thing to the other side at the 1″ mark. You will always punch on the 1″ mark.

Your paper should look like this.

The next step is to fold the paper on the first score line.

Punch and then turn your paper over and do it again on the other side.

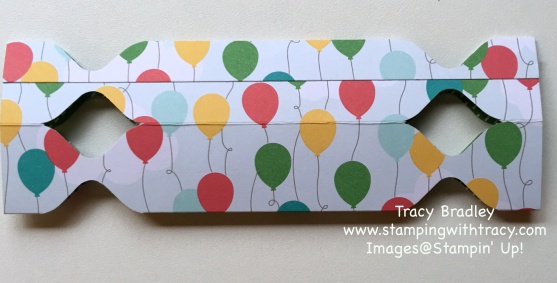
Here’s what it should now look like.

Continue to fold your paper down and punch on both sides but STOP when you get to the last one (the small section at the bottom). (oops, not sure why this picture didn’t get rotated in the editing process!)

Add Tear and Tape (a strong adhesive) on the inside flap of that last section.
Now, fold that piece over just like you did the others, place it in the punch board, again at the 1″ mark, and punch on both sides.
The next step will be to remove the tape and bring the bottom piece up to the fold where the tape is.

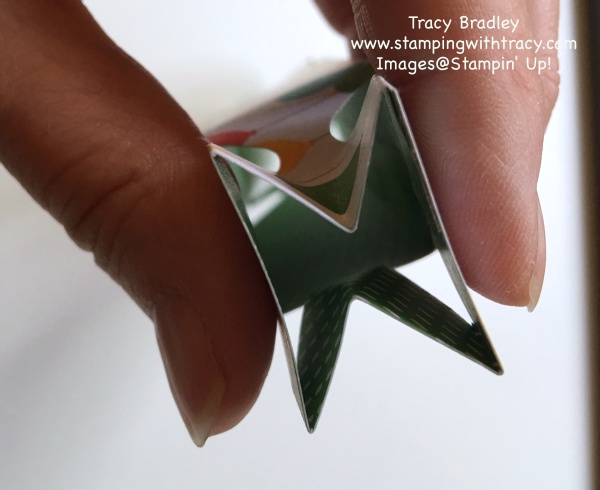
Fold the top piece over and press down to get a good seal.
Squeeze one end and close it up with Baker’s Twine or ribbon. Add a goodie (I was able to fit 3 Dove chocolates) to the inside and do the same thing to the other end (see the original photo at the top of the post).

If you have any questions, let me know! If you make any poppers, I would love to see what you’ve created!
Below you’ll find a supply list with the Stampin’ Up! products I used. The paper is on the retiring list so if you want it, I would grab it quickly. My sentiment is not part of a stamp set but a card Kit (Watercolor Wishes Card Kit). You can place an order by clicking here or if you’d like more information on a particular product, just click the picture below.
Product List


