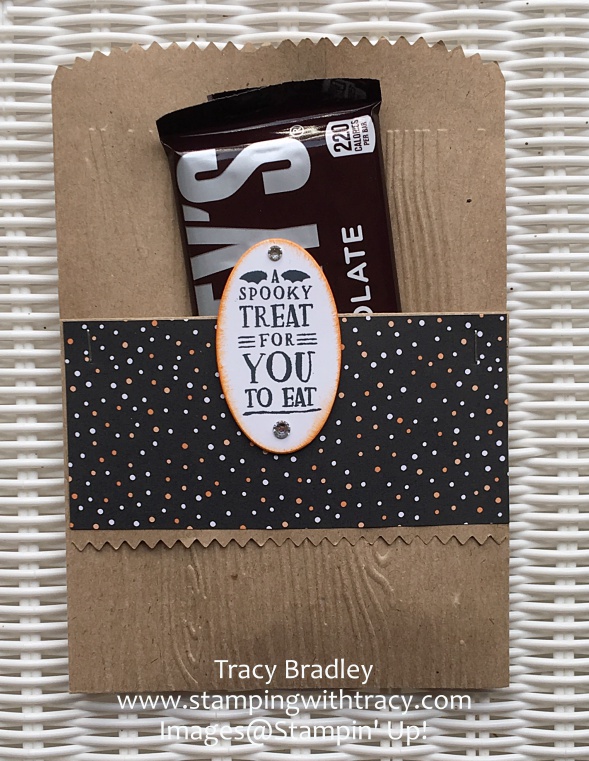
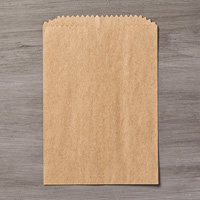
I have a project that you can make in just minutes! I used our Kraft Tag a Bag Gift Bags to create a pouch for a treat! First I ran the bag through the Big Shot using the Woodgrain embossing folder.
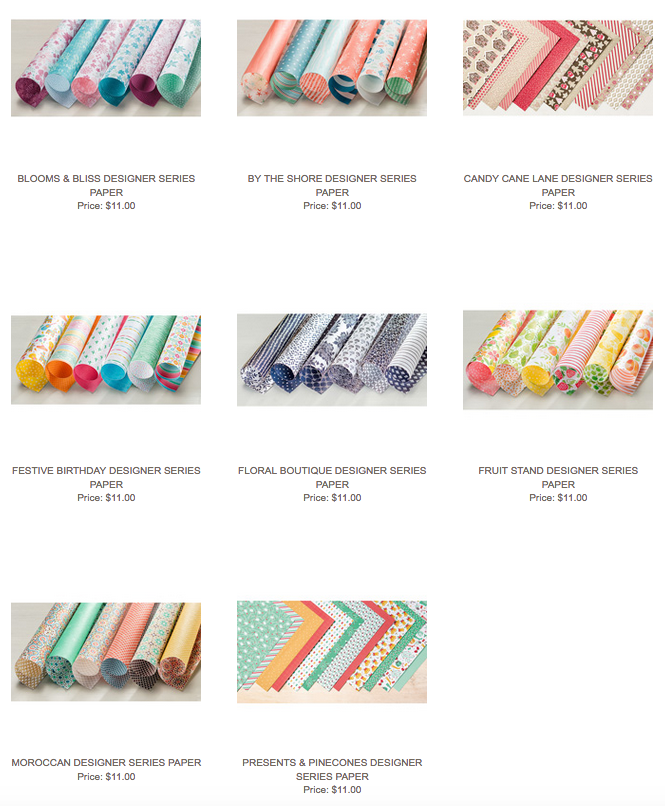
Then, starting at the top, I cut the sides down 2″. I attached a 4-3/4″ x 2 1/4″ piece of Designer Series Paper on the flap it created.
I usually like to have another shape behind my sentiment but I was visiting my mom at the time and didn’t have extra colors of cardstock so I simply sponged color around the edges of my oval. I used the stamp set Jar of Haunts for my sentiment. I added a few rhinestones for a little sparkle and in went my Hershey Bar! I would have added more candy but I just couldn’t buy any. I am currently doing the Whole30 and I haven’t had one drop of sugar in 18 days. I think that’s a record for me. Buying more candy would just be too much of a temptation. You’ll see that same candy bar in another last minute Halloween treat project tomorrow!
Product List – To place an order, click on any of the products below.If you have a question, don’t hesitate to contact me.
Oh my gosh! I am so excited about a new product from Stampin’ Up! – Stitched Shapes Framelits – that will be available on November 1st!!
When they’re released, 12 coordinating stamp sets from the Holiday and Annual Catalog will be on sale 25% until November 30, 2016. Below you’ll find a list of the stamp sets as well as a video from Stampin’ Up! showing you these CUTE Framelits! I can’t wait!!
I’m back with another idea for using the Flourish Thinlits Dies and the stamp set Flourishing Phrases (purchase both as a bundle and save 10%)! This is another card straight from the Stampin’ Up! catalog. It really is quite easy to assemble and I love the combination of colors that were used.
Product List- To place an order, click on any of the products below and you’ll be taken to my Stampin’ Up! online store
Several days ago I shared a card I made using the stamp set Flourishing Phrases (you can see it here). This stamp set can be purchased separately or as a bundle with the Flourish Thinlits Dies at a savings of 10%. The Flourish Thinlits Dies were used to make this card from the Stampin’ Up! home office and the greeting is a part of Flourishing Phrases.
A watercolor wash was created on watercolor paper and then the thinlits pieces were adhered. The pieces behind the watercolor paper are stamped in Crushed Curry (I’m guessing this is what was used) and were cut out by hand as the thinlits only cut out the intricate shapes shown.
In case you were wondering, the tool at the bottom of the picture just came out in the Annual Catalog. It’s a brush that specifically helps release excess paper from the die.
Here’s how to use it:
1. Run the die through the Big Shot.
2. Place the die face-down on the foam pad.
3. Roll the brush over the die.
Product List – The supplies used to make this card are listed below. To place an order, simply click any of the products.
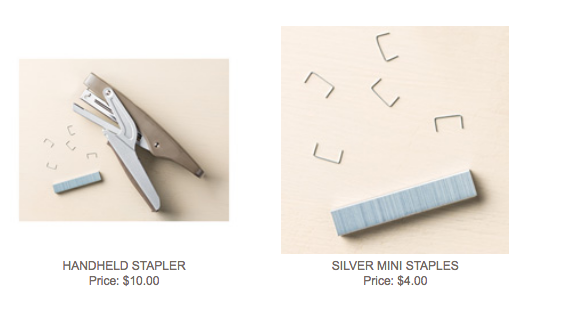
Quick post to let you know that due to supplier issues, the Handheld Stapler (item 139083) and coordinating Silver Mini Staples (item 135847) will be discontinued after current inventory runs out. I LOVE this stapler because the staples are small and it works great with crafting projects. If you’ve been on the fence about it, I would order one today. Personally, I am going to stock up on the staples! Click here to place your order.
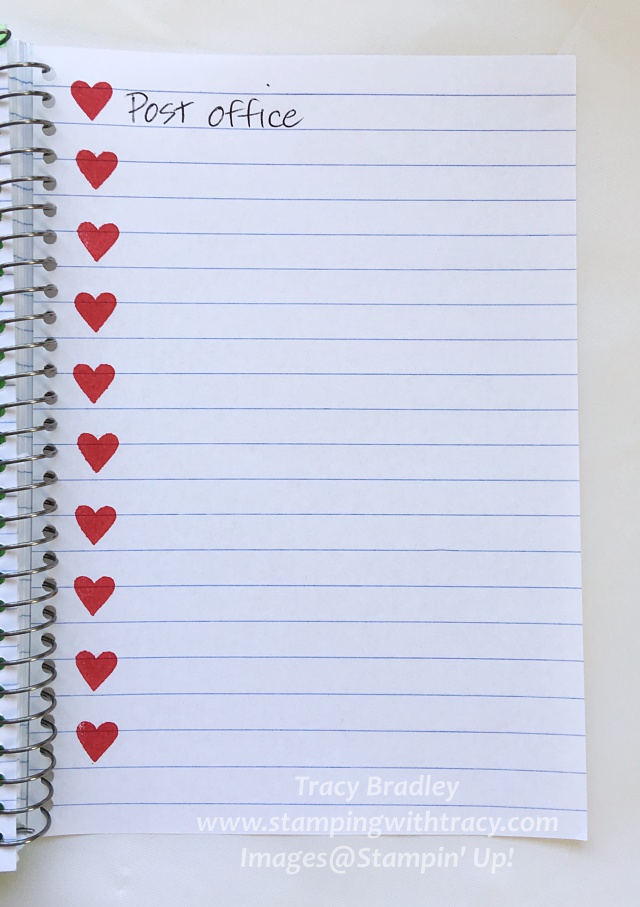
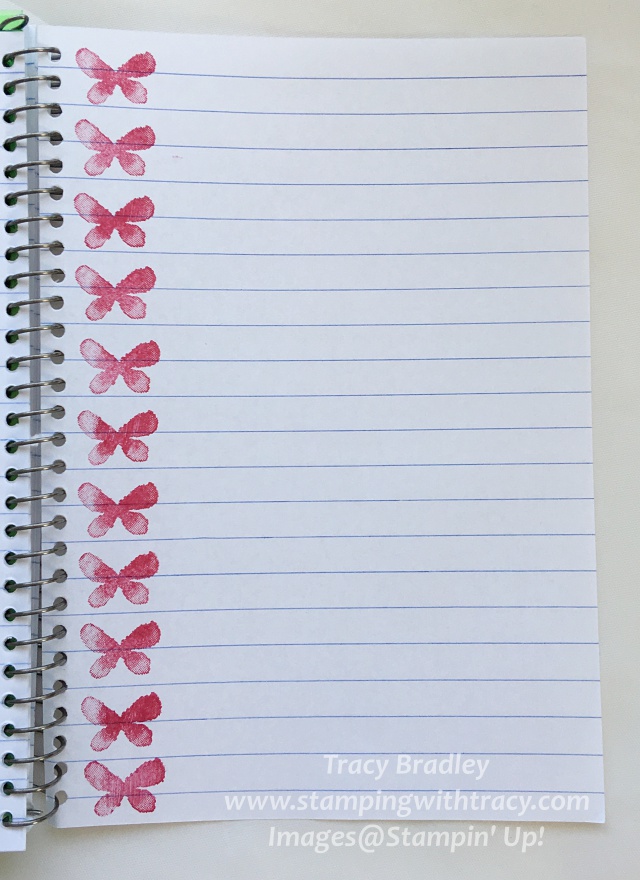
Today I have another way to use your stamps – in your planner or for list making! I have a small notebook that I use for my to do list. I was trying to think of a way to jazz it up a bit and thought, why not use a small stamp instead of a dot beside each item. I don’t know about you but I tend to not even see the small stamps in a set. I went looking through my stash and this is what I came up with.
I used the Foxy Friends stamp set in the picture below. It does take up two spaces but I’m ok with that since it is SO CUTE!
Another idea using the stamp set Jar of Love.
And this one uses Garden in Bloom.
Just another way to use your stamps! Look through your stamp sets and really look for those small stamps! You may be surprised at what you find. Have a terrific weekend!
Product List – To place an order, click any product below!