Have you heard of the Whole30? Today’s Day 1 for me! It’s a 30 day program aimed at changing eating habits and for me, slaying the Sugar Dragon! I do love my sweets but for the next 30 days, no sugar!! But I do get to eat lots of fruits, vegetables and proteins. If you’ve done the program, I’d love to hear about your experience!
Onto my card for today! I love the look of ink blending but for me, it’s been a little difficult mastering the technique but I really do think I’m improving. To create my card, I embossed the flourish from Flourishing Phrases onto Whisper White cardstock. Then I started blending Rose Red, Watermelon Wonder and Daffodil Delight onto my paper. Once that was completed, I stamped and punched out my sentiment and added some sparkle with rhinestones!
Flourishing Phrases stamp set by Stampin’ Up!
Below are the products I used to make my card. The Flourishing Phrases stamp set can be purchased individually or as a bundle with the Flourish Thinlits (10% savings). The bundles are also listed in my product list.
Product List – To place an order, click on any of the products below!
As with the entire nation, I’ve been reading the updates on Hurricane Matthew. I just read that it is expected to hit U.S. land around two in the morning tomorrow. My heart goes out to everyone affected as they try to protect their homes but most importantly, their lives.
I received notification this morning that the server for my blog is located in Orlando, Florida. There’s the chance that my blog may be down if the hurricane has the impact that’s expected.
My thoughts are with everyone in the path of Hurricane Matthew. Stay safe!
Spending time with family is everything, isn’t it? I returned a few days ago from a fun trip to Palm Springs with my daughters and grandchildren. Several years ago we started the tradition of going on a mini vacation together and we called it our Girls Weekend. This year we included my grandson and next year, we want the guys to join us too! It’s time for a new name!
The day we left was a busy one. I was running around getting things done and I ran right into the highchair. Since I’ve retired from teaching, I tend to go barefoot or wear sandals. Not such a great idea. I hit my toe and oh. my. gosh! Painful! I wish I could say this is the first time I’ve run into something with my foot but it isn’t. My toe and the top of my foot are an ugly shade of black and blue. It’s pretty sore to walk on and made our trip a bit more challenging but we still managed to have lots of fun!
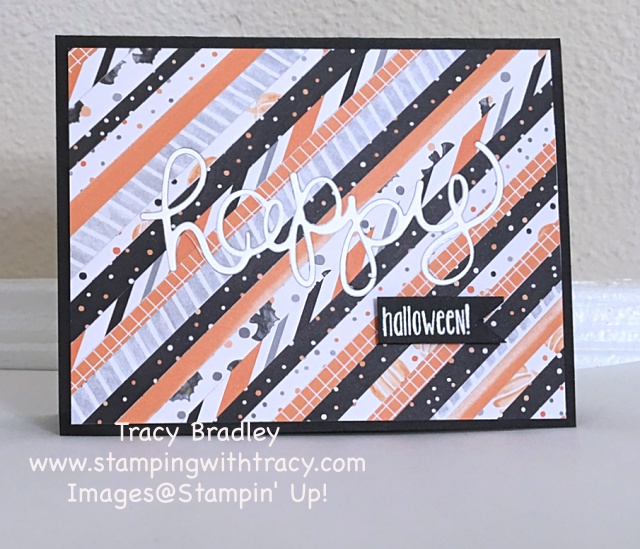
Before we left for our trip, I made a quick card. I saw the Striped Inlay technique on Jennifer McGuire’s blog and I tried my hand at it with Stampin’ Up! products.
She did her card with solid cardstock (I’m trying that next) but I used our Halloween Night Specialty Designer Series Paper. I cut the paper into different sized strips, no need to make them all the exact same size. Then I used a non Stampin’ Up! product called Stick It. It’s a full sized sheet of paper with adhesive (you certainly could use our Multipurpose glue). I attached the full sheet of Stick It to our grid paper and then cut it down to a smaller size. It was easy to then add the strips of paper, making sure to get them nice and close to each other. After they’re all adhered to the paper, turn the piece over and just snip off all the excess paper!
This may be hard to see but I didn’t glue the word happy onto the top of the strips. I actually cut the word out of the striped piece and made sure to save all of the little pieces too (inside each of the letters). I cut another “happy” out of Whisper White cardstock. I added another little strip of the Stick It adhesive on the back of my background so that I could then put the white “happy” into the space that was created in my striped background. I carefully added all of the little pieces inside the letters.
I embossed the word Halloween using the stamp set Spooky Fun. The word Happy is also part of the sentiment but I trimmed my paper so that it wouldn’t show.
I already have solid cardstock cut so that I can give this technique another try! If you also try it, email me your creation! I’d love to see it!
Product List – To place an order, click any of the products below!
One of the products on sale this week is the Designer Tin of Cards Project Kit (item #141651). It normally sells for $27.00 but only until tomorrow, October 5, 2016, the price is $20.25.
The kit includes a blue tin and enough card bases, accents, and envelopes for 16 cards, 4 each of 4 designs. You supply the stamps, ink, and adhesive which are sold separately. The stamp set, Designer Tin of Cards Stamp Set (item 141739) coordinates with the kit but you can use whatever stamp sets you have at home.
Designer Tin of Cards Stamp Set #141739 $26.00
This is what is included in the kit:
Watch the video for more information about this cute kit!
If you have a catalog, some of the information about the additional supplies you will need is incorrect. Here is the corrected info (click to enlarge):
In addition to the Designer Tin of Cards Kit, seven other products are also on sale but only until tomorrow!
To see these discounted products at my Stampin’ Up! online store, click any of the pictures below (you’ll see the sale price there too).
Yesterday I showed two videos using the Envelope Punch Board (25% off until October 5th) to make envelopes and boxes. You can also make a popper! I shared this idea back in May and you can visit that post again and see a picture tutorial by clicking HERE.
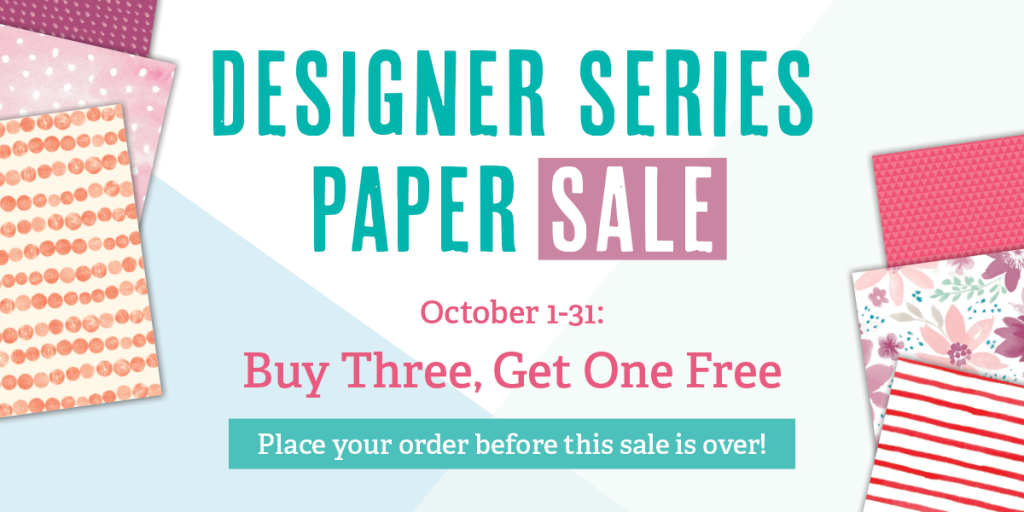
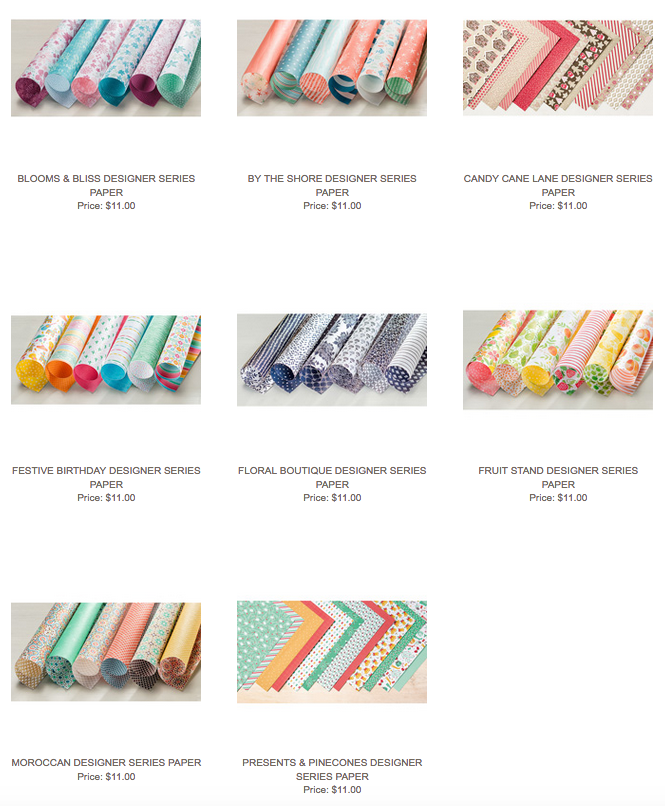
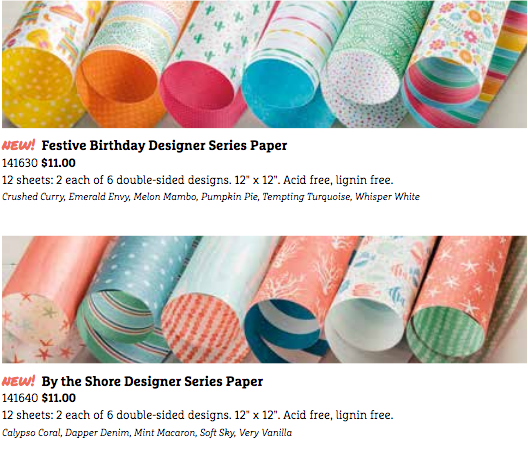
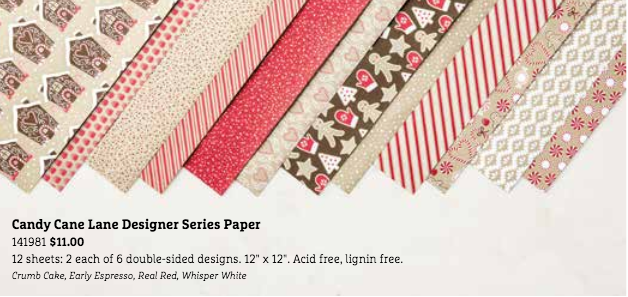
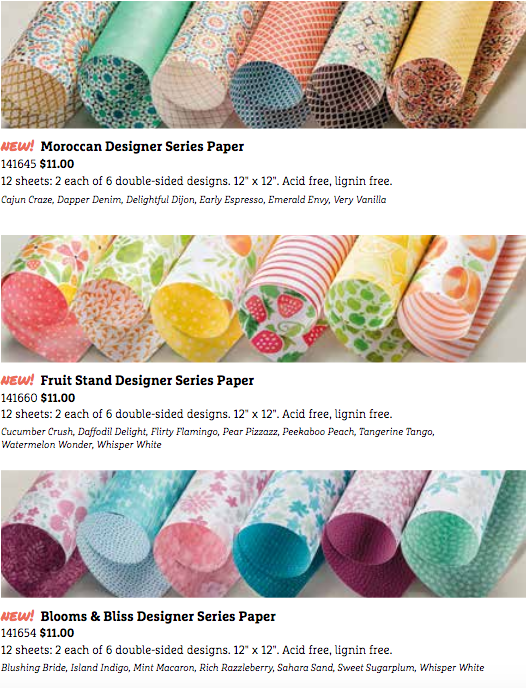
The paper I use in the tutorial is no longer available but we also have a paper sale going on all month! Buy 3 packages and receive 1 free (see the papers below that are included in the sale)!
Product List – All of the products below are currently on sale. The first 7 items are up to 25% off and the sale price can be seen at my Stampin’ Up Online store (click any of the products to see the sale price). The paper special is: Buy 3, Get 1 Free.