This week our Gold Binder Clips are 25% off! They normally sell for $7.00 but you can purchase them for $5.25 until Wednesday, September 14, 2016. There are 10 in each package.
Here are some cute ideas from both the Holiday Catalog and the Annual Catalog using the Gold Binder Clips!
Click here to visit my Stampin’ Up! online store and purchase your own set of Binder Clips!
Stampin’ Up! is offering a new selection of Special Offers this week!
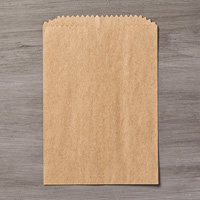
Here’s an example of a project using the Gold Binder Clips, which are on sale until next Wednesday. The bag was for a sweet girl’s 1st birthday, little Marigold. The “M” was added at the last minute and I used a retired Big Shot product (Little Letter Thinlits). Below you can see the project without the letter attached.
It was an extremely cloudy day when I tried to photograph this project so please forgive the bad lighting!
Product List – Click on any product below for more information! You will be taken to my Stampin’ Up! online store.
I love the look of ink blending and I’ve been practicing, a LOT. I love creating backgrounds with lots of color although I admit there’s a definite learning curve. I’ve tried using a variety of tools to get the coverage I want but I realize it will take practice. You can use sponges or an Ink Blending tool (non Stampin’ Up!). With the Ink Blending Tool, you need to be careful that the rim of the foam doesn’t leave marks on your paper. You can see the marks on my piece below.
But it isn’t a concern with this card because the Detailed Floral Thinlits (the Whisper White piece on top of my ink blending) covers any imperfections! I was able to use this one colorful piece for both of my cards.
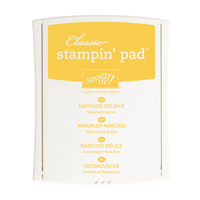
On a side note, when I was a kid, they used to sell an ice cream treat called Missiles. Today they call them something different but they will always be Missiles to me. The colors I’ve used remind me of that yummy treat (Melon Mambo, Daffodil Delight and Watermelon Wonder). Anyone else remember them??
Normally I would have shied away from using such a detailed Thinlit because it can be very difficult to get all of the little pieces out. But, in the Annual Catalog, a new item was added that makes it very easy to remove the paper, the Precision Base Plate (below). This plate is used instead of the bottom clear plate you would normally use. You can watch the video below that shows how to use the plate. You’ll also see a cute card at the end of the video!
In the video you’ll see the regular Multipurpose Platform being used which as you can see, works well. In the new Annual Catalog a new Big Shot Platform was introduced to specifically help with thin dies and I did use this platform to make my card.
I adhered my Whisper White piece, cut out with the Thinlit, directly to the ink blending paper which I then adhered to a base of Watermelon Wonder. The stamp set, Floral Phrases is part of the Floral Boutique Suite which pairs with the Thinlits. They are perfect together! You can purchase the Detailed Floral Thinlits and Floral Phrases together as a bundle and save 10%. I’ve included each of the bundles (wood and clear) in my product list below.
Thanks so much for stopping by today!
Product List- Click on any of the items listed below for more info or to place an order! If you have any questions, don’t hesitate to contact me!
Special Offers are here! You can save 25% on select annual catalog products through September 21st! Each week there will be new discounted products to choose from. See below for what’s available this week (new items will be posted next Thursday)! For more information about a product or to place an order just click on any of the pictures below. As always, if you need additional information, feel free to email me: tracy@stampingwithtracy.com
You can now order from the Holiday Catalog!! If you’d like to take a look at it online, click here! If you don’t have a demonstrator and would like a complimentary copy, email me and I’ll get one right out to you: tracy@stampingwithtracy.com
Here’s a sampling of some of the cute products inside the catalog!
You can purchase the Cookie Cutter Builder Punch separately but it is also offered as a bundle with this stamp set for a savings of 10%. (page 6 in the Holiday Catalog)
The Cookie Cutter Builder punch also coordinates with this stamp set. Too cute!!!!
To see all that the catalog has to offer, click here!