I know it’s a little early to be thinking about treats for the end of October but here’s a little bag to fill with special treats. I used our Sketched Dots Tag a Bag Gift Bags, very pretty translucent bags that are food safe.
I attached a Spider Web Doily to the front of the bag and attached a circle of Black Glimmer Paper on top of the doily. My photo really doesn’t do the glimmer paper justice, at all. My Spooky sentiment comes from the set Among the Branches which was punched out with the 2″ Circle Punch. If you bundle this set with the Woodland Textured Embossing Folder, you’ll receive a 15% discount (see product list below).
My cute little spider comes from the set Howl-o-ween Treat. I chose to close the bag with a clothespin but I think it would be just as cute left open.
Have a wonderful weekend!
Product List – Click on a product below for more information or to place an order
Receive, in the mail, the completed cards/3D project below with a minimum $35 purchase using the host code RU3PBN2Y at my Stampin’ Up! online store . You’ll also receive a PDF for each project via email and a link to a video showing you how to recreate them at home! Click here for more details!
I’m a little late on my post today! My husband and I took a 7 hour road trip which had us on the road at 3:30 am this morning. He’s likes driving very early so that we miss a lot of the traffic in the first hours of the trip. It makes sense but I definitely needed a nap when we arrived!
I was unable to attend Convention this year but they had several sessions that were streamed so I was able to watch some of it at home. This was one of the projects presented using a Halloween theme. I decided to change it up and use one of our new papers in the Holiday Catalog, Into the Woods. It is definitely a quick and easy project to whip up.
I used one of our Gusseted Cellophane bags and a piece of DSP that measures 3 3/4″ x 10″ which is scored at 1″, 6″ & 8 1/2″. Slip the DSP inside the cellophane bag, add your treats and a topper and you’re done!
I also covered Hershey Nuggets in the same DSP and added a few using Rich Razzleberry cardstock that I ran through the Decorative Dots embossing folder. I shredded some Whisper White cardstock and placed it in the bottom of the bag.
I’ll try and make a video next week for this project!
Product List- Click on any product below for more information or to place an order.
Place a minimum $35.00 order using the host code RU3PBN2Yand I will send the projects below to you! You’ll also receive a PDF for each project and the link to two videos showing you how to recreate them at home. Click here for more details!
It has been one of those weeks where I haven’t had much of a chance to get into my craft room and play. I did get a chance early this morning and I’ll share those projects next week!
My grandson is now five months old. I can’t believe how fast the months are flying by. It feels like he was just born a few weeks ago! He is an absolute sweetheart and has a smile that makes me grin from ear to ear.
My granddaughter spent the night one day this week and it is always enjoyable when she is with us. I found some beads in the closet that I had been saving from my classroom. We pulled them out and Audrey played with them for hours and hours.
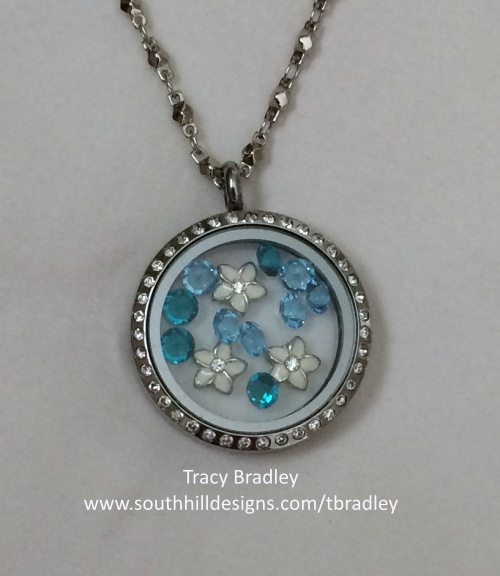
Tomorrow is the official end of summer. I wish we were heading into fall weather where I live but the forecast says that it will be in the 90s all next week. My locket today makes me think of summer. Hope you are enjoying your Labor Day weekend!
There are so many new goodies for the Big Shot in the Holiday Catalog! I always love packaging and the Square Pillow Box Thinlits is so stinkin’ cute! Here’s a quick video showing you how to put the box together!