by Tracy | Dec 2, 2024 | Christmas Card

Before sharing my card with you today, I want to let you know about Last Chance Products! This will begin on Tuesday, December 3, 2024. This is a brand new process and I’m learning while I go!
- The Last Chance Products category will include retiring products from the September -December 2024 Mini Catalog and online releases, excluding Paper Pumpkin. When the Annual Catalog retires, you will find the retiring products in the Last Chance Products category of the online store (this won’t happen until the beginning of April).
- There will be a Last Chance Products category in the Online Store.
- Last Chance Products in this category are available while supplies last and will be discontinued when they sell out. Items will be automatically removed from the category and the online store when they are discontinued.
- Discounts vary and are subject to change.
- The Last Chance Products category will be updated every other month (more retiring products will be added). Updates to this category will happen in February, April, June, August, October, and December.
- Stampin’ Up! may add individual items from bundles or suite collections to the Last Chance Products category. If one or more products from the suite collection or bundle are in the Last Chance Products category, then the bundle and suite collection will also appear in this category. The bundle or suite will not be orderable if one or more of the items in the bundle or suite collection sell out. Our standard 10% bundle discounts will be available if one or more of the items move to the Last Chance Product category; however, the item in the Last Chance Products category may have a deeper discount.
- There may be times Stampin’ Up! will need to discontinue certain products outside of this process. This can happen due to factors outside our control, such as overseas shipping issues, disruptions to the supply chain for raw materials, or changes to our suppliers. If a product is discontinued outside the process, it won’t be available in our Last Chance Products category.
- There will no longer be a Clearance Rack, it will be now known as the Last Chance Products page..
- The Last Chance Products will be available to all on December 3, 2024. You’ll be able to see what’s retiring!
While I have your attention, Demonstrators needed to finalize on Saturday, who we would be sending the new January-April 2025 Mini Catalog & Sale-a-Bration brochure to. If you ordered from me in the last six months, I ordered one for you and you should be receiving it between mid to late December. The new catalog goes live on January 7, 2024!
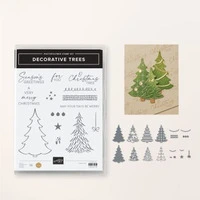
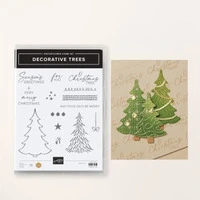
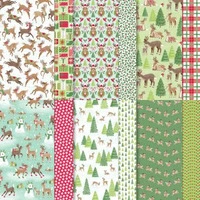
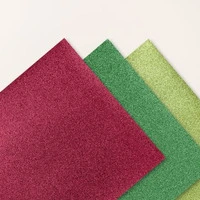
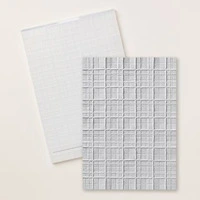
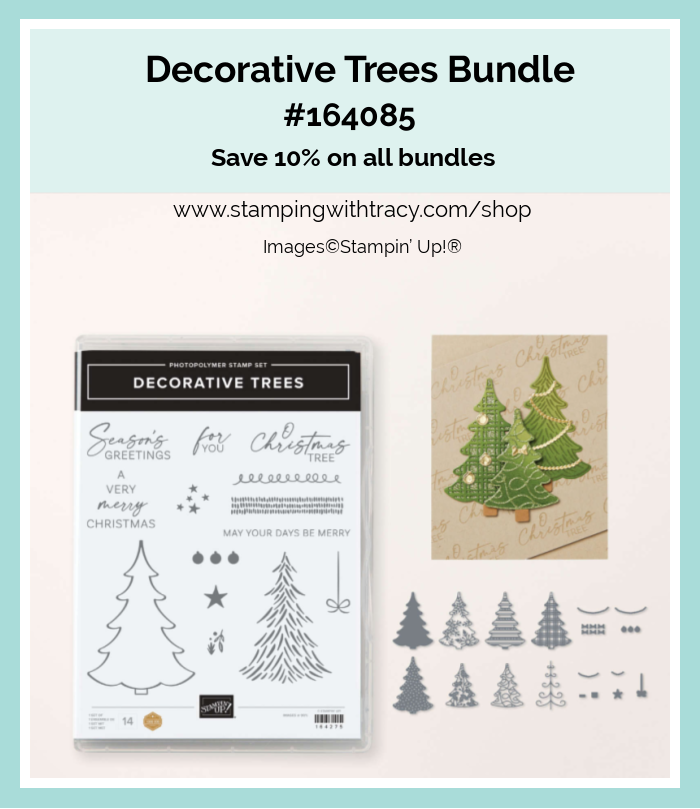
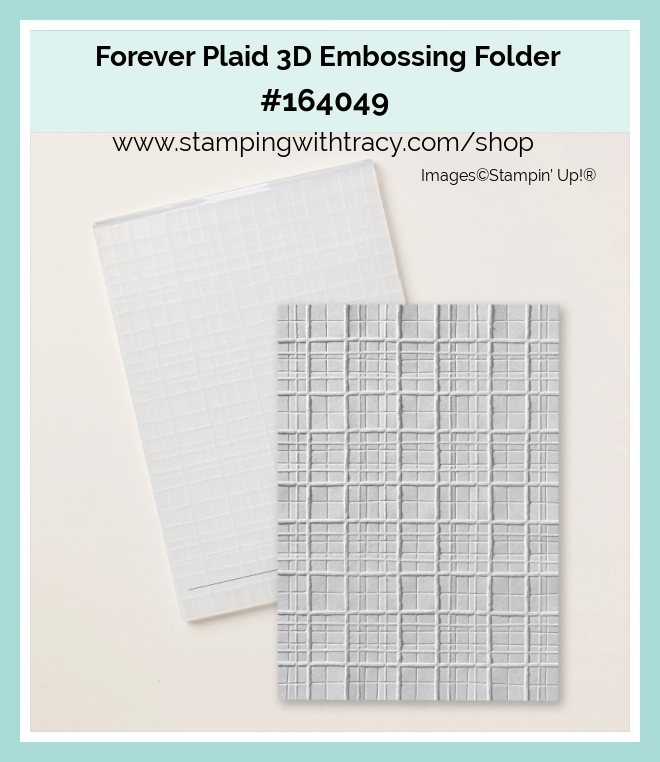
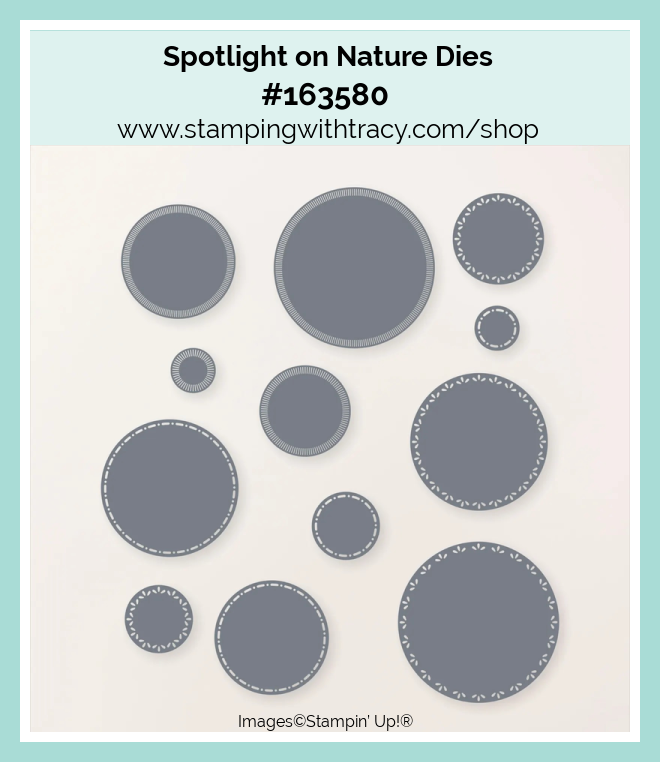
On to my card for today! I used the Decorative Trees Bundle, Forever Plaid 3D Embossing Folder, Reindeer Days Designer Series Paper (DSP), Spotlight on Nature Dies and our Festive Glimmer Paper.

I started with a piece of Real Red cardstock for the base of my card. Then, I cut two pieces of Basic White cardstock. I embossed one of them with the Forever Plaid 3D Embossing Folder and my Stampin’ Cut & Emboss Machine and adhered it to the front of the card. With the other one, I adhered it to the inside of the card.

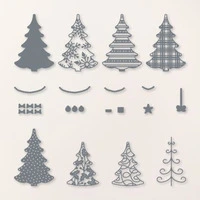
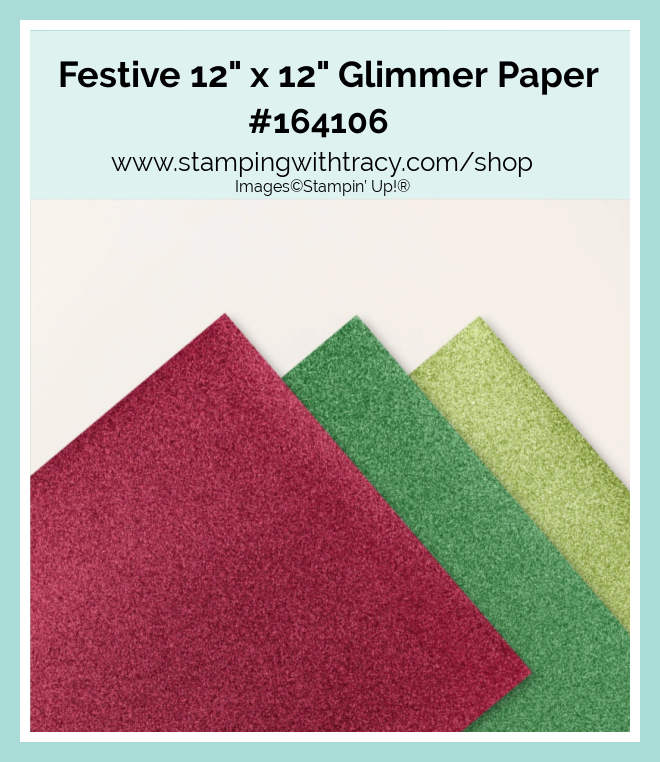
Next, I cut the solid tree in the Decorative Tree Dies in Garden Green cardstock and for the decorative one, I used Festive Glimmer Paper. I glued the trees together using Multipurpose Glue (I only put glue on the open parts of the decorative tree). I then cut two circles out of Reindeer Days DSP (both of the circles are the same size) using the Spotlight on Nature Dies. I adhered the circles to the front of the card but on the tree, I added Stampin’ Dimensionals and adhered the tree between the deer.


I stamped the sentiment onto Basic White cardstock using Real Red ink and the Decorative Trees stamp set. Then, I cut it down to size with my Paper Trimmer, then I adhered it to the front of the card. This was a fun card to make!
Supply List
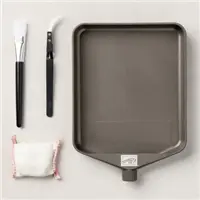
Below you’ll find all the Stampin’ Up! supplies I used for today’s card. If you need any stamping supplies, I’d love to be your demonstrator! You can place an order by clicking any of the images below to go to my Stampin’ Up! online store. The Specialty Plate is used with 3D Embossing Folders.
Measurements
- Real Red cardstock: 11” x 4-1/4” scored at 5-1/2” OR 8-1/2” x 5-1/2” scored at 4-1/4”; the only difference is how the card opens
- Basic White cardstock: (2) 5-1/4″ x 4″
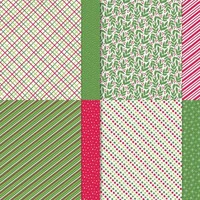
- Reindeer Days Designer Series Paper: approx. 3-3/4″ x 3-3/4″
- Reindeer Days Designer Series Paper: approx. 3-3/4″ x 3-3/4″
- Garden Green cardstock: scrap
- Festive Glimmer Paper: scrap
Special Release of Three Designer Series Papers Beginning December 3, 2024
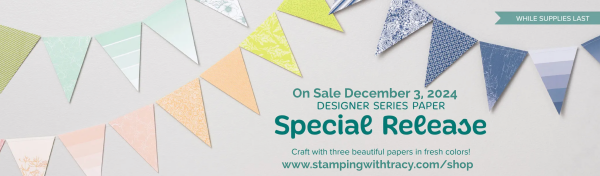
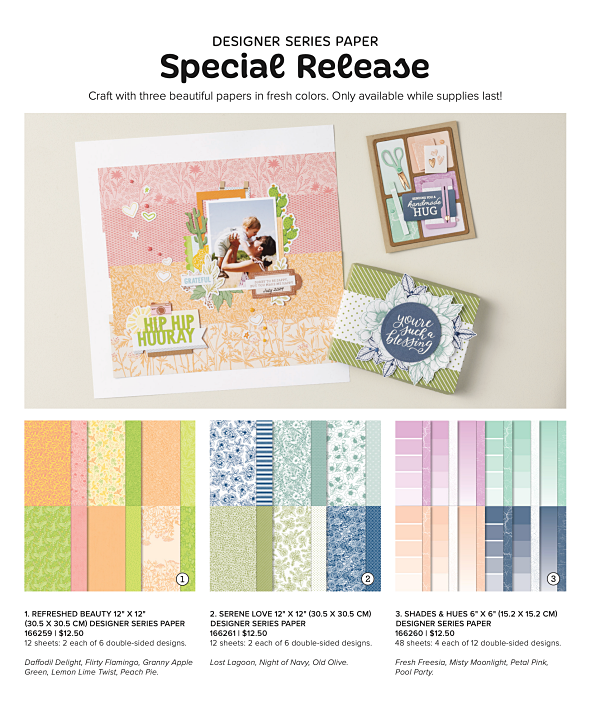
We’ve refreshed these previous Designer Series Papers using some of our best-selling colors!
- Serene Love is recolored from True Love.
- Refreshed Beauty is recolored from Blackberry Beauty.
- Shades & Hues is recolored from Color Theory.
- Available while supplies last.
- Click here for the flyer!
New Online Exclusives
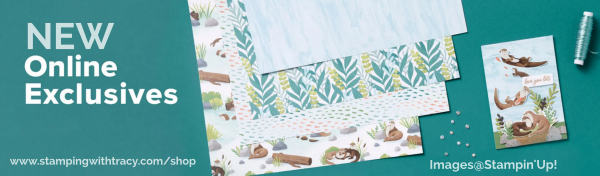
New Online Exclusives went live November 5th. Click here to see what’s new!
December Paper Pumpkin Kit – Subscribe by December 10th
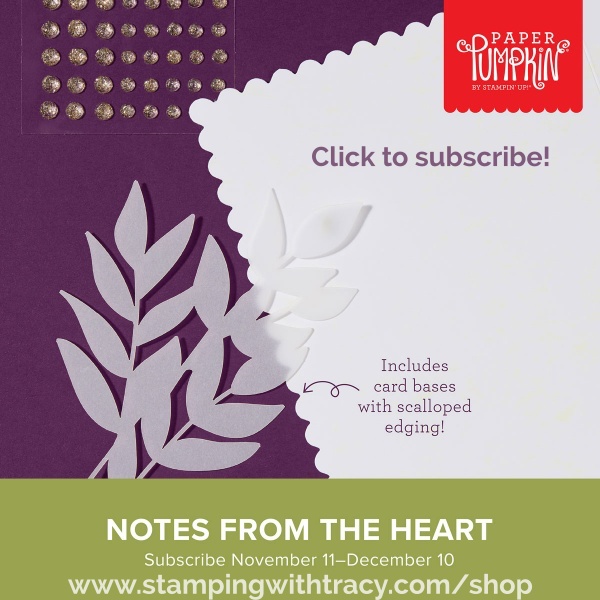
An additional coordinating add-on is available but only for Paper Pumpkin subscribers. Click the image below for more information.

Thanks for stopping by today!
by Tracy | Nov 27, 2024 | Christmas Card
Before sharing my card with you I want to let you know that my Annual Card Sampler PDF Sale starts today and runs through Monday, December 2, 2024! All of my Card Sampler PDFs are $5.95. See the details below.
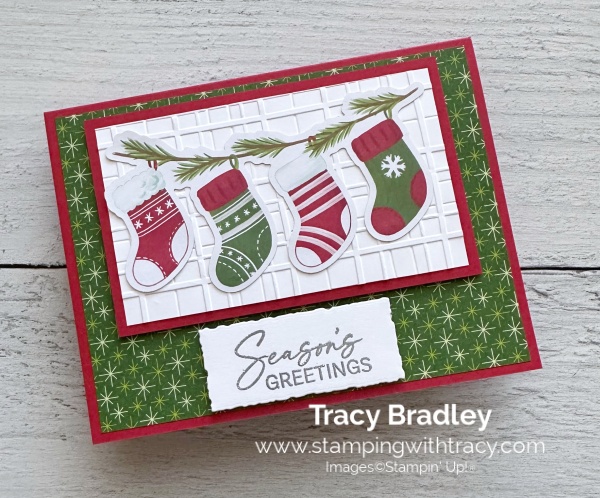
Now on to my card for today! I used Take a Bow Designer Series Paper, A Little Bit Festive Specialty Designer Series Paper, Decorative Trees stamp set, Deckled Rectangles Dies and the Forever Plaid 3D Embossing Folder.
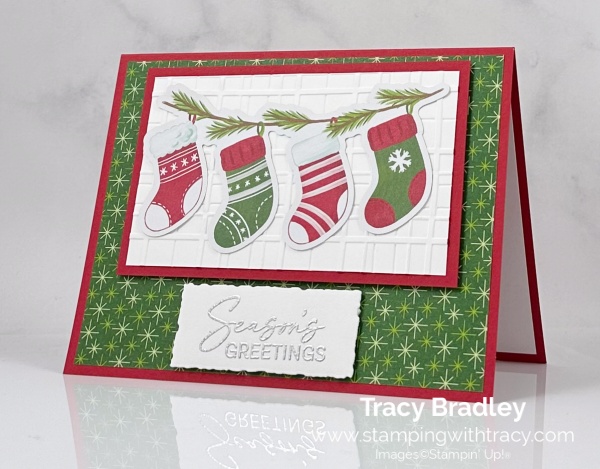
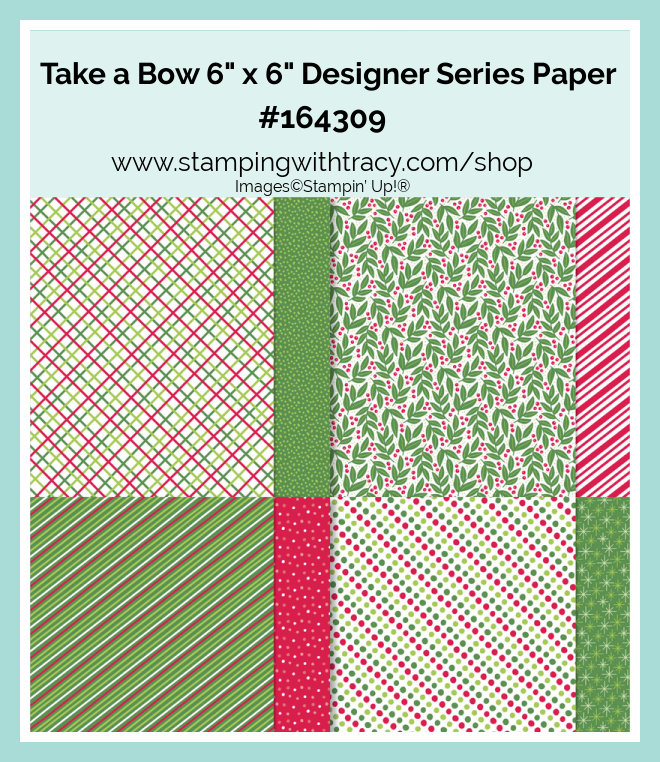
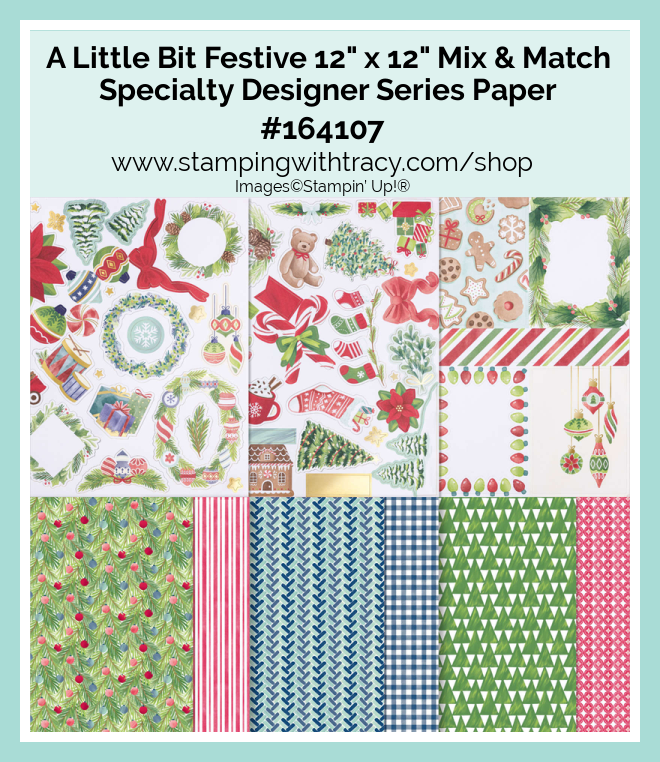
I started with a piece of Real Red cardstock for the base of my card. Then, I cut a piece of Take A Bow Designer Series Paper and adhered it to the front of the card. Next, I cut another piece of Real Red cardstock and a piece of Basic White cardstock that I embossed using the Forever Plaid 3D Embossing Folder. After I embossed the Basic White cardstock I adhered it to the front of the Real Red cardstock. I then used Multipurpose Glue to attach the stockings (the stockings are included in the A Little Bit Festive Specialty Designer Series Paper as a cut out) to the embossed Basic White cardstock, added Stampin’ Dimensionals to the back and adhered it to the front of the card.
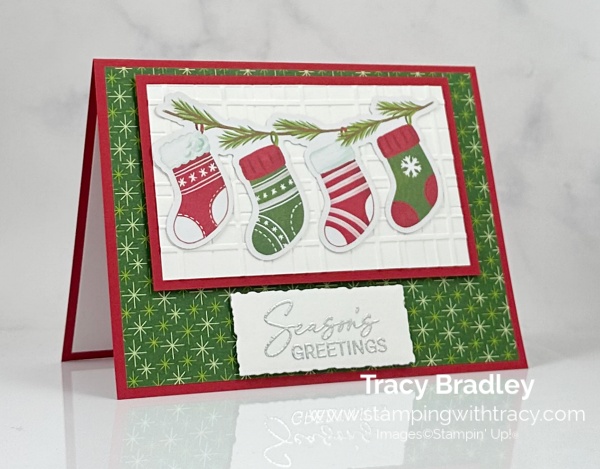
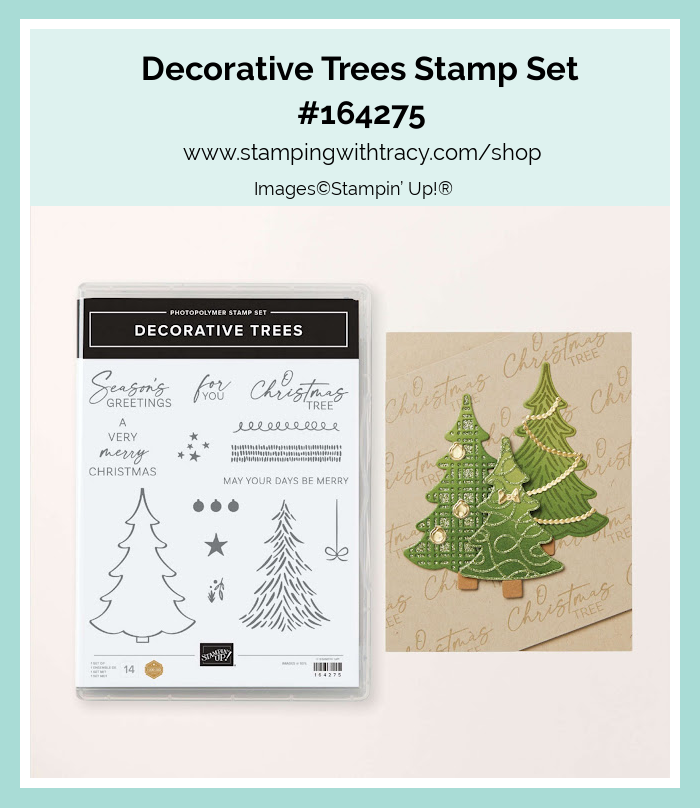
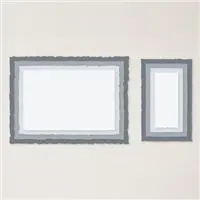
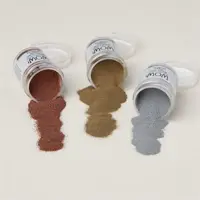
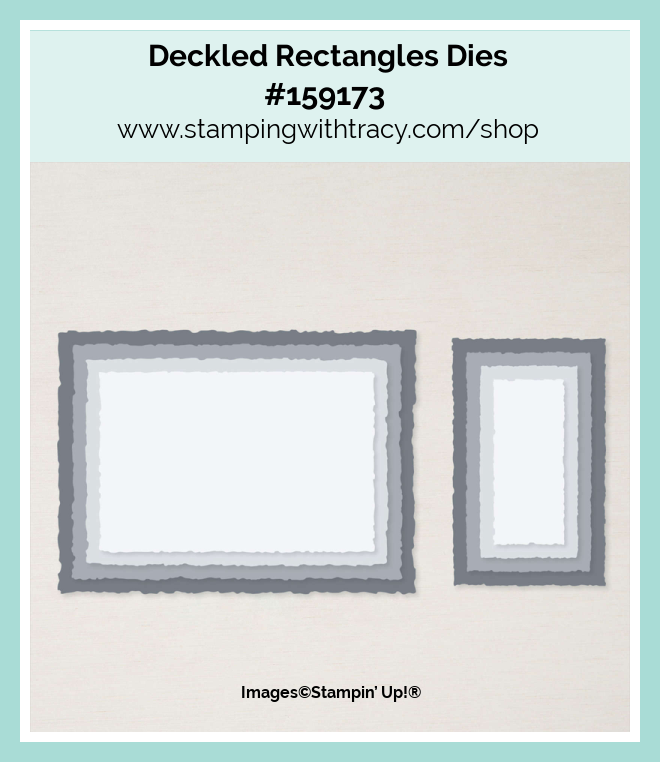
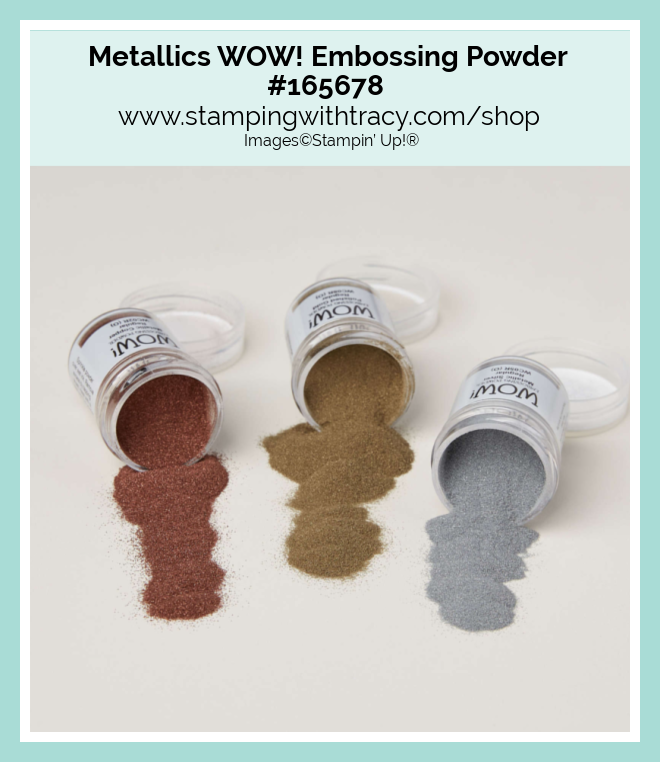
I embossed the sentiment using a Versamark pad, silver embossing powder and the Decorative Trees stamp set. Then, I cut it out using the Deckled Rectangles Dies. I added Stampin’ Dimensionals to the back and adhered it to the front of the card.
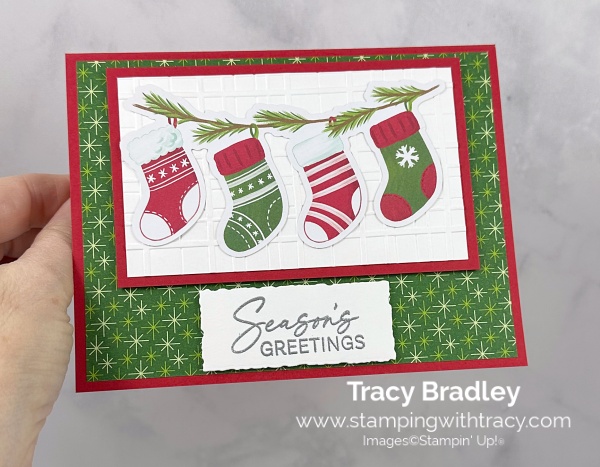
To complete my card, I added a piece of Basic White cardstock to the inside of the card.
Supply List
Below you’ll find all the Stampin’ Up! supplies I used for today’s card. If you need any stamping supplies, I’d love to be your demonstrator! You can place an order by clicking any of the images below to go to my Stampin’ Up! online store. The Specialty Plate is used with 3D Embossing Folders.
Bundle Alert: The Decorative Trees Bundle is available with a 10% savings rather than purchasing the products separately.
Measurements
- Real Red cardstock: 8-1/2″ x 5-1/2″
- Real Red cardstock: 4-1/2″ x 2-3/4″
- Take a Bow Designer Series Paper: 5-1/4″ x 4″
- A Little Bit Festive Designer Series Paper: stockings (die cut)
- Basic White cardstock (sentiment): scrap
- Basic White cardstock (embossed): 4-1/4″ x 2-1/2″
- Basic White cardstock (inside card): 5-1/4″ x 4″
Special Release of Three Designer Series Papers Beginning December 3, 2024
- We’ve refreshed these previous Designer Series Papers using some of our best-selling colors!
- Serene Love is recolored from True Love.
- Refreshed Beauty is recolored from Blackberry Beauty.
- Shades & Hues is recolored from Color Theory.
- Available while supplies last.
- Click here for the flyer!
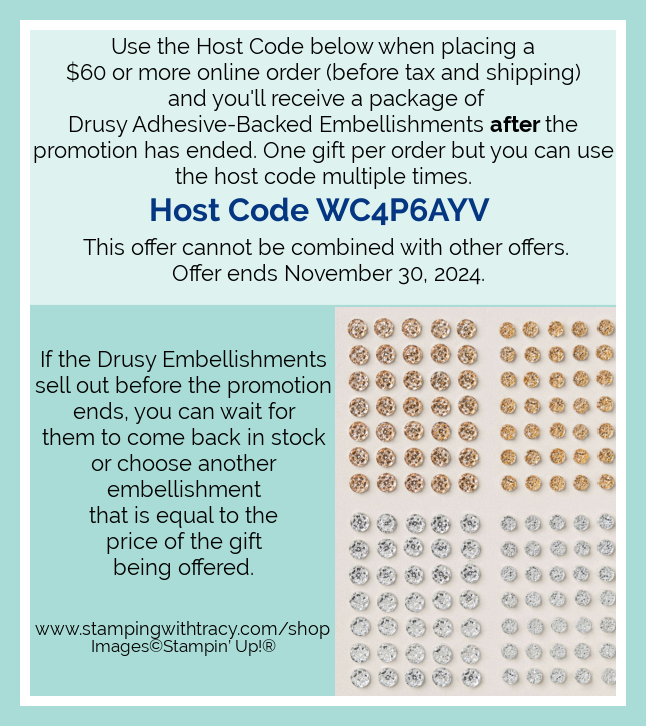
Free Drusy Adhesive-Backed Embellishments with an Order of $60 Using the Host Code

New Online Exclusives
New Online Exclusives went live November 5th. Click here to see what’s new!
Two New Stampin’ Up! Kits!
Click each graphic for more information!
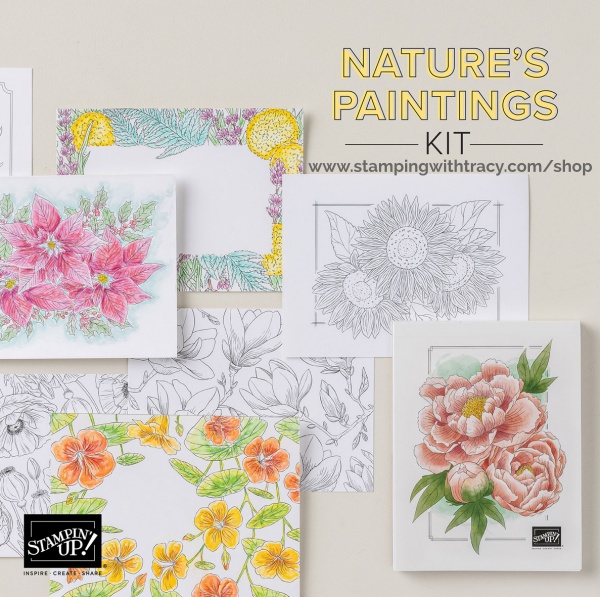
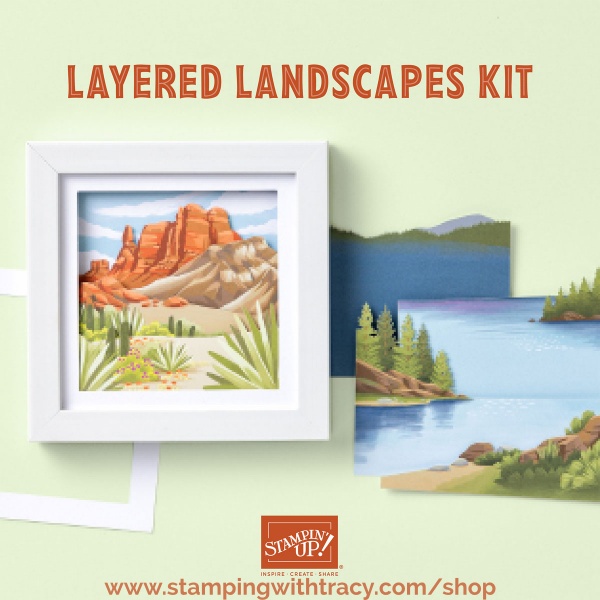
December Paper Pumpkin Kit
An additional coordinating add-on is available but only for Paper Pumpkin subscribers. Click the image below for more information.
I hope you have a wonderful day and a Happy Thanksgiving!!
by Tracy | Nov 25, 2024 | Christmas Card
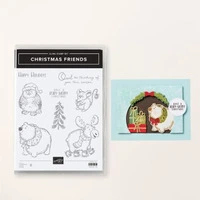
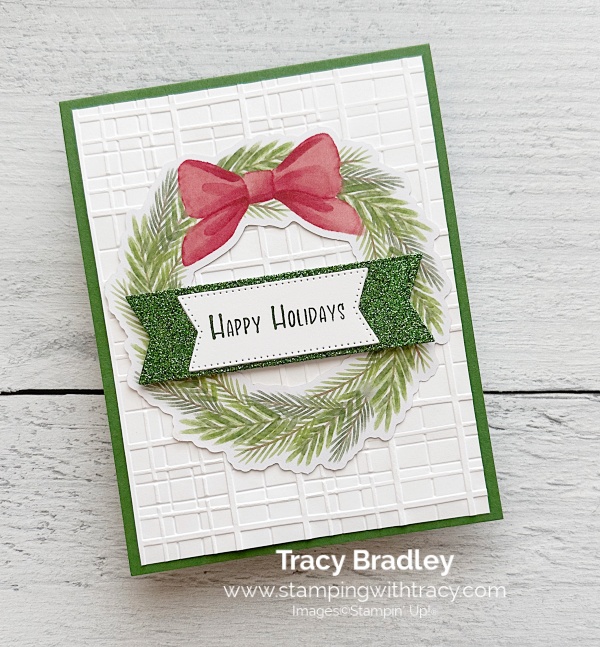
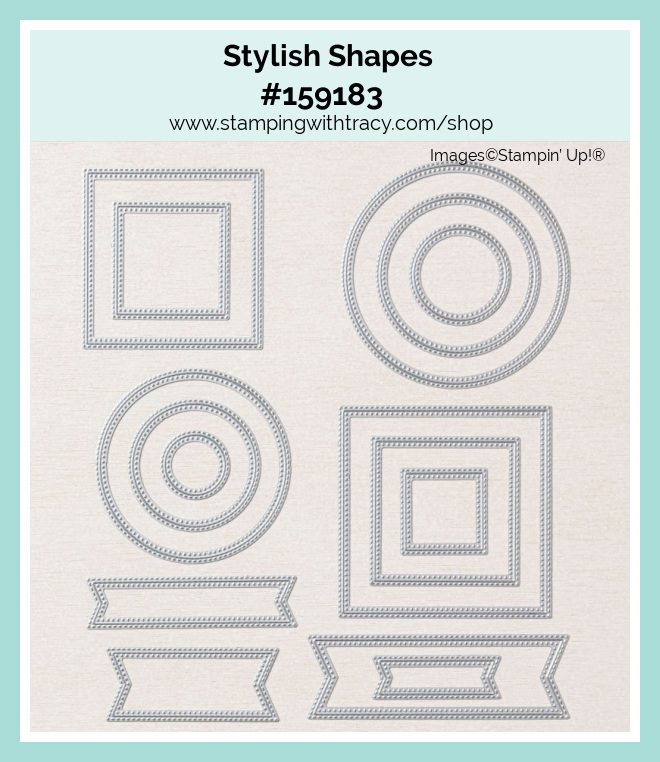
The card I’m sharing with you today was made using Stampin’ Up! A Little Bit Festive Designer Series Paper, Christmas Friends stamp set, Stylish Shapes Dies, Festive 12″ x 12″ Glimmer Paper and the Forever Plaid 3D Embossing Folder.
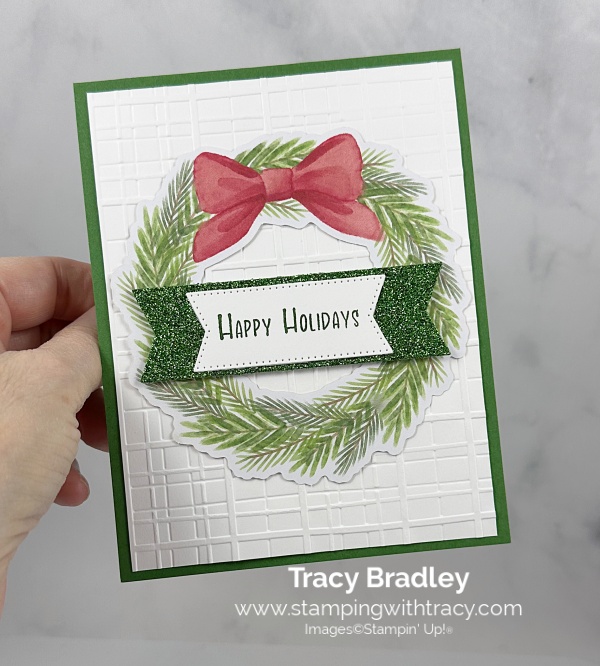
I started with a piece of Garden Green cardstock for the base of my card. Then, I embossed a piece of Basic White cardstock using the Forever Plaid 3D Embossing Folder and my Cut & Emboss Machine. Next, I adhered the embossed cardstock to the front of the card.
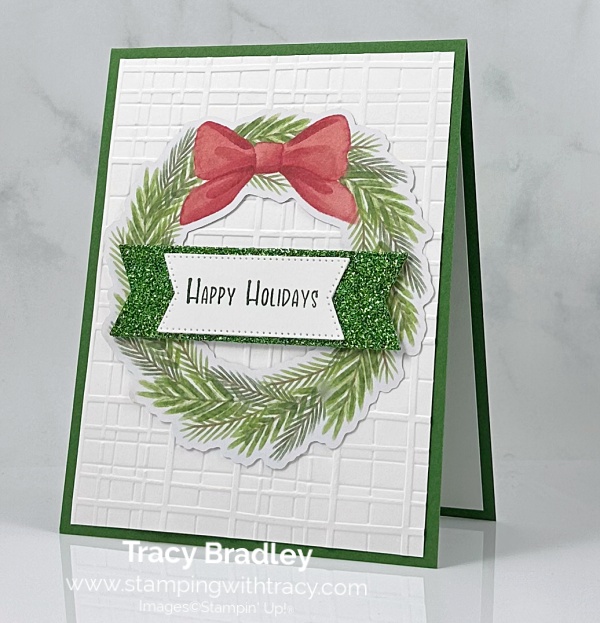
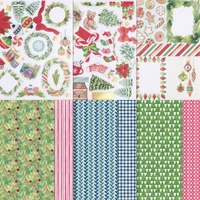
Did you know Stampin’ Up! A Little Bit Festive Designer Series Paper comes with cut outs? My wreath is a cut out! After I punched the wreath out, I adhered it to the front of the card. I used our Festive Glimmer Paper to cut a banner using the Stylish Shapes Dies.
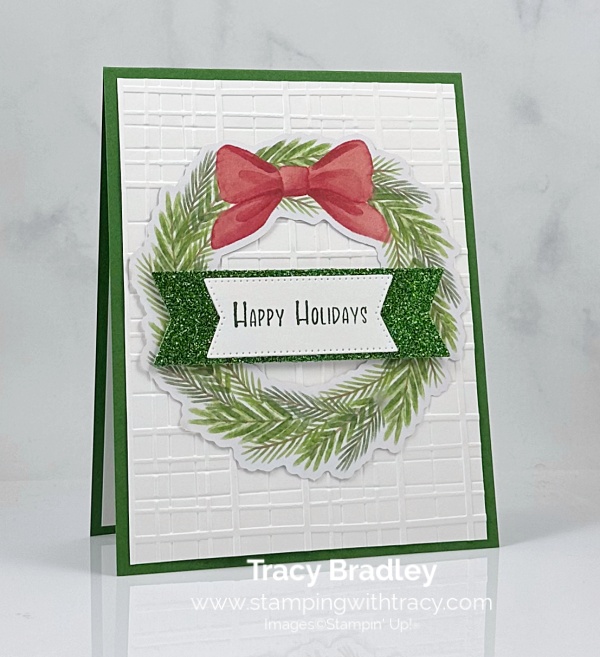
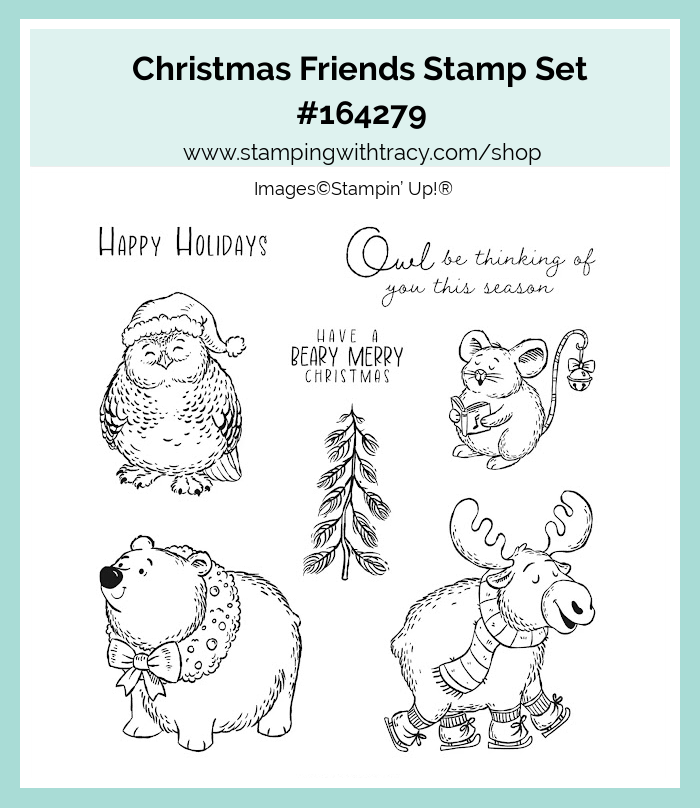
I stamped the sentiment onto Basic White cardstock using Garden Green ink and the stamp set, Christmas Friends. Then, I cut it out using the smaller banner in the Stylish Shapes Dies. I adhered the sentiment to the Glimmer Paper and then added Stampin’ Dimensionals to the back of the Glimmer Paper and adhered it to the wreath.
To complete my card, I added a piece of Basic White cardstock to the inside of the card.
Supply List
Below you’ll find all the Stampin’ Up! supplies I used for today’s card. If you need any stamping supplies, I’d love to be your demonstrator! You can place an order by clicking any of the images below to go to my Stampin’ Up! online store. The Specialty Plate is used with 3D Embossing Folders.
Measurements
- Garden Green cardstock: 11” x 4-1/4” scored at 5-1/2” OR 8-1/2” x 5-1/2” scored at 4-1/4”
- Basic White cardstock: (2) 5-1/4″ x 4″
- Basic White cardstock (sentiment): scrap
- Garden Green Glimmer Paper: scrap
- A Little Bit Festive Designer Series Paper: wreath
Free Drusy Adhesive-Backed Embellishments with an Order of $60 Using the Host Code
New Online Exclusives
New Online Exclusives went live November 5th. Click here to see what’s new!
Two New Stampin’ Up! Kits!
Click each graphic for more information!
December Paper Pumpkin Kit
An additional coordinating add-on is available but only for Paper Pumpkin subscribers. Click the image below for more information.
I hope you have a wonderful day!
by Tracy | Nov 21, 2024 | Christmas Card
Before sharing my card with you, because it’s my birthday today, I’m going to offer Double Bradley Points for today only, November 21st! You can earn free products when you earn 10 Bradley Points! You earn Bradley Points with every $50 purchase!
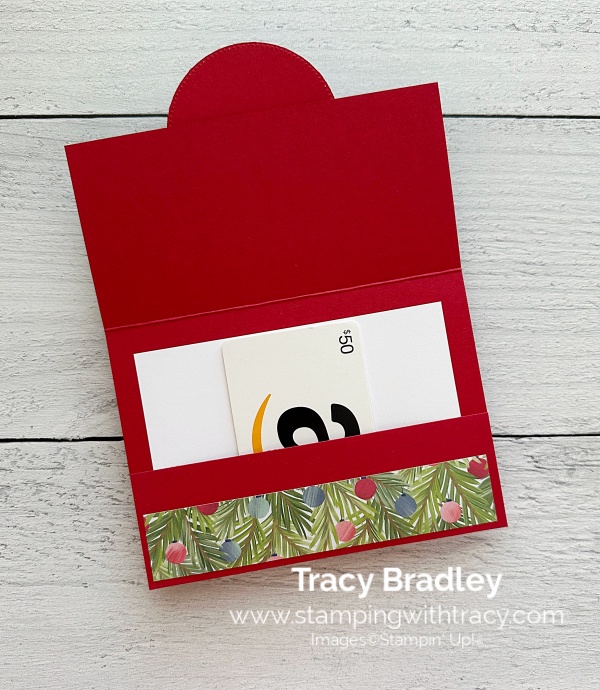
The card I’m sharing today was made using Stampin’ Up! A Little Bit Festive Specialty Designer Series Paper, the Decorative Trees stamp set and Stylish Shapes Dies. I’ve created a pocket where you can insert a gift card and note or just a note.
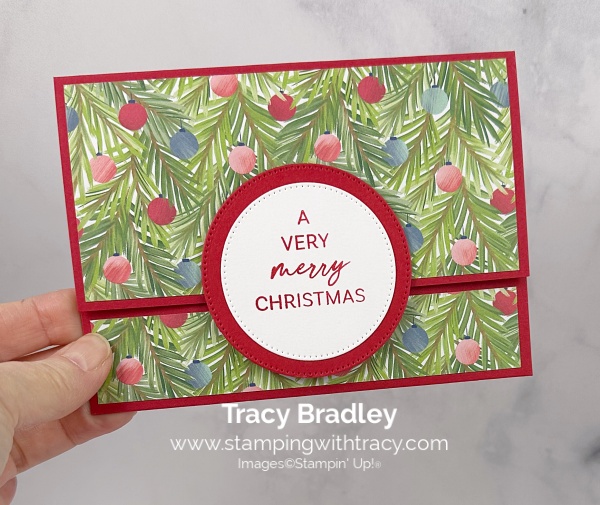
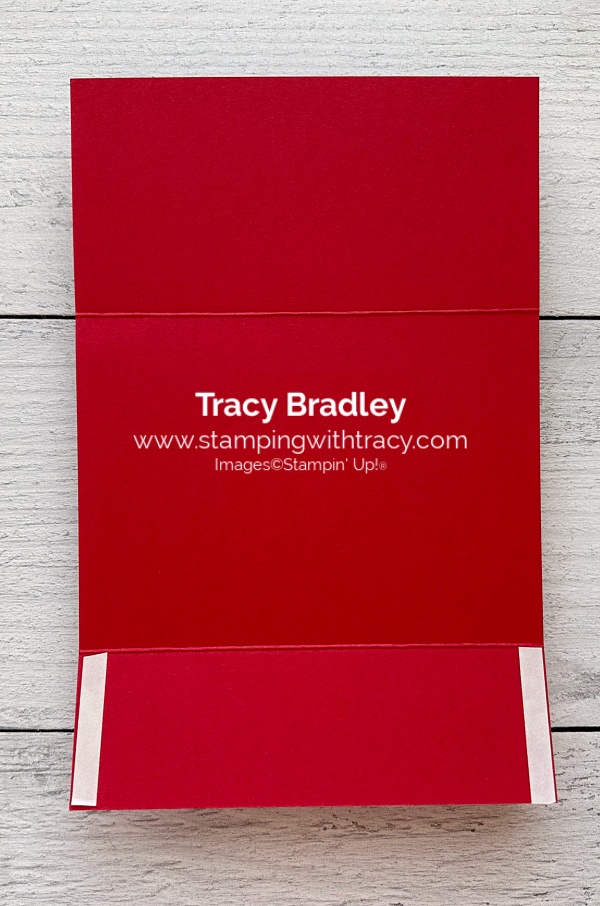
I started with a piece of Real Red cardstock for the base of my card. I scored it in two places (you can see the measurements I used below the Supply List) and then used my bone folder to burnish the score lines. On the smaller end (you can see the picture below), I added a strong adhesive, such as Tear & Tape, to both ends and folded up to create the pocket.

I added A Little Bit Festive Designer Series Paper to the top portion on the front and then shut the card so I could apply the bottom part. I cut a piece of Basic White cardstock to put in the pocket and adhered a strip of A Little Bit Festive Designer Series Paper. I will give you the measurements of the exact size but I like to cut it a bit longer than I need and then trim it off.

I stamped the sentiment in Real Red ink onto Basic White cardstock using the Decorative Trees stamp set. I cut the sentiment out using the Stylish Shapes Dies and then cut the next larger circle out of Real Red cardstock. I adhered the sentiment to the Real Red circle, added Stampin’ Dimensionals to the back, on only the upper part, and then adhered it to the upper flap.
Supply List
Below you’ll find all the Stampin’ Up! supplies I used for today’s card. If you need any stamping supplies, I’d love to be your demonstrator! You can place an order by clicking any of the images below to go to my Stampin’ Up! online store.
Bundle Alert: The Decorative Trees Bundle is available with a 10% discount rather than buying the products separately.
Measurements
- Real Red cardstock: 8-1/2″ x 5-1/2″ score at 2-3/4″ x 6-3/4″
- Real Red cardstock (underneath sentiment): scrap
- Basic White cardstock (in pocket): 4-3/4″ x 3-1/2″
- Basic White cardstock (sentiment): scrap
- A Little Bit Festive Designer Series Paper: 5-1/4″ x 2-1/2″
- A Little Bit Festive Designer Series Paper: 5-1/4″ x 1″
Free Drusy Adhesive-Backed Embellishments with an Order of $60 Using the Host Code
New Online Exclusives
New Online Exclusives went live November 5th. Click here to see what’s new!
Two New Stampin’ Up! Kits!
Click each graphic for more information!
December Paper Pumpkin Kit
An additional coordinating add-on is available but only for Paper Pumpkin subscribers. Click the image below for more information.
Thanks for stopping by today!
by Tracy | Nov 20, 2024 | Card Sampler
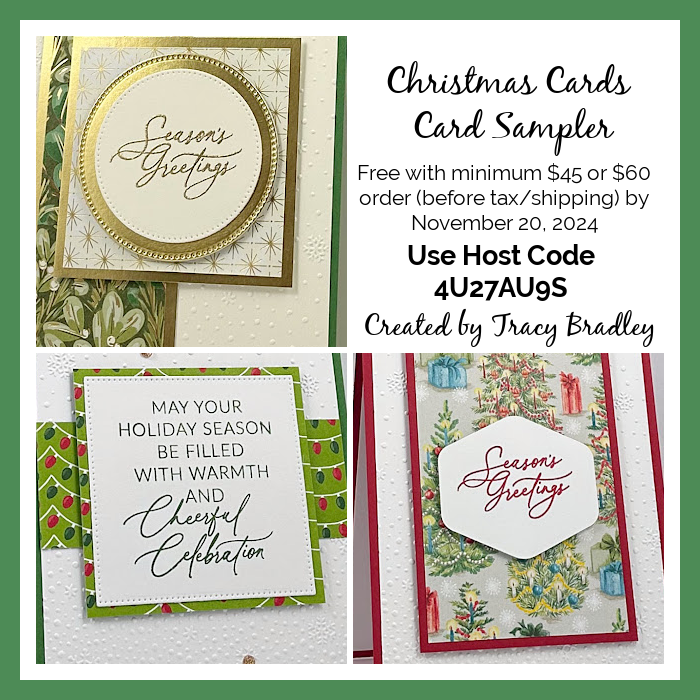
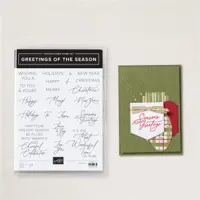
My Christmas Cards Card Sampler is available but only until the end of today! When you use the host code 4U27AU9S and your order is a minimum of $45 or $60 (before shipping/tax), I’ll send you one each of three different cards if your order is $45 (up to $59.99) or I’ll send you two each of three different cards when your order is $60 or more. To create this card sampler, I used the Greetings of the Season stamp set, Sentimental Christmas Designer Series Paper, Reindeer Days Designer Series Paper and Season of Green & Gold Designer Series Paper.
Here’s What You’ll Receive:
- All the paper and embellishments needed to make three or six cards. Envelopes will also be provided. For this Sampler you only need to provide a stamp set, ink and adhesive (see below for what you’ll need).
- A PDF Tutorial with instructions, pictures, cutting measurements and a complete supply list of all the products used.
- Earn at least one Bradley Point (earn ten Bradley Points and redeem them for free product) when your order is $50 or more.
- If your order is over $150, please do not use the host code or you won’t receive your Stampin’ Rewards. After you place your order, simply email me and let me know that you’d like the Greetings of the Season Card Sampler (you only need to do this if your order is over $150). You can send me an email on the sidebar.
All the Other Important Information:
- Your Christmas Cards Card Sampler Sampler will be shipped first-class mail approximately November 30, 2024 and will be mailed to the address used on your online order.
- You’ll receive an email when I mail your Card Sampler and the PDF Tutorial will be included in that email.
- When using the Christmas Cards Card Sampler host code to place your order, you will not qualify for other current host code rewards.
- Per Stampin’ Up! policy, card samplers can only be mailed within the United States.
You’ll receive all the materials to make three or six cards. You’ll quickly have beautiful cards ready to be mailed out to someone special. If you can’t make the cards once they arrive, no worries, each card is labeled in its own clear envelope which makes it easy to come back to later. Once you’ve made all the cards in the Sampler, you’ll be able to easily replicate each card by following the easy to follow directions in the PDF (pictures are included as well).
The special Christmas Cards Card Sampler HOST CODE will close at the end of today, November 20, 2024 and after today, the Card Sampler will no longer be available.
Approximate ship date of the Card Sampler is November 30, 2024.

Click here to place an order
Supplies Needed To Create the Card Sampler
Listed below are the supplies you’ll need to complete the cards exactly as shown (or you can use what you already own). Simply click any of the products and you’ll be taken to my Stampin’ Up! online store. When placing your order, don’t forget to use the special Card Sampler Host Code (please do not use host code if your order is over $150 – see above).
Please note: One of the sentiments is embossed with Gold Embossing Powder. If you don’t want to emboss the sentiment you can use Garden Green ink.
Click here to place an order
If you aren’t sure how to use a host code, click here!
Free Drusy Adhesive-Backed Embellishments with an Order of $60 Using the Host Code
New Online Exclusives
New Online Exclusives went live November 5th. Click here to see what’s new!
Two New Stampin’ Up! Kits!
Click each graphic for more information!
December Paper Pumpkin Kit
An additional coordinating add-on is available but only for Paper Pumpkin subscribers. Click the image below for more information.
Thanks for stopping by today!