by Tracy | Dec 1, 2025 | Christmas Card
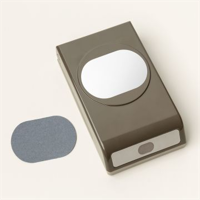
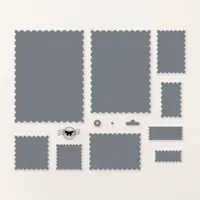
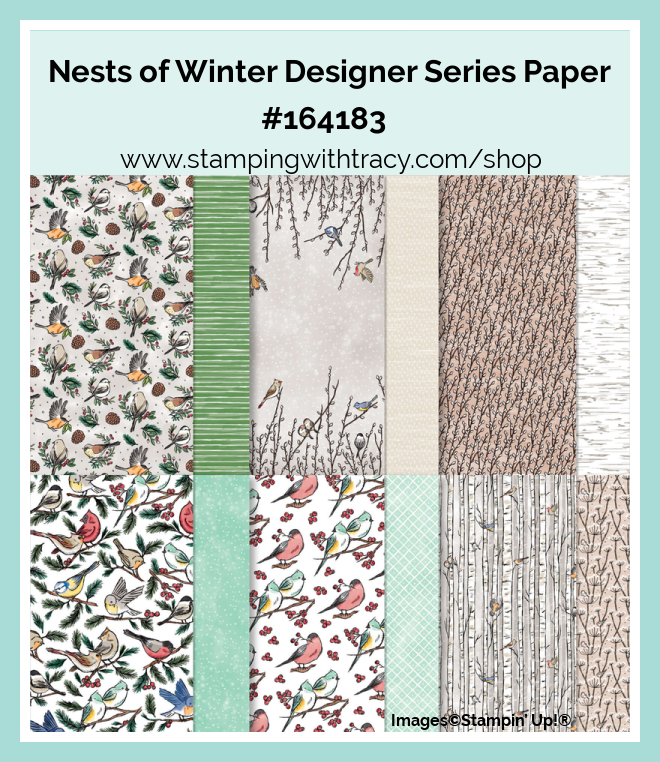
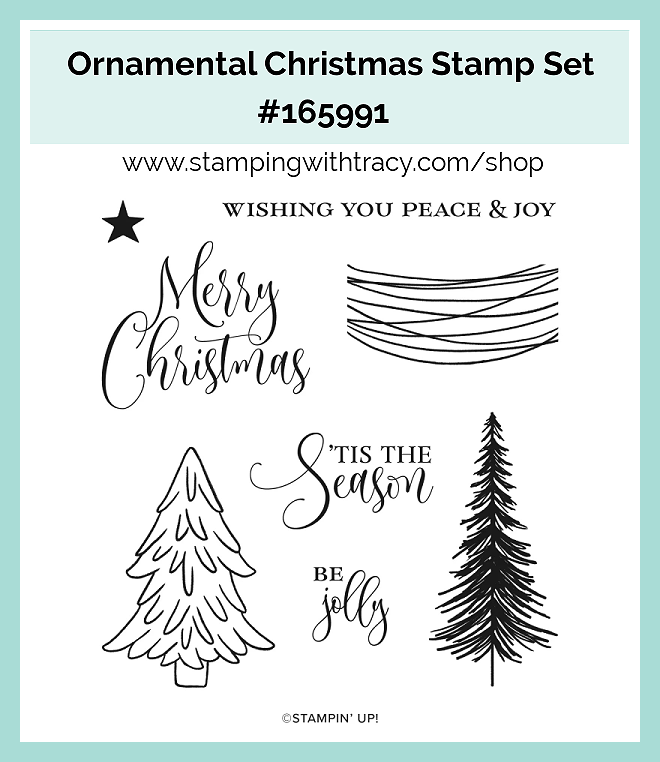
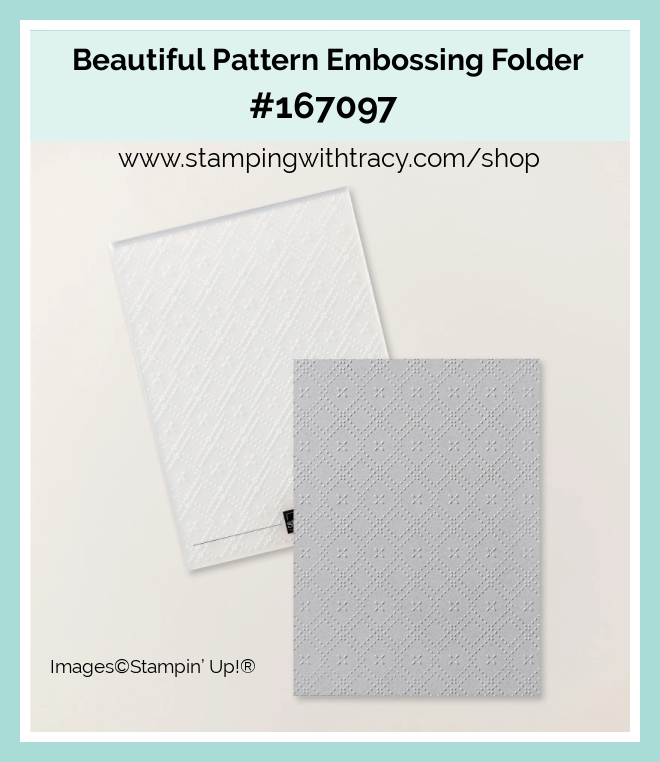
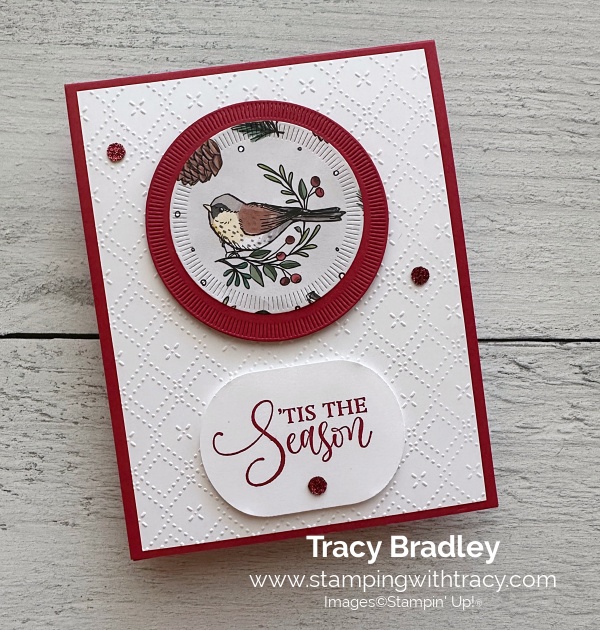
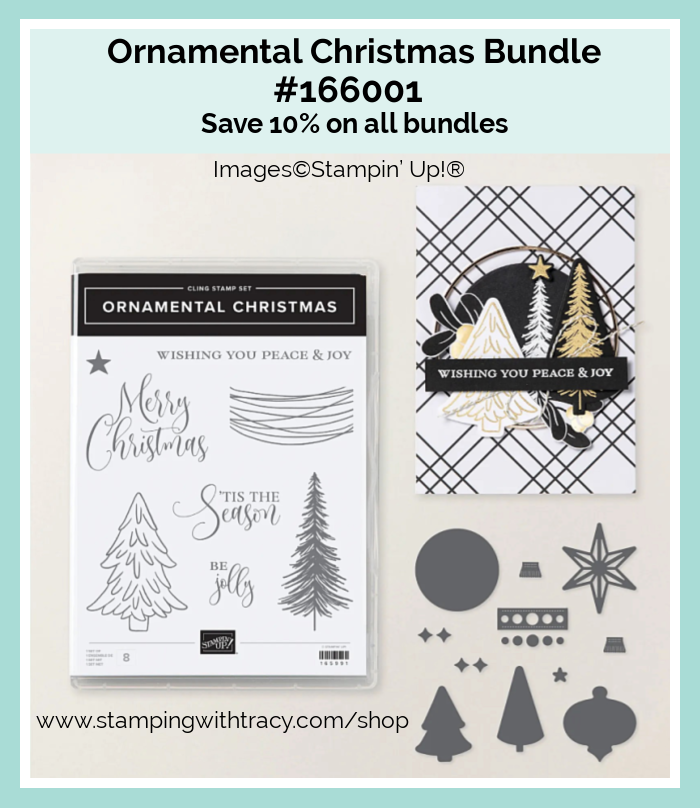
I’m sharing a card with you today that uses the Nests of Winter Designer Series Paper, Ornamental Christmas Stamp Set (an Online Exclusive), the Spotlight on Nature Dies (an Online Exclusive), the Modern Oval Punch, Beautiful Pattern Embossing Folder (an Online Exclusive), and the Traditional Sparkling Sequins.
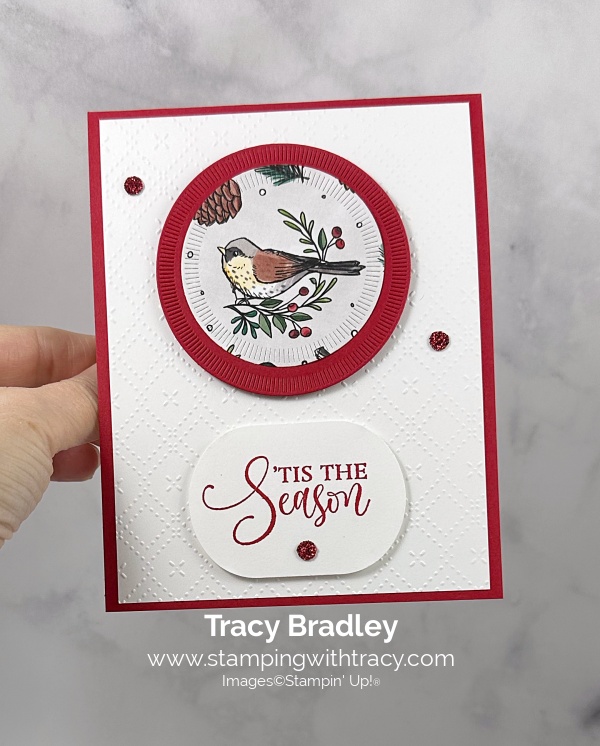
I started off with a piece of Real Red cardstock for the base of my card. Next, I embossed a piece of Basic White cardstock using the Beautiful Pattern Embossing Folder and my Stampin’ Cut & Emboss Machine. Then, I adhered the embossed cardstock to the front of the card.
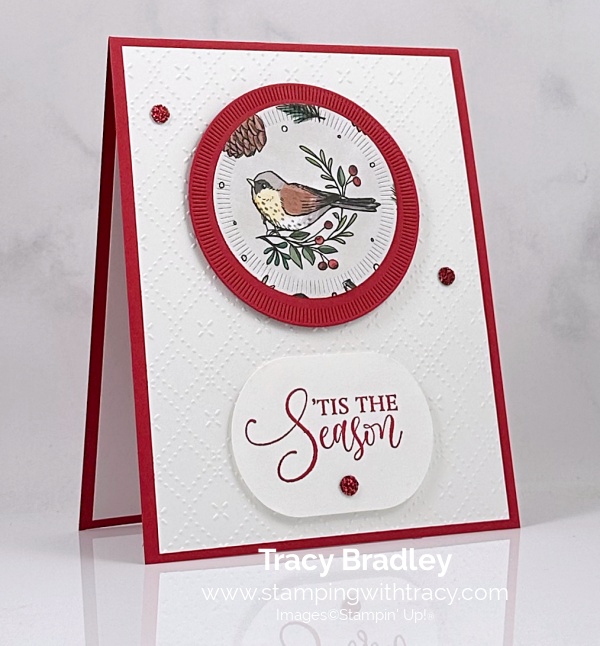
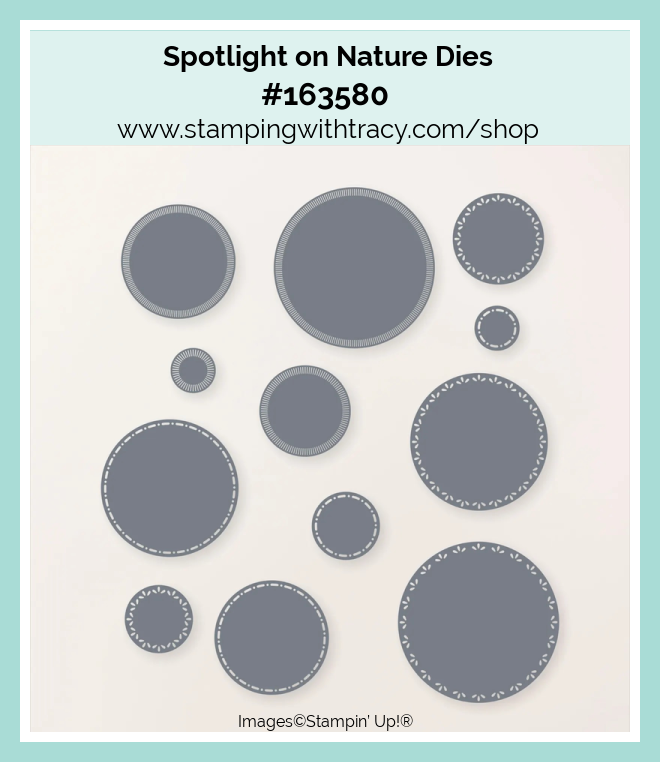
I cut another piece of Real Red cardstock using the Spotlight on Nature Dies and I cut the Nests of Winter Designer Series Paper also using the Spotlight on Nature Dies. I adhered the bird to the Real Red cardstock circle. Then, I added Stampin’ Dimensionals to the back and adhered it to the front of the card.
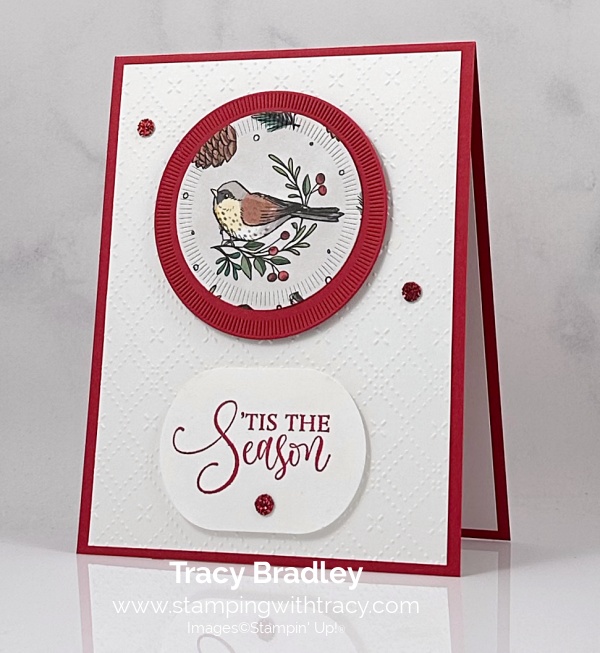
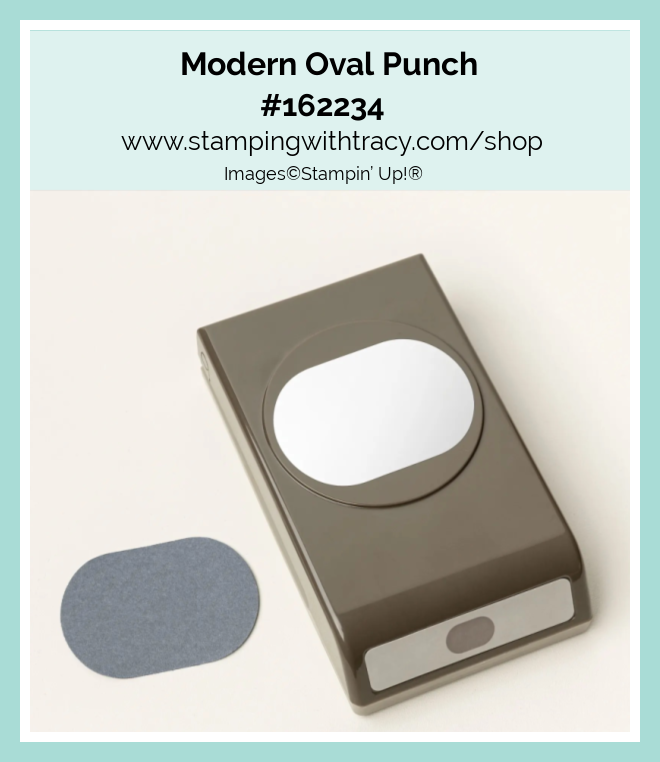
I stamped the sentiment onto Basic White cardstock using the Ornamental Christmas Stamp Set in Real Red ink. Then, I punched the sentiment out using the Modern Oval Punch. I adhered Stampin’ Dimensionals to the back and adhered it to the card front.
To complete my card, I added a piece of Basic White cardstock to the inside and added two Traditional Sparkling Sequins to the embossed cardstock and one to the sentiment.

Supply List
Below you’ll find all the Stampin’ Up! supplies I used for today’s card. If you need any stamping supplies, I’d love to be your demonstrator! You can place an order by clicking any of the images below to go to my Stampin’ Up! online store. I’m sorry but we have a lot of “not available” on the sale items.
- Basic White cardstock is unavailable at this time.
- Paper Trimmer is unavailable at this time.
- Multipurpose Glue is unavailable at this time.
- Stampin’ Dimensionals are available at the sale price!
Sale: $11.90
Price: $14.00
Sale: $16.80
Price: $28.00
Bundle Alert: The Ornamental Christmas Bundle is available with a 10% discount rather than buying the products separately.
Measurements
- Real Red cardstock: 4-1/4″ x 11″ scored at 5-1/2″
- Real Red cardstock (circle): approximately 3″ x 3″
- Basic White cardstock (inside and embossed): (2) 4″ x 5-1/4″
- Nests of Winter Designer Series Paper (bird): approximately 2-1/2″ x 2-1/2″
- Basic White cardstock (sentiment): I’m not going to give a measurement for this. It’s best you stamp the sentiment and the punch it out, this way you’ll have something to hold onto.
Black Friday Sale Happening Now- This is the Final Day for the Sale
Stampin’ Up! is having a Black Friday Sale and all products are while supplies last! Click here to shop the sale or click the graphic below!

Product of the Month – Starts December 2, 2025

A fun new promotion, for anyone who loves exclusive goodies. Each month, a single product of the month will be released. These items won’t be in any catalog or on the Online Exclusives page on the Stampin’ Up! website. Stock is limited, so once a Product of the Month sells out, it’s gone for good. Make sure if you like the Product of the Month, to snag your Product of the Month early!
Product of the Month Details
- A brand new product releases near the start of each month.
- You must have a Stampin’ Up online account to participate.
- Add the Product of the Month after your cart reaches $75+. You can purchase the Product of the Month for just $5!
- Limit 1 per Stampin’ Up! account.
Click here to see the flyer with all the important information.
Online Exclusives – November 2025
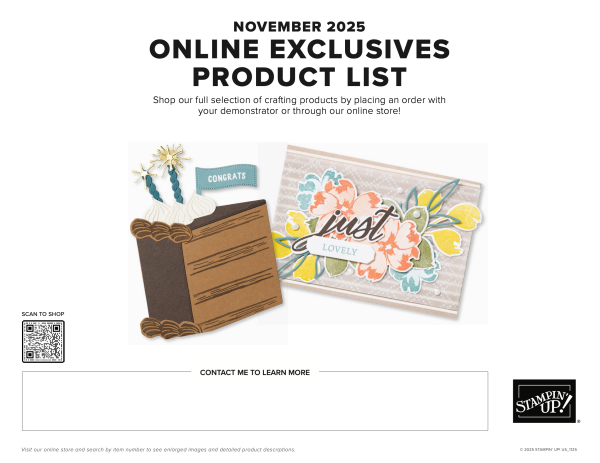
Click the graphic below to access the November 2025 Online Exclusives Product List! Stampin’ Up! has made a printable flyer and they’ve made it much easier to shop the new products! You won’t find Online Exclusives in any catalog, they’ll be listed in the Online Store. Click here to shop Online Exclusives.
Cyber Monday Paper Pumpkin Sale From December 1-9 – Starts Today!

Promotion Details:
Starting December 1 at 8 a.m. (MT), we’re offering big savings on prepaid Paper Pumpkin subscriptions! There’s never been a better time to subscribe to get a new all-inclusive crafting kit delivered to your door each month. Take advantage of this Cyber Monday offer for fantastic deals on 3-, 6-, and 12-month prepaid subscriptions.
Whether you’re looking for a last-minute Christmas present that sparks creativity or resolving to make time to craft in the new year, a Paper Pumpkin subscription is the gift that keeps on giving.
- From December 1–9, prepaid Paper Pumpkin subscriptions will be discounted as follows:
- 3-month prepaid: $61.00 (regular price $81.00)
- 6-month prepaid: $122.00 (regular price $162.00)
- 12-month prepaid: $244.00 (regular price $324.00)
This offer ends on December 9 at 11:59 p.m. (MT).
Offer Details
- Subscriptions purchased during this start immediately with the December in Bloom Watercolor Kit. This kit cannot be skipped.
- Do not purchase multiple subscriptions for the same recipient. The subscription will start with the Watercolor in Bloom Kit, so the recipient will end up receiving duplicates of the same kit each month
- Subscriptions purchased during the promotion will earn reduced rewards compared to full-priced subscriptions due to the discounted price, but they will still qualify for rewards once the threshold is met.
Don’t miss your chance to enjoy months of exciting kits at an incredible value! Stop by the Paper Pumpkin page, here, for more details about how Paper Pumpkin works and get ready to order your prepaid subscription on December 1, 2025!
Last Chance Products

Click here to go straight to the Last Chance Products page on the Stampin’ Up! site! Some products are discounted! More products were added on October 1, 2025!
Stampin’ Up! Kits – We Have Two New Kits!
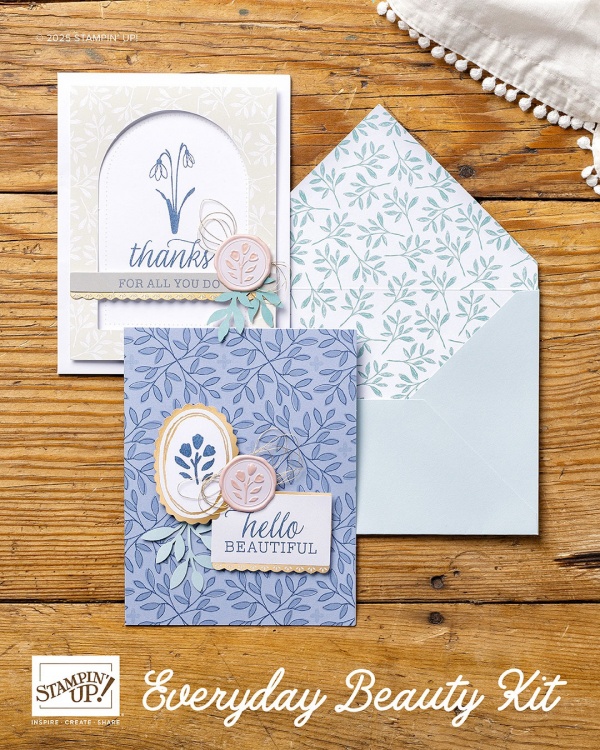
Click the graphics below for information about the kits! The Everyday Beauty Kit is on the Low Inventory List!
Thanks for stopping by today! Enjoy your day!
by Tracy | Nov 28, 2025 | Christmas Card
I hope you all had a very Happy Thanksgiving yesterday!
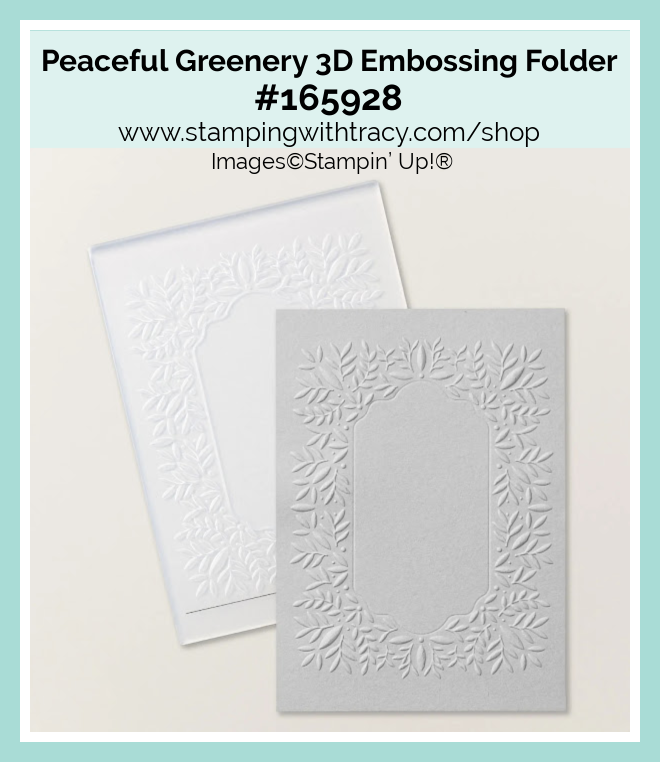
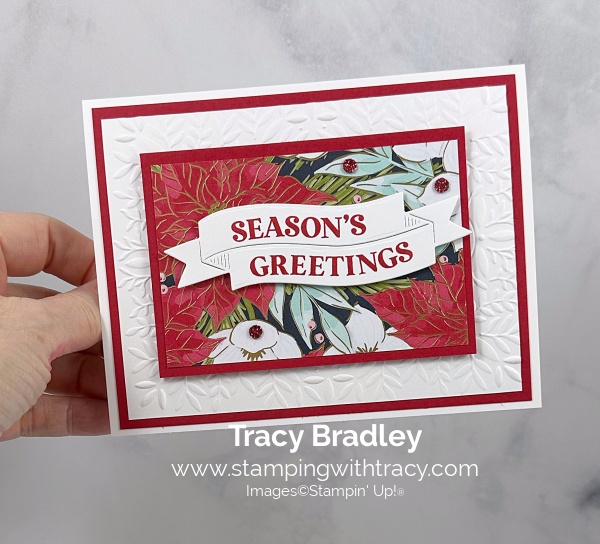
The card I’m sharing with you today was made with the Traditional Labels Bundle, Traditions of Christmas Specialty Designer Series Paper, Peaceful Greenery 3D Embossing Folder and Traditional Sparkling Sequins. You can see another card using this same layout, from September here.
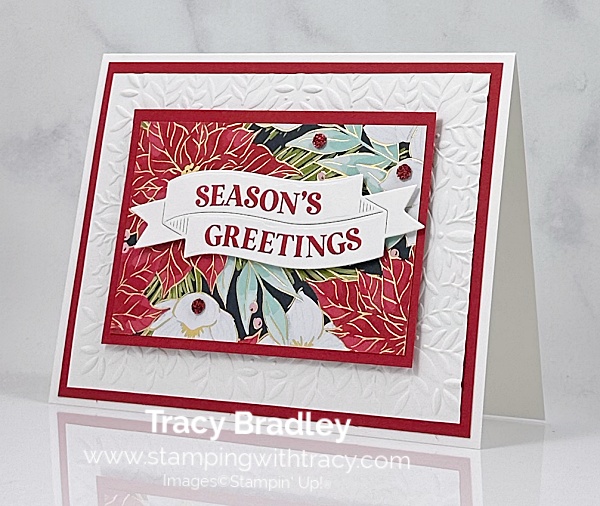

I started off with a piece of Thick Basic White cardstock for the base of my card, Next, I embossed a piece of Basic White cardstock using the Peaceful Greenery 3D Embossing Folder and my Stampin’ Cut & Emboss Machine. Then, I layered that onto a piece of Real Red cardstock and adhered it to the front of the card.
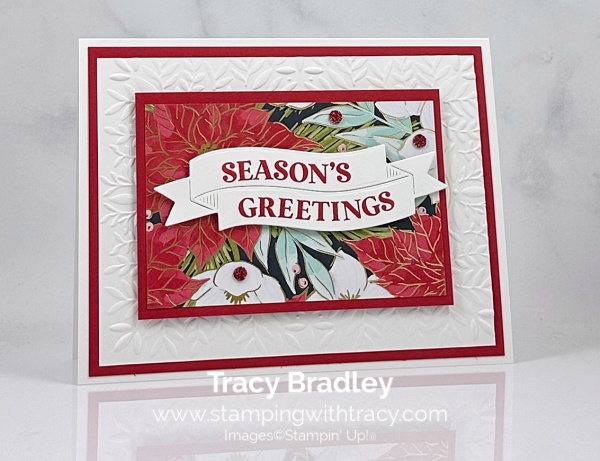

I layered a piece of Traditions of Christmas Specialty Designer Series Paper onto a piece of Real Red cardstock. Then, I added Stampin’ Dimensionals to the back and adhered it to the front of the card.
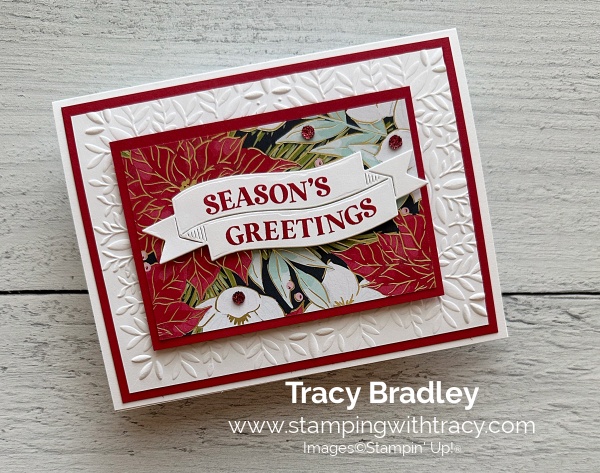

I stamped the sentiment onto a piece of Basic White cardstock using the stamp set, Traditional Labels, in Real Rd ink. I cut it out using the Traditional Labels Dies. I added Stampin’ Dimensionals to the back of the sentiment and adhered it to the front of the card.
To complete my card, I added three Traditional Sparkling Sequins in Real Red to the front of the Traditions of Christmas Specialty Designer Series Paper.
Supply List
Below you’ll find all the Stampin’ Up! supplies I used for today’s card. If you need any stamping supplies, I’d love to be your demonstrator! You can place an order by clicking any of the images below to go to my Stampin’ Up! online store.
The Specialty Plate is used with 3D Embossing Folders and Hybrid Embossing Folders.
The Thick Basic White cardstock is unavailable at this time and the Basic White cardstock is unavailable at this time. The Paper Trimmer is unavailable at this time and so is Multipurpose Glue is unavailable. So sorry! Stampin’ Dimensionals are available at this time.
Sale: $14.45
Price: $17.00
Sale: $11.90
Price: $14.00
Sale: $16.80
Price: $28.00
Measurements
- Thick Basic White cardstock: 5-1/2″ x 8-1/2″ score at 4-1/4″
- Real Red cardstock: 5-1/4″ x 4
- Real Red cardstock: 4″ x 2-3/4″
- Basic White cardstock (embossed): 5″ x 3-3/4″
- Basic White cardstock (sentiment): approximately 4-1/4″ x 2″
- Traditions of Christmas Specialty Designer Series Paper: 3-3/4″ x 2-1/2″
Black Friday Sale Happening Now
Stampin’ Up! is having a Black Friday Sale and all products are while supplies last! Click here to shop the sale or click the graphic below!

Online Exclusives – November 2025
Click the graphic below to access the November 2025 Online Exclusives Product List! Stampin’ Up! has made a printable flyer and they’ve made it much easier to shop the new products! You won’t find Online Exclusives in any catalog, they’ll be listed in the Online Store. Click here to shop Online Exclusives.

Cyber Monday Paper Pumpkin Sale From December 1-9!

Promotion Details:
Starting December 1 at 8 a.m. (MT), we’re offering big savings on prepaid Paper Pumpkin subscriptions! There’s never been a better time to subscribe to get a new all-inclusive crafting kit delivered to your door each month. Take advantage of this Cyber Monday offer for fantastic deals on 3-, 6-, and 12-month prepaid subscriptions.
Whether you’re looking for a last-minute Christmas present that sparks creativity or resolving to make time to craft in the new year, a Paper Pumpkin subscription is the gift that keeps on giving.
- From December 1–9, prepaid Paper Pumpkin subscriptions will be discounted as follows:
- 3-month prepaid: $61.00 (regular price $81.00)
- 6-month prepaid: $122.00 (regular price $162.00)
- 12-month prepaid: $244.00 (regular price $324.00)
This offer ends on December 9 at 11:59 p.m. (MT).
Offer Details
- Subscriptions purchased during this start immediately with the December in Bloom Watercolor Kit. This kit cannot be skipped.
- Do not purchase multiple subscriptions for the same recipient. The subscription will start with the Watercolor in Bloom Kit, so the recipient will end up receiving duplicates of the same kit each month
- Subscriptions purchased during the promotion will earn reduced rewards compared to full-priced subscriptions due to the discounted price, but they will still qualify for rewards once the threshold is met.
Don’t miss your chance to enjoy months of exciting kits at an incredible value! Stop by the Paper Pumpkin page, here, for more details about how Paper Pumpkin works and get ready to order your prepaid subscription on December 1, 2025!
Stampin’ Up Is Offering a Brushed with Beauty Class
Click the graphic below to purchase this class!

All the Details On the Class:
- Available for Purchase: November 4, 2025
- Price: $30
- Live Stream: November 20 at 2:00 p.m. (MT)
- Where: An exclusive Facebook group
- Class: Brushed with Beauty Craft Class (170074)
- Product: Brushed with Beauty Suite Collection (167100)
- Language: The class will be presented in English. Attendees will receive supply lists and project instructions available in English, French, German, and Dutch.
- Video on Demand: We will record this live class, which will be available as a video on demand right after the live stream. Videos with English, French, German, and Dutch captioning will be available through the Facebook page one week after the live stream.
Click here to get the additional supplies you’ll need!
Last Chance Products

Click here to go straight to the Last Chance Products page on the Stampin’ Up! site! Some products are discounted! More products were added on October 1, 2025!
Stampin’ Up! Kits – We Have Two New Kits!
Click the graphics below for information about the kits! The Everyday Beauty Kit is on the Low Inventory List!


Thanks for stopping by today! Enjoy your weekend!
by Tracy | Nov 26, 2025 | Christmas Card
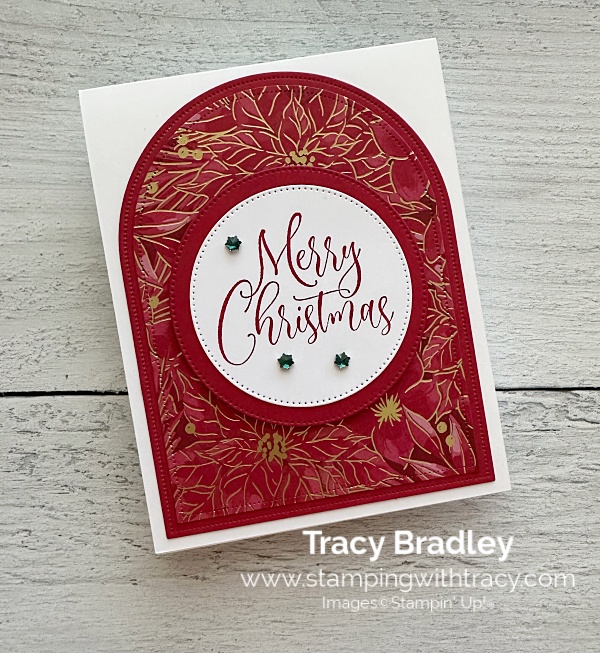
Today, I’m showcasing a card I made with the Traditions of Christmas Specialty Designer Series Paper, the Ornamental Christmas stamp set (an Online Exclusive), Everyday Arches Dies (an Online Exclusive and on the Low Inventory List), Stylish Shapes Dies and the Faceted Snowflakes (an Online Exclusive).
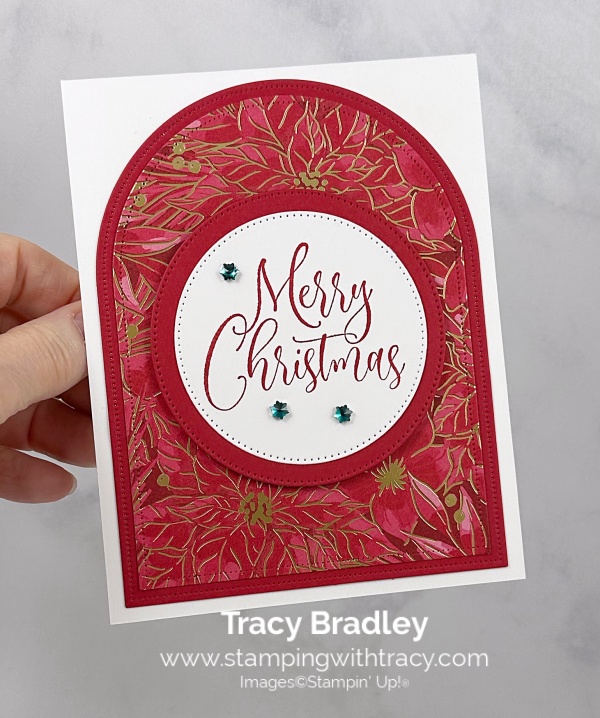

I started with a piece of Thick Basic White cardstock for the base of my card. Then, I cut a piece of Real Red cardstock using the Everyday Arches Dies (I used the largest die). Next, I cut a piece of Tradtions of Christmas Specialty Designer Series Paper using the Everyday Arches Dies (I used the second largest die). I adhered both pieces together and then adhered them to the front of the card.
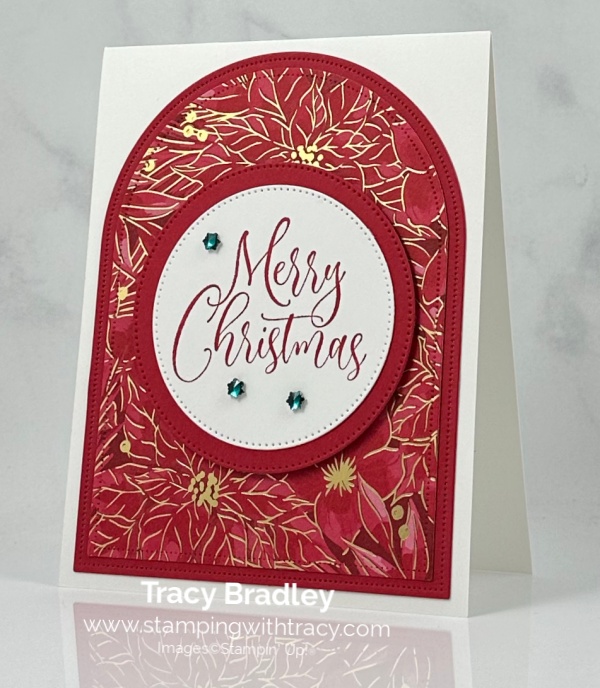


Next, I stamped onto a piece of Basic White cardstock using the Ornamental Christmas Stamp Set in Real Red ink. I cut it out using the Stylish Shapes Dies (with the second largest die). I cut a piece of Real Red cardstock using the Stylish Shapes Dies (using the largest die) and put the sentiment onto the front of the Real Red cardstock circle. I added Stampin’ Dimensionals to the back and adhered it to the front of the card.
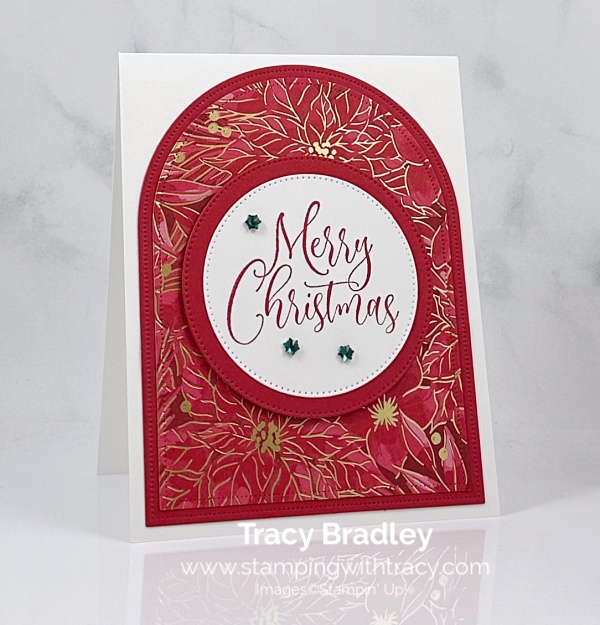

To complete my card, I added three Faceted Snowflakes around the sentiment. This was a quick and easy card to make and the Traditions of Christmas Specialty Paper makes it pop!

Supply List
Below you’ll find all the Stampin’ Up! supplies I used for today’s card. If you need any stamping supplies, I’d love to be your demonstrator! You can place an order by clicking any of the images below to go to my Stampin’ Up! online store.
The Thick Basic White cardstock is low inventory status (as of the time I’m writing this) and the Basic White cardstock is unavailable at this time. The Paper Trimmer is still available but the Multipurpose Glue is unavailable, So sorry!
Sale: $14.45
Price: $17.00
Sale: $11.90
Price: $14.00
Sale: $16.80
Price: $28.00
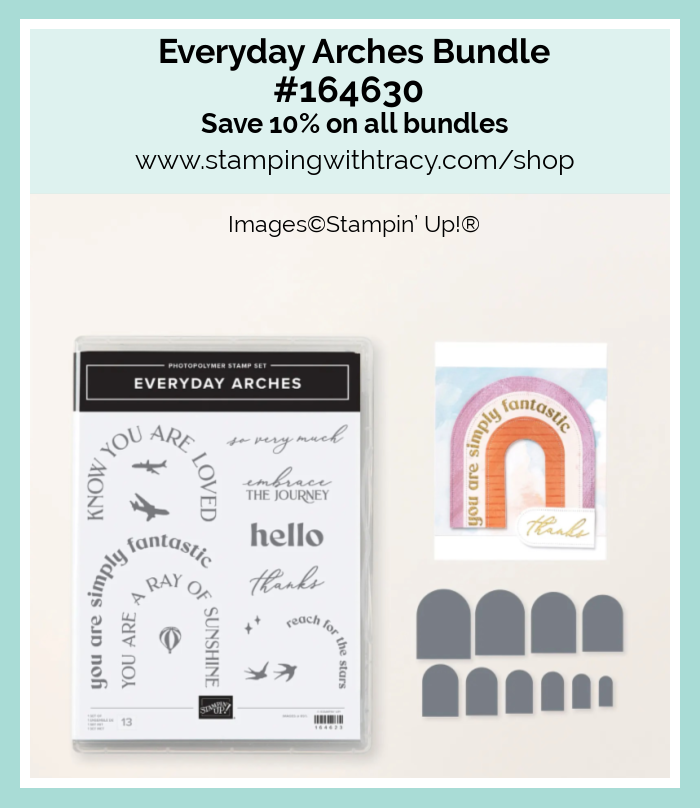
Bundle Alert: The Everyday Arches Bundle is available with a 10% discount rather than buying the products separately but it’s on the Low Inventory List!
Measurements
- Thick Basic White cardstock: 4-1/4″ x 11″ scored at 5-1/2″
- Real Red cardstock (arch): approximately 4-1/4″ x 5-1/2″
- Real Red cardstock (circle underneath the sentiment): approximately 3-1/2″ x 3-1/2″
- Basic White cardstock (sentiment): approximately 3″ x 3″
- Traditions of Christmas Specialty Designer Series Paper (arch): 4″ x 5-1/2″
Black Friday Sale Happening Now
Stampin’ Up! is having a Black Friday Sale and all products are while supplies last! Click here to shop the sale or click the graphic below!

Online Exclusives – November 2025
Click the graphic below to access the November 2025 Online Exclusives Product List! Stampin’ Up! has made a printable flyer and they’ve made it much easier to shop the new products! You won’t find Online Exclusives in any catalog, they’ll be listed in the Online Store. Click here to shop Online Exclusives.

Cyber Monday Paper Pumpkin Sale From December 1-9!

Promotion Details:
Starting December 1 at 8 a.m. (MT), we’re offering big savings on prepaid Paper Pumpkin subscriptions! There’s never been a better time to subscribe to get a new all-inclusive crafting kit delivered to your door each month. Take advantage of this Cyber Monday offer for fantastic deals on 3-, 6-, and 12-month prepaid subscriptions.
Whether you’re looking for a last-minute Christmas present that sparks creativity or resolving to make time to craft in the new year, a Paper Pumpkin subscription is the gift that keeps on giving.
- From December 1–9, prepaid Paper Pumpkin subscriptions will be discounted as follows:
- 3-month prepaid: $61.00 (regular price $81.00)
- 6-month prepaid: $122.00 (regular price $162.00)
- 12-month prepaid: $244.00 (regular price $324.00)
This offer ends on December 9 at 11:59 p.m. (MT).
Offer Details
- Subscriptions purchased during this start immediately with the December in Bloom Watercolor Kit. This kit cannot be skipped.
- Do not purchase multiple subscriptions for the same recipient. The subscription will start with the Watercolor in Bloom Kit, so the recipient will end up receiving duplicates of the same kit each month
- Subscriptions purchased during the promotion will earn reduced rewards compared to full-priced subscriptions due to the discounted price, but they will still qualify for rewards once the threshold is met.
Don’t miss your chance to enjoy months of exciting kits at an incredible value! Stop by the Paper Pumpkin page, here, for more details about how Paper Pumpkin works and get ready to order your prepaid subscription on December 1, 2025!
Stampin’ Up Is Offering a Brushed with Beauty Class
Click the graphic below to purchase this class!

All the Details On the Class:
- Available for Purchase: November 4, 2025
- Price: $30
- Live Stream: November 20 at 2:00 p.m. (MT)
- Where: An exclusive Facebook group
- Class: Brushed with Beauty Craft Class (170074)
- Product: Brushed with Beauty Suite Collection (167100)
- Language: The class will be presented in English. Attendees will receive supply lists and project instructions available in English, French, German, and Dutch.
- Video on Demand: We will record this live class, which will be available as a video on demand right after the live stream. Videos with English, French, German, and Dutch captioning will be available through the Facebook page one week after the live stream.
Click here to get the additional supplies you’ll need!
Last Chance Products

Click here to go straight to the Last Chance Products page on the Stampin’ Up! site! Some products are discounted! More products were added on October 1, 2025!
Stampin’ Up! Kits – We Have Two New Kits!
Click the graphics below for information about the kits! The Everyday Beauty Kit is on the Low Inventory List!


Thanks for stopping by today! Enjoy your day! I won’t be posting tomorrow so Happy Thanksgiving to all the United States people on Thursday!!
by Tracy | Nov 19, 2025 | Christmas Card
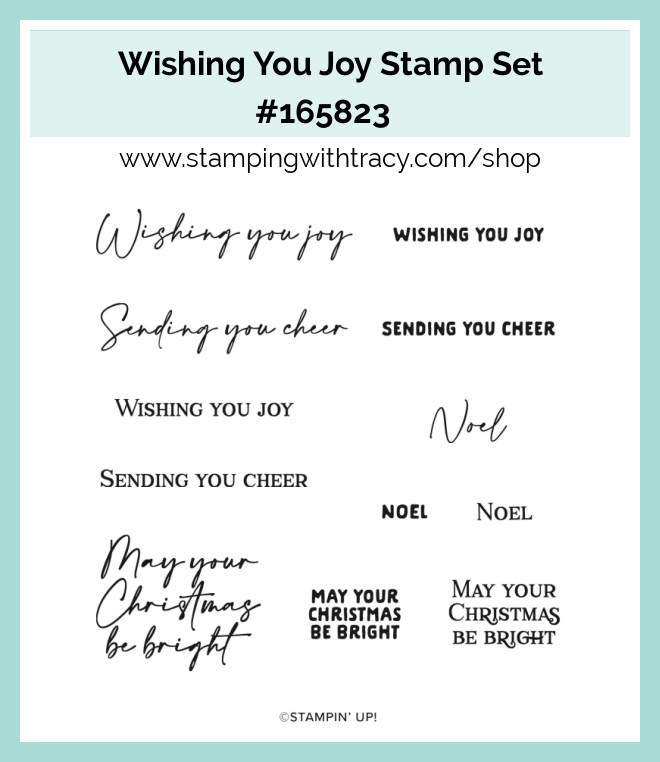
The card I’m sharing with you today was made with the Wishing You Joy Stamp Set, Traditions of Christmas Specialty Designer Series Paper (it’s back in stock as of this writing – yay!!), Christmas Greenery Dies, Stylish Shapes Dies, and Faceted Snowflakes (an Online Exclusive).

I started with a piece of Real Red cardstock for the base of my card. Then, I layered a piece of Traditions of Christmas Specialty Designer Series Paper to a panel of Basic White cardstock and then adhered it to the front of the card.


Next, I used the Christmas Greenery Dies to cut the bouquet out of the Traditions of Christmas Specialty Designer Series Paper and then I set it aside. I cut a circle out of Basic White cardstock using the Stylish Shapes Dies. I stamped the sentiment directly onto the circle using Wishing You Joy Stamp Set in Real Red ink.
I added Stampin’ Dimensionals to the back of the circle and adhered it to the front of the card. I also added Stampin’ Dimensionals to the back of the bouquet and adhered it to the circle.

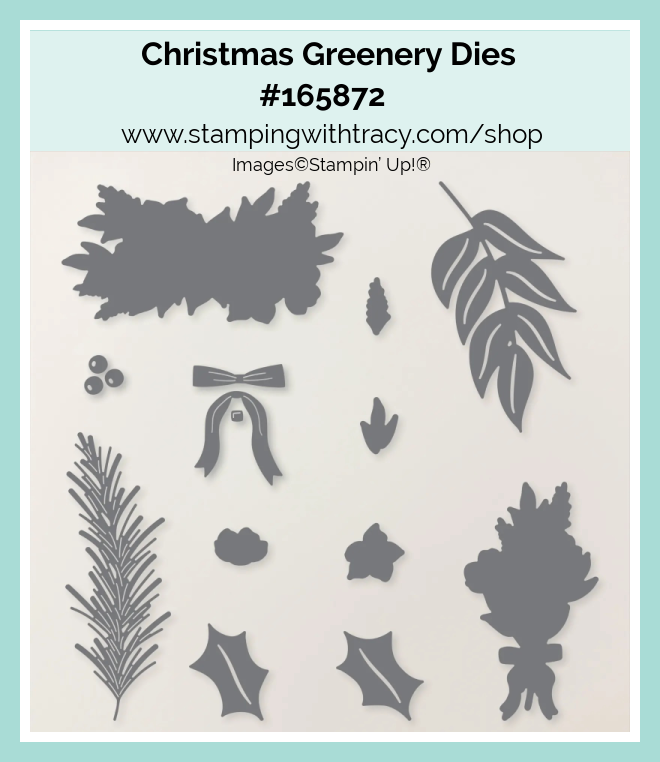

To complete my card I added three Faceted Snowflakes around the sentiment. I also added a piece of Basic White cardstock to the inside of the card.


Supply List
I usually supply the Supply List, but it’s acting wonky today! Please click the graphics above for more information about the products I used today.
Measurements
- Real Red cardstock: 4-1/4″ x 11″ scored at 5-1/2″
- Basic White cardstock (circle): approximately 3-1/2″ x 3-1/2″
- Basic White cardstock: (inside the card and the mat): (2) 4″ x 5-1/4″
- Traditions of Christmas Specialty Designer Series Paper: 3-3/4″ x 5″
Online Exclusives – November 2025
Click the graphic below to access the November 2025 Online Exclusives Product List! Stampin’ Up! has made a printable flyer and they’ve made it much easier to shop the new products! You won’t find Online Exclusives in any catalog, they’ll be listed in the Online Store. Click here to shop Online Exclusives.

Stampin’ Up Is Offering a Brushed with Beauty Class
Click the graphic below to purchase this class!

All the Details On the Class:
- Available for Purchase: November 4, 2025
- Price: $30
- Live Stream: November 20 at 2:00 p.m. (MT)
- Where: An exclusive Facebook group
- Class: Brushed with Beauty Craft Class (170074)
- Product: Brushed with Beauty Suite Collection (167100)
- Language: The class will be presented in English. Attendees will receive supply lists and project instructions available in English, French, German, and Dutch.
- Video on Demand: We will record this live class, which will be available as a video on demand right after the live stream. Videos with English, French, German, and Dutch captioning will be available through the Facebook page one week after the live stream.
Click here to get the additional supplies you’ll need!
Last Chance Products

Click here to go straight to the Last Chance Products page on the Stampin’ Up! site! Some products are discounted! More products were added on October 1, 2025!
Stampin’ Up! Kits – We Have Two New Kits!
Click the graphics below for information about the kits!


December Paper Pumpkin – Subscribe by December 10th
If you’d like to subscribe, please click here or the graphic below.
This is what comes in the Watercolor In Bloom Paper Pumpkin Kit:
Show your love and appreciation with rich watercolor hues and elegant botanical flourishes.
• Makes 9 cards: 3 each of 3 designs with 9 coordinating envelope
• Copper foil and copper sequins
• Precut paper and vellum pieces
• Coordinating colors: Copper, Garden Green, Night of Navy (Classic Stampin’ Spot), Pretty Peacock, Secret Sea, Shaded Spruce
Personalize your card greetings with customizable sentiment stamps!

An additional coordinating add-on is available but only for Paper Pumpkin subscribers. Click the image below for more information. These dies coordinate with October Paper Pumpkin Kit, November Paper Pumpkin Kit and December Paper Pumpkin Kit.

Thanks for stopping by today! Enjoy your day!
by Tracy | Nov 14, 2025 | Christmas Card
The card I’m sharing with you today was made using the Homemade Treats Bundle (an Online Exclusive), the Perennial Postage Dies, Real Red & White Adhesive-Backed Peppermints (an Online Exclusive) and Silver 12″ x 12″ Foil Sheets. Unfortunately, the Silver Foil Sheets are not in stock at this time but you can sign up and get an email when they are back in stock.


I started with a piece of Shaded Spruce cardstock for the base of my card. Then, I used the Perennial Postage Dies to cut a piece of Real Red cardstock using the largest die in the set and a piece of Basic White cardstock using the second largest die.
Next, I stamped the sentiment onto the Basic White cardstock die cut using the Homemade Treats Stamp Set in Real Red ink. I adhered the Basic White cardstock to the Real Red cardstock and then adhered it to the front of the card.
Then, I stamped the gingerbread men onto Basic White cardstock using Pecan Pie ink and Homemade Treats Stamp Set. Next, I stamped the candy cane onto Basic White cardstock using the Homemade Treats Stamp Set using Real Red ink. I die cut all the pieces with the Homemade Treats Dies.


I die cut the cookie sheet using a Silver Foil Sheet & the Homemade Treats Dies. I adhered the cookie sheet to the Basic White die cut using Multipurpose Glue and attached the candy cane & gingerbread men using Mini Glue Dots. I then adhered the Real Red & White Adhesive-Backed Peppermints to the card.
To complete my card, I added a piece of Basic White cardstock to the inside of the card.


Supply List
Below you’ll find all the Stampin’ Up! supplies I used for today’s card. If you need any stamping supplies, I’d love to be your demonstrator! You can place an order by clicking any of the images below to go to my Stampin’ Up! online store.
Measurements
- Shaded Spruce cardstock: 4-1/4″ x 11″ scored at 5-1/2″
- Real Red cardstock (die cut): approximately 4-1/4″ x 5-1/2″
- Basic White cardstock (die cut): approximately 5″ x 3-3/4″‘
- Basic White cardstock (gingerbread men and candy cane): scraps
- Basic White cardstock (inside the card): 4″ x 5-1/4″
- Silver Foil Sheet (cookie sheet): 3″ x 2″
Online Exclusives – November 2025
Click the graphic below to access the November 2025 Online Exclusives Product List! Stampin’ Up! has made a printable flyer and they’ve made it much easier to shop the new products! You won’t find Online Exclusives in any catalog, they’ll be listed in the Online Store. Click here to shop Online Exclusives.

Stampin’ Up Is Offering a Brushed with Beauty Class
Click the graphic below to purchase this class!

All the Details On the Class:
- Available for Purchase: November 4, 2025
- Price: $30
- Live Stream: November 20 at 2:00 p.m. (MT)
- Where: An exclusive Facebook group
- Class: Brushed with Beauty Craft Class (170074)
- Product: Brushed with Beauty Suite Collection (167100)
- Language: The class will be presented in English. Attendees will receive supply lists and project instructions available in English, French, German, and Dutch.
- Video on Demand: We will record this live class, which will be available as a video on demand right after the live stream. Videos with English, French, German, and Dutch captioning will be available through the Facebook page one week after the live stream.
Click here to get the additional supplies you’ll need!
Last Chance Products

Click here to go straight to the Last Chance Products page on the Stampin’ Up! site! Some products are discounted! More products were added on October 1, 2025!
Stampin’ Up! Kits – We Have Two New Kits!
Click the graphics below for information about the kits!


December Paper Pumpkin – Subscribe by December 10th
If you’d like to subscribe, please click here or the graphic below.
This is what comes in the Watercolor In Bloom Paper Pumpkin Kit:
Show your love and appreciation with rich watercolor hues and elegant botanical flourishes.
• Makes 9 cards: 3 each of 3 designs with 9 coordinating envelope
• Copper foil and copper sequins
• Precut paper and vellum pieces
• Coordinating colors: Copper, Garden Green, Night of Navy (Classic Stampin’ Spot), Pretty Peacock, Secret Sea, Shaded Spruce
Personalize your card greetings with customizable sentiment stamps!

An additional coordinating add-on is available but only for Paper Pumpkin subscribers. Click the image below for more information. These dies coordinate with October Paper Pumpkin Kit, November Paper Pumpkin Kit and December Paper Pumpkin Kit.

Thanks for stopping by today! Have an enjoyable weekend!!
by Tracy | Nov 3, 2025 | Christmas Card
The card I’m sharing with you today was made with the Traditional Labels Bundle. I also used Elegant Pine Snowflakes Designer Series Paper (an Online Exclusive).


I started with a piece of Old Olive cardstock for the base of my card. Next, I cut a piece of Elegant Pine Snowflakes Designer Series Paper (DSP) and adhered it to the front of the card. Then, I cut a piece of Old Olive cardstock and layered a piece of Elegant Pine Snowflakes DSP to the Old Olive cardstock. I added Stampin’ Dimensionals to the back and adhered it to the front of the card.

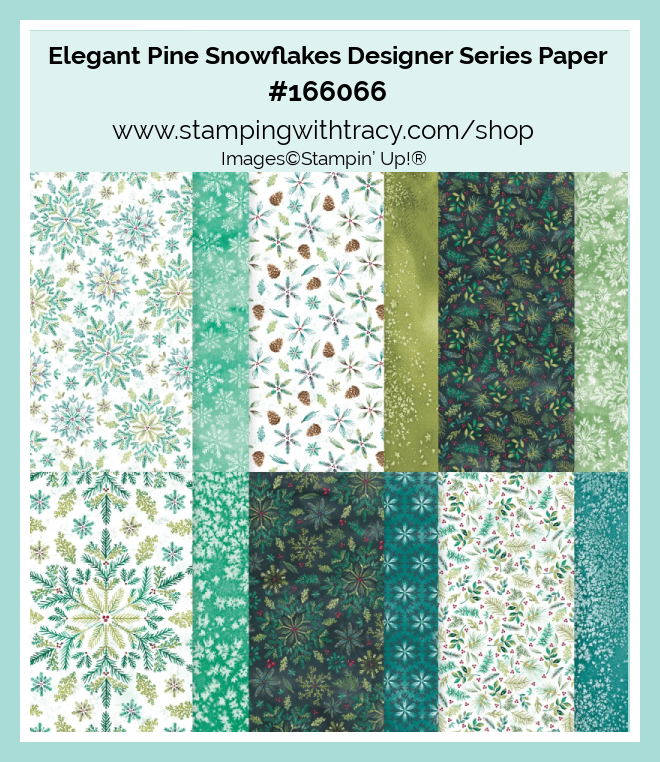
I stamped the sentiment onto Basic White cardstock using the Traditional Labels Stamp Set in Old Olive ink. I cut it out using the Traditional Labels Dies. I added Stampin’ Dimensionals to the back and adhered it to the card front.
To complete my card, I added a piece of Basic White cardstock to the inside of the card.


Supply List
Below you’ll find all the Stampin’ Up! supplies I used for today’s card. If you need any stamping supplies, I’d love to be your demonstrator! You can place an order by clicking any of the images below to go to my Stampin’ Up! online store.
Measurements
- Old Olive cardstock: 5-1/2″ x 8-1/2″ scored at 4-1/4″
- Old Olive cardstock: 3-1/4″ x 3-1/4″
- Elegant Pine Snowflakes Designer Series Paper: 5-1/2″ x 1-3/4″
- Elegant Pine Snowflakes Designer Series Paper: 3″ x 3″
- Basic White cardstock (inside card): 5-1/4″ x 4″
- Basic White cardstock (sentiment): approximately 4-1/4″ x 2″
Online Exclusives – September 2025
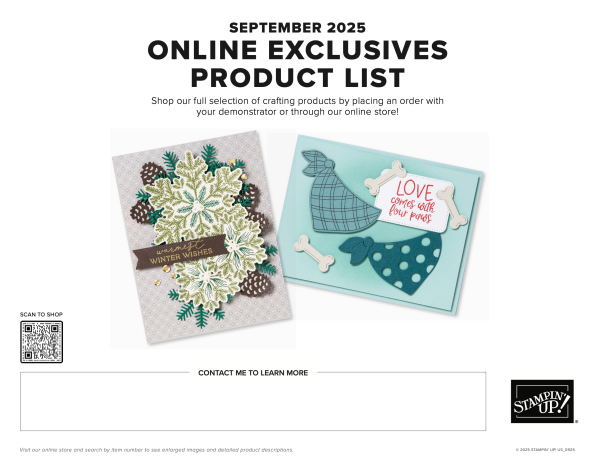
Stampin’ Up! has made a printable flyer and they’ve made it much easier to shop the new products! You can get to the flyer by clicking here or the above graphic.
You won’t find Online Exclusives in any catalog, they’ll be listed in the Online Store. Click here to shop Online Exclusives.
Last Chance Products

Click here to go straight to the Last Chance Products page on the Stampin’ Up! site! Some products are discounted! More products were added on October 1, 2025!
Stampin’ Up! Kits
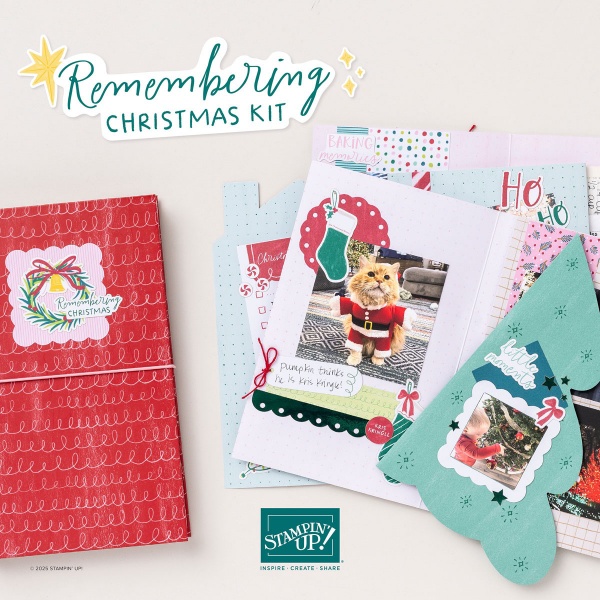
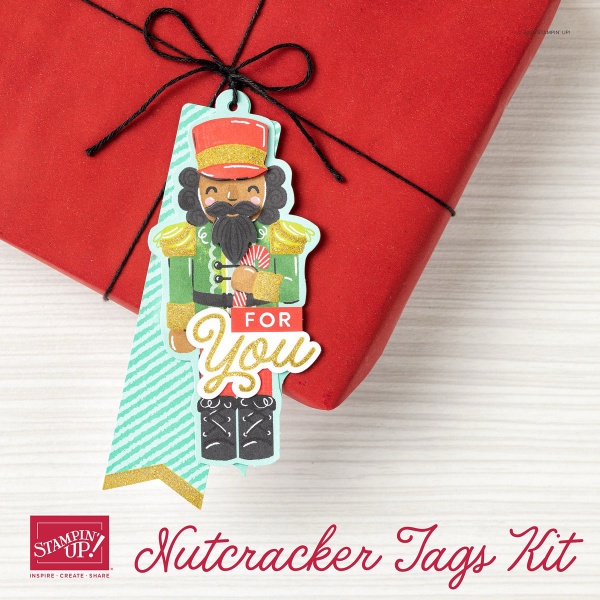
Click the graphics for more information about the kits.
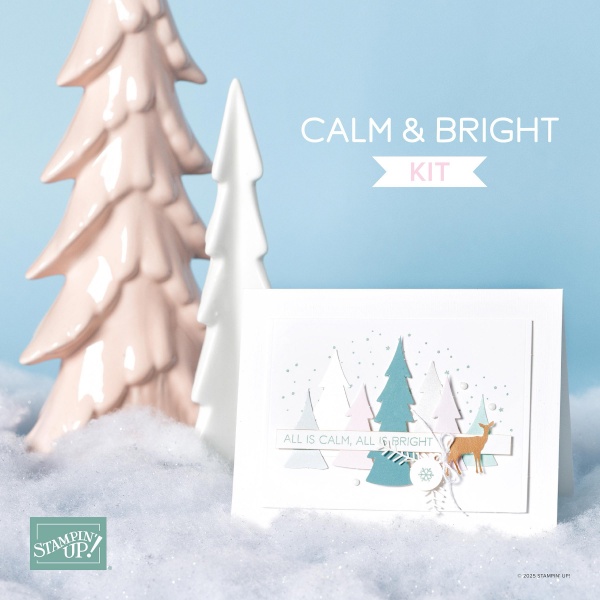
November Paper Pumpkin – Wrapped in Cheer
If you’d like to subscribe, please click here or the graphic below.
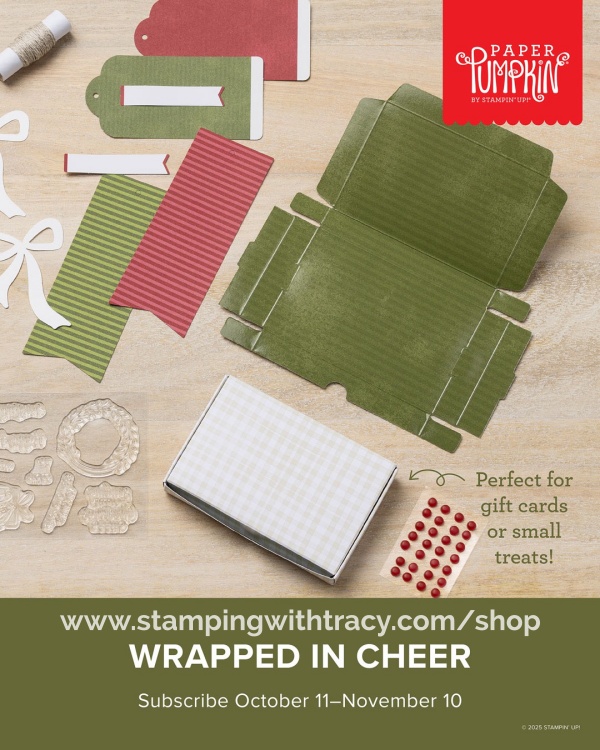
This is what comes in the Wrapped in Cheer Paper Pumpkin Kit:
- Craft festive goody boxes perfect for holding gift cards or small treats!
- Makes 8 projects: 4 each of 2 tag designs with 8 identical coordinating boxes
- Foldable box bases and precut paper pieces
- Linen thread and red dot embellishments
- Coordinating colors: Basic Beige, Cherry Cobbler, Mossy Meadow
- (Classic Stampin’ Spot), Old Olive
- Delicate greenery pieces with double-sided printing add a sophisticated touch.
An additional coordinating add-on is available but only for Paper Pumpkin subscribers. Click the image below for more information.

Thanks for stopping by today! Enjoy your Monday!


