by Tracy | Oct 31, 2016 | Uncategorized

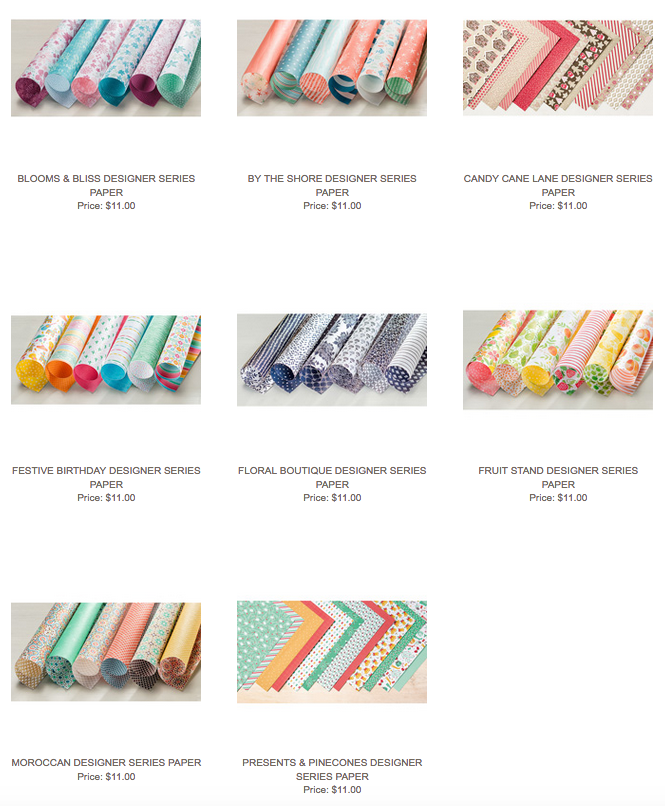
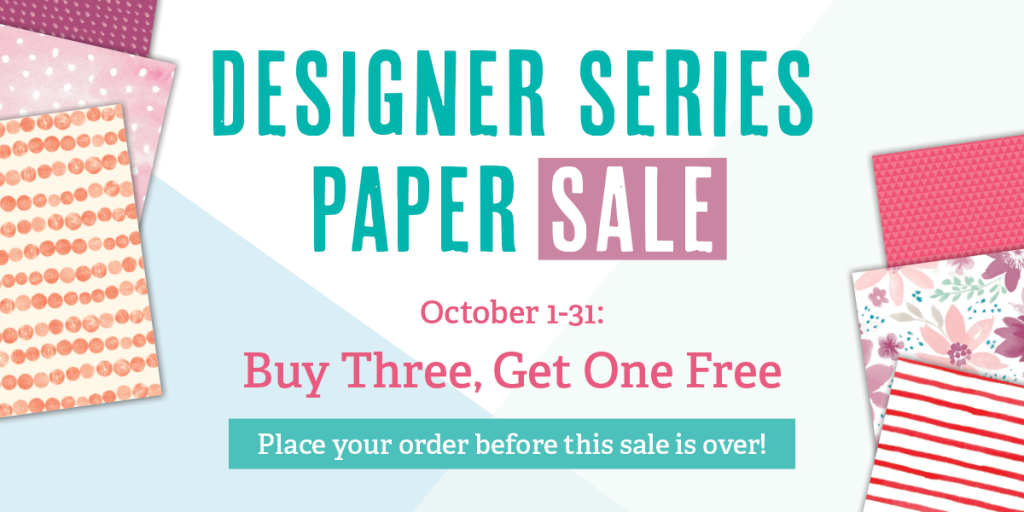
Today is the last day to buy three packs of Stampin’ Up! Designer Series paper and receive one pack absolutely free! Be sure to scroll down to the end of the post to see all of the beautiful paper available!
Yesterday I shared a gift bag using our Fruit Stand Designer Series paper and today I have a card with the same cute paper. Look how easy it is to make a card with this paper! Simply add a sentiment and you’ve got a card to give or send off to someone!
Product List- I’ve listed all of the products I used to make my card today. Click on any of the pictures to place an order or for more information!


by Tracy | Oct 30, 2016 | Uncategorized

Apples will always make me think of my days as an elementary school teacher. Wouldn’t this be cute paper to use for a thank you gift to a teacher??
This bag is quite easy to make. You score a few lines, cut, add adhesive and you’re done! Start with a 6″ x 12″ piece of paper. On the 12″ side, score @ 4″, 5-1/2″, 9-1/2″ & 11″. On the 6″ side, score @ 4-1/2″ (this will be the bottom of your box so if you have a design on the paper, make sure it’s going the correct direction). Fold on all the score lines and cut up to the 4-1/2″ score line. See the picture below.

Next, on the front of the box, apply adhesive as shown in the picture below.

Turn your paper over to the inside of the box and place adhesive as shown. That one flap will hold the bottom together so add adhesive to the entire panel.

Now it’s time to put the box together. Bring the small flap with adhesive (on the end), over to the other side to form the box. To make the bottom of the box, bring in the two small flaps first, then the piece WITH adhesive. Close it up with the last flap which will be attaching to the adhesive.
You can use a clip as I did or leave it open. Below are two more samples. I didn’t decorate the one the left because I thought it looked so pretty with the peaches. All of the products I used to make my bags can be found at the bottom of the post.


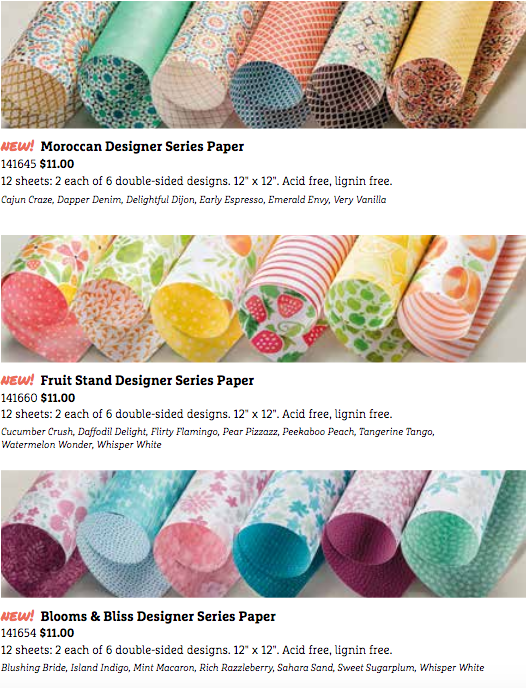
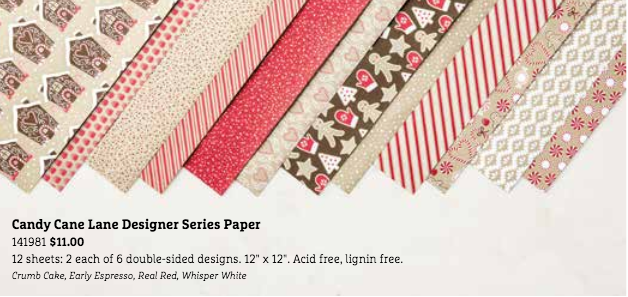
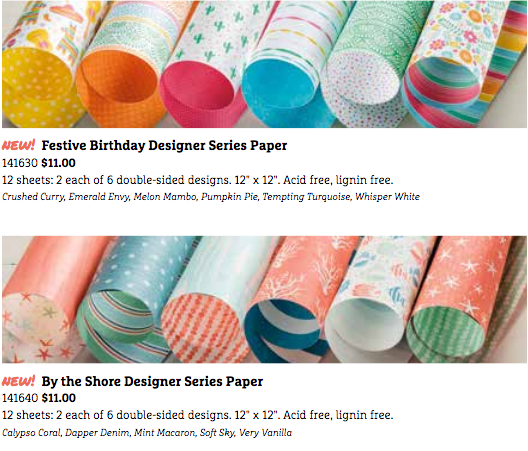
This paper is currently on sale, but only until tomorrow, October 31st! Mix and match any of the papers below for the Buy Three, Get One Free sale! Simply enter all four papers in your online order and the 4th one will automatically come up FREE.
Product List – Click on any of the products below for more information or to place an order!
by Tracy | Oct 29, 2016 | Uncategorized

Happy Saturday!
I’m popping in today to let you know about a fun challenge put on by Kathy over at TheDailyMarker.com! This is the 6th challenge that Kathy has done and in her own words, right from her blog, is why she does it:
THE GOAL of the challenge is: To color something daily even if it’s a few minutes but, certainly not required. (I know that I am happier when I am coloring even if it’s for 10 minutes.) Hopefully together along the way we will all stretch our creativity a little bit more. BASICALLY it’s anything goes challenge and whatever you feel inspired to do. Any medium of your choice including “coloring” with ink. Some days you will have more time than others but, it’s just about adding more time to color and carve out a little time for you.
I have participated in two different challenges and it’s really disappointing when it’s over! Kathy posts every day on her blog during the challenge to show what she’s working on. Last year at this time, she took a Starbucks cup, colored it and turned it into a card! Clever and gorgeous!

In the past, Kathy has asked that you post what you’ve colored (Stampin’ Write markers, Copics, watercolors, colored pencils – you choose the medium) onto Instagram but this year she’s also opening it up to Facebook. She even has a closed group that you can request to join so that you can post what you’re working on. Did I mention that she also gives out prizes?!
If it sounds intriguing to you, why don’t you join the challenge! It starts on November 1st, just a few days from today. Read more about it on Kathy’s blog HERE. If you decide to join, I’d LOVE it if you’d leave a comment and let me know!
Enjoy your day!
by Tracy | Oct 28, 2016 | Uncategorized
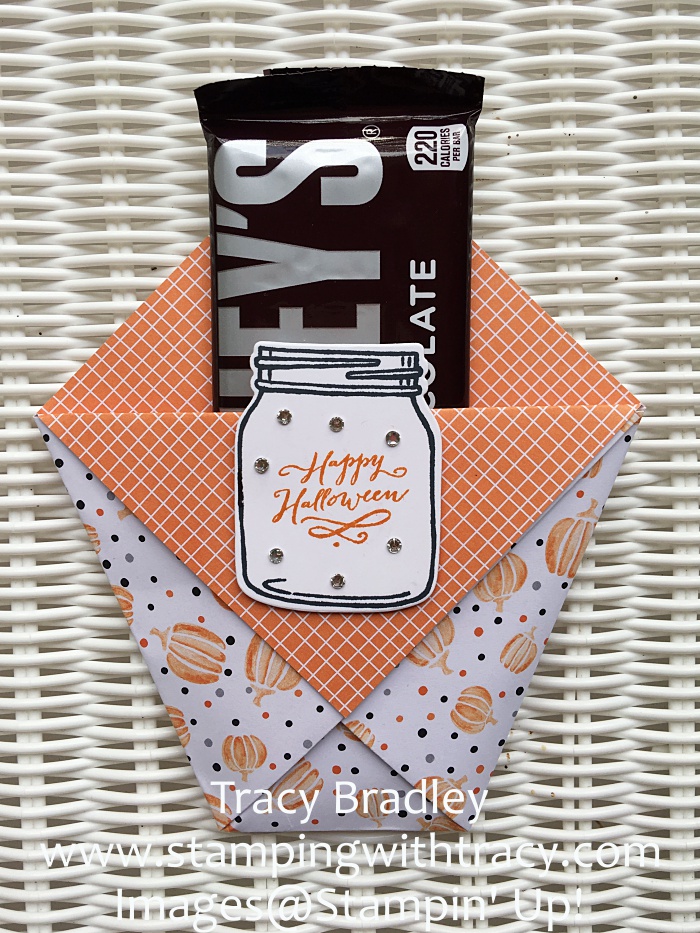
Oops, I forgot to show you the other treat holder I made using the same pattern as the post from earlier today!
Product List – Click on any product below for more information or to place an order.
by Tracy | Oct 28, 2016 | Uncategorized
Thank you for visiting today! This is my last Halloween treat project and it’s another quick and easy one to make! I first saw this project on the Facebook page of Sara Douglass, the Stampin’ Up! CEO, this summer. She made several projects out of one sheet of Designer Series Paper and my holder today was one of them, but she used it as a utensil holder for a picnic.
I have some pictures below that will show how I created it but if you would like to see a video of Sara making it, click here to go to her Facebook page.
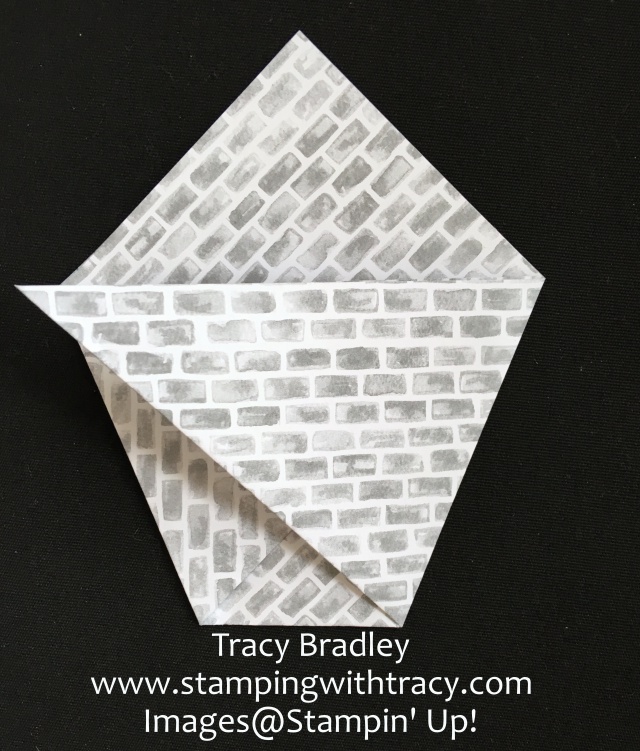
Step 1: You’ll start with a piece of DSP that measures 9″ x 9″ Fold it in half. (I am sorry if it’s difficult to see with this paper).
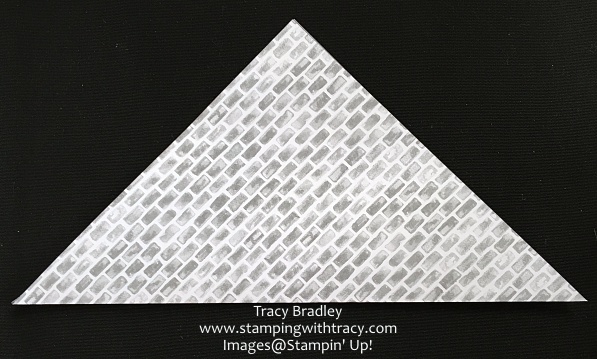
Step 2: Bring the left side over to the other side. Be sure that the top is parallel to the bottom.

This is what it will look like.

Step 3: Bring the other side over. In the picture it looks like it will extend past the edge of the paper but it shouldn’t.
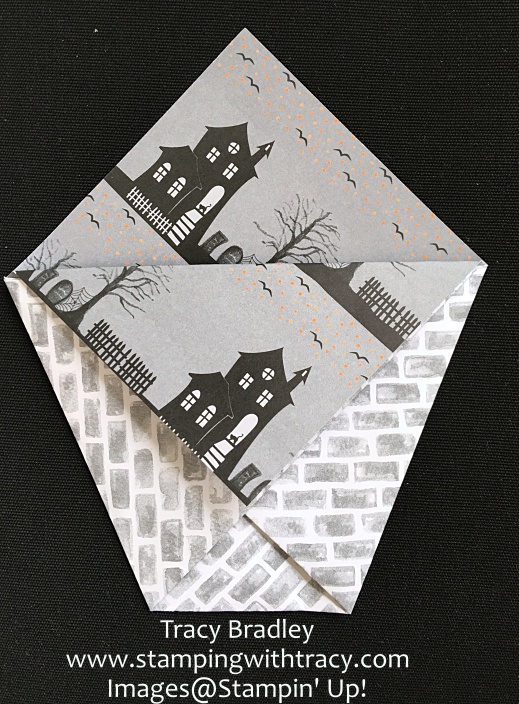
Step 4: Now you’ll take one of the top pieces and bring it down.
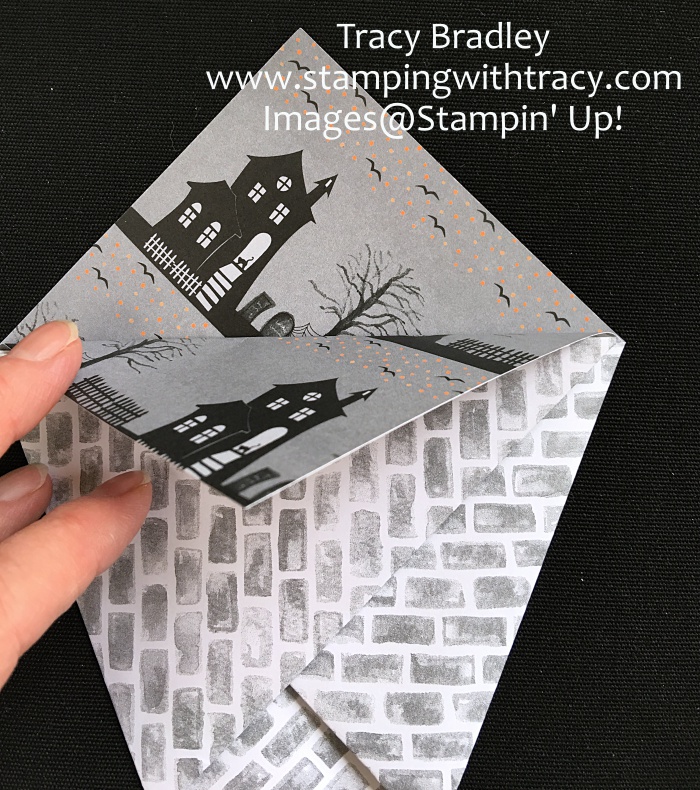
Step 5: Fold it down and crease it well. No glue is needed! Just a note: When I folded this part down, I didn’t like how it looked so I switched the two pieces that I folded in Step 2 & 3. You’ll understand this step when you make it.
If you have any questions, don’t hesitate to ask!
Product List- To make a purchase, click on any of the products below and you’ll be taken to my Stampin’ Up! online store.
Use the October Host Code when you place your order and I’ll send you a gift as a thank you: GW4DWJQQ

by Tracy | Oct 27, 2016 | Uncategorized
Thank you for stopping by today!
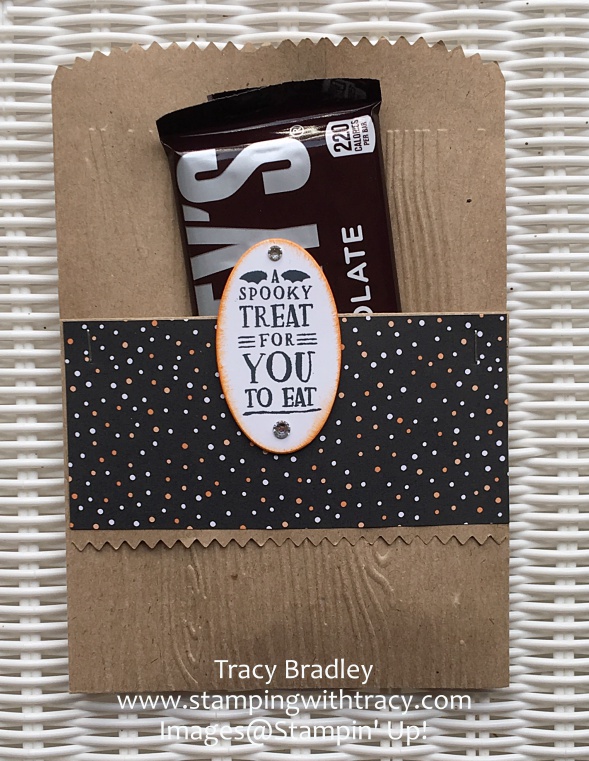
I have a project that you can make in just minutes! I used our Kraft Tag a Bag Gift Bags to create a pouch for a treat! First I ran the bag through the Big Shot using the Woodgrain embossing folder.

Then, starting at the top, I cut the sides down 2″. I attached a 4-3/4″ x 2 1/4″ piece of Designer Series Paper on the flap it created.

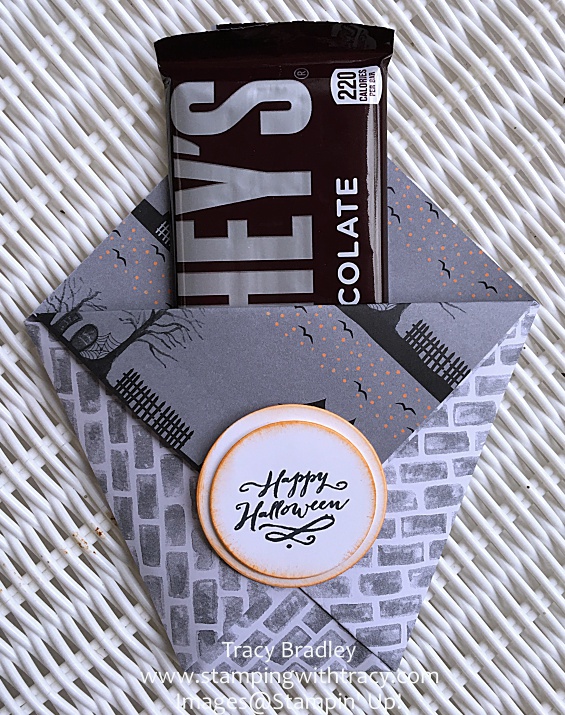
I usually like to have another shape behind my sentiment but I was visiting my mom at the time and didn’t have extra colors of cardstock so I simply sponged color around the edges of my oval. I used the stamp set Jar of Haunts for my sentiment. I added a few rhinestones for a little sparkle and in went my Hershey Bar! I would have added more candy but I just couldn’t buy any. I am currently doing the Whole30 and I haven’t had one drop of sugar in 18 days. I think that’s a record for me. Buying more candy would just be too much of a temptation. You’ll see that same candy bar in another last minute Halloween treat project tomorrow!
Product List – To place an order, click on any of the products below. If you have a question, don’t hesitate to contact me.
Use the October Host Code when you place your order and I’ll send you a gift as a thank you: GW4DWJQQ