This is the third and final week of Special Offers from Stampin’ Up! This week it’s all about Project Life and the Layering Ovals Framelits Dies AND they are all 25% off! I especially love when Big Shot accessories go on sale!
If you would like more information about any of these products, click HEREto visit my Stampin’ Up! online store.
Ready to place an order? Click here to go to my Stampin’ Up! online store. My September Host Code is: BZ6JNCNX
At checkout, you will be asked to enter the Host Code. Use it and I will send you a small gift! At the end of the month I will close the code and split the Shopping Rewards with everyone who used it. If your order is $150, please do not use the code. You will receive your own Shopping Rewards from Stampin’ Up! Questions? Don’t hesitate to send me an email.
The Stampin’ Up! Clearance Rack has been updated. Lots of goodies, such as embossing folders, punches, Big Shot accessories, ribbon, embellishments, stamps . . . . . .
I don’t know how much inventory they have on hand so if you see something that appeals to you, I would grab it!
At checkout, you will be asked if you have a Host Code. My September Host Code is
BZ6JNCNX
Use it and I will send you a small gift! At the end of the month I will close the code and split the Shopping Rewards with everyone who used it. If your order is $150, please do not use the code. You will receive your own Shopping Rewards from Stampin’ Up! Questions? Don’t hesitate to send me an email.
Today’s card is one that I made weeks ago but am just now sharing. It started as an experiment to see the different looks I could get by stamping the flowers in different ways. I knew I wanted the flowers to have a watercolor effect but I wasn’t quite sure the best way to achieve that look. I tried putting ink from my stamp pad directly onto a large acrylic block and then spraying the block with a fine mist of water. I then tapped my stamp onto the block but by the time I stamped it onto my paper, it was too watery looking.
Here’s what I did to achieve the results I liked. First, I inked my stamp in the stamp pad and then sprayed my stamp three times with my water mister. If I did it more than that, it was too watery and I didn’t like the look I achieved with less than three spritzes. Of course, each water mister will perform differently. I found that if I then stamped my paper with a light touch, I liked the effect better than pressing down hard. If you decide to give this a try, I recommend experimenting as I did. You’ll find what you like best!
I fussy cut each flower out with my paper snips and then added a White Perfect Accents to the center of each one. The Pacific Point flowers were adhered to my paper with Snail and the Cucumber Crush one has a Stampin’ Dimensional on the back.
I’ve listed the supplies I used below. I did NOT use the Thinlit dies that go with the Flourishing Phrases stamp set. I’ve listed the bundles though in case you are interested in a 10% discount if you purchase them together.
Product List – Click on any of the products below for more information or to place an order at my Stampin’ Up! online store. Questions? Please feel free to send me an email: tracy@stampingwithtracy.com
This week our Gold Binder Clips are 25% off! They normally sell for $7.00 but you can purchase them for $5.25 until Wednesday, September 14, 2016. There are 10 in each package.
Here are some cute ideas from both the Holiday Catalog and the Annual Catalog using the Gold Binder Clips!
Click here to visit my Stampin’ Up! online store and purchase your own set of Binder Clips!
Stampin’ Up! is offering a new selection of Special Offers this week!
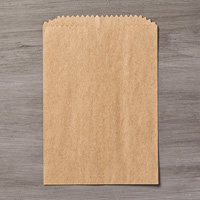
Here’s an example of a project using the Gold Binder Clips, which are on sale until next Wednesday. The bag was for a sweet girl’s 1st birthday, little Marigold. The “M” was added at the last minute and I used a retired Big Shot product (Little Letter Thinlits). Below you can see the project without the letter attached.
It was an extremely cloudy day when I tried to photograph this project so please forgive the bad lighting!
Product List – Click on any product below for more information! You will be taken to my Stampin’ Up! online store.
I love the look of ink blending and I’ve been practicing, a LOT. I love creating backgrounds with lots of color although I admit there’s a definite learning curve. I’ve tried using a variety of tools to get the coverage I want but I realize it will take practice. You can use sponges or an Ink Blending tool (non Stampin’ Up!). With the Ink Blending Tool, you need to be careful that the rim of the foam doesn’t leave marks on your paper. You can see the marks on my piece below.
But it isn’t a concern with this card because the Detailed Floral Thinlits (the Whisper White piece on top of my ink blending) covers any imperfections! I was able to use this one colorful piece for both of my cards.
On a side note, when I was a kid, they used to sell an ice cream treat called Missiles. Today they call them something different but they will always be Missiles to me. The colors I’ve used remind me of that yummy treat (Melon Mambo, Daffodil Delight and Watermelon Wonder). Anyone else remember them??
Normally I would have shied away from using such a detailed Thinlit because it can be very difficult to get all of the little pieces out. But, in the Annual Catalog, a new item was added that makes it very easy to remove the paper, the Precision Base Plate (below). This plate is used instead of the bottom clear plate you would normally use. You can watch the video below that shows how to use the plate. You’ll also see a cute card at the end of the video!
In the video you’ll see the regular Multipurpose Platform being used which as you can see, works well. In the new Annual Catalog a new Big Shot Platform was introduced to specifically help with thin dies and I did use this platform to make my card.
I adhered my Whisper White piece, cut out with the Thinlit, directly to the ink blending paper which I then adhered to a base of Watermelon Wonder. The stamp set, Floral Phrases is part of the Floral Boutique Suite which pairs with the Thinlits. They are perfect together! You can purchase the Detailed Floral Thinlits and Floral Phrases together as a bundle and save 10%. I’ve included each of the bundles (wood and clear) in my product list below.
Thanks so much for stopping by today!
Product List- Click on any of the items listed below for more info or to place an order! If you have any questions, don’t hesitate to contact me!
Special Offers are here! You can save 25% on select annual catalog products through September 21st! Each week there will be new discounted products to choose from. See below for what’s available this week (new items will be posted next Thursday)! For more information about a product or to place an order just click on any of the pictures below. As always, if you need additional information, feel free to email me: tracy@stampingwithtracy.com
You can now order from the Holiday Catalog!! If you’d like to take a look at it online, click here! If you don’t have a demonstrator and would like a complimentary copy, email me and I’ll get one right out to you: tracy@stampingwithtracy.com
Here’s a sampling of some of the cute products inside the catalog!
You can purchase the Cookie Cutter Builder Punch separately but it is also offered as a bundle with this stamp set for a savings of 10%. (page 6 in the Holiday Catalog)
The Cookie Cutter Builder punch also coordinates with this stamp set. Too cute!!!!
To see all that the catalog has to offer, click here!
The Holiday Catalog is almost here (it goes live on Thursday, September 1st)! I know, it’s still August and it seems kinda early to be thinking about the holidays, but they will be here before you know it! Don’t let the cover fool you, there are many more items in the catalog besides Christmas ones. If you’ve ordered from me in the last year, I’ve sent a catalog off to you! You should have received it by now but if not, I’m sure it will be there tomorrow. If you don’t currently have a demonstrator and would like a copy, let me know!
Demonstrators are able to preorder items from the catalog early (isn’t that a perfect reason to become a demo??) and one product that immediately caught my eye were the beautiful Fancy Frost Sequins (Soft Sky, Sweet Sugarplum and white gold). They are sooo pretty!
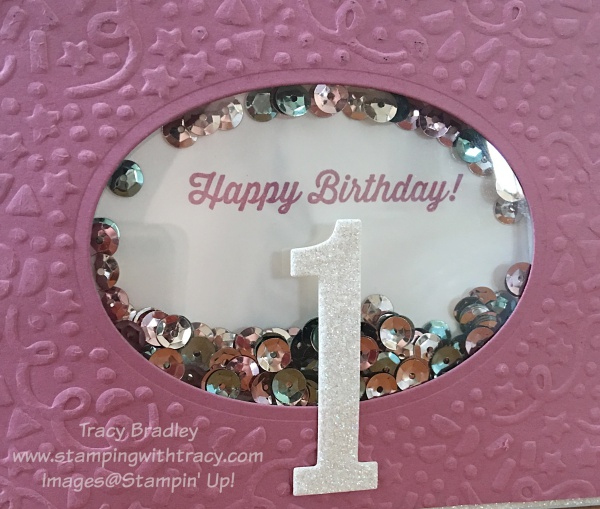
As I sat down to make a birthday card for a sweet little girl turning ONE, I knew that the sequins would be perfect for a shaker card! This is an item that can be used all year round, not just during the holidays.
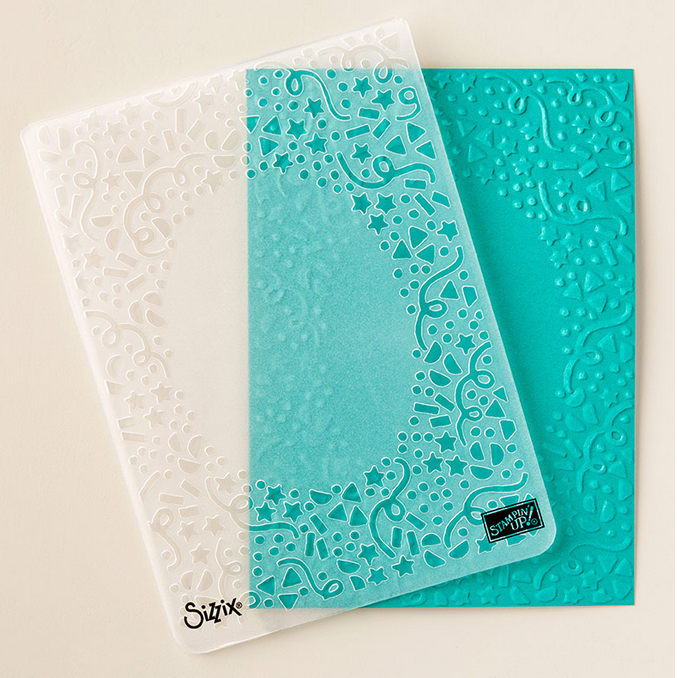
I started out embossing a piece of Sweet Sugarplum cardstock with the Confetti embossing folder. As you can see from the photo below, the center area is not embossed. I was able to find the perfect size oval in the Layering Ovals Framelits (this set includes 15 dies) to cut the center out.
I attached a window sheet to the front and used our new Foam Adhesive Strips to create the barrier to hold the sequins. After adding the sequins, I put another window sheet over the top.
It’s hard to tell from my photo, but I cut the number one out with our Dazzling Diamonds Glimmer Paper. Very sparkly in person. All of the supplies I used to create my card are listed below. If you have any questions, feel free to contact me!
Thanks for stopping by!
Product List- Click on any of the products and you’ll be taken to my Stampin’ Up! online store. Per Stampin’ Up!, I haven’t listed the Fancy Frost Sequins since the catalog isn’t live yet.
Earlier this week I sent this card to a friend to let her know that I’ll be thinking of her on Monday. Her mom passed away in November and Monday would have been her birthday. It’s always so hard to convey that you care to people who are grieving. My father passed away almost seven years ago (it is shocking to write this and know it has been so long since that awful day). My mom received cards on the first anniversary of his death and it was such a comfort knowing that people remembered and cared enough to send a card.
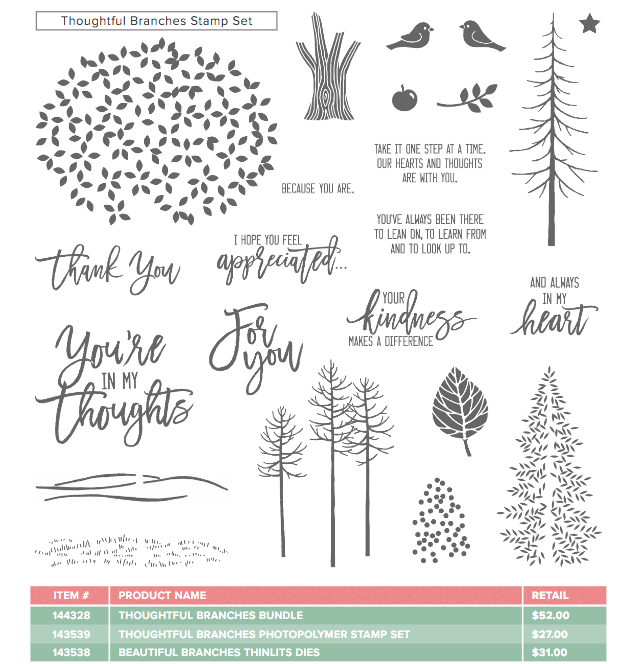
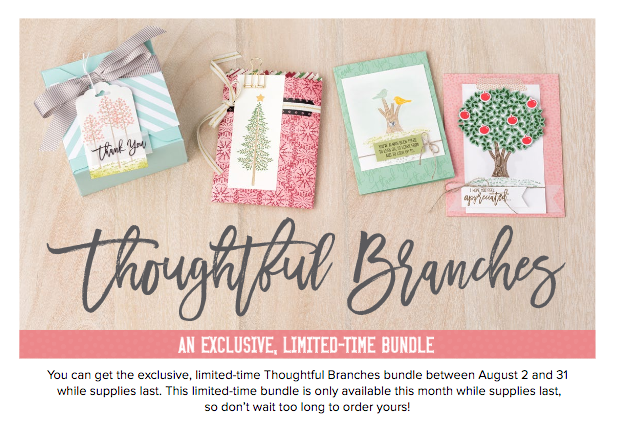
I wanted my sentiment, You’re in My Thoughts, to be the focal point of the card so I used the stamp set Thoughtful Branches. I was late to the game on purchasing this set. Funny how something doesn’t appeal to you and then you just HAVE to have it. I love sets with beautiful fonts and this one is perfect. If you think you want to add this to your collection, it is only available until August 31st and it has a matching Framelit. You can buy it as a bundle and save 10% or purchase the stamp set or the Framelit separately.
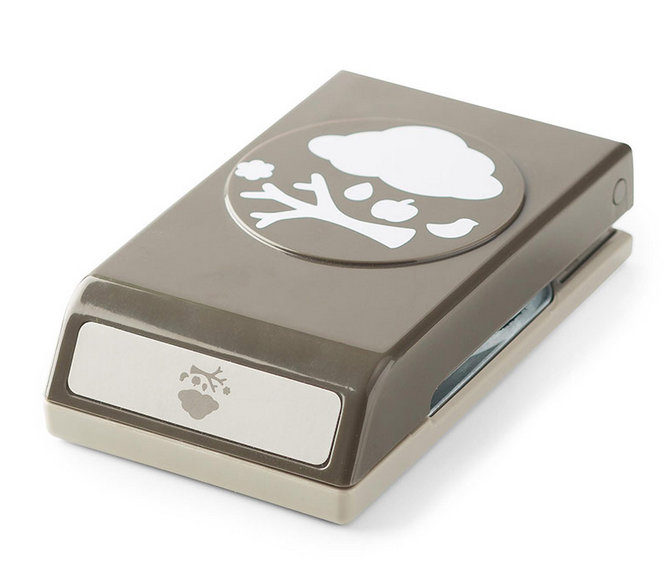
I used Blooms and Bliss paper (new in the Annual Catalog) with Mint Macaron cardstock. Rich Razzleberry gives it a nice pop of color. I punched my flowers out with the Petite Petals punch and used a sponge dauber to add some color around the edges. I wanted a teeny tiny flower in the middle and the Tree Builder punch came to the rescue. I also added some Wink of Stella to add glitter to each Petite Petals flower.
Tree Builder Punch
Many thanks to fellow SU! Demonstrator, Dena Rekow, for the inspiration for this card.
Have a terrific day! If you have any questions, please don’t hesitate to ask!
Product List – Below I’ve listed the products I used to make my card. Clicking on any of them will take you to my Stampin’ Up! online store.
Today I’d like to share a card with you and let you know about a new stamp set available this month with matching Thinlits!
I’ve been giving myself permission to do lots of experimenting with my craft products without the worry of having a completed project. I love the beautiful backgrounds you can achieve with ink and water and let me tell you, it can be quite addictive. Each piece is definitely one of kind. I can’t tell you how many backgrounds I have sitting on my craft table at the moment just waiting for me to turn them into a card!
I decided to make this card sweet and simple. To achieve the look of the background, I wet my watercolor paper and then dropped color onto it. The water spreads the ink. I embossed my sentiment using one of our new single stamps from the annual catalog – Stylized Birthday.
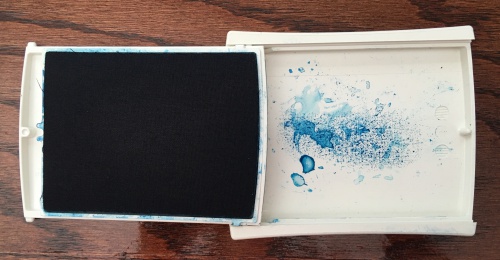
If you squeeze your Stampin’ Up! ink pad, you’ll find that the ink transfers to the lid. You can pick up the ink with the tip of an Aqua Painter and then start adding color to your wet watercolor paper. While the ink is still on the cover of the ink pad, you may need to add a few drops to mix the ink. As I mentioned above, before you add the color to your paper, wet the entire piece of paper first with a paint brush or Aqua Painter, being careful not to saturate it too much as you’ll have a lot of warping.
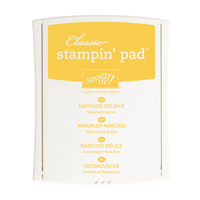
I made this panel last week and unfortunately I didn’t write down what colors I used. If I had to make a guess I would say, Pacific Point, Cucumber Crush and Daffodil Delight.
This really is a fun technique! Give it a try!!
Here’s the new stamp bundle I mentioned at the beginning of my post! It is available for purchase but only while supplies last. You can purchase it as a bundle and save 10% or buy the stamp set or Thinlits separately.
As a demonstrator I was given the opportunity to purchase this last month and I didn’t. I’ve seen so many cute cards using the set and I love the font used for the sentiments. So, I placed my order and it arrived yesterday. Can’t wait to create with it!
Product List- Below you’ll find the products I used to create my card. Click on a product to be taken to my online store! If you have any questions, don’t hesitate to email me: tracy@stampingwithtracy.com


 You are always welcome to contact me if you have any questions: tracy@stampingwithtracy.com