by Tracy | Nov 29, 2022 | Uncategorized
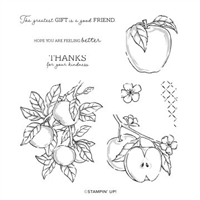
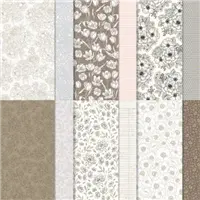
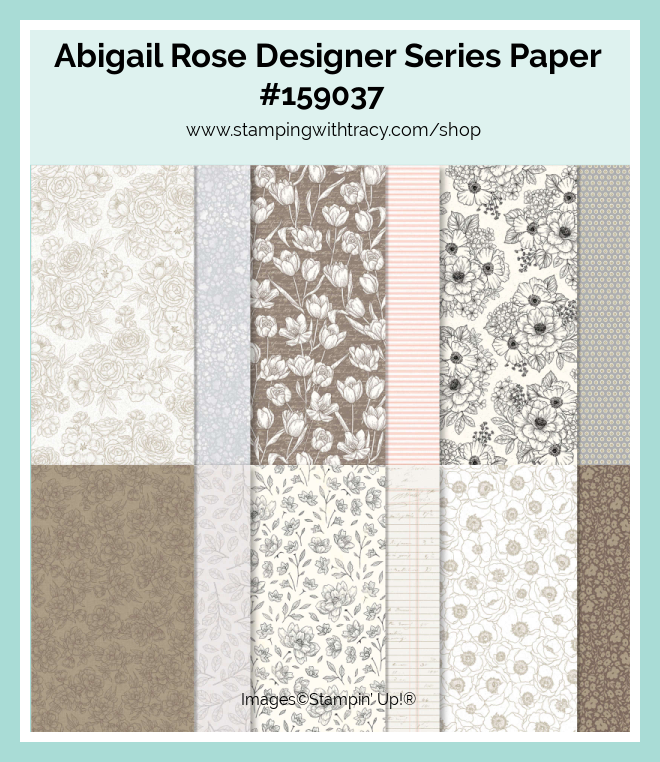
All three of today’s cards were created using Abigail Rose Designer Series Paper, Stylish Shapes Dies and the Apple Harvest stamp set. Using this same design, I created two other versions of this card with a Christmas theme that you can see here.


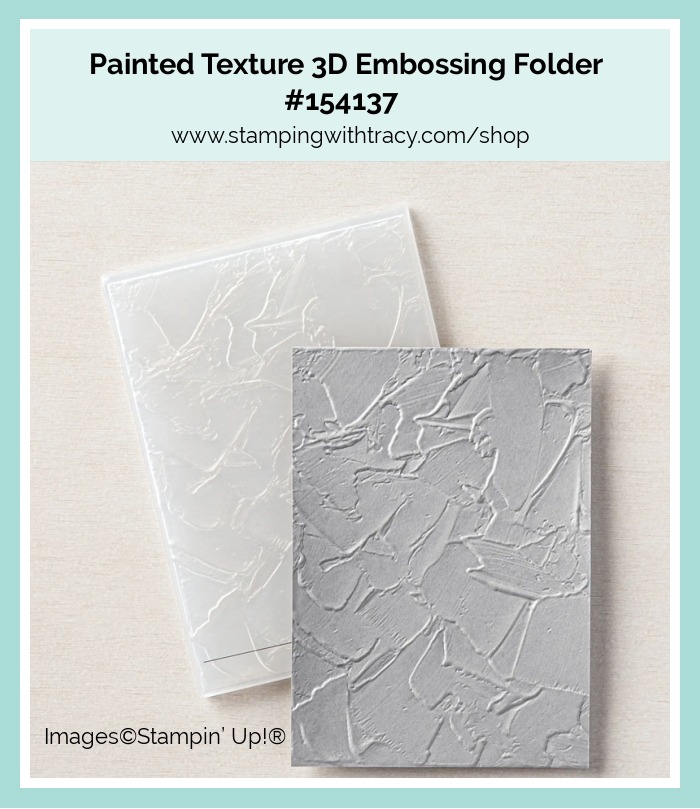
I started with a piece of Early Espresso cardstock for the base of my card. Next, I embossed a piece of Crumb Cake cardstock using the Painted Texture 3D Embossing Folder and then adhered it to the base of the card.

I cut two pieces of Abigail Rose Designer Series Paper and layered them onto two pieces of Early Espresso cardstock. I adhered the vertical one with Multipurpose Glue but added Stampin’ Dimensional to the back of the horizontal one before placing it on the card.

I stamped the sentiment onto a piece of Very Vanilla cardstock using Early Espresso ink and the stamp set, Apple Harvest. I cut it out using the Stylish Shapes Dies, added Stampin’ Dimensionals to the back and adhered it to the front of the card. To complete the card, I added three Elegant Faceted Gems to the front and a piece of Very Vanilla cardstock to the inside.
For this next card, I used Smoky Slate and Basic White cardstock, the Timeworn Type 3D Embossing Folder and Iridescent Pearls.

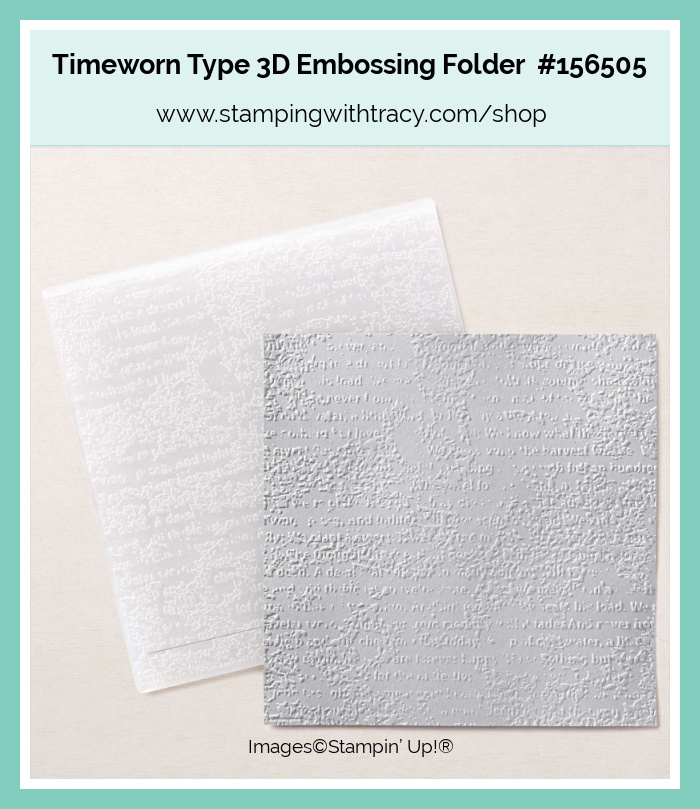
For this last card, I used Early Espresso cardstock, the Timeworn Type 3D Embossing Folder and Elegant Faceted Gems.

Supply List
Below you’ll find all the Stampin’ Up! supplies I used for all three of today’s cards. If you need any stamping supplies, I’d love to be your demonstrator! You can place an order by clicking any of the images below to go to my Stampin’ Up! online store.
Measurements
- Early Espresso or Smoky Slate (base): 11″ x 4-1/4″ scored at 5-1/2″
- Early Espresso or Smoky Slate: (2) 3-3/4″ x 2″
- Abigail Rose Designer Series Paper: (2) 3-1/2″ x 1-3/4″
- Crumb Cake, Basic White or Very Vanilla cardstock (embossed and inside): (2) 5-1/4″ x 4″
- Very Vanilla or Basic White cardstock (sentiment): approx. 2-3/4″ x 1-1/4″

Click here for the Last Chance List
Click here for the Carry Over List (items from the Mini Catalog that aren’t retiring)


Thanks for stopping by today!
by Tracy | Sep 6, 2022 | Uncategorized
Today’s card was created using Abigail Rose Designer Series Paper and the Amazing Thanks Dies. This card may look like it’s hard to make but it really isn’t!

I started with a piece of Thick Basic White cardstock for my card base. I then used the Amazing Thanks Dies to cut the word thanks out of Early Espresso cardstock (the chunkier thanks) and one out of Basic White cardstock (the “thinner” one). I used Multipurpose Glue to adhere the two pieces together and then added Mini Stampin’ Dimensionals to the back (I had to cut some of the dimensionals in half).
Then I cut a piece of Early Espresso cardstock and Abigail Rose Designer Series Paper in half on the diagonal (you can find the measurements I used below the Supply List). For each piece I placed the top right corner (on the shorter side) and the bottom left corner in the track of my Paper Trimmer and then cut. I then glued the Designer Series Paper to the cardstock and then adhered them to my card front.


Then I adhered the “thanks” between the two pieces. To complete the card, I added three Rhinestones.

Supply List
Below you’ll find all the Stampin’ Up! supplies I used for today’s card. If you need any stamping supplies, I’d love to be your demonstrator! You can place an order by clicking any of the images below to go to my Stampin’ Up! online store.
Measurements
- Thick Basic White cardstock: 11″ x 4″ score at 5-1/2″
- Early Espresso cardstock: 4-1/4″ x 3-1/4″
- Early Espresso cardstock (thanks): approx. 3-3/4″ x 1-1/2″
- Basic White cardstock (thanks): 3-3/4″ x 1-1/2″
- Abigail Rose Designer Series Paper: 4″ x 3″
Abigail Rose Card Sampler

Place a minimum $50 order (before tax/shipping) at my Stampin’ Up! Online Store using my special host code TWSWHDFM and I’ll send you my Abigail Rose Card Sampler.
You’ll receive six card kits (two cards each of three different designs) and everything will be cut, scored, and die cut for you! You’ll quickly have six cards ready to mail or give to someone special. For more details, please click HERE.
Don’t forget to use the host code when placing your order so I’ll know you want this sampler. When you use the host code, it allows me to continue to offer my Samplers for the low cost of free! EXCEPTION: if your order is $150 or more do not use the host code so you can receive Stampin’ Rewards directly from Stampin’ Up!. Contact me after you’ve placed the order to let me know that you’d like the Sampler – you only need to contact me if your order is $150 or more.
Orders must be placed by September 9, 2022 and the Card Samplers will be mailed approximately September 19, 2022.


New Bundle – Warm Welcome

The Warm Welcome Bundle is now available (it’s an early release from the January – June 2023 Mini Catalog)!! This is one of three crafting bundles that will be used during the Stampin’ Up! World Card Making Day virtual event on October 1, 2022! You can attend this event FREE by registering here (you don’t have to register for the event, but if you do, you’ll be informed of all the fun crafting in store). No purchase is necessary to attend the event.
Stampin’ Up! will be showcasing three different bundles on World Card Making Day: Cottage Rose Bundle, Cottage Wreaths Bundle and the Warm Welcome Bundle. If you purchase any of these bundles by October 1st, Stampin’ Up! will include a FREE package of Iridescent Pearl Basic Jewels in your order. Click here to see the flyer of all three bundles.
Edited to Add: Be sure to add the Iridescent Pearl Basic Jewels (item 158987) embellishment to your cart when shopping for your bundle(s). It must be added after you’ve placed one of the above bundles in your cart.


Thanks for stopping by today!
by Tracy | Aug 24, 2022 | Uncategorized
Today’s card was made using Abigail Rose Designer Series Paper and the Amazing Thanks Dies.

I started with a piece of Thick Basic White cardstock. Then I cut a piece of Abigail Rose Designer Series Paper (I think this design is so elegant looking in person) and adhered it to a piece of Smoky Slate cardstock (all the measurements I used can be found below the Supply List). These layers were then adhered to a piece of Basic White cardstock. I added Stampin’ Dimensionals to the back and adhered it to the card base.

The Amazing Thanks Dies come with two “thanks” and one is chunkier than the other. I used Smoky Slate cardstock for the chunky one and Basic White for the other one. After I cut them out with the Stampin’ Cut & Emboss Machine, I layered them together using Multipurpose Glue. Then I put Mini Stampin’ Dimensionals on the back (I had to cut several dimensionals in half) and then adhered it to the card front.

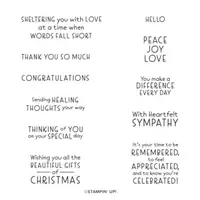
I stamped the sentiment in Smoky Slate ink onto a scrap piece of Basic White cardstock using the stamp set, Inspired Thoughts. The sentiment I used had more words than I needed, so I covered the words I didn’t want with Post It Tape, inked up the stamp, removed the tape and stamped it onto my cardstock.
I cut the sentiment out using the Stylish Shapes Dies (these dies are currently unavailable but more stock should be arriving the week of September 19th). I added Mini Stampin’ Dimensionals to the back and adhered it below “thanks”. To complete my card, I added three Elegant Faceted Gems below the sentiment.


Supply List
Below you’ll find all the Stampin’ Up! supplies I used for today’s card. If you need any stamping supplies, I’d love to be your demonstrator! You can place an order by clicking any of the images below to go to my Stampin’ Up! online store.
Measurements
- Thick Basic White cardstock: 11″ x 4-1/4″ score at 5-1/2″
- Basic White cardstock: 5″ x 3-3/4″
- Basic White cardstock (thanks): approx. 3-3/4″x 1 1/2″
- Basic White cardstock (sentiment): scrap
- Smoky Slate cardstock: 4-3/4″ x 3-1/2″
- Smoky Slate cardstock (thanks): approx. 3-3/4″x 1 1/2″
- Abigail Rose Designer Series Paper: 4-1/2″ x 3-1/4″
July – August Card Kits

During the month of July and August 2022, place a minimum $50 order using the host code 3AP9YADK at my Stampin’ Up! online store and I’ll send you at least six card kits. A card kit includes all the cardstock and Designer Series Paper you’ll need to complete a card. I cut, score, die cut and emboss all the pieces for you! You’ll just need to supply your own stamp set, ink and adhesive. You can use the stamp set I used to create the cards (Soft Seedlings) or use what you already own.
- $50.00 – $99.99 = 6 card kits
- $100 – $149.99 = 7 card kits
- $150 or more = 8 card kits
If your order is $150 or more, do NOT use the host code so you can receive Stampin’ Rewards directly from Stampin’ Up! You will automatically receive 8 card kits from me.
I have designed thirteen different cards using the same layout but with a variety of different cardstock, Designer Series Paper and embossing folders.
You’ll receive:
- At least six card kits with your minimum $50 order
- A nine page PDF tutorial with directions for the card, a supply list and twelve more ideas using the same layout
- At least one FREE Sale-a-Bration gift directly from Stampin’ Up!
- At least one Bradley Point (earn points and redeem them for free product)
- A thank you card you can send to someone!
If your order is $150 or more, do NOT use the host code so you can receive Stampin’ Rewards directly from Stampin’ Up! You will automatically receive 8 card kits from me.
This offer expires on August 31, 2022

One Week Left of Sale-a-Bration!
Sale-a-Bration is that time of year when you earn FREE product with every $50 or $100 purchase! There’s no limit to how many free items you can earn. Learn all about Sale-a-Bration here.

Learn more about the Starter Kit here and the extra gifts you can earn during Sale-a-Bration!

Perfect Partners Promotion Begins September 1st

Click HERE for the Perfect Partners promotion flyer (it’s two pages).
Spooky Treats Paper Pumpkin Kit
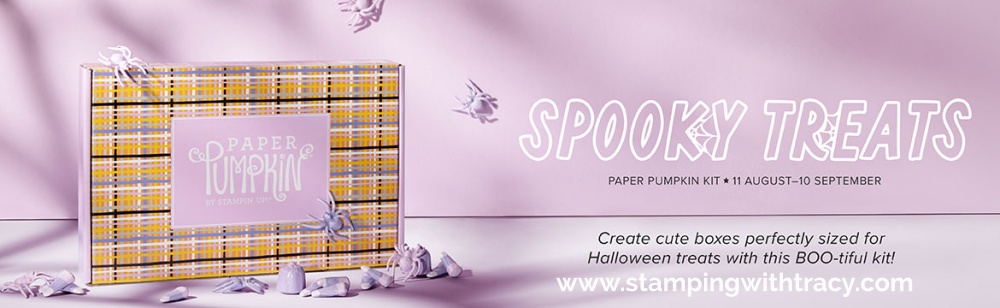
This kit includes:
- This month’s kit contains enough elements to create 18 treat boxes—6 each of 3 designs. This all-inclusive kit includes printed box bases and tops, die-cut paper pieces, adhesives, and more!
- The Spooky Treats Paper Pumpkin Kit includes an Orchid Oasis Classic Stampin’ Spot!
- This kit’s stamp set puts the TREAT in trick-or-treat with fun, Halloween-themed sentiments and designs. Embrace the spooky season with ghost, bat, spider, and star images.
- This kit also includes a special peek-through box top on one of the box designs.
- Order must be placed by September 10, 2022
Finished box size: 2-1/2″ x 3″ x 1″
Coordinating Stampin’ Up! colors: Basic Black, Gray Granite, Orchid Oasis, Fresh Freesia, Crushed Curry, Pumpkin Pie
You can cancel at any time or even skip a month
Click here to order the Spooky Treats Paper Pumpkin Kit
Thanks for stopping by today!
by Tracy | Aug 22, 2022 | Uncategorized
I have a card two cards to share with you today but first . . .
Last Chance for Texture Chic Card Sampler
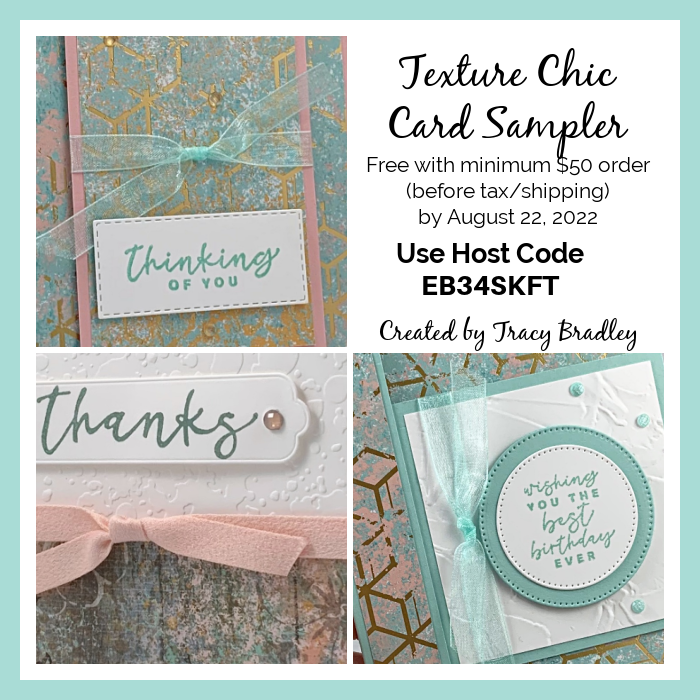
Place a minimum $50 order (before tax/shipping) at my Stampin’ Up! Online Store using my special host code EB34SKFT and I’ll send you my Texture Chic Card Sampler.
You’ll receive six card kits (two cards each of three different designs) plus you’ll qualify to earn at least one Sale-a-Bration gift.
Don’t forget to use the host code when placing your order so I’ll know you want this sampler. When you use the host code, it allows me to continue to offer my Samplers for the low cost of free! EXCEPTION: if your order is $150 or more do not use the host code so you can receive Stampin’ Rewards directly from Stampin’ Up!. Contact me after you’ve placed the order to let me know that you’d like the Sampler – you only need to contact me if your order is $150 or more.
Orders must be placed by August 22, 2022 and the Card Samplers will be mailed approximately September 1, 2022. Please click HERE for all the details.
The two cards I’m sharing today were made from a design I shared last week (you can see the original post here).
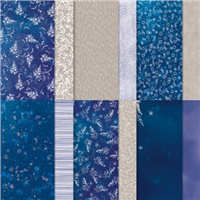
My first card was made with Sun Prints Designer Series Paper, Layering Circles Dies, Biggest Wish stamp set and the Fern 3D Embossing Folder.
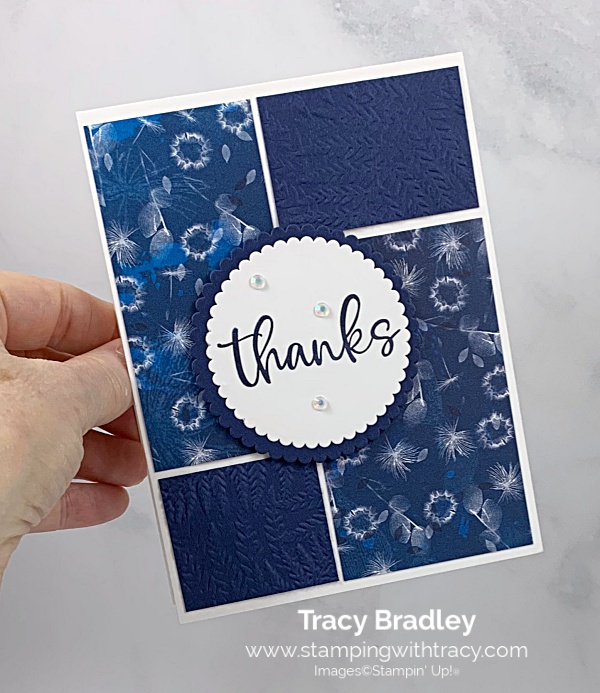
I started with a base of Thick Basic White cardstock and then added pieces of Sun Prints Designer Series Paper and Night of Navy cardstock embossed with the Fern 3D Embossing Folder (you can find the measurements I used below the Supply List).

I stamped the sentiment in Night of Navy ink using the stamp set, Biggest Wish, and cut it out with the Layering Circles Dies. I cut another scalloped circle out of Night of Navy cardstock and layered it with the sentiment. Stampin’ Dimensionals were added to the back before it was placed on the card.


To complete my card, I added three Iridescent Rhinestone Basic Jewels to the front of the card.


This second card was made with Abigail Rose Designer Series Paper, Smoky Slate cardstock and one of the Elegant Eucalyptus Embossing Folders.


Supply List
Below you’ll find all the Stampin’ Up! supplies I used for today’s card. If you need any stamping supplies, I’d love to be your demonstrator! You can place an order by clicking any of the images below to go to my Stampin’ Up! online store.
The Specialty Plate is used with 3D Embossing Folders.
Measurements
- Thick Basic White cardstock; 11″ x 4-1/4″ score at 5-1/2″ OR 8 1/2″ x 5-1/2″ score at 4-1/4″
- Smoky Slate or Night of Navy cardstock (embossed): 2-1/4″ x 1-1/2″
- Smoky Slate or Night of Navy cardstock (embossed): 1-3/4″ x 1-1/2″
- Smoky Slate or Night of Navy cardstock (circle): approx. 3″ x 3″
- Basic White cardstock (sentiment): approx. 2-3/4″ x 2-3/4″
- Sun Prints or Abigail Rose Designer Series Paper: 3-5/8″ x 2-1/4″
- Sun Prints or Abigail Rose Designer Series Paper: 3-5/8″ x 1-3/4″

Thanks for stopping by today!