by Tracy | Mar 28, 2015 | Uncategorized

A quick and easy box to make is the 2, 4, 6, 8 box. Its name comes from the fact that you score it at 2″, 4″, 6′ and 8″.
You’ll start with a sheet of cardstock measuring 8-1/2″ x 5-1/2″. On the long side you’ll score at 2″, 4″, 6′ and 8 inches.

On the short side, score it at 2 inches.

Next, cut up from the bottom of the paper, up to the 2 inch score line. These will be your flaps. Cut the small section out from the bottom right.

The picture below shows the inside of the box. If you want a hole so that you can see inside the box, put it on the panel indicated. Also, place adhesive (I recommend Sticky Strip or Fast Fuse for all of the areas where I indicate adhesive) on the flap shown. Tip: If you want to add DSP to your box, do it now BEFORE you cut a hole in the panel. You should have (4) pieces of DSP that measure 1-3/4″ x 3-1/4″.

This is the outside of the box. I’ve shown which flaps you should add adhesive to as well as what order to fold the flaps in when you start assembling. I’ve done it so that the last flap will fold towards the back of the box.

When putting the box together, I like to adhere the little flap to the opposite side first. Then fold the flaps in!

If you have any questions, let me know!
Product List – Click on any product and you’ll be taken to my Stampin’ Up! online store.
by Tracy | Mar 21, 2015 | Uncategorized

Is it just me or is it hard to believe that Easter is almost here??!! Time is just flying by!
When my daughters were growing up, they LOVED Cadbury eggs. I can’t pass them in the grocery store without thinking about my girls!
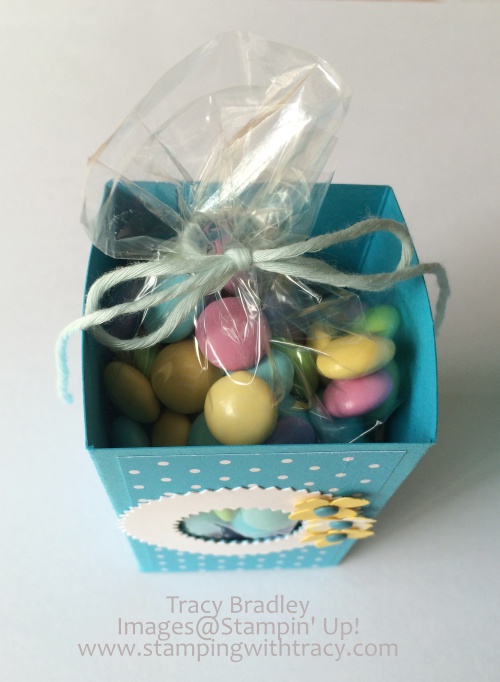
I was doing some Spring Cleaning the other day and came across a cello bag with Halloween candy (yes, the candy was still in there) and a cute topper. Since I haven’t made a topper in a while, I thought it would be perfect for the Cadbury eggs with a few Hershey eggs thrown in.
I used one of the cute little chicks from the set For Peeps’ Sake. The stamp has a row of three chicks but I only wanted the middle one, so I put some tape over the other two before I inked up the stamp. It’s very important to remove the tape before you stamp onto your Whisper White card stock (ask me how I know). My sentiment comes from this same set. I punched out my chick with the 2-3/8″ Scallop Circle punch and then used my Stamp-a-ma-jig to place the sentiment exactly where I wanted it. If you aren’t sure what a Stamp-a-ma-jig is or how to use it, you can watch a video I made two years ago by clicking here. I think this was my very first video. I’m a bit ( a lot) embarrassed by it but what the heck, gotta start somewhere, right?
Using my dauber, I sponged around the scallop circle and the flowers with Daffodil Delight. I think the topper would have been cute had it been embossed but I ALWAYS do that so I decided to just leave it plain. I have to admit, I love an embossed piece of paper.
Have a lovely weekend! I’ll be back on Monday!
Product List
Click here to place a Stampin’ Up! order. Every $50 (before shipping/tax) purchase entitles you to a free Sale-a-bration product. $100 = 2 Free products . . . . .


