by Tracy | Oct 31, 2016 | Uncategorized
I have a second post today! I wanted to show this card to you while the Buy 3, Get 1 Free sale is still on – it ends today!
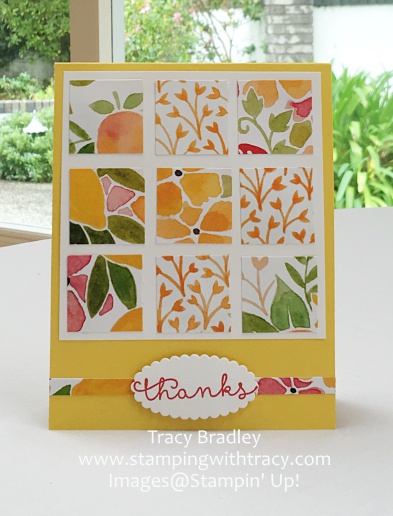
This was a fun and very easy card to make. I cut the squares using my paper cutter but you could use one of the squares in the Layering Squares Framelits. I used the Fruit Stand DSP and each square is 1-1/8″ x 1-1/8″. I mounted nine of these squares onto a 4″ x 4″ piece of Whisper White cardstock which was then adhered to a base of Daffodil Delight. I also attached my sentiment to a narrow piece of the same paper. I used Watermelon Wonder to stamp my sentiment using the set Cottage Greetings.
Product List – These are the products I used to make my card. To place an order or for more information, just click on any of the pictures.
LAST DAY OF THIS SALE!!


by Tracy | Oct 31, 2016 | Uncategorized

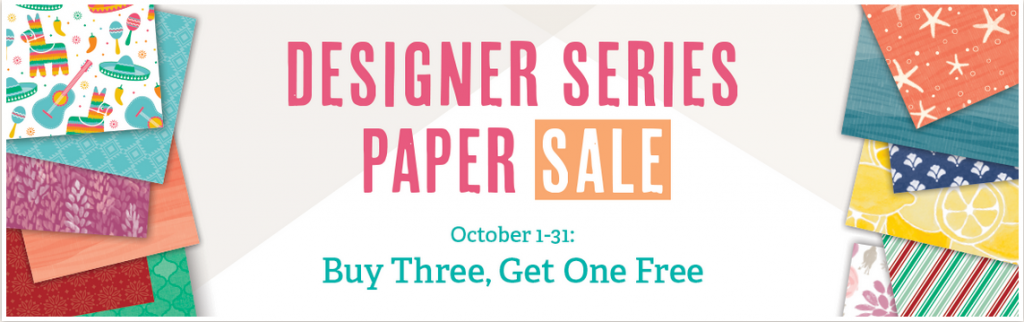
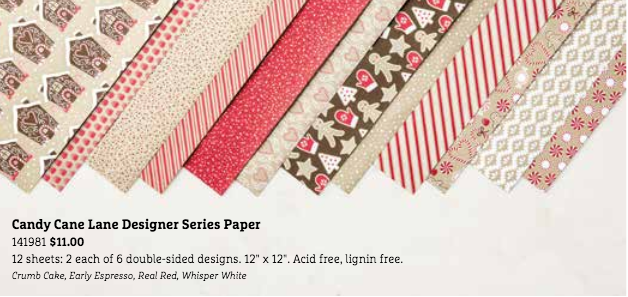
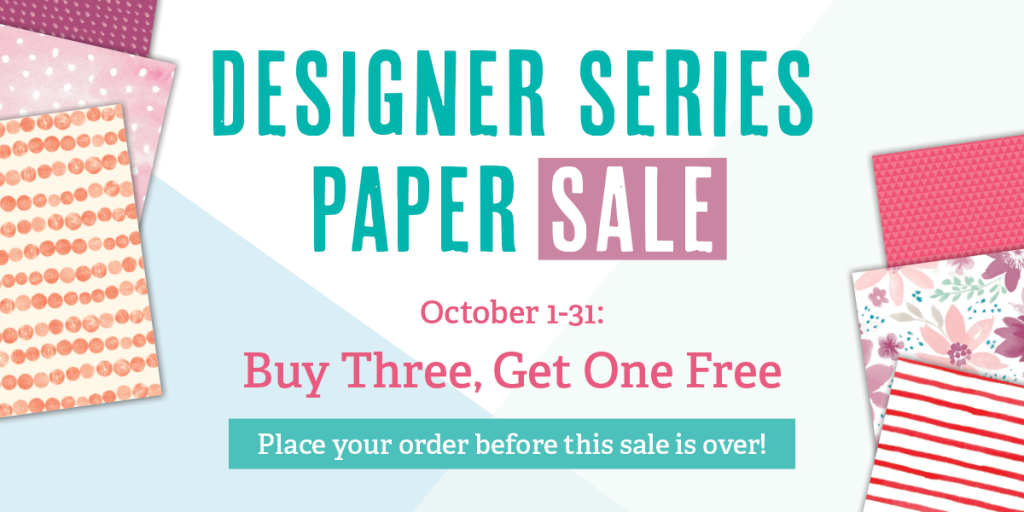
Today is the last day to buy three packs of Stampin’ Up! Designer Series paper and receive one pack absolutely free! Be sure to scroll down to the end of the post to see all of the beautiful paper available!
Yesterday I shared a gift bag using our Fruit Stand Designer Series paper and today I have a card with the same cute paper. Look how easy it is to make a card with this paper! Simply add a sentiment and you’ve got a card to give or send off to someone!
Product List- I’ve listed all of the products I used to make my card today. Click on any of the pictures to place an order or for more information!

by Tracy | Oct 30, 2016 | Uncategorized

Apples will always make me think of my days as an elementary school teacher. Wouldn’t this be cute paper to use for a thank you gift to a teacher??
This bag is quite easy to make. You score a few lines, cut, add adhesive and you’re done! Start with a 6″ x 12″ piece of paper. On the 12″ side, score @ 4″, 5-1/2″, 9-1/2″ & 11″. On the 6″ side, score @ 4-1/2″ (this will be the bottom of your box so if you have a design on the paper, make sure it’s going the correct direction). Fold on all the score lines and cut up to the 4-1/2″ score line. See the picture below.

Next, on the front of the box, apply adhesive as shown in the picture below.

Turn your paper over to the inside of the box and place adhesive as shown. That one flap will hold the bottom together so add adhesive to the entire panel.

Now it’s time to put the box together. Bring the small flap with adhesive (on the end), over to the other side to form the box. To make the bottom of the box, bring in the two small flaps first, then the piece WITH adhesive. Close it up with the last flap which will be attaching to the adhesive.
You can use a clip as I did or leave it open. Below are two more samples. I didn’t decorate the one the left because I thought it looked so pretty with the peaches. All of the products I used to make my bags can be found at the bottom of the post.


This paper is currently on sale, but only until tomorrow, October 31st! Mix and match any of the papers below for the Buy Three, Get One Free sale! Simply enter all four papers in your online order and the 4th one will automatically come up FREE.
Product List – Click on any of the products below for more information or to place an order!
by Tracy | Sep 19, 2016 | Uncategorized
Hi Friends!
I hope you had an enjoyable weekend! We are still experiencing warm weather, low 90’s, and I am very ready for some fall weather.
Today I’m sharing a 3″ x 5″ notepad. I used Peekaboo Peach for the cover of the notepad along with Whisper White and finished it off with a piece of Fruit Stand Designer Series Paper. While creating this I kept trying to bring in a complimentary color but I wasn’t happy with any of the combinations and decided to go with a monochromatic look.

I used the Layering Ovals Framelits for my sentiment. These are currently on sale until Wednesday for 25% off. They rarely go on sale so I’d say go for it if you’ve been thinking about purchasing them! The butterfly is one of two butterflies in the Bold Butterfly Framelits. I couldn’t resist adding a few rhinestones for some sparkle.
I sponged Peekaboo Peach around the edges of the scalloped piece. I was surprised by how dark it looked, actually pleasantly surprised. My sentiment is part of the Watercolor Wishes Card Kit (a kit with all the supplies to make 20 cards and a stamp set).
If you’d like the dimensions and supplies for this project in PDF format, click here.
Product List – Below you’ll find the products I used to make my project. Please note that the Layering Ovals Framelits are on sale until Wednesday but the sale price isn’t reflected here. Click any of the pictures in the Product List to see them in the store or for more information.

I currently have an ordering special! For every $50 purchase (before shipping/tax) at my Stampin’ Up! online store, you can choose a free stamp set. This offer is good until September 30th. Click here to read all the details!
To visit my Stampin’ Up! online store, click here!


