by Tracy | Oct 14, 2016 | Uncategorized
Happy Friday!
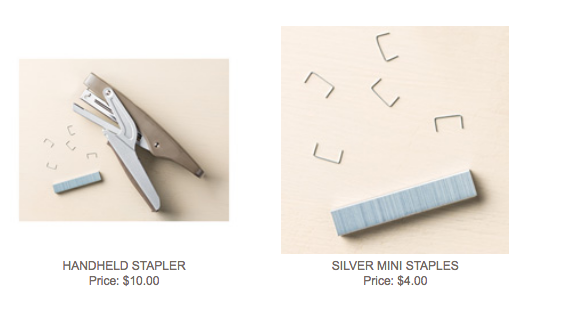
Quick post to let you know that due to supplier issues, the Handheld Stapler (item 139083) and coordinating Silver Mini Staples (item 135847) will be discontinued after current inventory runs out. I LOVE this stapler because the staples are small and it works great with crafting projects. If you’ve been on the fence about it, I would order one today. Personally, I am going to stock up on the staples! Click here to place your order.
 Today I have another way to use your stamps – in your planner or for list making! I have a small notebook that I use for my to do list. I was trying to think of a way to jazz it up a bit and thought, why not use a small stamp instead of a dot beside each item. I don’t know about you but I tend to not even see the small stamps in a set. I went looking through my stash and this is what I came up with.
I used the Foxy Friends stamp set in the picture below. It does take up two spaces but I’m ok with that since it is SO CUTE!

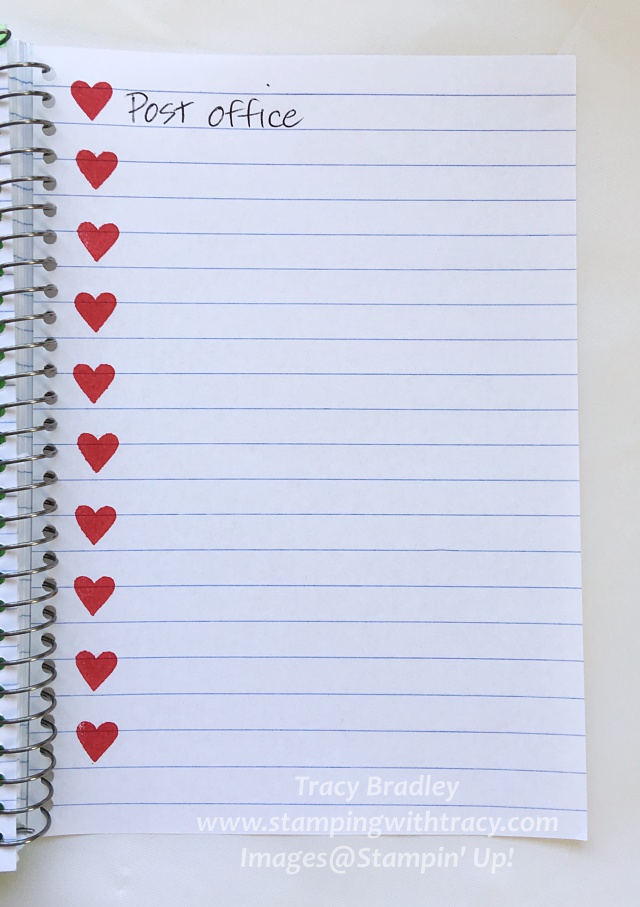
Another idea using the stamp set Jar of Love.
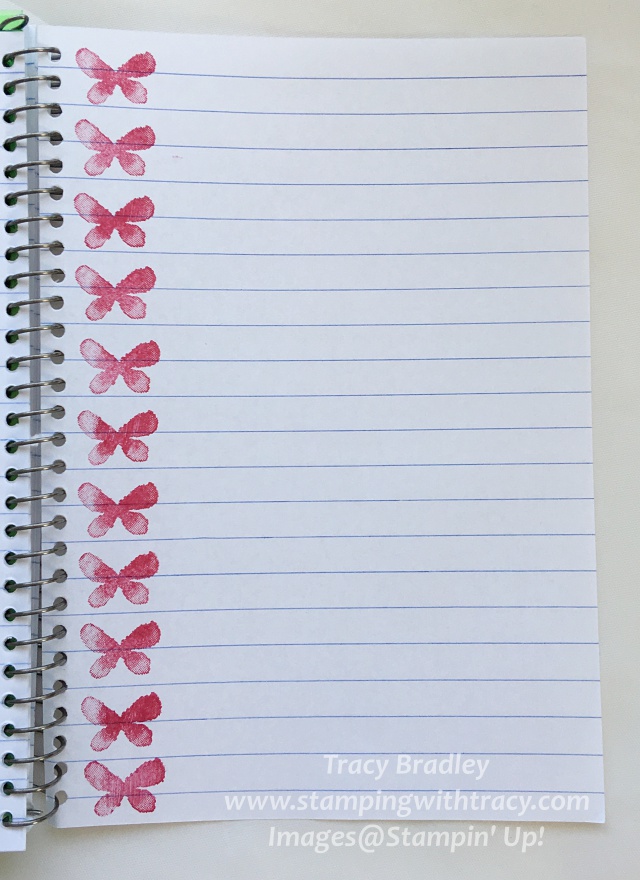
And this one uses Garden in Bloom.
Just another way to use your stamps! Look through your stamp sets and really look for those small stamps! You may be surprised at what you find. Have a terrific weekend!
Product List – To place an order, click any product below!
HOST CODE for October: GW4DWJQQ
by Tracy | Sep 27, 2016 | Uncategorized

Welcome to Day 7 and the last day of my Treat Packaging Series!
Today I have a little Pumpkin Jar box! I photographed it in my hand so that you could really see how small it is. I have to give credit to BJ Peters, a fellow Stampin’ Up! demonstrator, for this cute idea! I just love it!
I used two stamp sets that coordinate together in that you can use the Everyday Jars Framelits with both of them! The jar is from the stamp set Jar of Love and the pumpkin face uses Jar of Haunts. The jar was cut out of Pumpkin Pie cardstock using the Framelits. The Hardwood stamp set will need to be inked up with Pumpkin Pie to get the image of wood on the pumpkins. The lids were cut out of Basic Gray cardstock and stamped with Basic Gray ink. The sparkle on the lids is achieved by using Wink of Stella. The lid is then glued to the pumpkin.

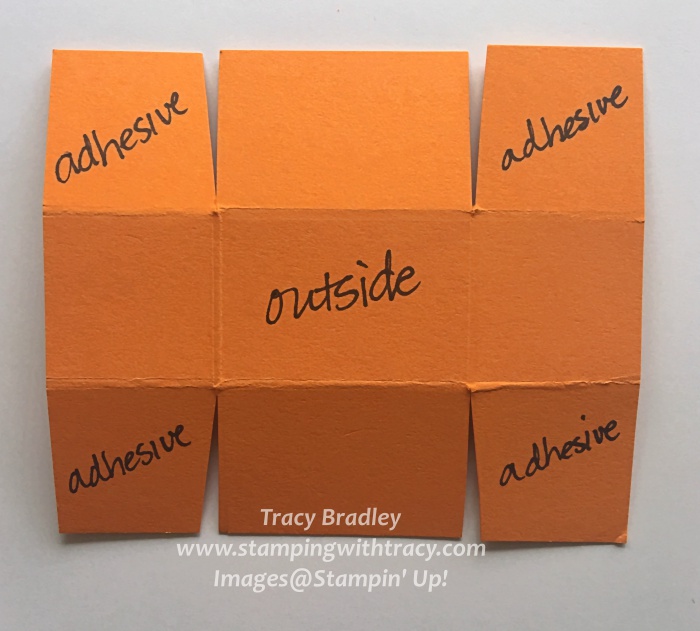
The little box to hold the treats was made out of Pumpkin Pie cardstock. The paper measures 3-1/2″ x 3″. On the 3-1/2″ side, score it at 1″ & 2-1/2″. On the 3″ side, score it at 1″ & 2″. Fold all the score lines and then cut up to the score lines along the 3-1/2″ side. I also snipped a small amount from the ends to help the box go together more easily. This is how your paper will look.

Next, you’ll add adhesive on the flaps and bring up the sides to form the box.
Glue the pumpkins to the finished box. Pinch the tops together (I added a glue dot) and tie it up with Baker’s Twine! 
I was able to add two Hershey’s Nuggets inside! All of the products I used to make this cute little guy are listed below. If you have any questions, don’t hesitate to ask! Thanks for stopping by!
Product List – Click any of the products below to place an order or for more information.


