by Tracy | May 27, 2017 | Uncategorized

It’s Day 3 of my Delightful Daisy Mini-Series where I showcase the many beautiful designs in the Delightful Daisy Designer Series Paper! This package of paper will be available in just 6 days on June 1st!

The paper on on my card today really lives up to the name Delightful Daisy. One of the coordinating colors listed on the package is Old Olive so I used that color to create the frame around the sentiment.

The first step in creating this card is to cut a piece of DSP (Designer Series Paper) measuring 4″ x 5-1/4″. At the same time, cut a piece of Whisper White using these same measurements. Now,using the Layering Circles Framelits, cut a circle on the front of the DSP.
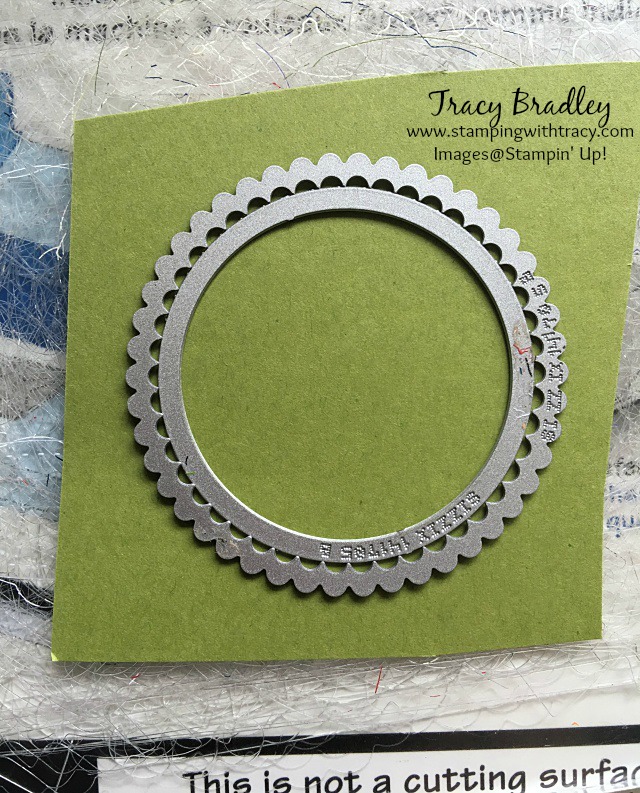
To make the frame, I used that same circle and the next size up with scallops. The picture below shows how I placed them both on my Old Olive paper. Run them through the Big Shot and you’ve created a perfect frame! Glue this Old Olive frame to the front of the DSP.
The sentiment is from the stamp set Eastern Beauty (it’s available June 1, 2017 – just a few days away!). I placed the Daisy paper on top of the Whisper White paper so I could see where to stamp the sentiment. I made some faint marks with a pencil and then removed the DSP and stamped the sentiment using Memento Ink. Now glue this to the base of your card. I used Whisper White measuring 11″ x 4-1/4″.
Lots of Stampin’ Dimensionals on the back of the DSP gives the card lots of dimension. Attach this piece to the front of your card and add an Old Olive heart from the Brights Enamel Shapes and your card is finished!


The Eastern Beauty stamp set will be available on June 1st but you can purchase it today as part of either the Eastern Beauty Starter Bundle or the Eastern Palace Premier Bundle. For more information about both of these bundles, you can click their pictures in the Stamping Supplies list below or click here to see a blog post about them. These bundles will not be available after the 31st.
Stamping Supplies: Listed below are the products below that I used to create my card. The Delightful Daisy DSP IS listed but it won’t be available for purchase until June 1, 2017. Everything else is available today!
Have a wonderful weekend!

by Tracy | Apr 6, 2017 | Uncategorized

I am really going to miss the Moroccan Designer Series Paper when it retires. Isn’t it funny how you think you don’t like something and then end up loving it??? That’s me with this paper. It’s just in the last few months that I’ve realized just how beautiful it is!
I made today’s card for my daughter, Jenny! I used the Brushwork Alphabet stamp set to write out her name with Early Espresso ink on Very Vanilla cardstock and then cut it out with the Layering Circles Framelits. I then stacked it onto two more scalloped circles using these same Framelits. I added an enamel heart from the 2016-2018 In Color Enamel Shapes.

Card Measurements
Emerald Envy Card Base: 11″ x 4-1/4″ Scored @ 5-1/2″
Early Espresso: 4″ x 5-1/4″
Moroccan Designer Series Paper: 3-3/4″ x 5″
Stamping Supplies – Below you’ll find all the supplies I used to make my card! Click on any of the pictures and you’ll be taken to my Stampin’ Up! online store.
I hope you’ll join me tomorrow as I take part in a blog hop!
by Tracy | Mar 28, 2017 | Uncategorized
Last Friday I shared a card I made using the beautiful Designer Series Paper, Floral Boutique. You can see that post HERE.
Today I have a several more cards that use this same paper!


Here are the measurements I used:
Night of Navy cardstock (base of card): 11″ x 4-1/4″ scored @ 5-1/2″
Whisper White cardstock: 2-3/4″ x 5-1/4″
Designer Series Paper: 2-1/4″ x 5″
I used the Stitched Shapes Framelits for each of the cards but the first two also use the Layering Ovals Framelits.
The 3rd and 4th card both also use the Layering Circles Framelits.
All of the cards today use the stamp set from the Oh Happy Day Card Kit. It really is a versatile set!

Stamping Supplies – Below are the products I used to create my card. Click on any of the pictures and you’ll be directed to my Stampin’ Up! online store. Once there, it’s easy to add an item to your cart. If you have any questions, don’t hesitate to ask!

Sale-a-bration is almost over!! For every $50, you can choose free gifts! Click here for more information!
Use the March host code and receive a free roll of Succulent Garden Ribbon. This offer is only available through me, Tracy Bradley, so please be sure that you see my name in the upper right hand corner when placing your online order. If your order is over $150, don’t use the host code and you’ll receive host rewards!
March Host Code: UAWUUQG4

by Tracy | Nov 4, 2016 | Uncategorized

Several days ago I shared a card I made using the Seasonal Decorative Masks from Stampin’ Up! You can see it HERE. For today’s card I used the same mask and colors to create my design and then sized it down for this layout.
Here are the measurements for the panels: Dapper Denim: 2″ x 5-1/4″ & Whisper White: 1-3/4″ x 5″
Any questions, don’t hesitate to ask!
Product List – Click on any of the products below for more information or to place an order!
by Tracy | Oct 30, 2016 | Uncategorized

Apples will always make me think of my days as an elementary school teacher. Wouldn’t this be cute paper to use for a thank you gift to a teacher??
This bag is quite easy to make. You score a few lines, cut, add adhesive and you’re done! Start with a 6″ x 12″ piece of paper. On the 12″ side, score @ 4″, 5-1/2″, 9-1/2″ & 11″. On the 6″ side, score @ 4-1/2″ (this will be the bottom of your box so if you have a design on the paper, make sure it’s going the correct direction). Fold on all the score lines and cut up to the 4-1/2″ score line. See the picture below.

Next, on the front of the box, apply adhesive as shown in the picture below.

Turn your paper over to the inside of the box and place adhesive as shown. That one flap will hold the bottom together so add adhesive to the entire panel.

Now it’s time to put the box together. Bring the small flap with adhesive (on the end), over to the other side to form the box. To make the bottom of the box, bring in the two small flaps first, then the piece WITH adhesive. Close it up with the last flap which will be attaching to the adhesive.
You can use a clip as I did or leave it open. Below are two more samples. I didn’t decorate the one the left because I thought it looked so pretty with the peaches. All of the products I used to make my bags can be found at the bottom of the post.


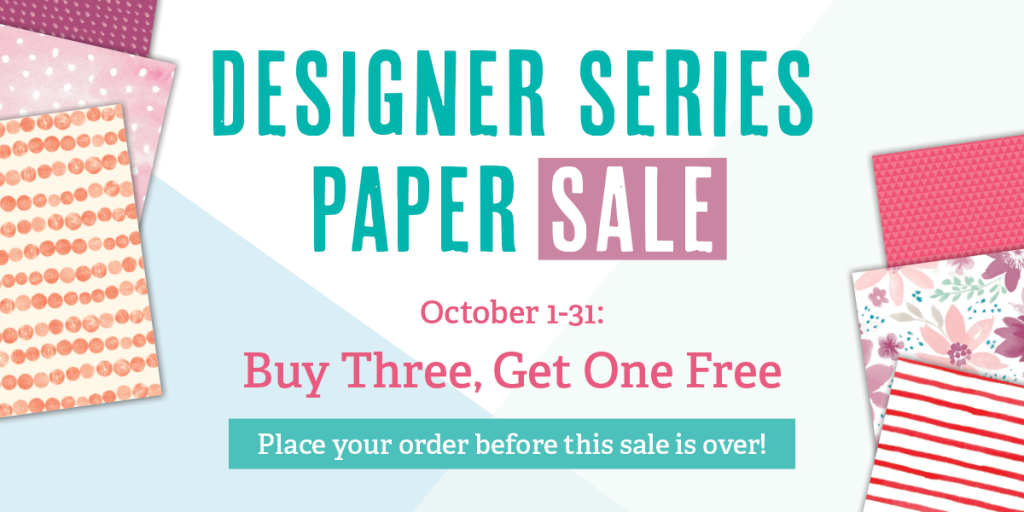
This paper is currently on sale, but only until tomorrow, October 31st! Mix and match any of the papers below for the Buy Three, Get One Free sale! Simply enter all four papers in your online order and the 4th one will automatically come up FREE.


Product List – Click on any of the products below for more information or to place an order!


