by Tracy | Jul 27, 2026 | With Sincere Thanks
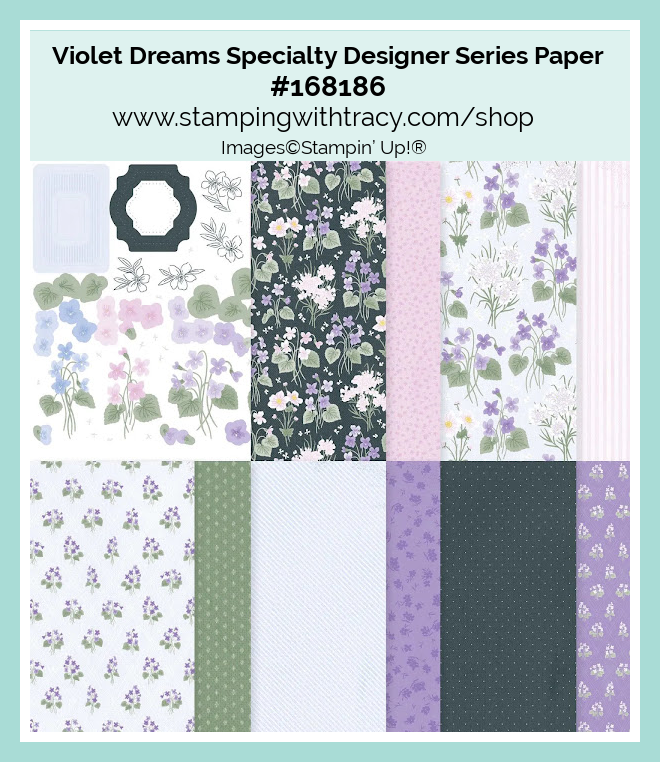
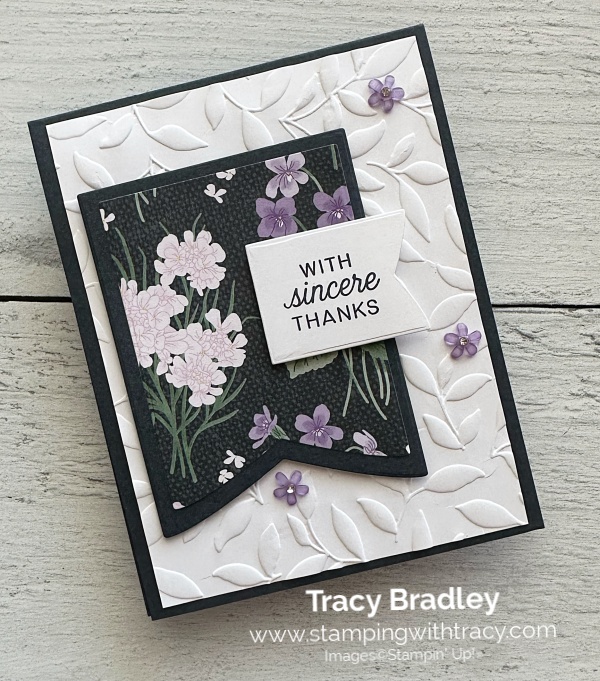
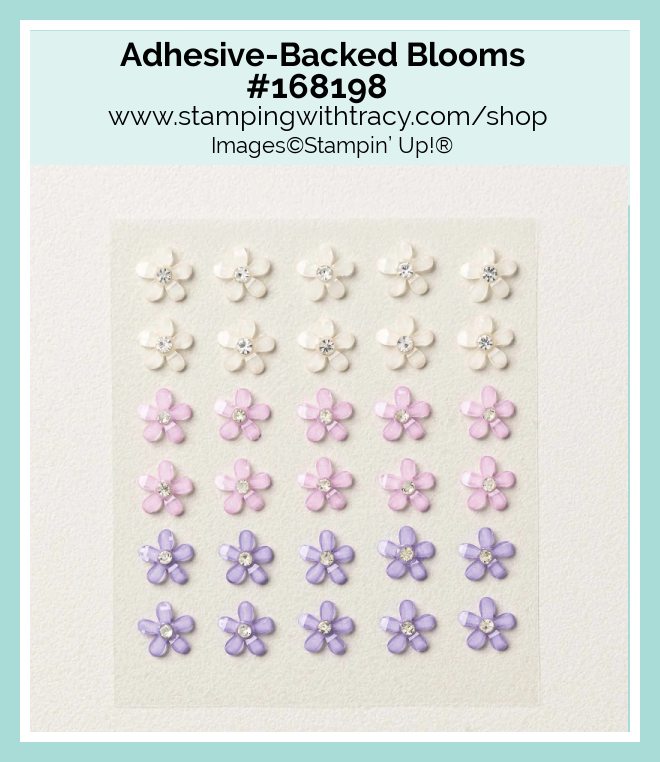
I have a card for you today using the Party Banners Dies, Violet Dreams Specialty Designer Series Paper (an Online Exclusive), Scalloped Wishes Stamp Set (an Online Exclusive), Paradise Garden Hybrid and Embossing Folder and Adhesive-Backed Blooms (another Online Exclusive).
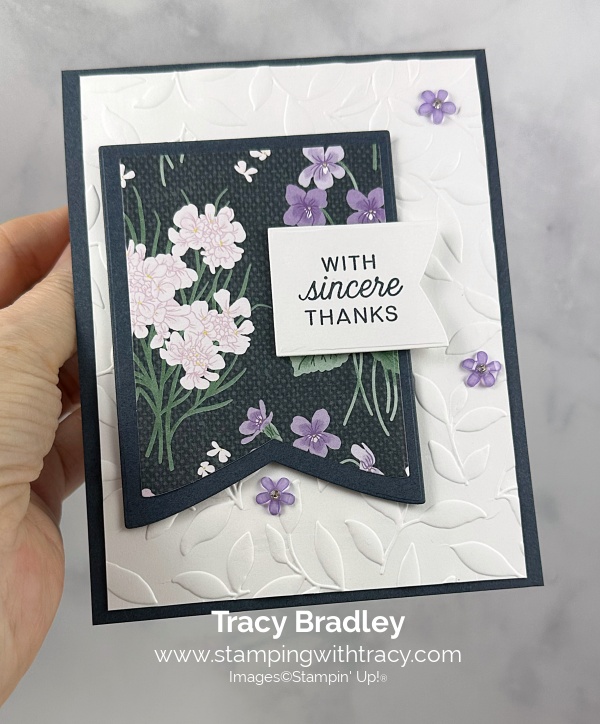

I started with a piece of Secret Sea cardstock for the base of my card. Then, I embossed a piece of Basic White cardstock using the Paradise Garden Hybrid Embossing Folder and my Stampin’ Cut & Emboss Machine. Next, I adhered the embossed piece to the front of the card, using Multipurpose Glue.
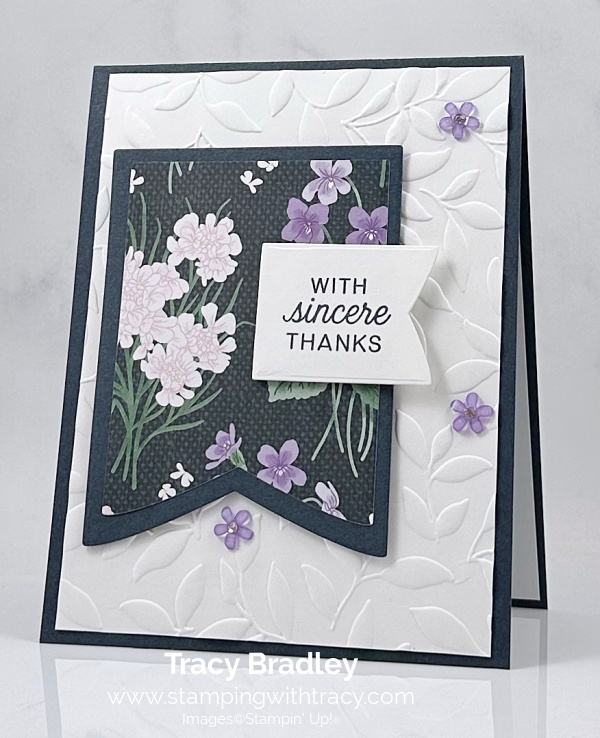
I die cut a piece of Secret Sea cardstock using the Party Banners Dies (I used the 6th smallest one starting with smallest one). Then, I die cut a piece of Violet Dreams Specialty Designer Series Paper using the 5th smallest one. I adhered the two pieces together, added Stampin’ Dimensionals to the back and adhered it to the front of the card.
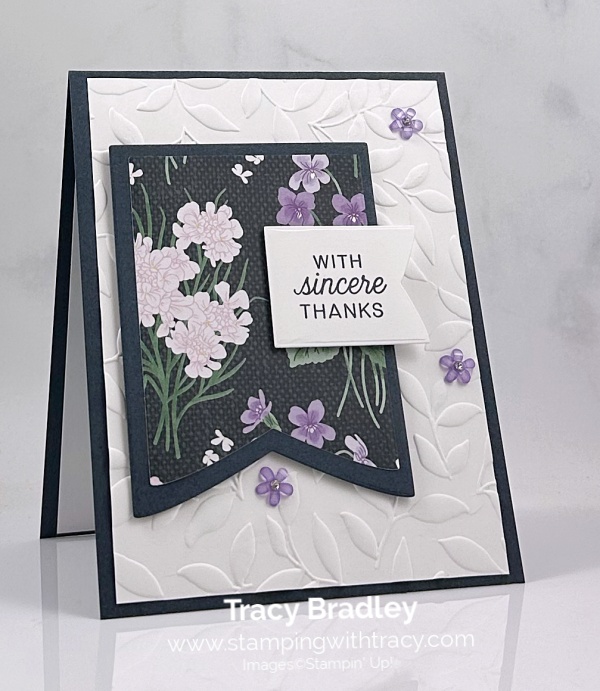
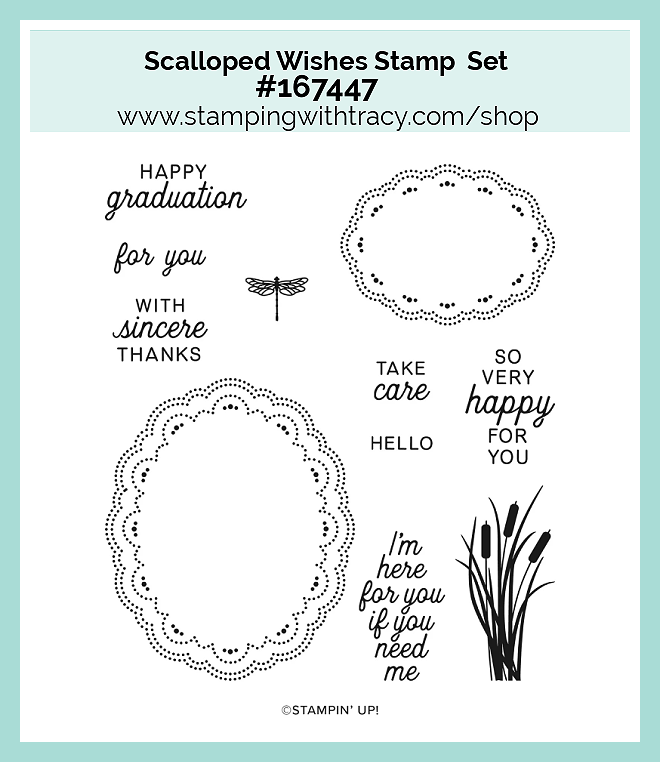

I stamped the sentiment onto Basic White cardstock using the Scalloped Wishes Stamp Set in Secret Sea ink. I cut it out using the smallest banner in the Party Banners Dies. I added Stampin’ Dimensionals to the back and adhered it to the front of the card, only on the piece that was sitting on the banner.
To complete my card, I added three, Adhesive-Backed Blooms, in purple, to the embossed Basic White cardstock. I also added a piece of Basic White cardstock to the inside of the card.
Supply List
Below you’ll find all the Stampin” Up! products I used, I would love to be your demonstrator! You can place an order, by clicking any of the images below. The Specialty Plate is used with 3D Embossing Folder and with Hybrid Embossing Folders (this Specialty Plate is an Online Exclusive).
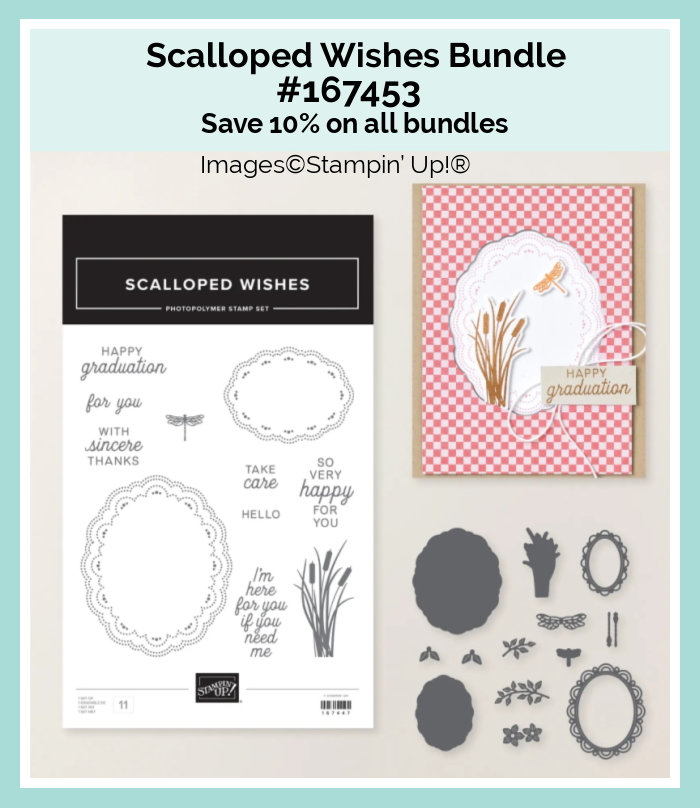
Bundle Alert: The Scalloped Wishes Bundle is available with a 10% discount rather than buying the products separately.
Bundle Alert: The Paradise Garden Bundle is available with a 10% discount rather than buying the products separately.

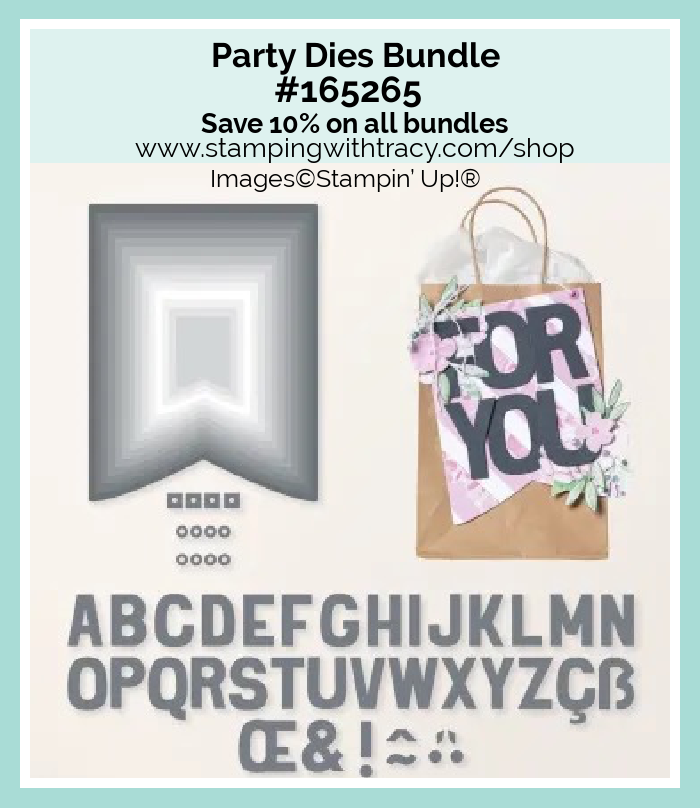
Bundle Alert: The Party Dies Bundle is available with a 10% discount rather than buying the products separately.
Measurements
- Secret Sea cardstock: 4-1/4″ x 11″ score at 5-1/2″
- Secret Sea cardstock (banner): approximately 3-1/2″ x 4-1/4″
- Violet Dreams Specialty Designer Series Paper (banner): approximately 3″ x 3-1/2″
- Basic White cardstock (embossed and inside card): (2) 4″ x 5-1/4″
- Basic White cardstock (sentiment): approximately 1-1/2″ x 2″
Introducing the Stampin’ Hot Foil System
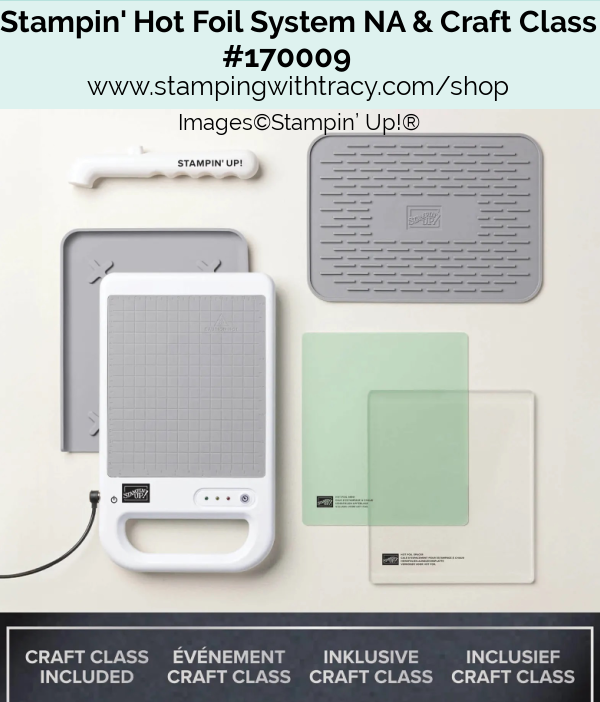
There’s a possibility the Stampin’ Hot Foil System and coordinating hot foil products could sell out quickly. Here’s the brochure if you’d like to download it.

As an added bonus, everyone who purchases this system before January 4, 2027, will automatically be able to access the upcoming Metallic Magic Craft Class, a technique-centric virtual class. Attendees will make unique projects and learn crafting tips intended to elevate their hot foil crafting experience. This class is a special limited-time offer exclusive to this system and is an amazing tool when it comes to increasing skills, learning techniques, and making the most of this new product line.
Introducing the Stampin’ Hot Foil System: If you like to purchase this new system just click the graphic below.
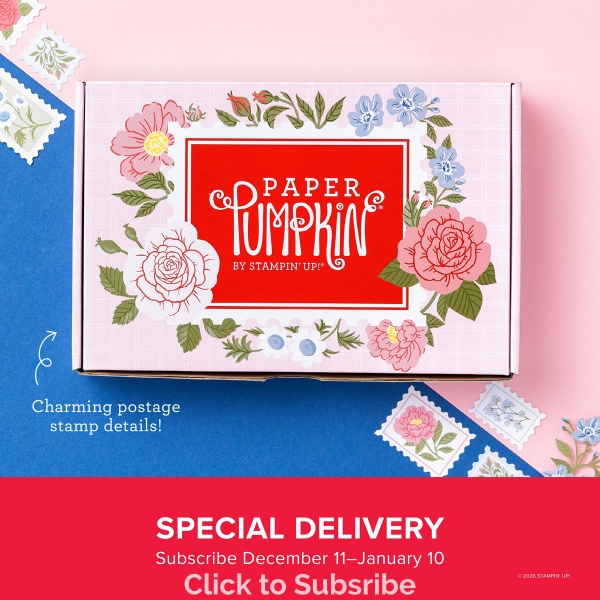
If you’d like to try Paper Pumpkin, then this deal is for you! You can skip kits that you don’t like!! If you’d like to sign up, click the graphic below.
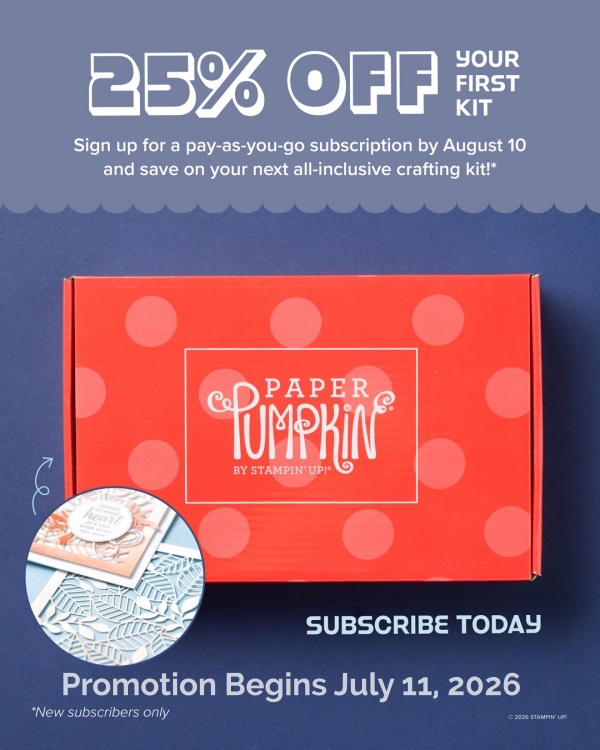
Promotion Details:
- Offer applies to new subscribers only (those who haven’t had an active Paper Pumpkin subscription in the past 18 months).
- Offer is valid for pay-as-you-go subscriptions only. Discount does not apply to prepaid subscriptions.
- The discounted first kit is the August Kindred Greetings Kit.
- This kit cannot be skipped.
- Promotion Begins: Saturday, July 11, 2026
- Promotion Ends: August 10, 2026
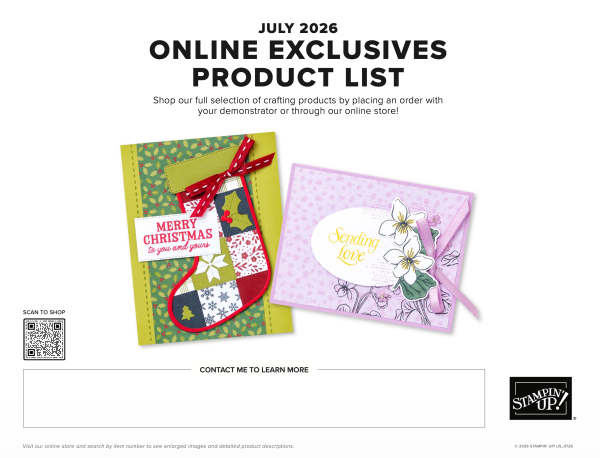
You can click here to download the July 2026 Online Exclusives Product List. Click here to shop the Online Exclusives.
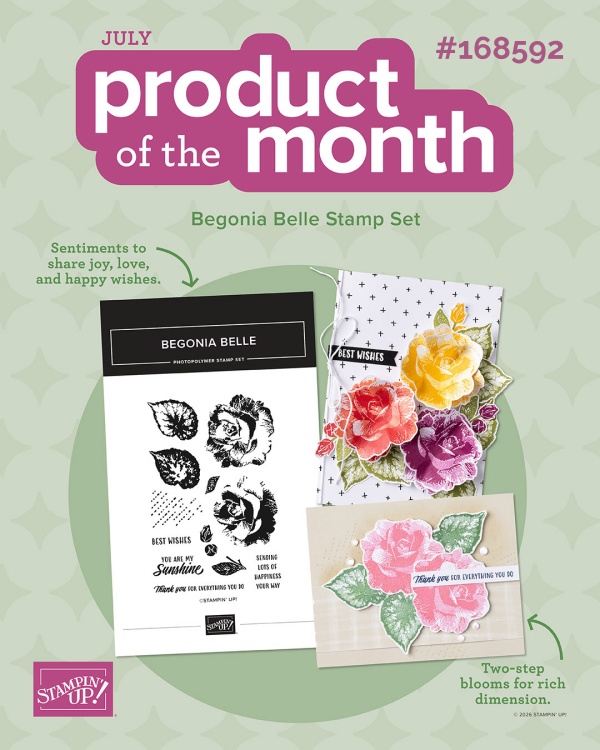
July Product of the Month

Each month a single product of the month will released. These items won’t be in any catalog or on the Online Exclusives page on the Stampin’ Up! website. Stock is limited, so once a Product of the Month sells out, it’s gone for good! Make sure if you like the Product of the Month, so snag your Product of the Month early.
Product of the Month Details
- You must have a Stampin’ Up! online account to participate.
- Add the Product after your cart reaches $75. You can purchase the Product of the Month for just $5.00 The cart must be $75.00 (after Stampin’ Rewards)
- Limit 1 per Stampin’ Up! account.
- You must add the Product of the Month to your cart after you reach $75.
The Product of the Month for July
For more information about the Product of the Month, click the graphic below.
Last Chance Products
Click here to go straight to the Last Chance Products page on the Stampin’ Up! site! Some products are discounted! More products were added on June 2, 2026! Available only while supplies last!
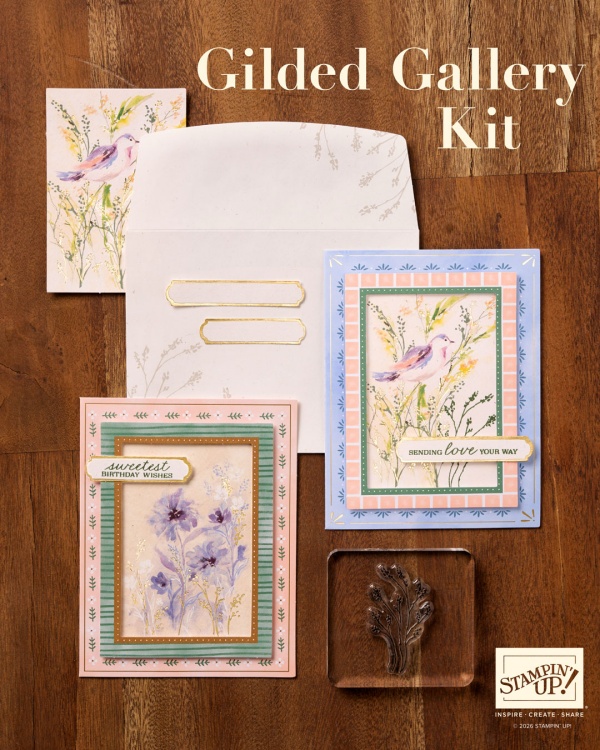
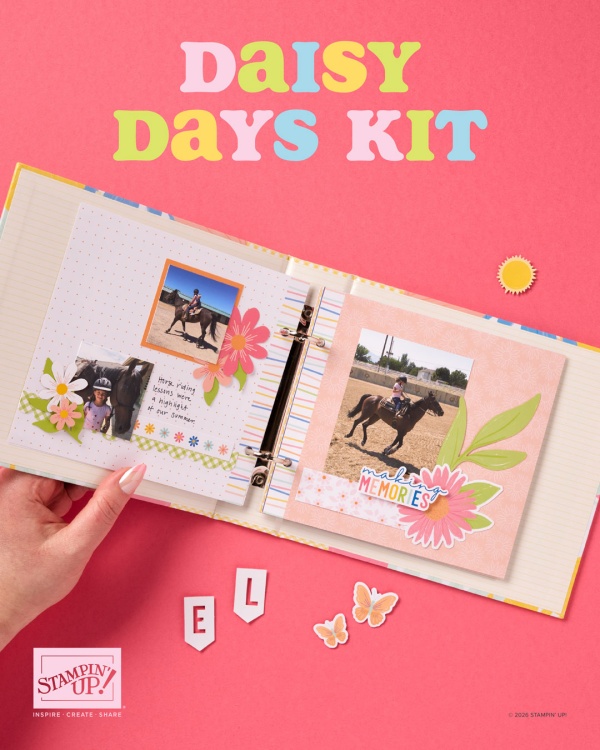
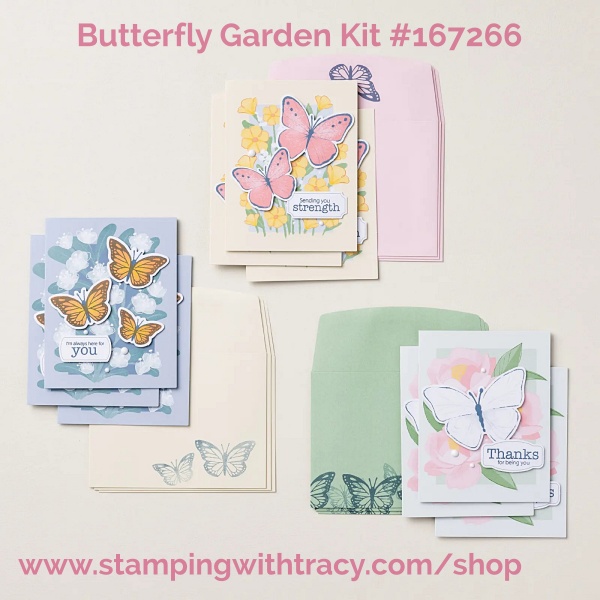
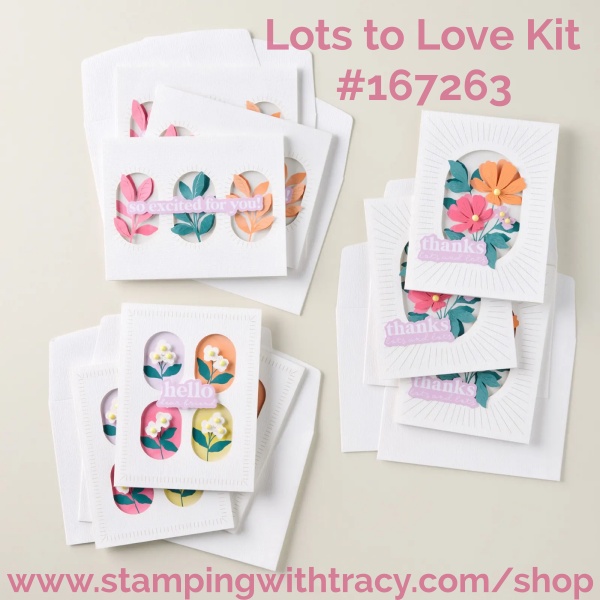
Stampin’ Up! Kits – We Have Two New Kits
Click the graphic to get more information on the kit.
Paper Pumpkin for July – Subscribe by August 10th
If you’d like to subscribe for Paper Pumpkin, click here.
See the promotion above. It expires August 10th.
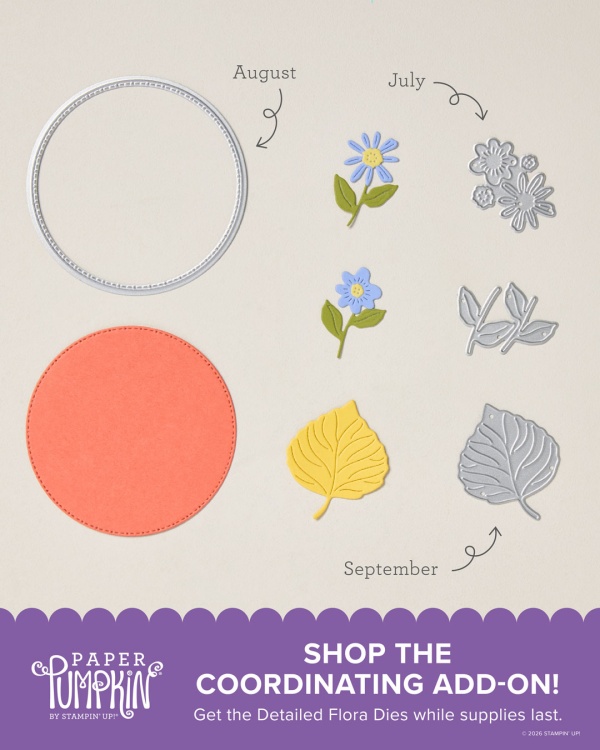
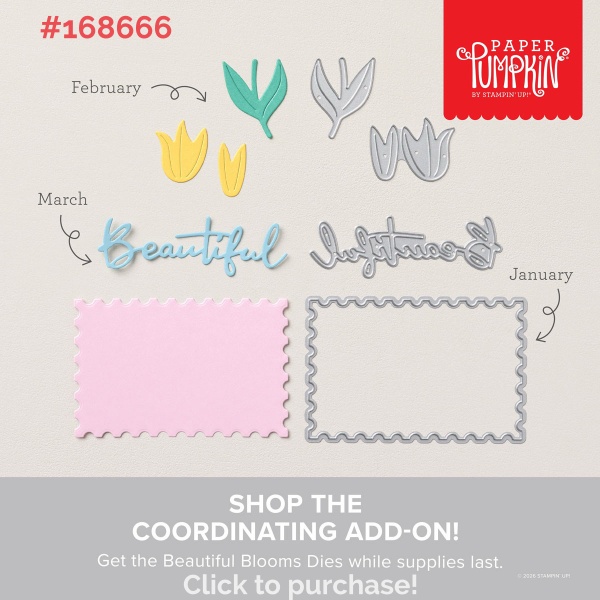
An additional coordinating add-on but for only Paper Pumpkin subscribers. Click the image below for more information.
Stampin’ Up! May-August 2026 Catalog
You can download the new May- August 2026 Catalog, please click here.
There’s a typo on the bottom of page 81. The new 2026-2028 In Color cardstocks are $14.00 each. It is correct on the online version.

Thanks for stopping by! Enjoy your week!
by Tracy | Jul 24, 2026 | With Sincere Thanks
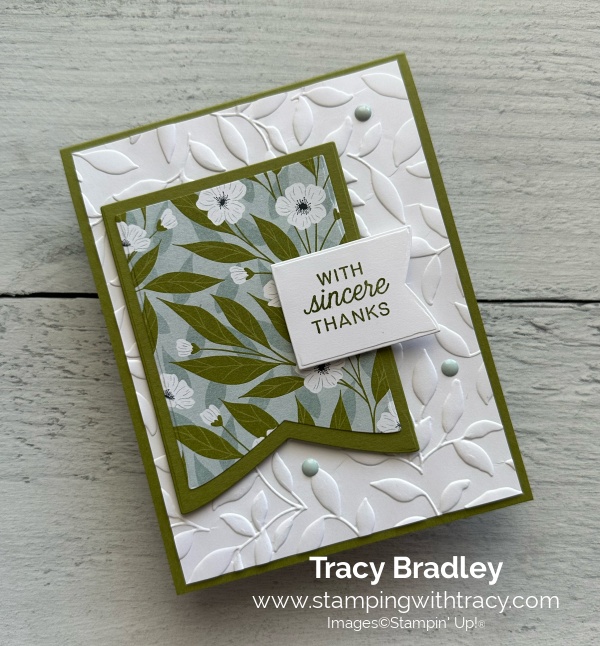
I have a card for you today using the Party Banners Dies, Lovely Blossoms Designer Series Paper (an Online Exclusive), Scalloped Wishes Stamp Set (an Online Exclusive), Paradise Garden Hybrid Embossing Folder (an Online Exclusive, and Moody Palette Glossy Dots (an Online Exclusive).
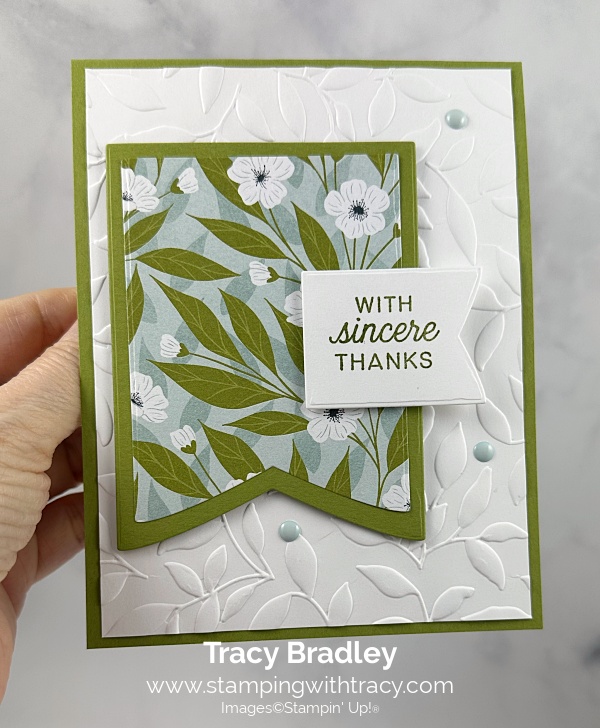
I started with a piece of Old Olive cardstock for the base of my card. Then, I embossed a piece of Basic White cardstock using the Paradise Garden Hybrid Embossing Folder and my Stampin’ Cut & Emboss Machine. Next, I adhered the embossed piece to the front of the card, using Multipurpose Glue.
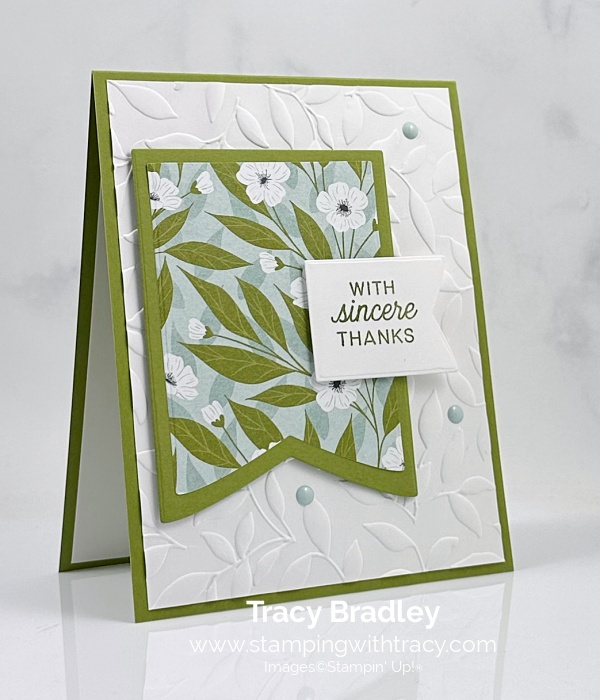

I die cut a piece of Old Olive cardstock using the Party Banners Dies (I used the 6th smallest one starting with smallest one). Then, I die cut a piece of Lovely Blossoms Designer Series Paper using the 5th smallest one. I adhered the two pieces together, added Stampin’ Dimensionals to the back and adhered it to the front of the card.
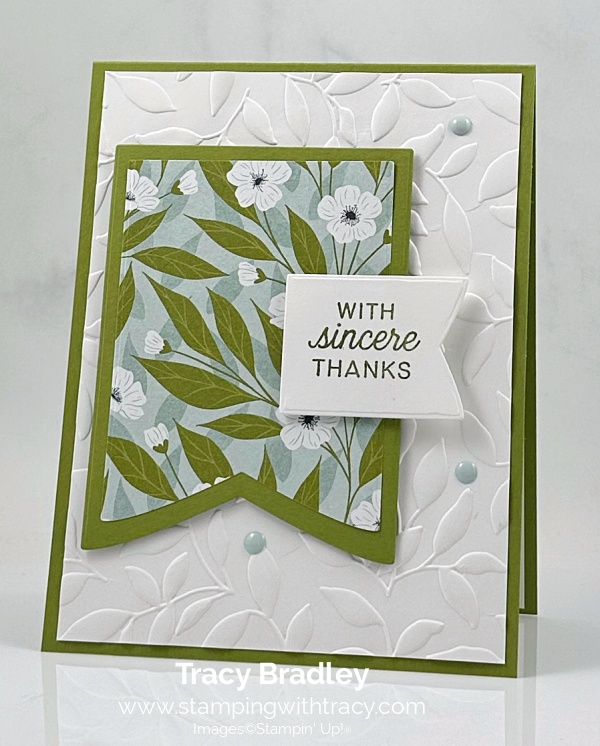
I stamped the sentiment onto Basic White cardstock using the Scalloped Wishes Stamp Set in Old Olive ink. I cut it out using the smallest banner in the Party Banners Dies. I added Stampin’ Dimensionals to the back and adhered it to the front of the card, only on the piece that was sitting on the banner.
To complete my card, I added three, Moody Palette Glossy Dots, in Cloud Cover, to the embossed Basic White cardstock. I also added a piece of Basic White cardstock to the inside of the card.

Supply List
Below you’ll find all the Stampin’ Up! supplies I used for today’s card. If you need any stamping supplies, I’d love to be your demonstrator! You can place an order by clicking any of the images below to got the my Stampin’ Up! online store. The Specialty Plate is used with 3D Embossing Folders and with Hybrid Embossing Folders (this Specialty Plate is an Online Exclusive).
Bundle Alert: The Scalloped Wishes Bundle is available with a 10% discount rather than buying the products separately.
Bundle Alert: The Paradise Garden Bundle is available with a 10% discount rather than buying the products separately.
Bundle Alert: The Party Dies Bundle is available with a 10% discount rather than buying the products separately.
Measurements
- Old Olive cardstock: 4-1/4″ x 11″ score at 5-1/2″
- Old Olive cardstock (banner): approximately 3-1/2″ x 4-1/4″
- Lovely Blossoms Designer Series Paper (banner): approximately 3″ x 3-1/2″
- Basic White cardstock (embossed and inside card): (2) 4″ x 5-1/4″
- Basic White cardstock (sentiment): approximately 1-1/2″ x 2″
Introducing the Stampin’ Hot Foil System
There’s a possibility the Stampin’ Hot Foil System and coordinating hot foil products could sell out quickly. Here’s the brochure if you’d like to download it.
As an added bonus, everyone who purchases this system before January 4, 2027, will automatically be able to access the upcoming Metallic Magic Craft Class, a technique-centric virtual class. Attendees will make unique projects and learn crafting tips intended to elevate their hot foil crafting experience. This class is a special limited-time offer exclusive to this system and is an amazing tool when it comes to increasing skills, learning techniques, and making the most of this new product line.
Introducing the Stampin’ Hot Foil System: If you like to purchase this new system just click the graphic below.
If you’d like to try Paper Pumpkin, then this deal is for you! You can skip kits that you don’t like!! If you’d like to sign up, click the graphic below.
Promotion Details:
- Offer applies to new subscribers only (those who haven’t had an active Paper Pumpkin subscription in the past 18 months).
- Offer is valid for pay-as-you-go subscriptions only. Discount does not apply to prepaid subscriptions.
- The discounted first kit is the August Kindred Greetings Kit.
- This kit cannot be skipped.
- Promotion Begins: Saturday, July 11, 2026
- Promotion Ends: August 10, 2026
You can click here to download the July 2026 Online Exclusives Product List. Click here to shop the Online Exclusives.
July Product of the Month
Each month a single product of the month will released. These items won’t be in any catalog or on the Online Exclusives page on the Stampin’ Up! website. Stock is limited, so once a Product of the Month sells out, it’s gone for good! Make sure if you like the Product of the Month, so snag your Product of the Month early.
Product of the Month Details
- You must have a Stampin’ Up! online account to participate.
- Add the Product after your cart reaches $75. You can purchase the Product of the Month for just $5.00 The cart must be $75.00 (after Stampin’ Rewards)
- Limit 1 per Stampin’ Up! account.
- You must add the Product of the Month to your cart after you reach $75.
The Product of the Month for July
For more information about the Product of the Month, click the graphic below.
Last Chance Products
Click here to go straight to the Last Chance Products page on the Stampin’ Up! site! Some products are discounted! More products were added on June 2, 2026! Available only while supplies last!
Stampin’ Up! Kits – We Have Two New Kits
Click the graphic to get more information on the kit.
Paper Pumpkin for July – Subscribe by August 10th
If you’d like to subscribe for Paper Pumpkin, click here.
See the promotion above. It expires August 10th.
An additional coordinating add-on but for only Paper Pumpkin subscribers. Click the image below for more information.
Stampin’ Up! May-August 2026 Catalog
You can download the new May- August 2026 Catalog, please click here.
There’s a typo on the bottom of page 81. The new 2026-2028 In Color cardstocks are $14.00 each. It is correct on the online version.
Thanks for stopping by! Enjoy your weekend!
by Tracy | Jan 9, 2026 | You Make Me Smile
I’m sharing a card today that features new products: Nature’s Symphony Stamp Set, Lovely Blossoms Designer Series Paper (an Online Exclusive), Stone & Vine 3D Embossing Folder, and Moody Palette Glossy Dots (an Online Exclusive). The other products I used are Spotlight on Nature Dies (an Online Exclusive) and Party Banner Dies.


I started with a piece of Petal Pink cardstock for the base of my card. Then, I embossed Basic White cardstock using the Stone & Vine 3D Embossing Folder and my Stampin’ Cut & Emboss Machine. Next, I adhered the embossed Basic White cardstock to the front of the card.

I die cut a piece of Secret Sea cardstock using the Party Banners Dies (I used the 8th smallest one starting with smallest one). Then, I die cut a piece of Lovely Blossoms Designer Series Paper using the next smallest die (the 7th smallest one). I adhered the two pieces together, added Stampin’ Dimensionals to the back and adhered it to the front of the card.


I stamped my sentiment on Basic White cardstock using the Nature’s Symphony Stamp in Secret Sea ink. Then, I cut it out using the Spotlight on Nature Dies. I added Stampin’ Dimensionals to the back and adhered it to the Lovely Blossoms Designer Series Paper.
To complete my card, I added a piece of Basic White cardstock to the inside and I added three Moody Palette Glossy Dots in Secret Sea around the Lovely Blossoms Designer Series Paper.

Supply List
Below you’ll find all the Stampin’ Up! supplies I used for today’s card. If you need any stamping supplies, I’d love to be your demonstrator! You can place an order by clicking any of the images below to go to my Stampin’ Up! online store. The Specialty Plate is used with 3D Embossing Folders and Hybrid Embossing Folder
Measurements
- Petal Pink cardstock: 4-1/4″ x 11″ scored at 5-1/2″
- Secret Sea cardstock (banner): approx. 4″ x 5″
- Lovely Blossoms Designer Series Paper (banner): approx. 3-1/2″ x 4-1/2″
- Basic White cardstock (embossed and inside card): (2) 4″ x 5-1/4″
- Basic White cardstock (sentiment): approx. 2-1/2″ x 2-1/2″
Bonus Days

Here’s how it works:
- Between January 6th and February 2nd when you spend $50, you will earn a $5.00 coupon!
- There’s no limit to how many coupons you can earn!
- You will be able to redeem your coupons February 3-28, 2026
- All coupon codes will be emailed right after a qualifying purchase has been made. Customers must have a customer account with a valid email address to earn coupons when they shop.
- If you earn multiple codes from a single order, you will receive one email with multiple codes. If you earn multiple codes from multiple orders, you will receive separate emails for each code earned. Save these codes! Stampin’ Up! cannot look codes up!
- All order types qualify for this promotion. Phone and email orders still require an email address.
- Orders started before the promotion begins will not count toward earning coupon codes. You must add items to your cart and complete your purchase during the earning period.
- It’s an ideal time to stock up on the Basics: cardstock, envelopes, etc!
If you’d like a flyer with all this information, click here.
Place an order here!
If you don’t see my picture, click again, please
January Product of the Month
Each month, a single product of the month will be released. These items won’t be in any catalog or on the Online Exclusives page on the Stampin’ Up! website. Stock is limited, so once a Product of the Month sells out, it’s gone for good. Make sure if you like the Product of the Month, to snag your Product of the Month early!
Product of the Month Details
- You must have a Stampin’ Up online account to participate.
- Add the Product of the Month after your cart reaches $75. You can purchase the Product of the Month for just $5! The cart must be $75 (after Stampin’ Rewards).
- Limit 1 per Stampin’ Up! account.
Click here to see the flyer with all the important information.
This is the Product of the Month for January. Click the graphic below to see if you want to get this for only $5!

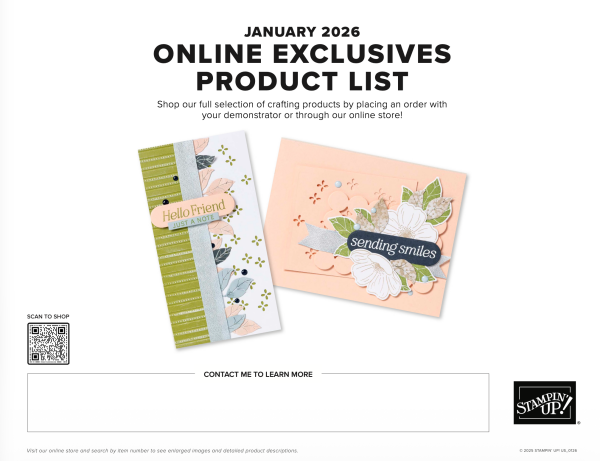
Online Exclusives – January 2026
Click the graphic below to access the January Online Exclusives Product List! Stampin’ Up! has made a printable flyer and they’ve made it much easier to shop the new products! You won’t find Online Exclusives in any catalog, they’ll be listed in the Online Store. Click here to shop Online Exclusives. Click here to download the January 2025 Online Exclusive Product List.
Last Chance Products

Click here to go straight to the Last Chance Products page on the Stampin’ Up! site! Some products are discounted! More products were added on December 2, 2025!
Stampin’ Up! Kits – We Have Three New Kits
Click the graphics for more information about the kits.
Paper Pumpkin for January – The Last Day to Get This Paper Pumpkin is Saturday!
An additional coordinating add-on is available but only for Paper Pumpkin subscribers. Click the image below for more information. The dies below coordinates with the upcoming January, February and March Paper Pumpkin kits!
Thanks for stopping by today! Enjoy your weekend!
by Tracy | Dec 19, 2025 | Thank You Card
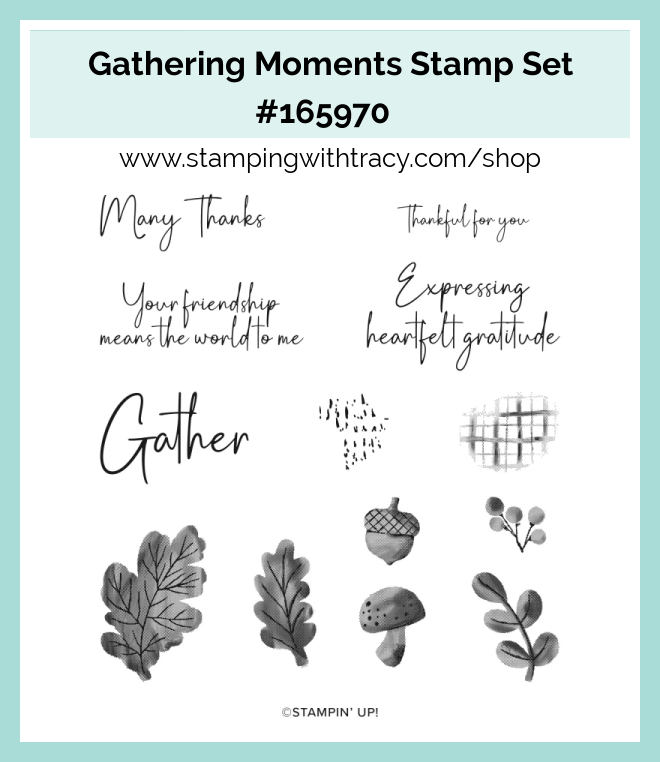
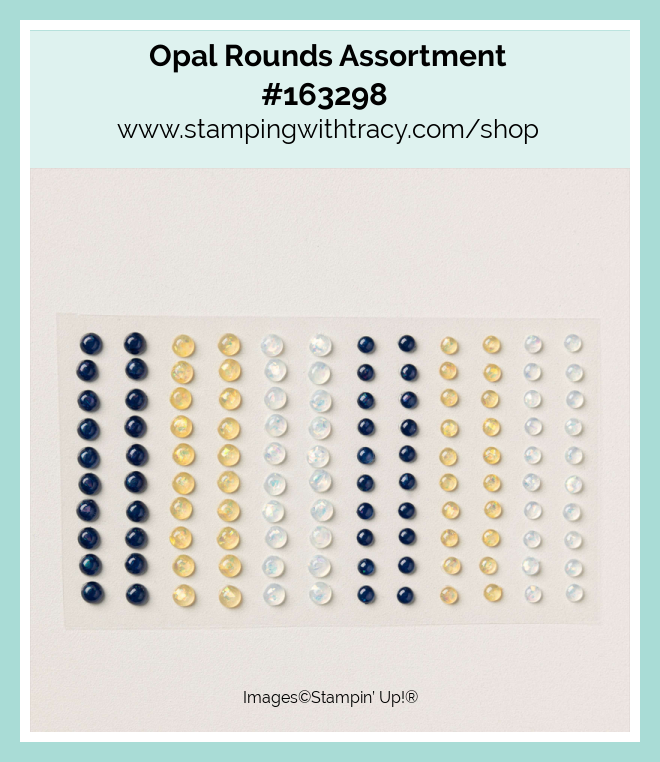
I’m sharing another card using the Product of the Month – True Blue Florals Designer Series Paper. This will be my final card using True Blue Florals Designer Series Paper. I also used the Gathering Moments Stamp Set (an Online Exclusive), the Gathering Leaves Embossing Folder (an Online Exclusive), Party Banners Dies, Stylish Shapes Dies, and Opal Rounds Assortment.
The Product of the Month works like this:
- A brand new product releases near the start of each month.
- You must have a Stampin’ Up online account to participate.
- Add the Product of the Month after your cart reaches $75. You can purchase the Product of the Month for just $5! The cart must be $75 after Stampin’ Rewards.
- Limit 1 per Stampin’ Up! account


I started off with Balmy Blue cardstock for the base of my card. Then, I embossed a piece of Basic White cardstock using the Gathering Leaves Embossing Folder and my Stampin’ Cut & Emboss Machine. Then, I adhered it to the front of my card.


I die cut a piece of Night of Navy cardstock using the Party Banners Dies. Then, I die cut a piece of True Blue Florals Designer Series Paper using the next smallest die. I adhered the two pieces together, added Stampin’ Dimensionals to the back and adhered it to the front of the card.


I stamped my sentiment on Basic White cardstock using the Gathering Moments Stamp Set in Balmy Blue ink. Then, I cut it out using the Stylish Shapes Dies. I added Stampin’ Dimensionals to the back and adhered it to the True Blue Florals Designer Series Paper.
To complete my card, I added a piece of Basic White cardstock to the inside and added Opal Rounds Assortment in Night of Navy to each end of the sentiment.

Supply List
Below you’ll find all the Stampin’ Up! supplies I used for today’s card. If you need any stamping supplies, I’d love to be your demonstrator! You can place an order by clicking any of the images below to go to my Stampin’ Up! online store
Bundle Alert: The Party Dies Bundle is available with a 10% discount rather than buying the products separately.

Bundle Alert: The Gathering Moments Bundle is available with a 10% discount rather than buying the products separately.

Measurements
- Balmy Blue cardstock: 4-1/4″ x 11″ scored at 5-1/2″
- Basic White cardstock (embossed and inside): (2) 4″ x 5-1/4″
- Basic White cardstock (sentiment): approximately 4″ x 1-1/2″
- Night of Navy cardstock (banner): approximately 3-1/2″ x 4-1/2″
- True Blue Florals Designer Series Paper (banner): approximately 3-1/4″ x 4-1/4″
Product of the Month – Available Now
A fun new promotion, for anyone who loves exclusive goodies. Each month, a single product of the month will be released. These items won’t be in any catalog or on the Online Exclusives page on the Stampin’ Up! website. Stock is limited, so once a Product of the Month sells out, it’s gone for good. Make sure if you like the Product of the Month, to snag your Product of the Month early!
Product of the Month Details
- A brand new product releases near the start of each month.
- You must have a Stampin’ Up online account to participate.
- Add the Product of the Month after your cart reaches $75. You can purchase the Product of the Month for just $5! The cart must be $75 (after Stampin’ Rewards).
- Limit 1 per Stampin’ Up! account.
Click here to see the flyer with all the important information. This is the Product of the Month for December (see below).
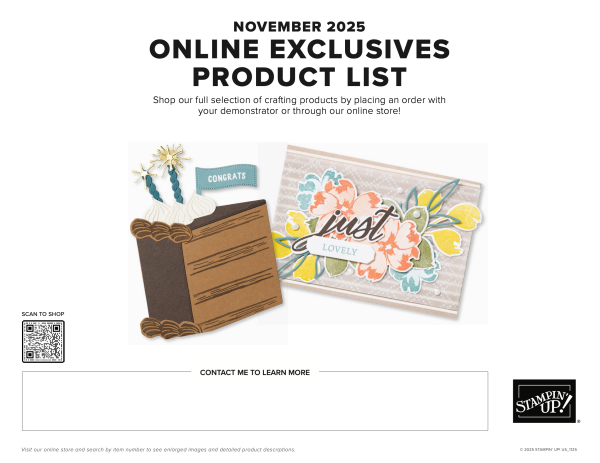
Online Exclusives – November 2025
Click the graphic below to access the November 2025 Online Exclusives Product List! Stampin’ Up! has made a printable flyer and they’ve made it much easier to shop the new products! You won’t find Online Exclusives in any catalog, they’ll be listed in the Online Store. Click here to shop Online Exclusives.
Last Chance Products
Click here to go straight to the Last Chance Products page on the Stampin’ Up! site! Some products are discounted! More products were added on December 2, 2025!
Stampin’ Up! Kits – We Have Two New Kits!
Click the graphics below for information about the kits!


Paper Pumpkin for January
An additional coordinating add-on is available but only for Paper Pumpkin subscribers. Click the image below for more information. The dies below coordinates with the upcoming January, February and March Paper Pumpkin kits!
Thanks for stopping by today! Enjoy your weekend!
by Tracy | Sep 5, 2025 | Appreciation Card
I have a card for you today using the Party Banners Dies, The Right Words Stamp Set, Painterly Pears Designer Series Paper (an Online Exclusive), Gathering Leaves Embossing Folder (an Online Exclusive) and Brushed Brass Butterflies (also an Online Exclusive).

I started with a piece of Old Olive cardstock for the base of my card. Then, I embossed a piece of Basic White cardstock using the Gathering Leaves Embossing Folder and my Stampin’ Cut & Emboss Machine. Next, I adhered the embossed piece to the front of the card.


I die cut a piece of Old Olive cardstock using the Party Banners Dies (I used the 6th smallest one starting with smallest one). Then, I die cut a piece of Painterly Pears Designer Series Paper using the next smallest die (the 5th smallest one). I adhered the two pieces together, added Stampin’ Dimensionals to the back and adhered it to the front of the card.


I stamped the sentiment onto Basic White cardstock using The Right Words Stamp Set in Old Olive ink. I cut it out using the smallest banner in the Party Banners Dies. I added Stampin’ Dimensionals to the back and adhered it to the front of the card.
To complete my card, I added two Brushed Brass Butterflies to the sentiment and one to the embossed Basic White cardstock. I also added a piece of Basic White cardstock to the inside of the card.


Supply List
Below you’ll find all the Stampin’ Up! supplies I used for today’s card. If you need any stamping supplies, I’d love to be your demonstrator! You can place an order by clicking any of the images below to go to my Stampin’ Up! online store.
Measurements
- Old Olive cardstock: 4-1/4″ x 11″ score at 5-1/2″
- Old Olive cardstock (banner): approximately 3-1/2″ x 4-1/4″
- Painterly Pears Designer Series Paper (banner): approximately 3″ x 3-1/2″
- Basic White cardstock: (embossed and inside card): (2) 4″ x 5-1/4″
- Basic White cardstock (sentiment): 1-1/2″ x 2″
- ( I had to make some changes to the measurements of this card; I hope that doesn’t inconvenience, anyone).
Last Chance Products
Click here to go straight to the Last Chance Products page on the Stampin’ Up! site! Some products are discounted!
Two New Kits By Stampin’ Up!
Click each graphic for more information! You can sign up for the free event on World Card Making Day, here. The event will be on October 4th from 2:00-3:00 (Mountain Time).


Fall For Toile Paper Pumpkin Kit – Last Day to Order: September 10th
You can now order subscriptions and manage your Paper Pumpkin subscription on the Stampin’ Up! website! You can cancel your Paper Pumpkin subscription at any time. If you want to skip the next kit, you can do that! You also receive Stampin’ Rewards when you order a single kit or purchase a 3-month, 6-month or 12-month subscription to Paper Pumpkin. If you’d like to subscribe, please click the graphic below.

An additional coordinating add-on is available but only for Paper Pumpkin subscribers. Click the image below for more information.

Thanks for stopping by today! Enjoy your weekend!


