by Tracy | Sep 20, 2022 | Uncategorized
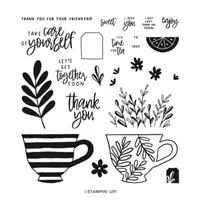
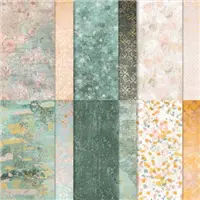
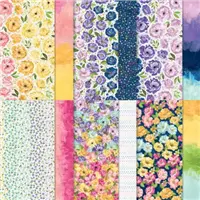
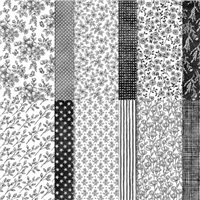
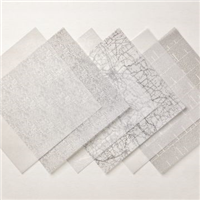
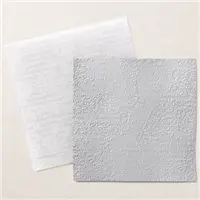
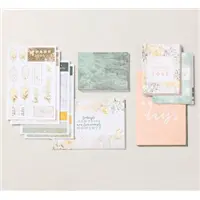
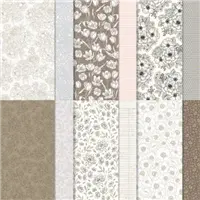
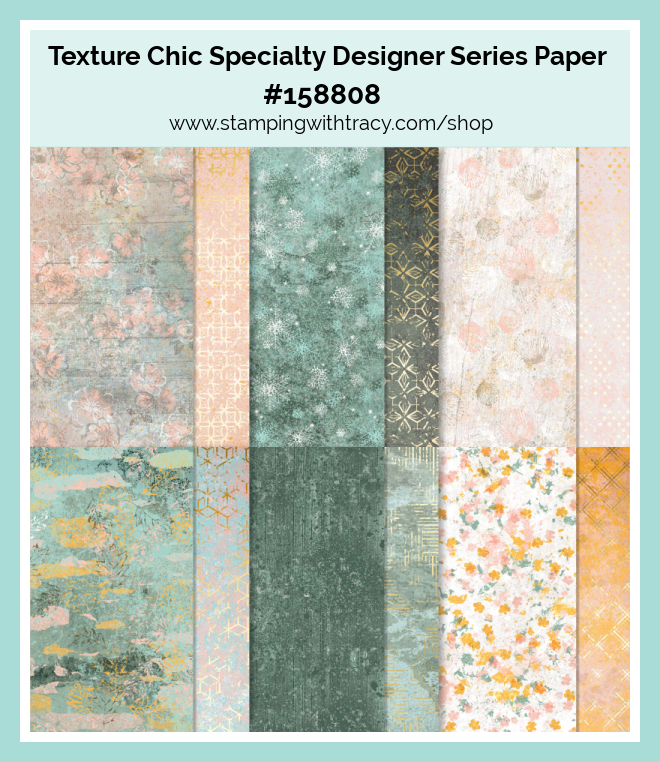
Today I have two cards that are variations of a card I shared last week. You can see that card HERE. You can refer to that post for directions on how to make the card and the measurements. For the versions today, I used Texture Chic Designer Series Paper, Hues of Happiness Designer Series Paper and the stamp set, Cup of Tea.
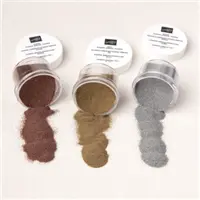
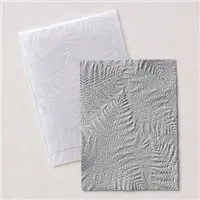
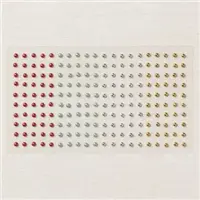
This first card was made using Hues of Happiness Designer Series Paper and the Fern 3D Embossing Folder. All the cards today were made using our Festive Pearls and I embossed the sentiments using gold embossing powder.


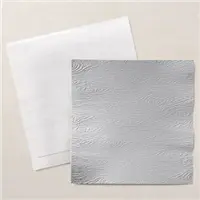
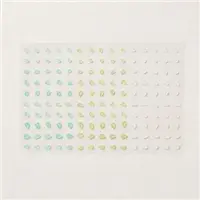
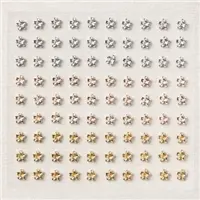
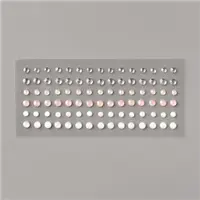
For these next cards I used Texture Chic Designer Series Paper and the Timber 3D Embossing Folder. Our Festive Pearls come in four colors: Cherry Cobbler, Soft Succulent, Silver and Gold. I used the gold pearls for all of the cards today except for the one below and I used the Soft Succulent pearls. The Festive Pearls have been very popular and keep going in and out of stock. If you’ve had your eye on them, I’d recommend getting them as soon as you can.

This only difference between the previous card and this one is that I used the gold pearls.
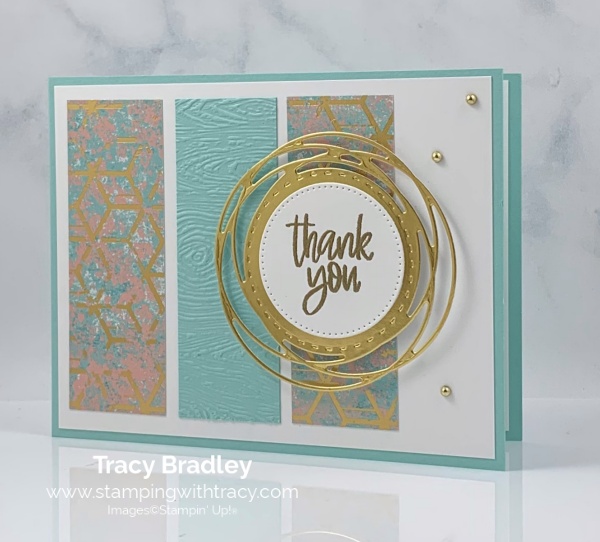
For this last one, instead of using Gold Foil for the decorative circle, I used Pool Party cardstock.

I find it really fun to take a card design I like and then try using different paper and cardstock and even a different sentiment. I hope you’ll give this card design a try!
Supply List
Below you’ll find all the Stampin’ Up! supplies I used for today’s card. If you need any stamping supplies, I’d love to be your demonstrator! You can place an order by clicking any of the images below to go to my Stampin’ Up! online store.
For the measurements I used, please refer to this post HERE. Scroll down below the Supply List.
September – October Card Kits

Use the host code RABT3URM when placing your order at my Stampin’ Up! online store and you’ll receive my September – October PDF Tutorial with directions to make a featured card and fourteen more ideas using the same layout but with a variety of different colors of cardstock, embossing folders and Designer Series Paper.
All orders using the host code will receive the ten page PDF Tutorial.
If your order is $50 or more, you’ll receive:
- The ten page PDF Tutorial
- At least six card kits* mailed to you via snail mail
- At least one Bradley Point (earn points and redeem them for free product)
- A thank you card you can send to someone!
*A card kit includes all the cardstock and Designer Series Paper you’ll need to complete a card. I’ve cut, scored, die cut and embossed all the pieces for you! You’ll just need to supply your own stamp set, ink and adhesive. You can use the stamp set I used to create the cards (Soft Seedlings) or use what you already own.
- $50.00 – $99.99 = 6 card kits
- $100 – $149.99 = 7 card kits
- $150 or more = 8 card kits
If your order is $150 or more, do NOT use the host code so you can receive Stampin’ Rewards directly from Stampin’ Up! You will automatically receive 8 card kits from me.
You can use this host code more than once. There are fifteen different card kits and I keep track of which card kits I’ve sent to you. Each time you’ll receive different kits unless you’ve earned all fifteen and then you’ll start to receive multiples. It’s a great way to have cards on hand to send to friends and loved ones!



These are the Weekly Deals for September 15th – 21st.
If a product becomes unavailable, it will no longer be on sale.
Sale: $13.50
Price: $15.00
Sale: $9.60
Price: $12.00
Sale: $8.00
Price: $10.00
Sale: $28.00
Price: $35.00
Sale: $8.00
Price: $10.00
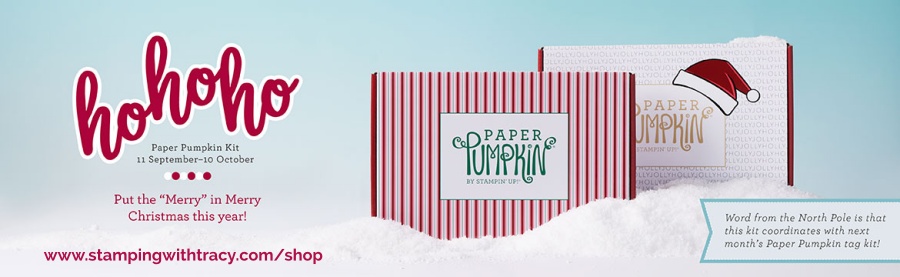
Ho Ho Ho Paper Pumpkin Kit
This kit includes:
- Ho Ho Ho Photopolymer Stamp Set
- Early Espresso Classic Stampin’ Spot
- Printed card bases
- Printed envelopes
- Printed die cuts
- Die-cut labels
- Iridescent foil die-cut snowflakes
- Vellum
- Vanilla epoxy dots
- Adhesive dots
- Mini Dimensionals
Card size: 4-1/4″ x 5-1/2″ (10.8 x 14 cm)
Coordinating Stampin’ Up! colors: Bermuda Bay, Cherry Cobbler, Crumb Cake, Early Espresso, Shaded Spruce, Sweet Sorbet, Very Vanilla
Order must be placed by October 10, 202
You can cancel at any time or even skip a month. Click here to order the Ho Ho Ho Paper Pumpkin Kit

Thanks for stopping by today! Enjoy your day!
by Tracy | Sep 13, 2022 | Uncategorized

Before sharing today’s card, I just found out that this Thursday, September 15th, Stampin’ Up! is having a 24 Hour, 15% off stamp sale on every single stamp set from the Annual Catalog (host stamp sets are not included in the sale). Get your shopping list ready! Click HERE for a list of all the stamps, item numbers and sale prices.
Details
- Sale Begins on September 15th at 12:00 am (Mountain Time)
- Sale ends on September 15th at 11:59 pm (Mountain Time)
- Save 15% on all stamp sets in the Annual Catalog
- Host sets are excluded from the sale
- Available while supplies last
- This stamp sale only happens once a year!
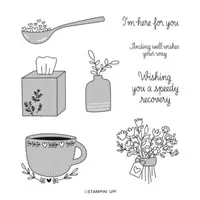
Today’s card was created using Texture Chic Specialty Designer Series Paper and the stamp set, Speedy Recovery (this stamp set will be on sale Thursday). I also did some embossing which always takes a card up a notch!

I started with a piece of Petal Pink cardstock for the base of my card. Then I cut two pieces of Texture Chic Designer Series Paper and a piece of Petal Pink cardstock, all the same size (you can find the measurements below the Supply List). I placed the Petal Pink inside the Timber 3D Embossing Folder and ran it through the Stampin’ Cut & Emboss Machine. Next, I adhered all three pieces to a piece of Basic White cardstock and then adhered that piece to the front of the card.


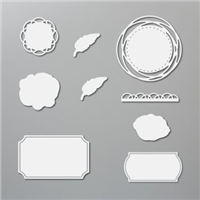
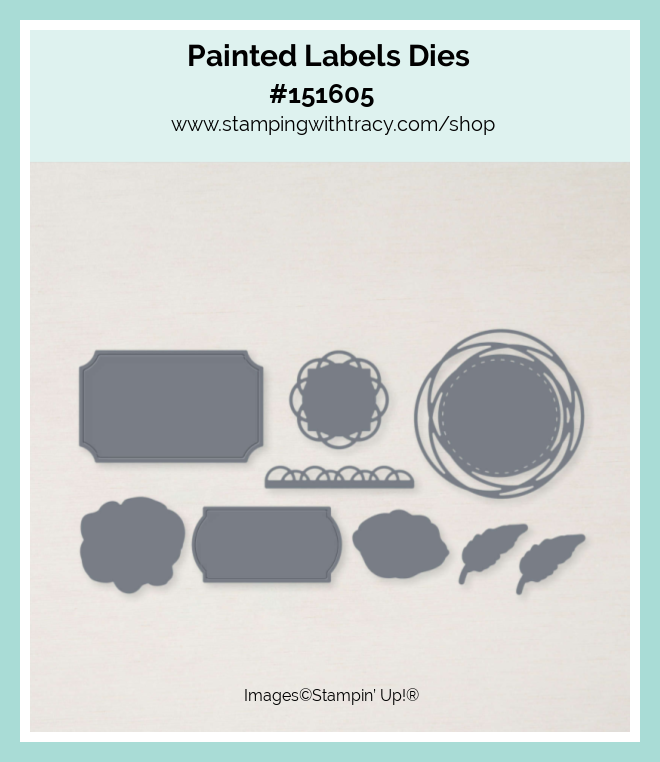
I stamped the sentiment onto a piece of Basic White cardstock using Versamark ink and the stamp set, Speedy Recovery. I sprinkled gold embossing powder over the sentiment and then heat embossed it (you can find directions for heat embossing below). I cut the sentiment out using the Stylish Shapes Dies. I used the Painted Labels Dies to cut the decorative circle out of Gold Foil and then adhered the sentiment to the front. I added Stampin’ Dimensionals to the back and adhered it to the card front.

To complete my card, I added three Festive Pearls, in gold, to the front.
How to Heat Emboss
Prepare your cardstock by rubbing the Embossing Buddy (an anti-static pouch that can be found in the Embossing Additions Tool Kit) over the surface of the paper as it helps keep away stray particles of embossing powder. Stamp your sentiment or image using a Versamark pad. This is very sticky ink and your embossing powder will stick right to it. Sprinkle embossing powder over the stamped image and then shake off any excess. Before applying heat to your paper, heat the Heat Tool first so your paper won’t warp (about 10 seconds). Direct the heat over your image and watch as your image is transformed (it will be shiny)!
Supply List
Below you’ll find all the Stampin’ Up! supplies I used for today’s card. If you need any stamping supplies, I’d love to be your demonstrator! You can place an order by clicking any of the images below to go to my Stampin’ Up! online store.
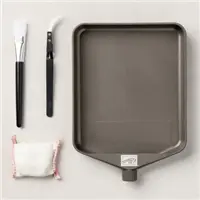
The Specialty Plate is used with 3D Embossing Folders.
Measurements
- Petal Pink cardstock: 11″ x 4-1/4″
- Petal Pink cardstock: 3-5/8″ x 1-1/4″
- Basic White cardstock: (2) 5-1/4″ x 4″
- Basic White cardstock (sentiment): approx. 2-1/4″ x 2-1/4″
- Gold Foil: approx. 3-1/4″ x 3-1/4″
- Texture Chic Designer Series Paper: (2) 3-5/8″ x 1-1/4″
September – October Card Kits
Use the host code RABT3URM when placing your order at my Stampin’ Up! online store and you’ll receive my September – October PDF Tutorial with directions to make a featured card and fourteen more ideas using the same layout but with a variety of different colors of cardstock, embossing folders and Designer Series Paper.
All orders using the host code will receive the ten page PDF Tutorial.
If your order is $50 or more, you’ll receive:
- The ten page PDF Tutorial
- At least six card kits* mailed to you via snail mail
- At least one Bradley Point (earn points and redeem them for free product)
- A thank you card you can send to someone!
*A card kit includes all the cardstock and Designer Series Paper you’ll need to complete a card. I’ve cut, scored, die cut and embossed all the pieces for you! You’ll just need to supply your own stamp set, ink and adhesive. You can use the stamp set I used to create the cards (Soft Seedlings) or use what you already own.
- $50.00 – $99.99 = 6 card kits
- $100 – $149.99 = 7 card kits
- $150 or more = 8 card kits
If your order is $150 or more, do NOT use the host code so you can receive Stampin’ Rewards directly from Stampin’ Up! You will automatically receive 8 card kits from me.

Thanks for stopping by today!
by Tracy | Sep 9, 2022 | Uncategorized
Last week I featured the Basic Borders Dies and I couldn’t help but play with them again using Texture Chic Designer Series Paper. I have two cards to share with you.


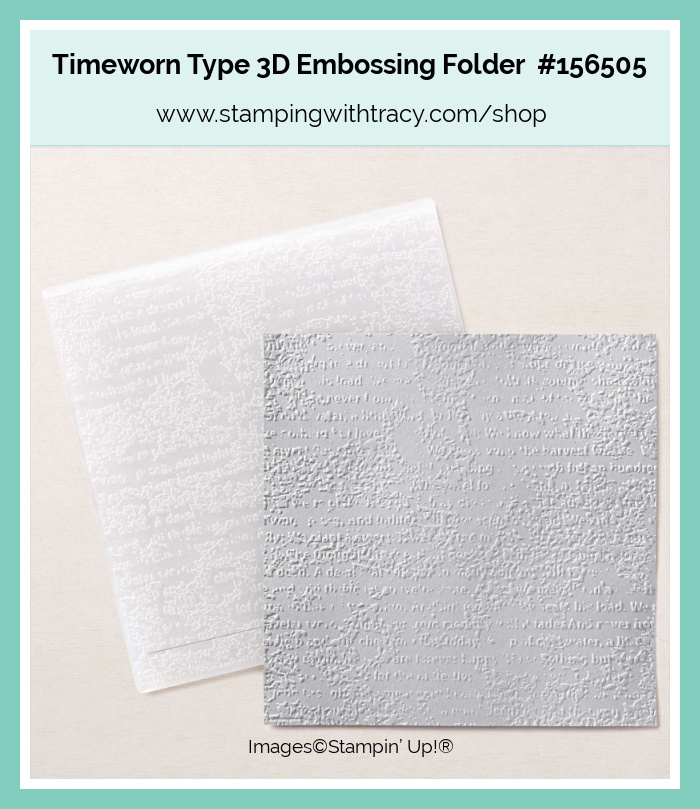
I started with a piece of Thick Basic White cardstock for the base of my card. Before adhering it to the front of the card, I placed a piece of Petal Pink cardstock (you can find the measurements I used below the Supply List) inside the Timeworn Type 3D Embossing Folder and ran it through the Stampin’ Cut & Emboss Machine. I like using bright colors and Petal Pink isn’t one of my favorites but I have to say I love it with this paper!

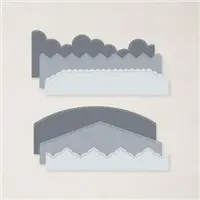
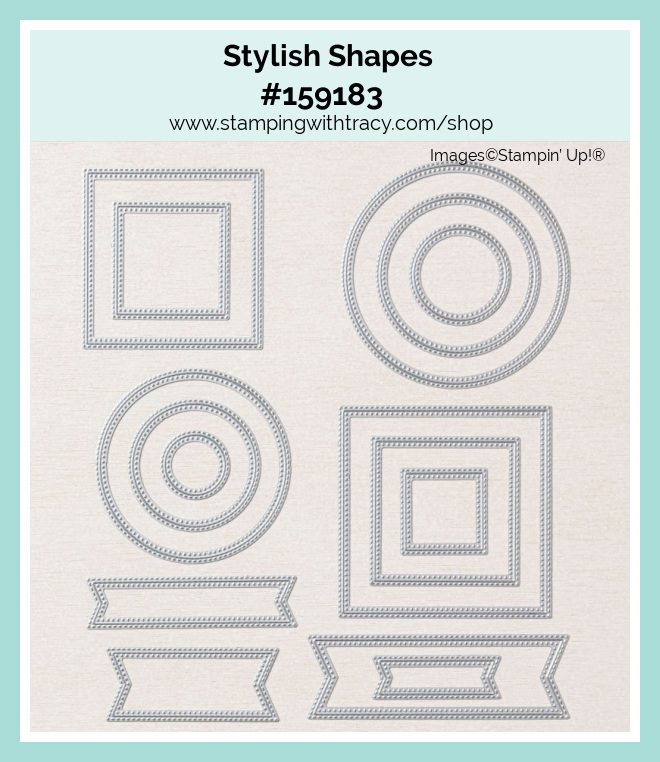
I used the Basic Borders Dies to cut a piece of Texture Chic Designer Series Paper and then adhered it to the front of the card. Next, I heat embossed the sentiment onto Basic White cardstock using gold embossing powder (found in a set called Metallics Embossing Powders), Versamark ink and the stamp set, Cup of Tea. If you’ve never heat embossed before (you’ll love it and it’s easy), you can find the directions below. I cut the sentiment out using the Stylish Shapes Dies and then cut another larger stitched circle out of Gold Foil. I adhered the sentiment to the foil circle, added Stampin’ Dimensionals to the back and adhered it to the card.

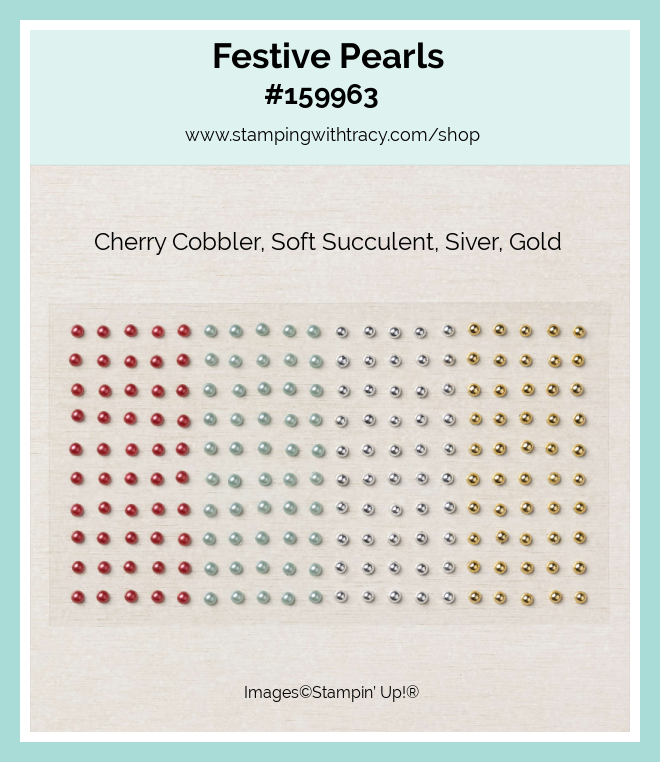
To complete my card, I added three Festive Pearls to the front of the card. These pearls have been on backorder but are now back in stock!
Here’s one more card I made and although you might think it’s the same card, the design of the paper is different.

How to Heat Emboss
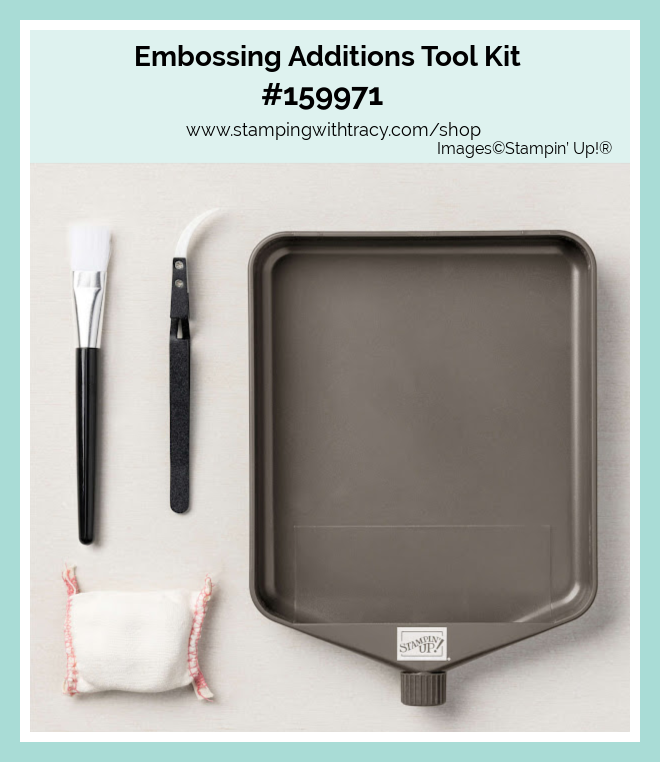
Prepare your cardstock by rubbing the Embossing Buddy (an anti-static pouch that can be found in the Embossing Additions Tool Kit) over the surface of the paper as it helps keep away stray particles of embossing powder. Stamp your sentiment or image using a Versamark pad. This is very sticky ink and your embossing powder will stick right to it. Sprinkle embossing powder over the stamped image and then shake off any excess. Before applying heat to your paper, heat the Heat Tool first so your paper won’t warp (about 10 seconds). Direct the heat over your image and watch as your image is transformed (it will be shiny)!
Supply List
Below you’ll find all the Stampin’ Up! supplies I used for today’s card. If you need any stamping supplies, I’d love to be your demonstrator! You can place an order by clicking any of the images below to go to my Stampin’ Up! online store.
The Specialty Plate is used with 3D Embossing Folders.
Measurements
- Thick Basic White cardstock: 11″ x 4-1/4″
- Petal Pink cardstock: 5-1/4″ x 4″
- Texture Chic Designer Series Paper: 4″ x 3-3/4″ place the die in the right hand corner (on the shorter side) and the opposite left bottom corner
- Basic White cardstock (sentiment): approx. 2-1/4″ x 2-1/4″
- Gold Foil (circle): approx. 2-1/2″ x 2-1/2″
Last Chance for Abigail Rose Card Sampler

By the end of today, place a minimum $50 order (before tax/shipping) at my Stampin’ Up! Online Store using my special host code TWSWHDFM and I’ll send you my Abigail Rose Card Sampler.
You’ll receive six card kits (two cards each of three different designs) and everything will be cut, scored, and die cut for you! You’ll quickly have six cards ready to mail or give to someone special. For more details, please click HERE.
Don’t forget to use the host code when placing your order so I’ll know you want this sampler. When you use the host code, it allows me to continue to offer my Samplers for the low cost of free! EXCEPTION: if your order is $150 or more do not use the host code so you can receive Stampin’ Rewards directly from Stampin’ Up!. Contact me after you’ve placed the order to let me know that you’d like the Sampler – you only need to contact me if your order is $150 or more.
Orders must be placed by the end of today, September 9, 2022 and the Card Samplers will be mailed approximately September 19, 2022.

Here are the Weekly Deals for September 8th -14th.
If a product become unavailable, it will no longer be on sale.
Sale: $8.00
Price: $10.00
Sale: $9.60
Price: $12.00
Sale: $8.00
Price: $10.00
Sale: $9.00
Price: $10.00
Click here for the Perfect Partners flyer.
Click here to see these products at my Stampin’ Up! online store.
Thanks for stopping by today! Enjoy your weekend!
by Tracy | Aug 24, 2022 | Uncategorized
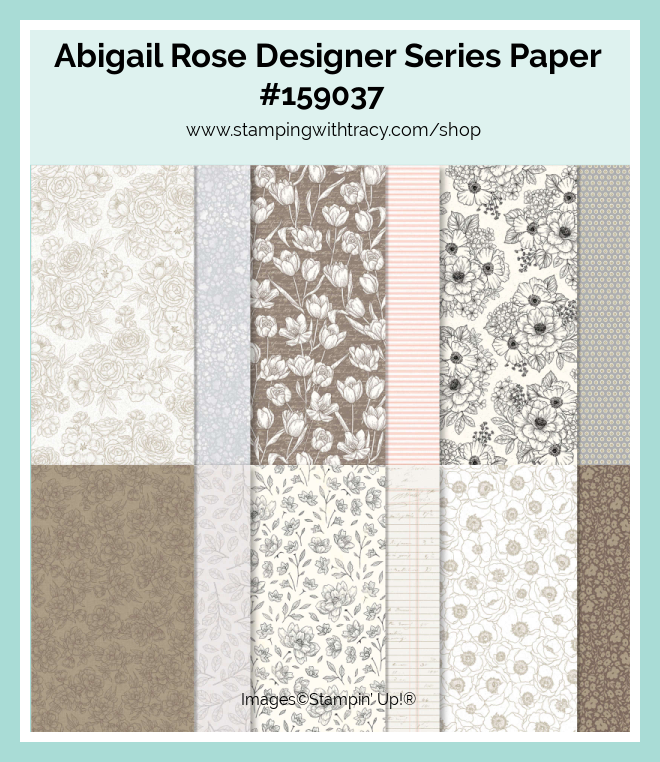
Today’s card was made using Abigail Rose Designer Series Paper and the Amazing Thanks Dies.

I started with a piece of Thick Basic White cardstock. Then I cut a piece of Abigail Rose Designer Series Paper (I think this design is so elegant looking in person) and adhered it to a piece of Smoky Slate cardstock (all the measurements I used can be found below the Supply List). These layers were then adhered to a piece of Basic White cardstock. I added Stampin’ Dimensionals to the back and adhered it to the card base.


The Amazing Thanks Dies come with two “thanks” and one is chunkier than the other. I used Smoky Slate cardstock for the chunky one and Basic White for the other one. After I cut them out with the Stampin’ Cut & Emboss Machine, I layered them together using Multipurpose Glue. Then I put Mini Stampin’ Dimensionals on the back (I had to cut several dimensionals in half) and then adhered it to the card front.

I stamped the sentiment in Smoky Slate ink onto a scrap piece of Basic White cardstock using the stamp set, Inspired Thoughts. The sentiment I used had more words than I needed, so I covered the words I didn’t want with Post It Tape, inked up the stamp, removed the tape and stamped it onto my cardstock.
I cut the sentiment out using the Stylish Shapes Dies (these dies are currently unavailable but more stock should be arriving the week of September 19th). I added Mini Stampin’ Dimensionals to the back and adhered it below “thanks”. To complete my card, I added three Elegant Faceted Gems below the sentiment.


Supply List
Below you’ll find all the Stampin’ Up! supplies I used for today’s card. If you need any stamping supplies, I’d love to be your demonstrator! You can place an order by clicking any of the images below to go to my Stampin’ Up! online store.
Measurements
- Thick Basic White cardstock: 11″ x 4-1/4″ score at 5-1/2″
- Basic White cardstock: 5″ x 3-3/4″
- Basic White cardstock (thanks): approx. 3-3/4″x 1 1/2″
- Basic White cardstock (sentiment): scrap
- Smoky Slate cardstock: 4-3/4″ x 3-1/2″
- Smoky Slate cardstock (thanks): approx. 3-3/4″x 1 1/2″
- Abigail Rose Designer Series Paper: 4-1/2″ x 3-1/4″
July – August Card Kits

During the month of July and August 2022, place a minimum $50 order using the host code 3AP9YADK at my Stampin’ Up! online store and I’ll send you at least six card kits. A card kit includes all the cardstock and Designer Series Paper you’ll need to complete a card. I cut, score, die cut and emboss all the pieces for you! You’ll just need to supply your own stamp set, ink and adhesive. You can use the stamp set I used to create the cards (Soft Seedlings) or use what you already own.
- $50.00 – $99.99 = 6 card kits
- $100 – $149.99 = 7 card kits
- $150 or more = 8 card kits
If your order is $150 or more, do NOT use the host code so you can receive Stampin’ Rewards directly from Stampin’ Up! You will automatically receive 8 card kits from me.
I have designed thirteen different cards using the same layout but with a variety of different cardstock, Designer Series Paper and embossing folders.
You’ll receive:
- At least six card kits with your minimum $50 order
- A nine page PDF tutorial with directions for the card, a supply list and twelve more ideas using the same layout
- At least one FREE Sale-a-Bration gift directly from Stampin’ Up!
- At least one Bradley Point (earn points and redeem them for free product)
- A thank you card you can send to someone!
If your order is $150 or more, do NOT use the host code so you can receive Stampin’ Rewards directly from Stampin’ Up! You will automatically receive 8 card kits from me.
This offer expires on August 31, 2022

One Week Left of Sale-a-Bration!
Sale-a-Bration is that time of year when you earn FREE product with every $50 or $100 purchase! There’s no limit to how many free items you can earn. Learn all about Sale-a-Bration here.

Learn more about the Starter Kit here and the extra gifts you can earn during Sale-a-Bration!

Perfect Partners Promotion Begins September 1st
Click HERE for the Perfect Partners promotion flyer (it’s two pages).
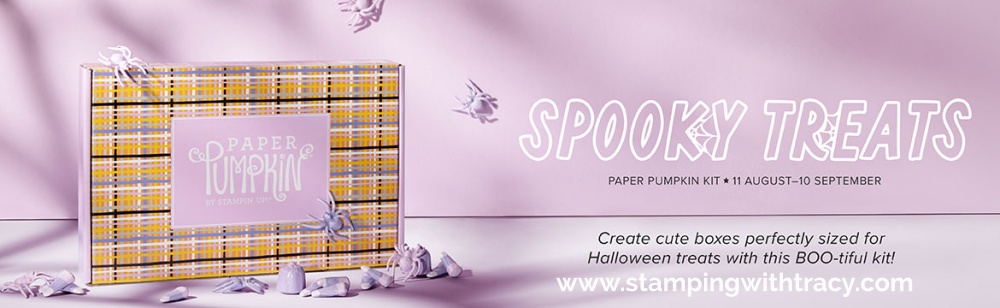
Spooky Treats Paper Pumpkin Kit
This kit includes:
- This month’s kit contains enough elements to create 18 treat boxes—6 each of 3 designs. This all-inclusive kit includes printed box bases and tops, die-cut paper pieces, adhesives, and more!
- The Spooky Treats Paper Pumpkin Kit includes an Orchid Oasis Classic Stampin’ Spot!
- This kit’s stamp set puts the TREAT in trick-or-treat with fun, Halloween-themed sentiments and designs. Embrace the spooky season with ghost, bat, spider, and star images.
- This kit also includes a special peek-through box top on one of the box designs.
- Order must be placed by September 10, 2022
Finished box size: 2-1/2″ x 3″ x 1″
Coordinating Stampin’ Up! colors: Basic Black, Gray Granite, Orchid Oasis, Fresh Freesia, Crushed Curry, Pumpkin Pie
You can cancel at any time or even skip a month
Click here to order the Spooky Treats Paper Pumpkin Kit
Thanks for stopping by today!
by Tracy | Aug 17, 2022 | Uncategorized
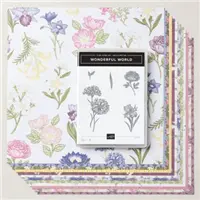
Today’s card features the Wonderful World Bundle (a FREE Sale-a-Bration gift with a $100 purchase) which includes the Wonderful World stamp set and Wonderful World 12″ x 12″ Designer Series Paper.
I used this design on a previous card but changed up the sentiment. You can see it here.


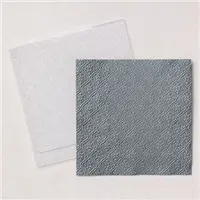
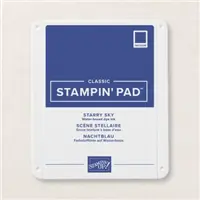
I started with a piece of Starry Sky cardstock for the base of my card. Then I ran a piece of Basic White cardstock through the Stampin’ Cut & Emboss Machine using the Quatrefoil Tile Embossing Folder and then adhered it to my card front.


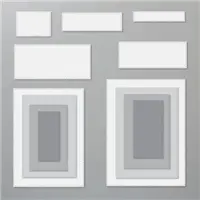
I used the Stylish Shapes Dies to cut two squares of Wonderful World Designer Series Paper. Then I layered each to a piece of Starry Sky cardstock (you can find the measurements I used below the Supply List) and adhered them to the front of the card. For the sentiment, I used the Stitched Rectangles to cut a piece of Basic White cardstock and then stamped the sentiment in Starry Sky ink using the stamp set, Season of Chic. I added Stampin’ Dimensionals to the back and adhered it to the top square. To complete the card, I added a piece of Basic White cardstock to the inside.
Unfortunately the Stylish Shapes Dies are currently unavailable. Stampin’ Up! has estimated they will be back in stock the week of September 19th.


I placed the sentiment on the bottom square on the card below.

Supply List
Below you’ll find all the Stampin’ Up! supplies I used for today’s card. If you need any stamping supplies, I’d love to be your demonstrator! You can place an order by clicking any of the images below to go to my Stampin’ Up! online store.
Measurements
- Starry Sky cardstock: 11″ x 4-1/4″
- Starry Sky cardstock: 3″ x 3″
- Starry Sky cardstock: 2-5/8″ x 1-1/4″
- Basic White cardstock: (2) 5-1/4″ x 4″
- Basic White cardstock (sentiment): approx. 3″ x 1-3/4″
- Wonderful World Designer Series Paper: (2) approx. 3-1/4″ x 3-1/4″
Texture Chic Card Sampler
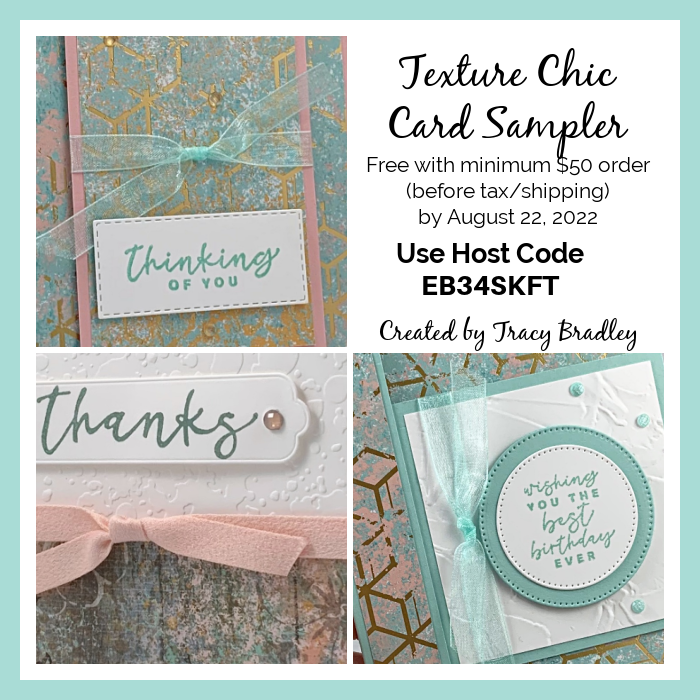
Place a minimum $50 order (before tax/shipping) at my Stampin’ Up! Online Store using my special host code EB34SKFT and I’ll send you my Texture Chic Card Sampler.
You’ll receive six card kits (two cards each of three different designs) plus you’ll qualify to earn at least one Sale-a-Bration gift.
Don’t forget to use the host code when placing your order so I’ll know you want this sampler. When you use the host code, it allows me to continue to offer my Samplers for the low cost of free! EXCEPTION: if your order is $150 or more do not use the host code so you can receive Stampin’ Rewards directly from Stampin’ Up!. Contact me after you’ve placed the order to let me know that you’d like the Sampler – you only need to contact me if your order is $150 or more.
Orders must be placed by August 22, 2022 and the Card Samplers will be mailed approximately September 1, 2022. Please click HERE for all the details.
Free Sale-a-Bration Gifts with Every $50 or $100 Purchase

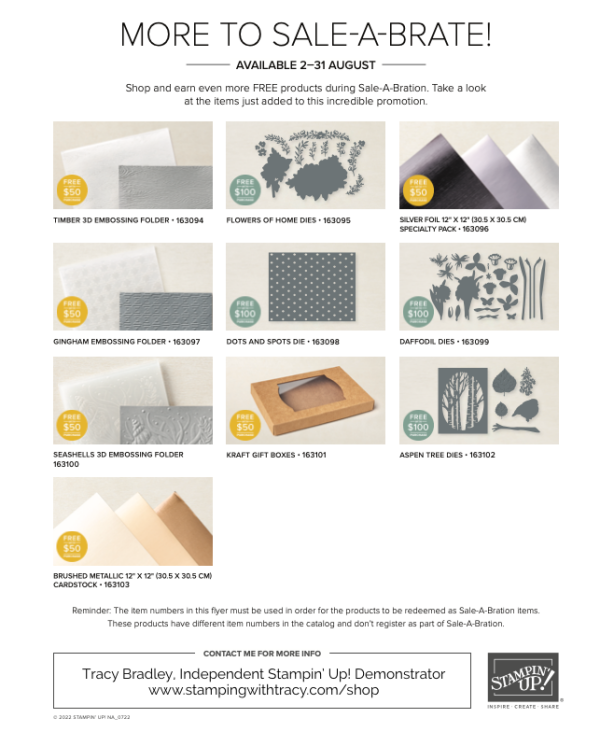
Click here to learn more about Sale-a-Bration
Thank you for stopping by today!