by Tracy | Jul 8, 2022 | Uncategorized
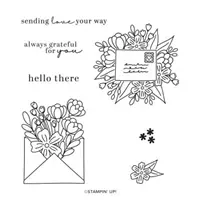
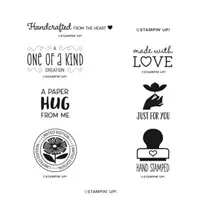
Today’s card features the stamp set, Full of Love, Stylish Shapes Dies and the Gingham Embossing Folder.


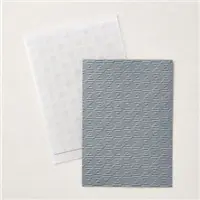
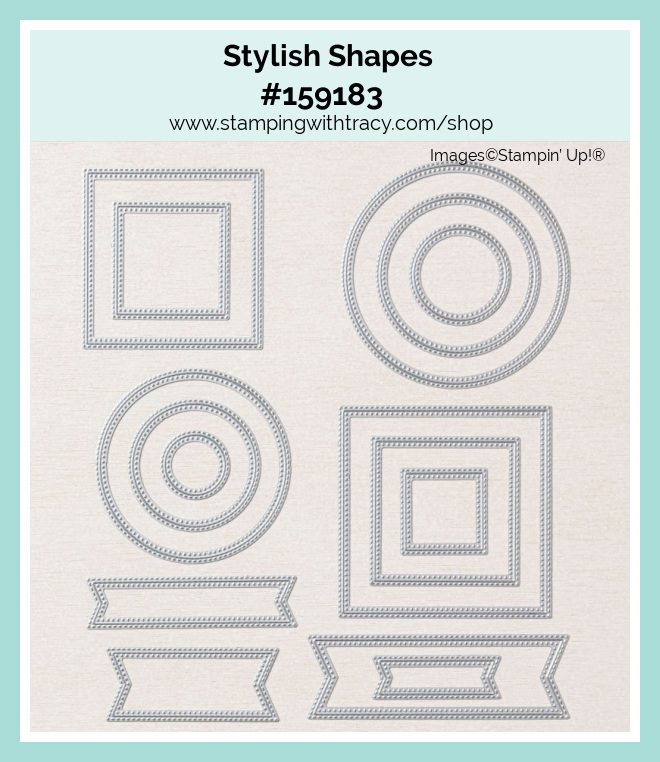
I started with a piece of Sweet Sorbet cardstock and then added a layer of Basic White cardstock that I embossed using the Gingham Embossing Folder. I also added a piece of Basic White cardstock to the inside of the card. Next, I stamped the flowers and envelope onto a piece of Basic White cardstock using Memento ink and the stamp set, Full of Love. Then I cut it out using the Stylish Shapes Dies.

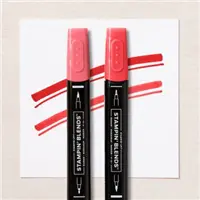
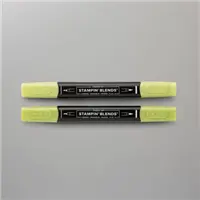
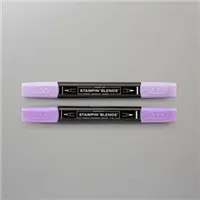
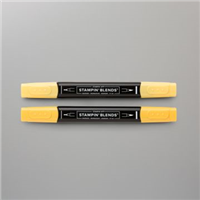
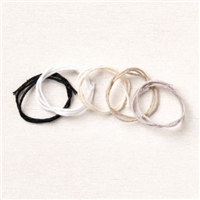
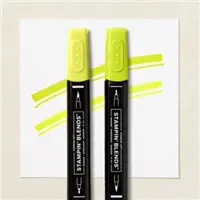
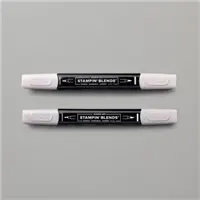
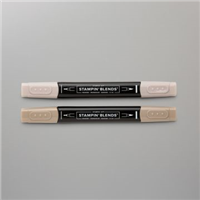
I colored the flowers using these Stampin’ Blends: Sweet Sorbet, Granny Apple Green, Highland Heather and Daffodil Delight. I then cut a piece of Sweet Sorbet cardstock and adhered the flower image to it. I added Stampin’ Dimensionals to the back and adhered it to the front of the card. I used Linen Thread to make a bow and then added a Mini Glue Dot to the back and adhered it to the flower image.

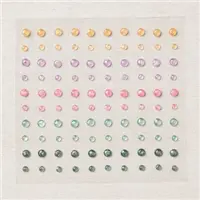
I stamped the sentiment onto a piece of Basic White cardstock using Sweet Sorbet ink and the stamp set, Full of Love. I cut it out using the Stylish Shapes Dies, added Stampin’ Dimensionals to the back and adhered it to the front of the card. To complete the card, I added three 2021-2023 In Color Opal Rounds to the front of the card.
Supply List
Below you’ll find all the Stampin’ Up! supplies I used for today’s card. If you need any stamping supplies, I’d love to be your demonstrator! You can place an order by clicking any of the images below to go to my Stampin’ Up! online store.
Measurements
- Sweet Sorbet cardstock: 11″ x 4-1/4″ score at 5-1/2″
- Sweet Sorbet cardstock: 3″ x 3″
- Basic White cardstock (embossed): 5″ x 3-3/4″
- Basic White cardstock (square): approx. 3-1/4″ x 3-1/4″
- Basic White cardstock (inside): 5-1/4″ x 4″
- Basic White cardstock (sentiment): approx. 2-3/4″ x 1-1/4″


Thank you for stopping by today! Enjoy your weekend!
by Tracy | Jul 4, 2022 | Quick & Easy Card
If you live in the U.S., Happy 4th of July!
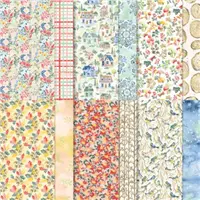
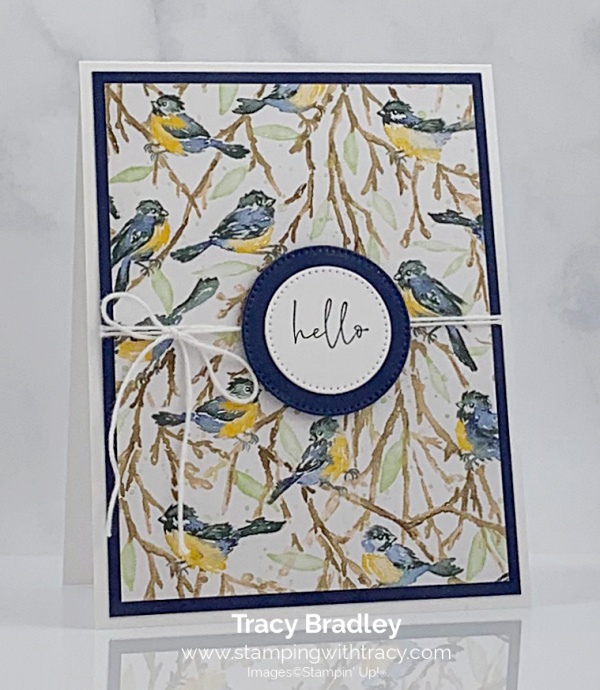
Today’s card was made using Rings of Love 12″ x 12″ Designer Series Paper. This is a Sale-a-Bration product you can earn with a $50 purchase! I absolutely love these little birds and I knew I wanted the least amount of birds to be covered up!


I started with a piece of Thick Basic White cardstock. Then I added a piece of Rings of Love Designer Series Paper to a piece of Night of Navy cardstock (you can find the measurements I used below the Supply List). Before adhering it to the card base, I wrapped White Baker’s Twine (included in the Baker’s Twine Essentials Pack) and wrapped it around the two layers, twice, and tied a bow. Then I added adhesive to the back and adhered it to the card base.
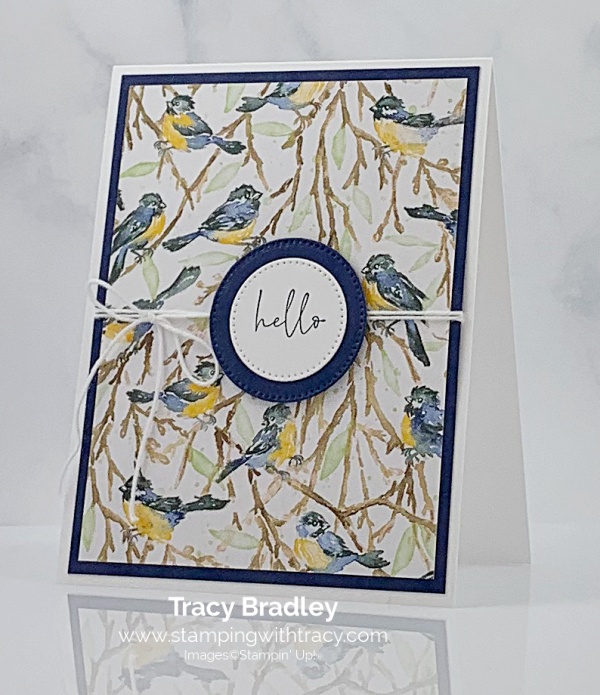
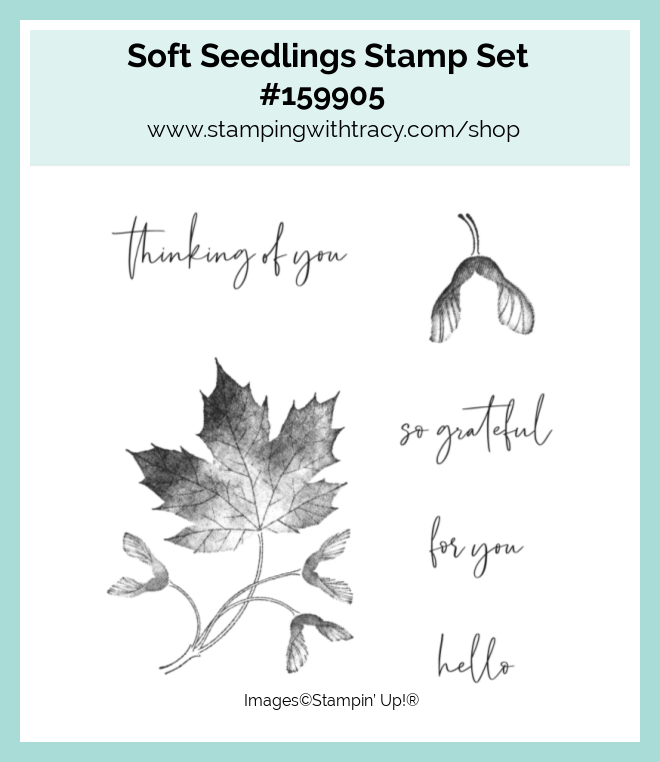
I stamped the sentiment onto a piece of Basic White cardstock in Night of Navy ink using the new stamp set, Soft Seedlings (I love the font style of the sentiments in this set). Then I cut it out using the Stylish Shapes Dies and I cut a larger circle out of Night of Navy cardstock. I adhered the two pieces together and then added two Stampin’ Dimensionals at the top of the Night of Navy circle and two at the bottom ( I do this so that the dimensionals aren’t sitting on the twine). Super simple card but if you have a great Designer Series Paper, your card doesn’t have to be complicated!
Supply List
Below you’ll find all the Stampin’ Up! supplies I used for today’s card. If you need any stamping supplies, I’d love to be your demonstrator! You can place an order by clicking any of the images below to go to my Stampin’ Up! online store.
Measurements
- Thick Basic White cardstock; 11″ x 4-1/4″ score at 5-1/2″
- Basic White cardstock (sentiment): approx. 1-3/4″ x 1-3/4″
- Night of Navy cardstock: 5-1/4″ x 4″
- night of Navy cardstock (stitched circle): approx. 2-1/4″ x 2-1/4″
- Rings of Love Designer Series Paper: 5″ x 3-3/4″
Butterfly Kisses Card Sampler
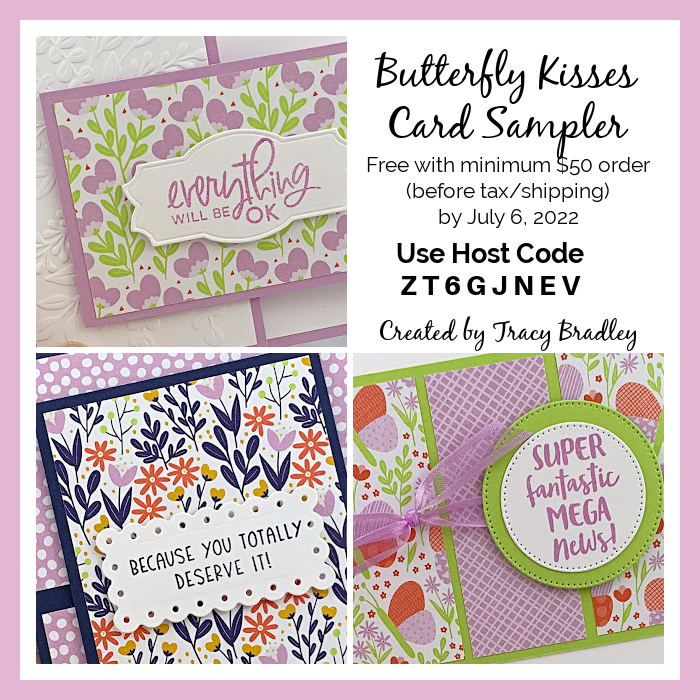
Place a minimum $50 order (before tax/shipping) at my Stampin’ Up! Online Store using my special host code ZT6GJNEV and I’ll send you my Butterfly Kisses Card Sampler.
You’ll receive six card kits (two cards each of three different designs) plus you’ll qualify to earn at least one Sale-a-Bration gift.
Don’t forget to use the host code when placing your order so I’ll know you want this sampler. When you use the host code, it allows me to continue to offer my Samplers for the low cost of free! EXCEPTION: if your order is $150 or more do not use the host code so you can receive Stampin’ Rewards directly from Stampin’ Up!. Contact me after you’ve placed the order to let me know that you’d like the Sampler – you only need to contact me if your order is $150 or more.
Orders must be placed by July 6, 2022 and the Card Samplers will be mailed approximately July 16, 2022. Please click HERE for all the details.

July Paper Pumpkin
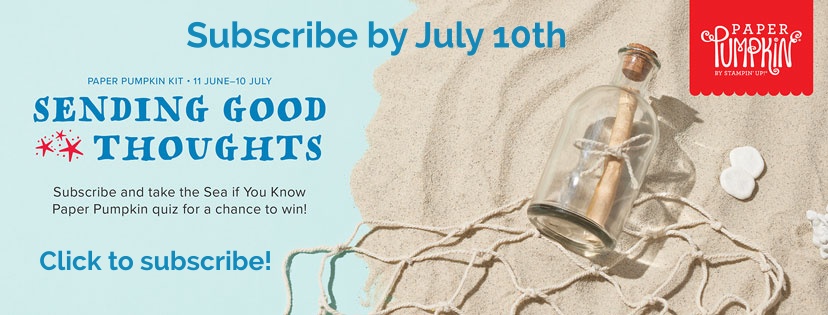
This kit includes:
- Sending Good Thoughts Photopolymer Stamp Set
- Bermuda Bay Classic Stampin’ Spot®
- Printed dry-embossed card bases
- Printed envelopes
- Printed die cuts
- Twine
- Mini glue dots
- Dimensionals
- Card size: 4-1/4″ x 5-1/2″
- Coordinating Stampin’ Up! colors: Balmy Blue, Basic Gray, Bermuda Bay, Fresh Freesia, Pacific Point, Poppy Parade
You can cancel at any time or even skip a month
Click here to order the July Paper Pumpkin Kit
Free Gifts You Can Earn with Every $50 Purchase
Free Gifts You Can Earn with Every $100 Purchase
Have a wonderful day!
by Tracy | Jun 28, 2022 | Uncategorized
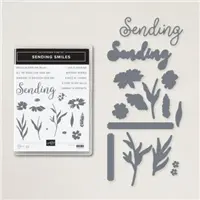
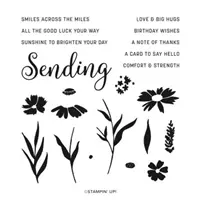
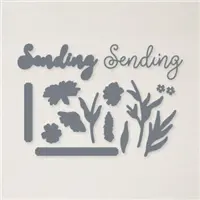
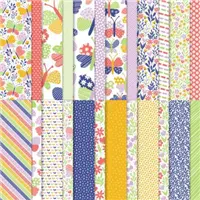
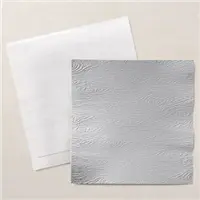
Today’s card was made using the Sending Smiles Bundle which includes the Sending Smiles stamp set and the Sending Dies. I also used Butterfly Kisses 6″ x 6″ Designer Series Paper, Stylish Shapes Dies and Timber 3D Embossing Folder.


I started with a piece of Parakeet Party for my card base. I then placed a piece of Basic White cardstock inside the Timber 3D Embossing Folder and ran it through the Stampin’ Cut & Emboss Machine. I added a strip of Butterfly Kisses Designer Series Paper to the cardstock and then adhered the piece to the card base.
As I was creating, I wondered how different Parakeet Party is from Granny Apple Green and I was very surprised!! I thought they would be very close but they aren’t!


I used the Stylish Shapes Dies to cut the large Basic White stitched circle. Then I stamped the leaves directly onto the circle using Parakeet Party ink. Then on another piece of Basic White cardstock, I stamped the two flowers in Highland Heather ink and used Daffodil Delight for the centers using the stamp set, Sending Smiles. I cut them out using the Sending Dies. I added Stampin’ Dimensionals to the back of each flower and adhered them to the circle. I added Stampin’ Dimensionals to the back of the circle and adhered it to the front of the card.

I used the Sending Dies again to cut the Highland Heather “sending” and the Basic White one. I used Multipurpose Glue to adhere them together (another option is use our adhesive sheets). I added Mini Stampin’ Dimensionals to the back and adhered it to the card front. I also used the Sending Dies to cut the sentiment. First, I stamped the sentiment in Parakeet Party ink onto Basic White cardstock using the Sending Smiles stamp set. I then cut it out but the sentiment is much to short for the die so I cut both ends off as shown in the pictures below. I added Mini Stampin’ Dimensionals to the back and adhered it to the front of the card.


To complete my card, I added three 2021-2023 In Color Opal Rounds.
Supply List
Below you’ll find all the Stampin’ Up! supplies I used for today’s card. If you need any stamping supplies, I’d love to be your demonstrator! You can place an order by clicking any of the images below to go to my Stampin’ Up! online store.
Measurements
- Parakeet Party cardstock: 11″ x 4-1/4″
- Basic White cardstock: (2) 5-1/4″ x 4″
- Basic White cardstock (stitched circle): approx. 3-1/2″ x 3-1/2″
- Basic White cardstock (sending): approx. 3-3/4″ x 1-3/4″
- Basic White cardstock (flowers): scraps
- Basic White cardstock (sentiment): approx. 2-7/8″ x 2-7/8″
- Highland Heather cardstock (sending): approx. 4″ x 2″

There are just a few days left to purchase products retiring from the January – June 2022 Mini Catalog!
Click HERE to see what’s available.
All products are available while supplies last!

During the month of June, purchase one Kits Collection Kit and get the second one half off!
Ordering information:
- Sale ends on June 30, 2022
- All kits in the Kits Collection by Stampin’ Up! qualify for this sale.
- Kit selection is based on availability.
- You will need at least two kits in your cart for the discount to automatically apply at checkout.
- There are no order limits on this promotion.
- The discount will automatically apply to the most expensive kit in your cart
Click HERE to see all the Kits Collection kits.
Paper Pumpkin
This kit includes:
- Sending Good Thoughts Photopolymer Stamp Set
- Bermuda Bay Classic Stampin’ Spot®
- Printed dry-embossed card bases
- Printed envelopes
- Printed die cuts
- Twine
- Mini glue dots
- Dimensionals
- Card size: 4-1/4″ x 5-1/2″
- Coordinating Stampin’ Up! colors: Balmy Blue, Basic Gray, Bermuda Bay, Fresh Freesia, Pacific Point, Poppy Parade
You can cancel at any time or even skip a month
Click here to order the Sending Good Thoughts Paper Pumpkin Kit
Thanks for stopping by today!
by Tracy | Jun 24, 2022 | Uncategorized
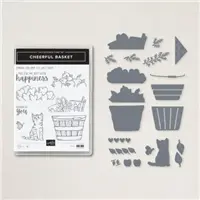
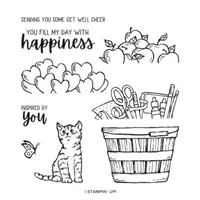
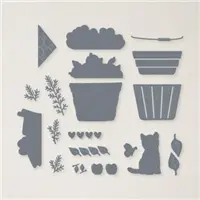
Today’s card features the Stampin’ Up! Cheerful Basket Bundle which includes the Cheerful Basket stamp set and the Full Basket Dies.


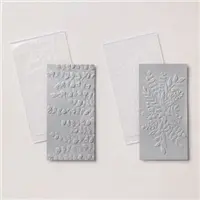
I started with a piece of Parakeet Party cardstock for the base of my card. I cut a strip of Parakeet Party cardstock (you can find the measurements I used below the Supply List) and placed it inside one of the Elegant Eucalyptus 3D Embossing Folders and ran it through the Stampin’ Cut & Emboss Machine. I adhered it to a piece of Basic White cardstock and then adhered the piece to the card base (I also adhered a piece of Basic White cardstock to the inside of the card).


Next, I stamped the basket, apples and cat onto a piece of Basic White cardstock using Memento ink and the Cheerful Basket stamp set and colored them with my Stampin’ Blends. I cut all three pieces using the Full Basket Dies.
- Basket: Light & Dark Crumb Cake Stampin’ Blends
- Apples: Light & Dark Sweet Sorbet Stampin’ Blends, Light & Dark Parakeet Party Stampin’ Blends
- Cat: Light Gray Granite Stampin’ Blends
I used Mini Glue Dots to adhere the apples to the inside of the basket and then added Stampin’ Dimensionals to the back and adhered it to the card front. I added adhesive to the back of the cat, only the part that is touching the basket.

I stamped the sentiment onto a piece of Basic White cardstock in Sweet Sorbet ink using the stamp set, Sending Smiles and then cut it out using the Stylish Shapes Dies. I added Stampin’ Dimensionals to the back and adhered it to the front of the card. To complete my card, I added five 2022-2024 In Color Matte Decorative Dots.
Bundle Alert: The Sending Smiles Bundle includes the Sending Smiles stamp set and the Sending Dies.You always save 10% when you purchase a bundle.
Supply List
Below you’ll find all the Stampin’ Up! supplies I used for today’s card. If you need any stamping supplies, I’d love to be your demonstrator! You can place an order by clicking any of the images below to go to my Stampin’ Up! online store.
Measurements
- Parakeet Party cardstock: 11″ x 4-1/4″ score at 5-1/2″
- Parakeet Party cardstock: 5-1/4″ x 1-5/8″
- Basic White cardstock: (2) 5-1/4″ x 4″
- Basic White cardstock (sentiment): approx. 3-1/4″ x 1″
- Basic White cardstock (basket): scrap
- Basic White cardstock (apples): scrap
- Basic White cardstock (cat): scrap
Pretty Prints Card Sampler

Place a minimum $50 order (before tax/shipping) at my Stampin’ Up! Online Store using my special host code MXSKAREG and I’ll send you my Pretty Prints Card Sampler.
Don’t forget to use the host code when placing your order so I’ll know you want this sampler. When you use the host code, it allows me to continue to offer my Samplers for the low cost of free! EXCEPTION: if your order is $150 or more do not use the host code so you can receive Stampin’ Rewards directly from Stampin’ Up!. Contact me after you’ve placed the order to let me know that you’d like the Sampler – you only need to contact me if your order is $150 or more.
Orders must be placed by, June 27, 2022 and the Card Samplers will be mailed approximatelyJuly 7, 2022. Please click HERE for all the details.

This kit includes:
- Sending Good Thoughts Photopolymer Stamp Set
- Bermuda Bay Classic Stampin’ Spot®
- Printed dry-embossed card bases
- Printed envelopes
- Printed die cuts
- Twine
- Mini glue dots
- Dimensionals
- Card size: 4-1/4″ x 5-1/2″
- Coordinating Stampin’ Up! colors: Balmy Blue, Basic Gray, Bermuda Bay, Fresh Freesia, Pacific Point, Poppy Parade
Click here to order the Sending Good Thoughts Paper Pumpkin Kit
You can cancel at any time or even skip a month
During the month of June, purchase one Kits Collection Kit and get the second one half off!
Ordering information:
- Sale ends on June 30, 2022
- All kits in the Kits Collection by Stampin’ Up! qualify for this sale.
- Kit selection is based on availability.
- You will need at least two kits in your cart for the discount to automatically apply at checkout.
- There are no order limits on this promotion.
- The discount will automatically apply to the most expensive kit in your cart
Click HERE to see all the Kits Collection kits.
Thanks for stopping by today and have a great weekend!
by Tracy | Jun 23, 2022 | Uncategorized
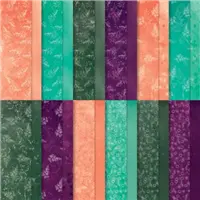
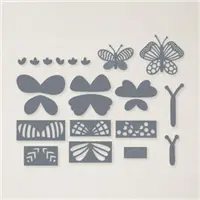
Today’s card was made using the same layout as yesterday’s card but I used Pretty Prints Designer Series Paper and Build a Butterfly Dies.


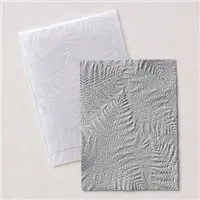
I started out with a piece of Blackberry Bliss cardstock for my card base and then added a layer of Basic White cardstock. I also adhered a piece of Basic White cardstock to the inside of my card. Then, I cut a piece of Blackberry Bliss cardstock (you can find all the measurements I used below the Supply List) and placed it inside the Fern 3D Embossing Folder and ran it through my Stampin’ Cut & Emboss Machine. After adhering it to the front of the card, I cut a piece of Pretty Prints Designer Series Paper and adhered that to the front of the card.


I used the Stylish Shapes Dies to cut a stitched square out of Basic White cardstock and then stamped the sentiment in Rich Razzleberry ink using the stamp set, Limited Edition. I added Stampin’ Dimensionals to the back and adhered it to the front of the card. I used a different pattern of Pretty Prints Designer Series Paper to cut out my butterfly using the Build a Butterfly Dies. I cut Mini Stampin’ Dimensionals so that they’d fit down the center of the butterfly and adhered the butterfly to the sentiment piece.


To complete my card, I added three Iridescent Rhinestone Basic Jewels to the front of the card.
Bundle Alert: The Best Butterflies Bundle includes the Best Butterflies stamp set and the Build a Butterfly Dies. You’ll always save 10% when you purchase a bundle.
Supply List
Below you’ll find all the Stampin’ Up! supplies I used for today’s card. If you need any stamping supplies, I’d love to be your demonstrator! You can place an order by clicking any of the images below to go to my Stampin’ Up! online store.
Measurements
- Blackberry Bliss cardstock: 11″ x 4-1/4″
- Blackberry Bliss cardstock: 5″ x 2″
- Pretty Prints Designer Series Paper: 3-3/4″ x 2″
- Pretty Prints Designer Series Paper: scrap for butterfly
- Basic White cardstock: (2) 5-1/4″ x 4″
- Basic White cardstock: approx. 2-7/8″ x 2-7/8″
Pretty Prints Card Sampler
Place a minimum $50 order (before tax/shipping) at my Stampin’ Up! Online Store using my special host code MXSKAREG and I’ll send you my Pretty Prints Card Sampler.
Don’t forget to use the host code when placing your order so I’ll know you want this sampler. When you use the host code, it allows me to continue to offer my Samplers for the low cost of free! EXCEPTION: if your order is $150 or more do not use the host code so you can receive Stampin’ Rewards directly from Stampin’ Up!. Contact me after you’ve placed the order to let me know that you’d like the Sampler – you only need to contact me if your order is $150 or more.
Orders must be placed by, June 27, 2022 and the Card Samplers will be mailed approximatelyJuly 7, 2022. Please click HERE for all the details.
Get your favorites before they’re gone. Some retiring products are deeply discounted.
Everything is available while supplies last.
Click here to shop the retiring products
Thanks for stopping by today!