Yesterday I shared one of my Project Kits and today I have another one! Both cards were made using the same layout and Share What You Love Designer Series Paper. To see yesterday’s card and my explanation as to what a Project Kit is (I send them out as a thank you), please click here for that post.

Yesterday the Retiring Lists came out and there are several retiring products I used to create today’s card:
- Softly Falling Embossing Folder (darn, I hoped this wouldn’t make the list)
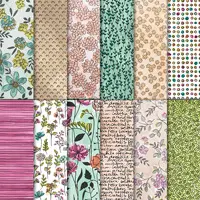
- Share What You Love Designer Series Paper
- 1-3/4″ Circle Punch
- Treat Time stamp set
- Big Shot
Only the stamp set has guaranteed availability until May 24 but everything else is while supplies last!
** Click here to see all the Retiring Stamp Sets (please see note below)
Click here to see all the Bundles retiring.
Click here to see Everything Else.
** All new stamp sets in the 2019-2020 Stampin’ Up! Annual Catalog, will be available in either cling mount or photopolymer. Because of this, any stamp set in the current catalog that is either wood or clear mount, is on the retiring list BUT not all retiring stamp sets are leaving! Some will be carrying over into the 2019-2020 Annual Catalog and transitioning to cling mount. Click here to see the Carryover Stamps List.
Do you have questions about products that are retiring? If so, please contact me! You can find the Email Me button on the sidebar of my blog!
If you’d like to create today’s card, you’ll find the directions below as well as a complete supply list of all the products I used.

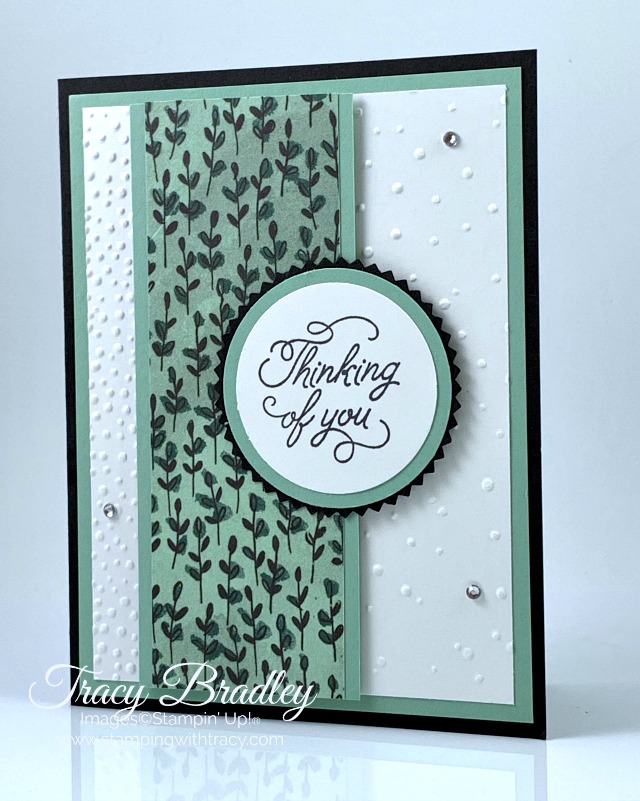
- Cut a piece of Basic Black cardstock that measures 11″ x 4-1/4″. Fold in half. This will be your card base.
- Cut a piece of Mint Macaron cardstock that measures 5-1/4″ x 4″. Attach to the Basic Black card base.
- Cut a piece of Whisper White cardstock that measures 5″ x 3-3/4″. Place it inside the Softly Falling Embossing Folder and run it through the Big Shot. Attach to the front of the card.
- Cut a piece of Mint Macaron cardstock that measures 2″ x 5″. Cut a piece of Share What You Love Designer Series Paper that measures 1-3/4″ x 5″. Attach to the piece of Mint Macaron using Snail adhesive. Add Stampin’ Dimensionals to the back and attach to the card.
- On a scrap piece of Whisper White cardstock, stamp the sentiment in Memento ink. Punch it out using the 1-3/4″ Circle Punch. Cut the Mint Macaron layer using the 2″ Circle Punch and the Basic Black piece with the Starburst Punch. Layer the pieces using Snail adhesive. Then, turn it over to the backside and add Snail only to the left side. Turn over and attach to the front of the card.
- Add three rhinestones to complete the card!


If you need any stamping supplies, I’d love to be your demonstrator! You can place an order by clicking any of the images below to go to the homepage of my Stampin’ Up! online store. If you have questions about products you’re considering purchasing or ones you’ve already purchased, I’m just an email away (click the Email Me button on the sidebar of my blog).