by Tracy | Nov 23, 2022 | Uncategorized
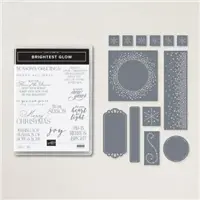
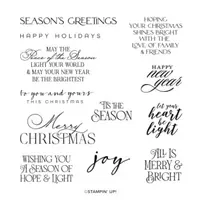
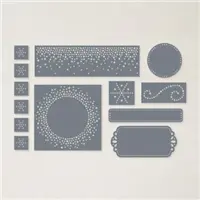
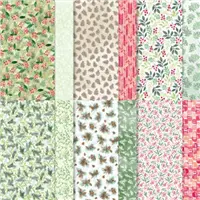
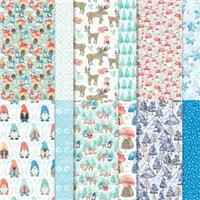
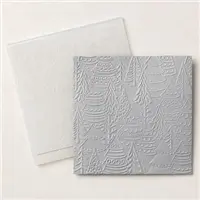
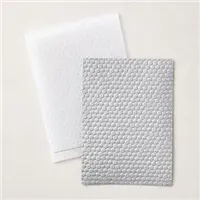
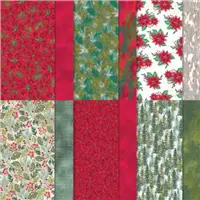
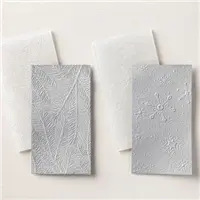
Today I have two Christmas cards to share with you that were made using the same design. One was made using Painted Christmas Designer Series Paper and the other was made with Storybook Gnomes Designer Series Paper. Both cards were made using the Brightest Glow Bundle which includes the Brightest Glow stamp set and the Labels Aglow Dies. I also used the Whimsical Woodland 3D Embossing Folder.


For this first card I used Night of Navy cardstock for the base of my card. Then I embossed a piece of Basic White cardstock using the Whimsical Woodland 3D Embossing Folder and adhered it to the base of the card. I also adhered a piece of Basic White to the inside. I cut two pieces of Night of Navy cardstock (the measurements I used are below the Supply List) and layered them with two pieces of Storybook Gnomes Designer Series Paper. I adhered the vertical piece to the front of the card but added Stampin’ Dimensionals to the other before adhering it to the card.


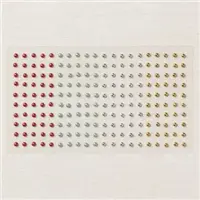
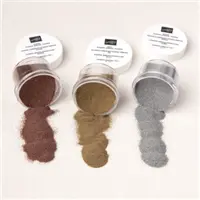
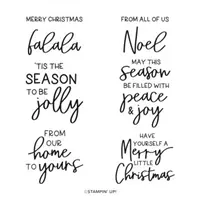
I heat embossed the sentiment with silver embossing powder and cut it out using the Labels Aglow Dies. If you aren’t sure how to emboss, you’ll find directions below. I added Stampin’ Dimensionals to the sentiment and adhered it to the horizontal piece. To complete the card, I added three silver Festive Pearls.


For this next card, I used Real Red cardstock and Painted Christmas Designer Series Paper. I also heat embossed the sentiment with silver embossing powder and used Rhinestone Basic Jewels.


How to Heat Emboss
Prepare your cardstock by rubbing the Embossing Buddy (an anti-static pouch that can be found in the Embossing Additions Tool Kit) over the surface of the paper as it helps keep away stray particles of embossing powder. Stamp your sentiment or image using a Versamark pad. This is very sticky ink and your embossing powder will stick right to it. Sprinkle embossing powder over the stamped image and then shake off any excess. Before applying heat to your paper, heat the Heat Tool first so your paper won’t warp (about 10 seconds). Direct the heat over your image and watch as your image becomes shiny and beautiful!
Supply List
Below you’ll find all the Stampin’ Up! supplies I used for today’s card. If you need any stamping supplies, I’d love to be your demonstrator! You can place an order by clicking any of the images below to go to my Stampin’ Up! online store.
Measurements
- Night of Navy or Real Red cardstock: 11″ x 4-1/4″ scored at 5-1/2″
- Night of Navy or Real Red cardstock: (2) 3-3/4″ x 2″
- Storybook Gnomes or Painted Christmas Designer Series Paper: (2) 3-1/2″ x 1-3/4″
- Basic White cardstock: (2) 5-1/4″ x 4″
- Basic White cardstock: approx. 2″ x 2″


Thank you for stopping by today! For those of you in the U.S., have a wonderful Thanksgiving!
by Tracy | Nov 22, 2022 | Uncategorized
Before I share my card with you today, I wanted to let you know that all of my PDF Tutorials are on sale beginning today, November 22 through November 28th for $5.95.
The SALE price of each PDF is $5.95 and will be reflected on the PayPal invoice you’ll receive from me.
Click here to shop my PDF tutorials.
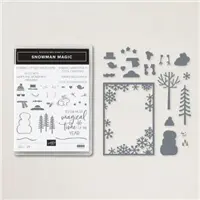
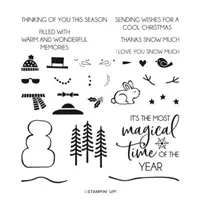
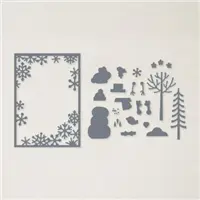
Today’s card features the Snowman Magic Bundle which includes the Snowman Magic stamp set and the Snowman Dies. I also used the Hive 3D Embossing Folder and Stylish Shapes Dies.


I started with a piece of Thick Basic White cardstock for the base of my card (you can find the measurements I used below the Supply List). Then I embossed a piece of Basic White cardstock using the Hive 3D Embossing Folder and adhered it to a piece of Real Red cardstock which I then adhered to the card base.


I stamped the sentiment onto a piece of Basic White cardstock and then cut it out using the Stylish Shapes Dies and adhered it to the card front. I cut another, smaller Basic White circle using these same dies. I used Memento ink to stamp the snowman from the Snowman Magic stamp set as well as the snowman hat onto a scrap piece of Basic White cardstock. I used Garden Green ink to stamp the scarf for the snowman and then cut out the snowman, hat and scarf using the Snowman Dies. I also cut two trees out of Garden Green cardstock using the Snowman Dies.

I adhered the hat and scarf to the snowman and then adhered him to the smaller circle. I added Stampin’ Dimensionals to the back of the circle but before adhering it to the front of the card, I adhered the trees to the front of the card and then placed the snowman circle. To complete my card, I added two small rhinestones and three larger ones.

Supply List
Below you’ll find all the Stampin’ Up! supplies I used for today’s card. If you need any stamping supplies, I’d love to be your demonstrator! You can place an order by clicking any of the images below to go to my Stampin’ Up! online store.
Measurements
- Thick Basic White cardstock: 8-1/2″ x 5-1/2″ score at 4-1/4″
- Real Red cardstock: 5-1/4″ x 4″
- Basic White cardstock (embossed): 5″ x 3-3/4″
- Basic White cardstock (large circle): approx. 3″ x 3″
- Basic White cardstock (small circle): approx. 2-1/2″ x 2-1/2″
- Basic White cardstock (snowman): approx. 2″ x 1-3/4″
- Basic White cardstock (scarf): scrap
- Basic White cardstock (hat): scrap
- Garden Green cardstock: (2) 2-3/4″ x 1-3/4″

Thanks for stopping by today!
by Tracy | Nov 21, 2022 | Uncategorized
Today’s the last day my Framed Florets Card Sampler will be available. Place a minimum $50 order using the host code VBBNQZXR and you’ll receive my Card Sampler absolutely free! All the details are below!

Here’s how you can earn the Framed Florets Card Sampler FREE!
- Place a minimum $50 order (before tax/shipping) at my Stampin’ Up! online store.
- Use my special Framed Florets Card Sampler Host Code when placing your order (see below) BUT if your order reaches $150 or more, please DO NOT use the host code so you can receive Stampin’ Rewards (free product directly from Stampin’ Up!). Once you place your order, simply drop me an email (only necessary if your order is over $150) letting me know that you’d like the Framed Florets Card Sampler.
- Place your order by the end of today, November 21, 2022.

Here’s What You’ll Receive:
- All the paper and embellishments needed to make six cards (two each of three different designs). The paper will be cut, scored, and die cut for you! Envelopes will also be provided. You’ll need to supply your own adhesive, ink and stamp set.
- A PDF Tutorial with instructions, pictures, cutting measurements and a complete supply list of all the products used.
- Earn at least one Bradley Point (earn ten Bradley Points and redeem them for free product)..
All the Other Important Information:
- Your Framed Florets Card Sampler will ship first-class mail approximately December 5, 2022 and will be mailed to the address used on your online order.
- You’ll receive an email when I mail your Card Sampler and the PDF Tutorial will be included in that email.
- When using the Framed Florets Card Sampler Host Code to place your order, you will not qualify for other current host code rewards.
- Per Stampin’ Up! policy, Card Samplers can only be mailed within the United States.
The special Framed Florets Sampler HOST CODE will close tonight, November 21, 2022 and after today, the Card Sampler will no longer be available.
Approximate ship date of the Card Sampler is December 5, 2022.
Click here to place an order
Supplies Needed To Create the Card Sampler
Listed below are the supplies you’ll need to complete the cards exactly as shown (or you can use what you already own). Simply click any of the products and you’ll be taken to my Stampin’ Up! online store. When placing your order, don’t forget to use the special Card Sampler Host Code (please do not use host code if your order is over $150 – see above).
New Kits Collection Kit – Timeless Greetings
Click here for more information about this new kit!
Sale Starts Tomorrow!!

All PDF’s in my PDF Store will be $5.95 from November 22-28, 2022!
Click here to see what’s available.
The Gold Adhesive Backed Swirls have sold out and are no longer available.
Thanks for stopping by today!
by Tracy | Nov 18, 2022 | Uncategorized
Before sharing my project for today, I want to remind you that today’s the last day of the Seasonal Sale! Grab these great deals before they’re gone! If you’re thinking about purchasing a bundle from the Annual Catalog, this is one time when purchasing a bundle is not the best way to go because all stamps and dies from the Annual Catalog are on sale.

You’ll save:
- 10% off all punches
- 15% of all stamps (Host stamp sets are not included in this sale)
- 20% off all dies
- 20% off all embossing folders
- 20% off all non-specialty and non-assortment Designer Series Paper
Click here to shop the sale!
Today’s project was made using Stampin’ Up! Envelope Treat Boxes. They are the perfect size for a gift card but I added candy to mine (and I possibly ate some of the candy while making the project).


It’s very easy to assemble the box. You fold on all the score lines and then there are tabs on each corner with adhesive already on them. After my box was made, I started by cutting a piece of Boughs of Holly Designer Series Paper and adhered it to the inside of the box (you can find the measurements I used below the Supply List). After placing four Ghirardelli Chocolates inside, I closed up the box.


Closing up the box is easy as well.

Next, I wrapped a piece of Boughs of Holly Designer Series Paper around the box, scoring it with my fingers around the sides of the box and then adhered the two ends together at the bottom of the box. I used our Silver Foil to cut a circle using the Stylish Shapes Dies (on sale today) and adhered it to the front of the box. Then I stamped the sentiment using the stamp set Snowman Magic in Real Red ink. I cut it out using the Stitched Rectangle Dies (on sale today), added Stampin’ Dimensionals to the back and adhered it to the foil circle.


Bundle Alert: The Snowman Magic Bundle in the Mini Catalog includes the Snowman Magic stamp set and the Snowman Dies
Supply List
Below you’ll find all the Stampin’ Up! supplies I used for today’s card. If you need any stamping supplies, I’d love to be your demonstrator! You can place an order by clicking any of the images below to go to my Stampin’ Up! online store.
Sale: $24.00
Price: $30.00
Sale: $28.00
Price: $35.00
Measurements
- Boughs of Holly Designer Series Paper (inside): 3-3/8″ x 2-1/8″
- Boughs of Holly Designer Series Paper: 8″ x 3″
- Basic White (sentiment): approx.3-1/4″ x 1-1/4″
- Silver Foil: approx. 2-1/4″ x 2-1/4″
Framed Florets Card Sampler
Place a minimum $50 order (before tax/shipping) at my Stampin’ Up! Online Store using my special host code VBBNQZXR and I’ll send you my Framed Florets Card Sampler.
You’ll receive six card kits (two cards each of three different designs) and everything will be cut, scored, and die cut for you! You’ll quickly have six cards ready to mail or give to someone special. For more details and the supplies you’ll need, please click HERE.
Don’t forget to use the host code when placing your order so I’ll know you want this sampler. When you use the host code, it allows me to continue to offer my Samplers for the low cost of free! EXCEPTION: if your order is $150 or more do not use the host code so you can receive Stampin’ Rewards directly from Stampin’ Up!. Contact me after you’ve placed the order to let me know that you’d like the Sampler – you only need to contact me if your order is $150 or more.
Orders must be placed by November 21, 2022 and the Card Samplers will be mailed approximately December 5, 2022.
Thanks for stopping by! Enjoy your weekend!
by Tracy | Nov 17, 2022 | Uncategorized
I have several cards to share with you today but first I want to remind you that the Seasonal Sale ends tomorrow!
Choose from select products in the Annual Catalog and all the sale products are available while supplies last:
- 10% off all punches
- 15% of all stamps (Host stamp sets are not included in this sale)
- 20% off all dies
- 20% off all embossing folders
- 20% off all non-specialty and non-assortment Designer Series Paper
Click here to shop the sale!
Today’s cards are fun folds which means they don’t open in the traditional way. I used Painted Christmas Designer Series Paper for this first one and one of the Wintry 3D Embossing Folders. You can find all the measurements I used below the Supply List.

I started with a piece of Real Red cardstock and scored and folded to create my fun fold. Then I cut two pieces of Basic White cardstock, embossed them using one of the Wintry 3D Embossing Folders (on sale until tomorrow) and attached them to the two front panels. Then I cut another piece of Real Red cardstock and layered it with a piece of Painted Christmas Designer Series Paper. On the back, I added Stampin’ Dimensionals to the right side only and then adhered it to the left panel.


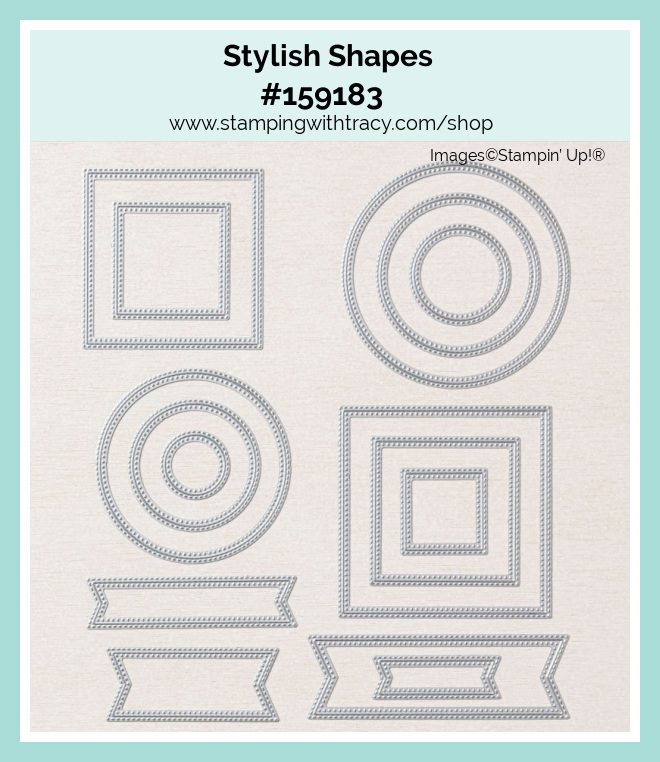
I stamped the sentiment onto Basic White cardstock using Garden Green ink and the stamp set Framed & Festive. This stamp set is only available while supplies last. I cut the sentiment out using the Stylish Shapes Dies (also on sale until tomorrow!), added Stampin’ Dimensionals to the back and adhered it to the front of the card.

This next card was made using Boughs of Holly Designer Series Paper. This paper has been out of stock but is now available! You can see another version of this card HERE.

I wasn’t going to share this card because the Lights Aglow Designer Series Paper is sold out but if you happen to already have this paper, here’s another idea for you using the same fold.

I used the Brightest Glow stamp set (one of my favorites in the Mini Catalog) and heat embossed the sentiment using Gold Embossing Powder. I also used Cherry Cobbler cardstock, Gold Foil and the Labels Aglow Dies. The Lights Aglow Designer Series Paper was cut down to 3″ x 3″ and the gold foil is 3-1/4″ x 3-1/4″.
Bundle Alert: The Brightest Glow Bundle (159552) includes the Brightest Glow stamp set and the Labels Aglow Dies. When you purchase both together in a bundle, you’ll receive a 10% discount.
Supply List
Below you’ll find all the Stampin’ Up! supplies I used for today’s card. If you need any stamping supplies, I’d love to be your demonstrator! You can place an order by clicking any of the images below to go to my Stampin’ Up! online store.
Sale: $24.00
Price: $30.00
Sale: $8.00
Price: $10.00
Measurements
- Real Red cardstock: 11″ x 4-1/4″ score at 3″ and 8-1/2″
- Real Red cardstock: 4-1/4″ x 3-1/4″
- Designer Series Paper: 4″ x 3″
- Basic White (left panel): 4″ x 2-3/4″
- Basic White (right panel): 4″ x 2-1/4″
- Basic White (sentiment): approx. 3″ x 3″
Framed Florets Card Sampler
Place a minimum $50 order (before tax/shipping) at my Stampin’ Up! Online Store using my special host code VBBNQZXR and I’ll send you my Framed Florets Card Sampler.
You’ll receive six card kits (two cards each of three different designs) and everything will be cut, scored, and die cut for you! You’ll quickly have six cards ready to mail or give to someone special. For more details and the supplies you’ll need, please click HERE.
Don’t forget to use the host code when placing your order so I’ll know you want this sampler. When you use the host code, it allows me to continue to offer my Samplers for the low cost of free! EXCEPTION: if your order is $150 or more do not use the host code so you can receive Stampin’ Rewards directly from Stampin’ Up!. Contact me after you’ve placed the order to let me know that you’d like the Sampler – you only need to contact me if your order is $150 or more.
Orders must be placed by November 21, 2022 and the Card Samplers will be mailed approximately December 5, 2022.
Thanks for stopping by today!