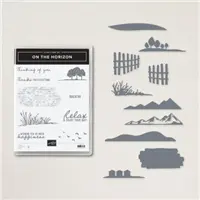
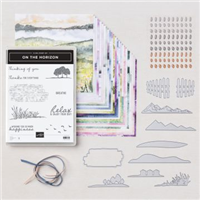
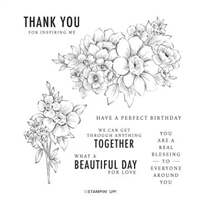
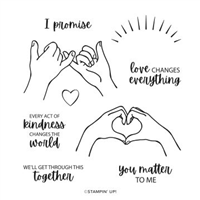
I don’t have a card for you today but I want to share several videos from Stampin’ Up! Did you know Stampin’ Up! has a YouTube channel? I have videos for three of our suites of products. You might learn some tips and tricks along the way as well as get some ideas for cards! This first video is all about the New Horizons Suite. I’ve included a Supply List below the video of the products in the suite. Click each product for more information.
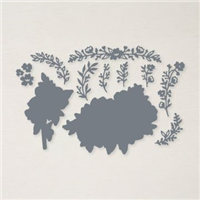
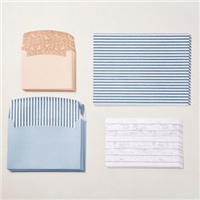
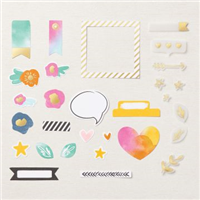
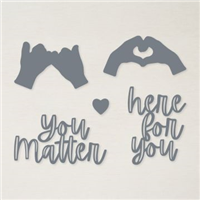
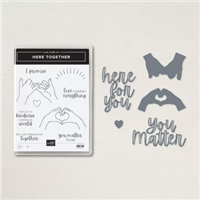
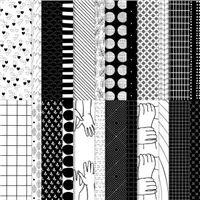
New Horizons Suite of Products
The Layering Diorama Dies, not part of the suite, were shown in the video and were used to create the first card. Unfortunately these dies are not available at the moment.
This is the final month of Sale-a-Bration. For every $50 or $100 purchase, you can earn free products! Click here for more information.
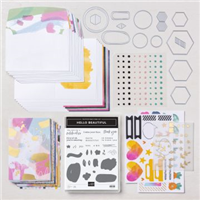
Starter Kit
During Sale-a-Bration, when you purchase the $99 Starter Kit, you’ll be able to pick out $125 in Stampin’ Up! product PLUS you can choose two stamp sets of your choice! There’s absolutely no risk in purchasing the Starter Kit. If you are planning to purchase at least $99 worth of products, consider purchasing the Starter Kit! For more information, click here.
Upcoming
February 4, 2022:New Card Sampler Released
February 10, 2022: Last Day to Purchase Safari Celebration Paper Pumpkin Kit
February 28, 2022: Sale-a-Bration Ends
February 28, 2022: Last Day to Earn Two Free Stamps Sets When You Purchase the Starter Kit
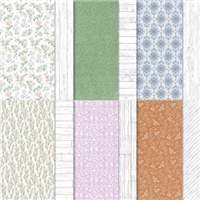
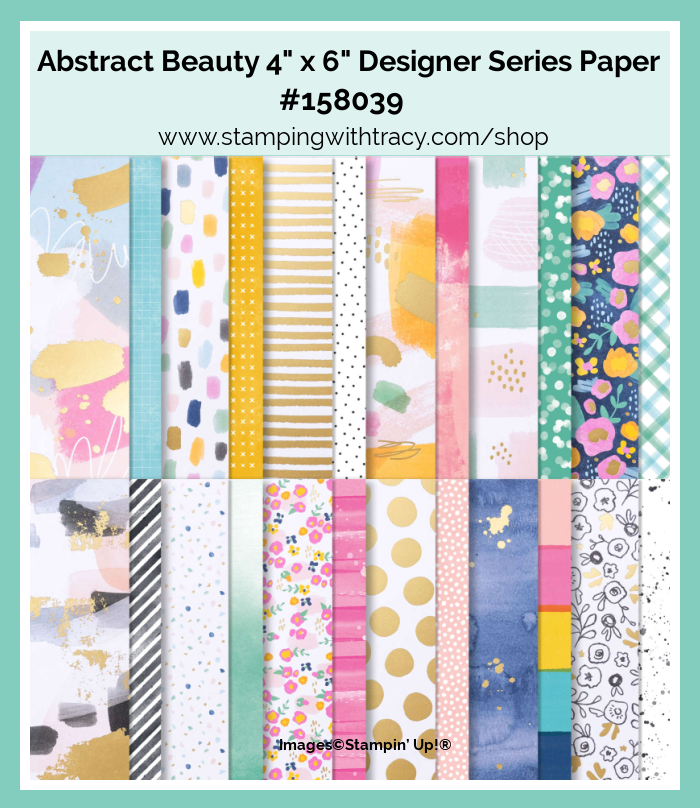
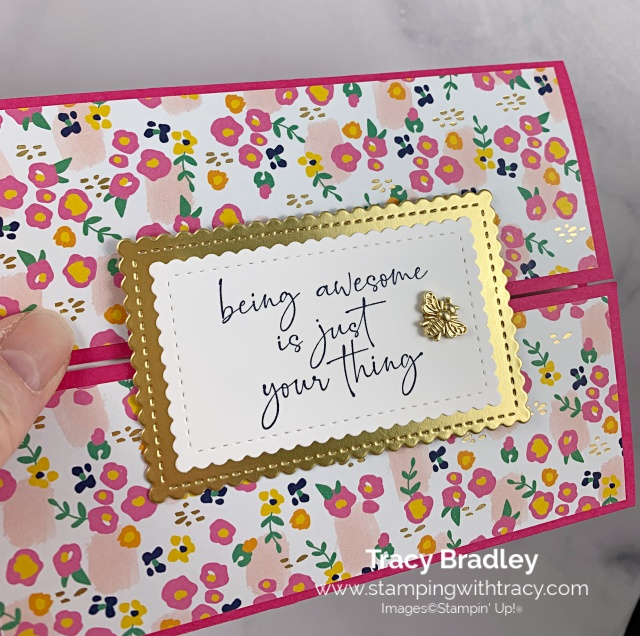
I started with a piece of Melon Mambo cardstock and scored it on the 8-1/2″ side at 2-1/8 and 6-3/8″ (or you can score it at 2-1/8″ on both ends). Then I adhered two pieces of Abstract Beauty Designer Series Paper to both of the front panels (you can find the measurements I used below the Supply List). I used the Stitched So Sweetly Dies to cut a rectangle out of a Gold Foil Sheet (there are little flecks of gold in the Designer Series Paper) and cut a smaller rectangle out of Basic White cardstock.
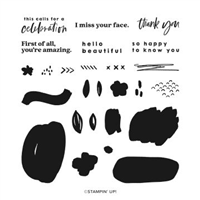
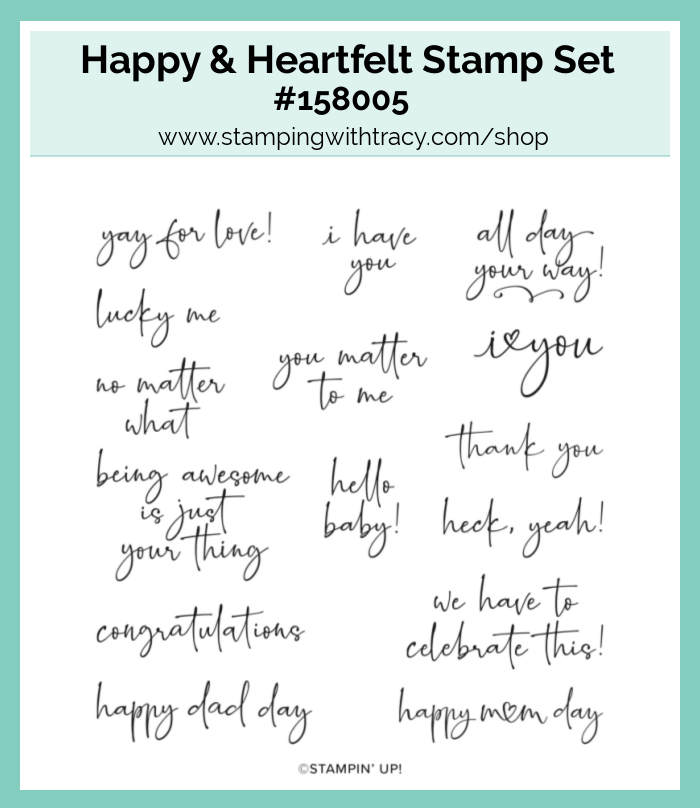
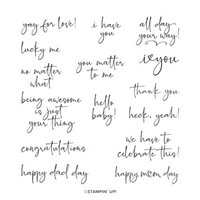
I stamped the sentiment in Night of Navy ink using the stamp set Happy & Heartfelt and then adhered the sentiment piece to the gold foil. I added Stampin’ Dimensionals to the back of the gold foil rectangle, two rows VERY close together, and adhered it to the top flap.
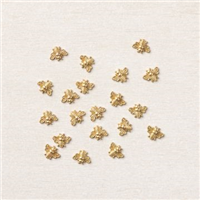
To complete my card, I adhered a piece of Basic White cardstock to the inside and added a Bumblebee Trinket next to the sentiment.
Supply List
Below you’ll find all the Stampin’ Up! supplies I used for today’s card. If you need any stamping supplies, I’d love to be your demonstrator! You can place an order by clicking any of the images below to go to my Stampin’ Up! online store.
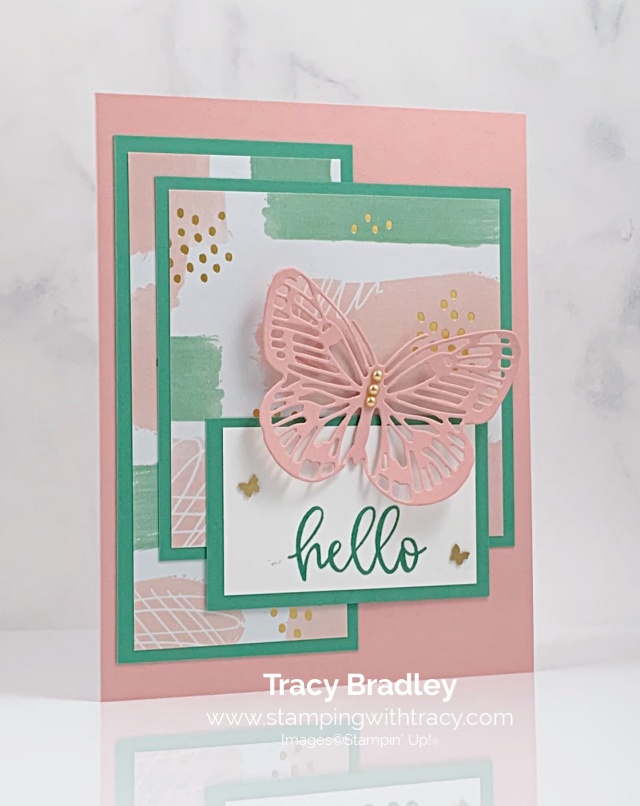
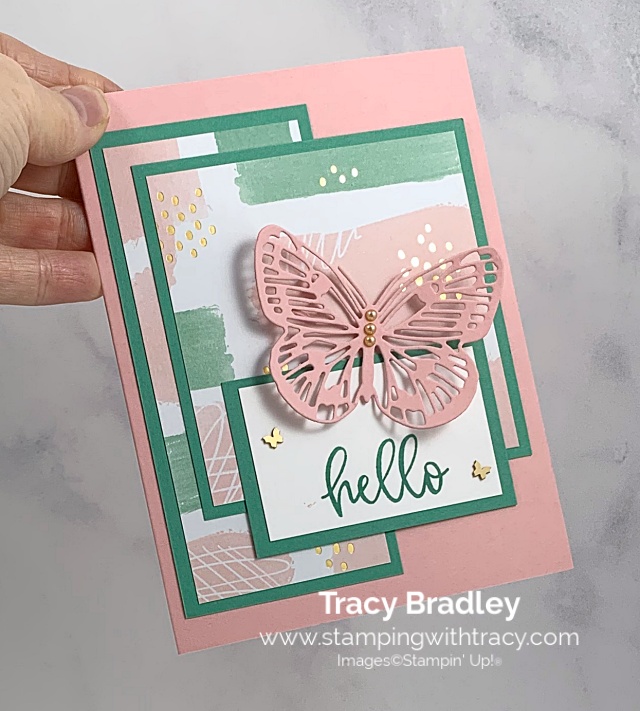
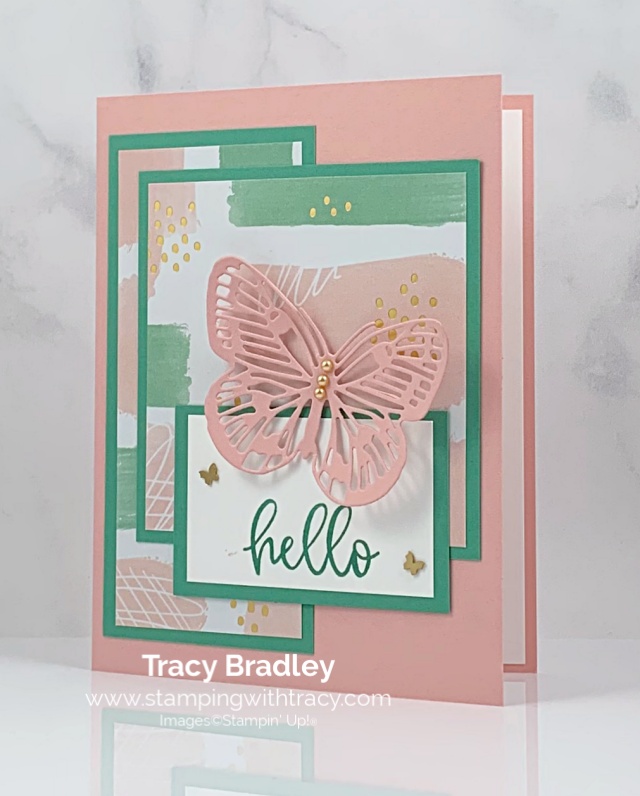
I started with a piece of Blushing Bride cardstock for the card base. Then I layered two pieces of Abstract Beauty Designer Series Paper onto pieces of Just Jade cardstock and adhered them to the card base (you can find all the measurements I used below the Supply List). I stamped the sentiment onto a piece of Basic White cardstock using Just Jade ink and the stamp set, Biggest Wish. I layered it onto another piece of Just Jade cardstock and adhered it to the front of the card.
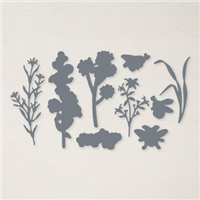
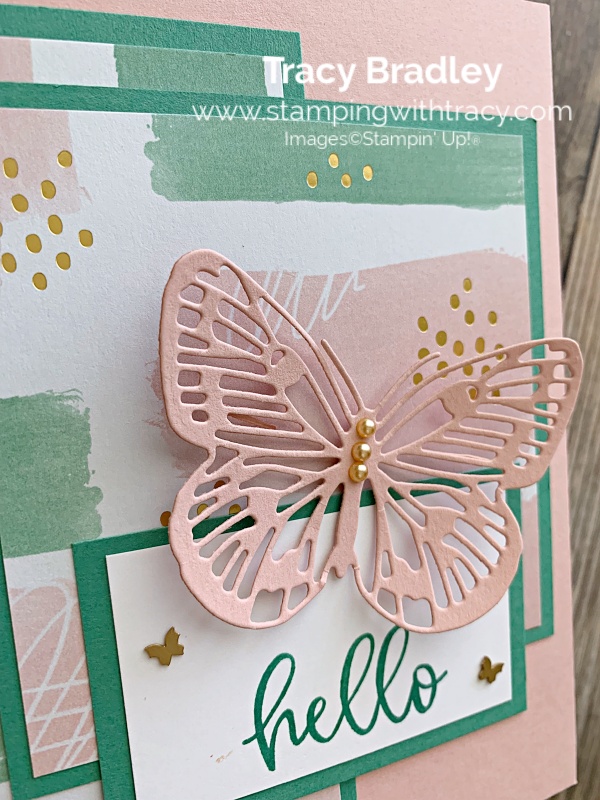
I used the Brilliant Wings Diesto cut a butterfly out of a piece of Blushing Bride cardstock. In the picture above of the dies, the darker image is one die. The rest of the dies are individual dies. I added a Mini Stampin’ Dimensional to the center of the butterfly and placed it on the card.
I added three Metallic Pearls(gold and silver pearls are included in each package) down the center of the butterfly and then added two Brushed Brass Butterflies to the sentiment piece. To complete the card, I added a piece of Basic White cardstock to the inside.
Supply List
Below you’ll find all the Stampin’ Up! supplies I used for today’s card. If you need any stamping supplies, I’d love to be your demonstrator! You can place an order by clicking any of the images below to go to my Stampin’ Up! online store.
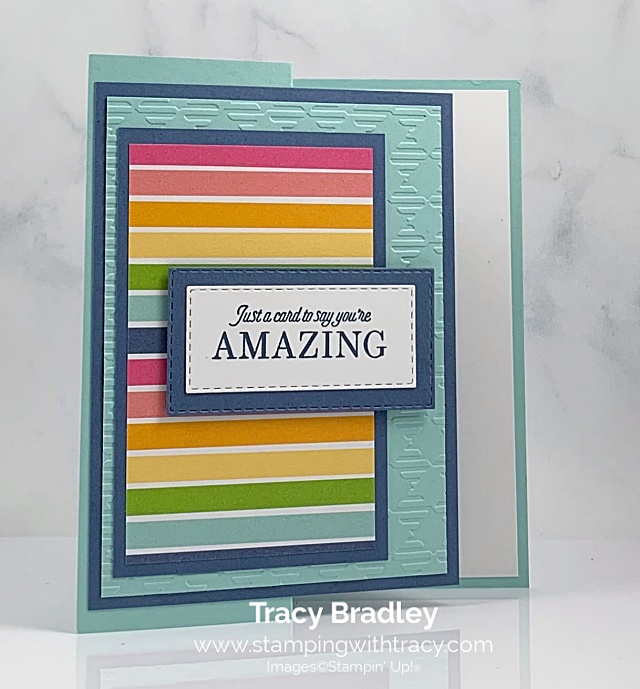
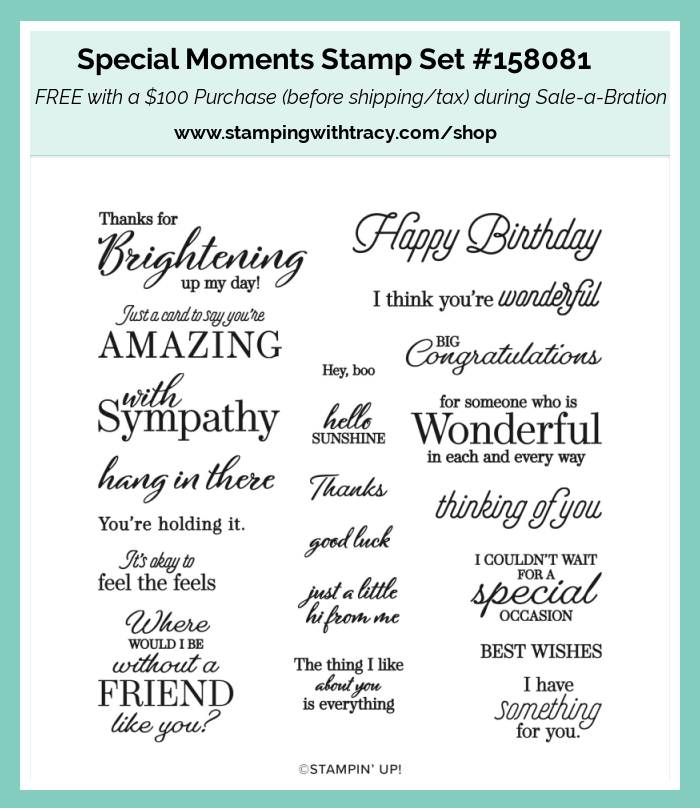
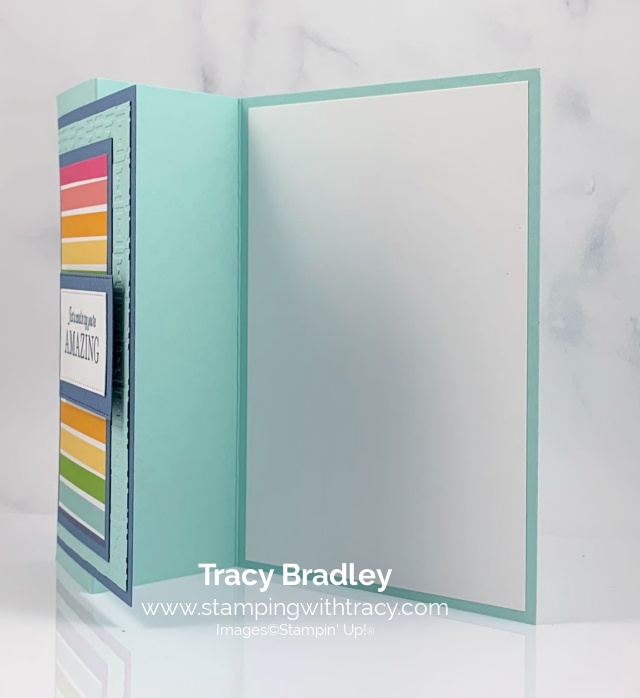
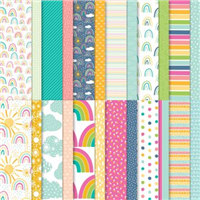
Today’s free PDF tutorial is for a fun fold card I shared earlier this week that was made with two Sale-a-Bration free gifts: Special Moments stamp set(free with a $100 purchase) and Sunshine & Rainbows 6″ x 6″ Designer Series Paper(free with a $50 purchase). If you ‘d like to see the original post (and two more variations), click here.
You can access your free tutorial below the Supply List.
Supply List
Below you’ll find all the Stampin’ Up! supplies I used for today’s card. If you need any stamping supplies, I’d love to be your demonstrator! You can place an order by clicking any of the images below to go to my Stampin’ Up! online store.
Use the host code below when placing a minimum $50 order and you’ll receive an embellishment from me from the new catalog (it will be a surprise). Once I close the host code on January 31st, I’ll order all the embellishments and as soon as I receive them, I’ll mail them out which will be approximately February 15th. You must use the host code to receive your free gift BUT if your order is$150 or more, please do not use the host code so you can receive Stampin’ Rewards (free product) directly from Stampin’ Up! You will automatically receive the free gift from me. You’ll also receive at least one FREE Sale-a-Bration gift directly from Stampin’ Up!
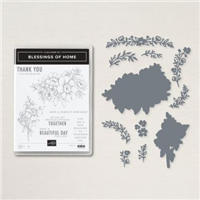
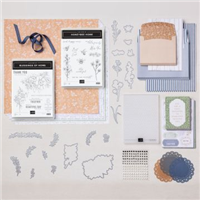
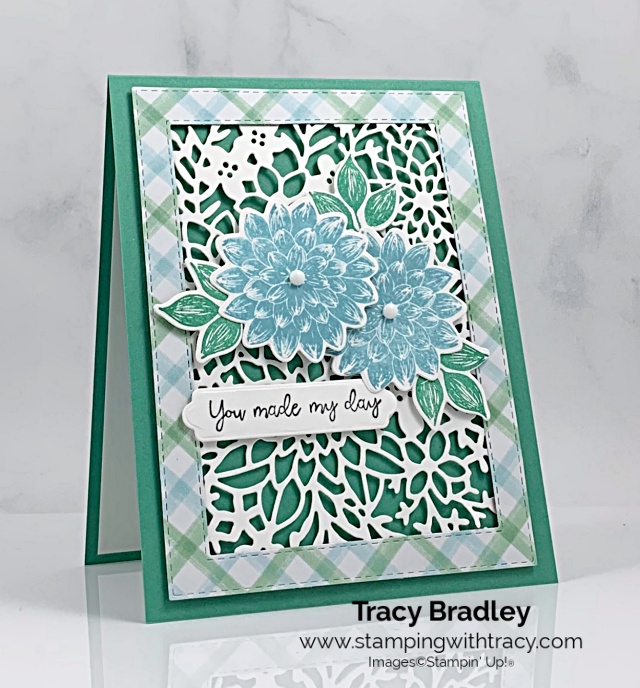
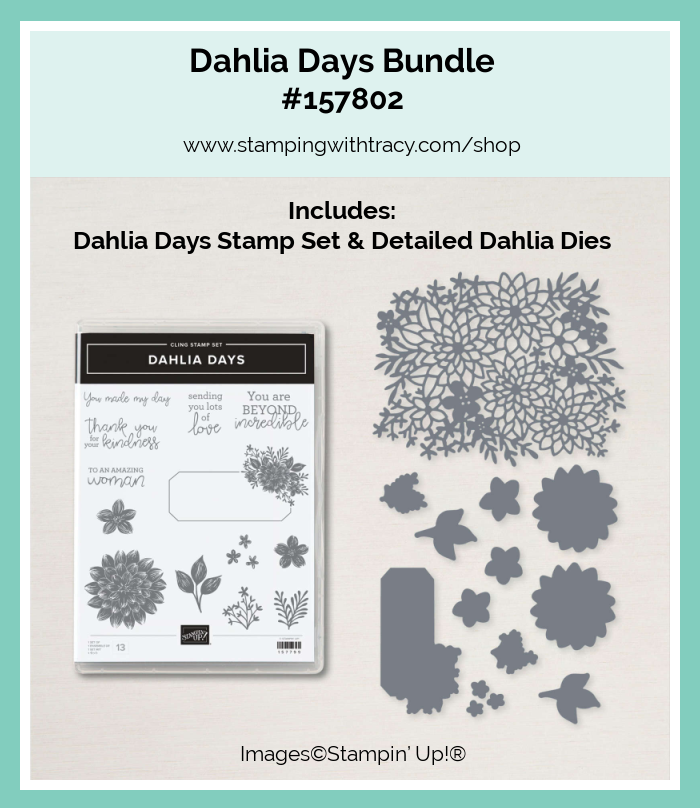
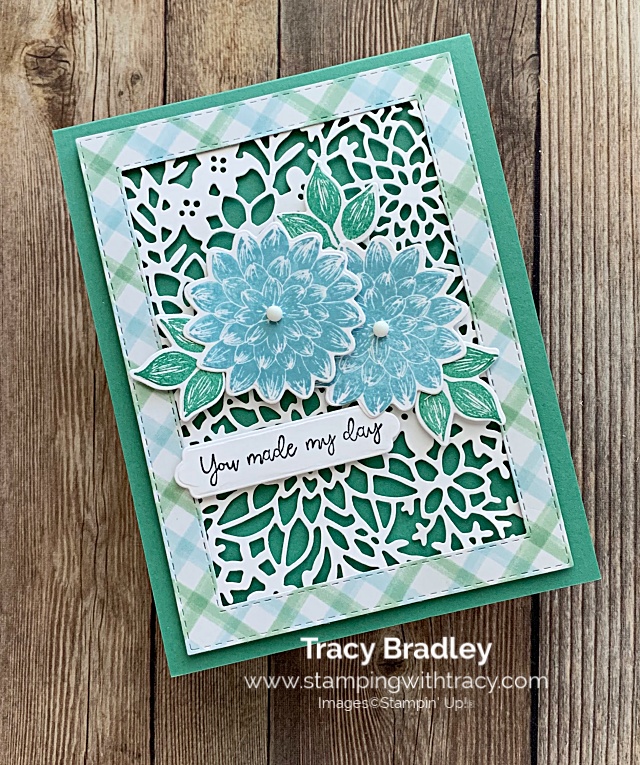
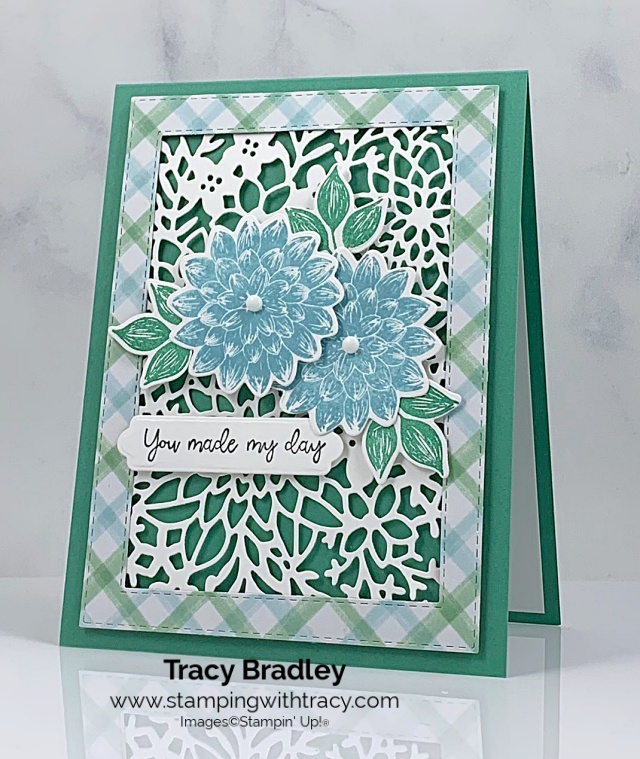
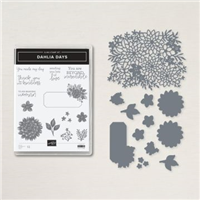
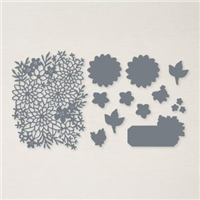
The card I have to share with you today features the Dahlia Days Bundle which includes the Dahlia Days stamp setand the Detailed Dahlia Dies (you save 10% when you purchase a bundle). This card may look like it’s difficult to make, but it really isn’t!
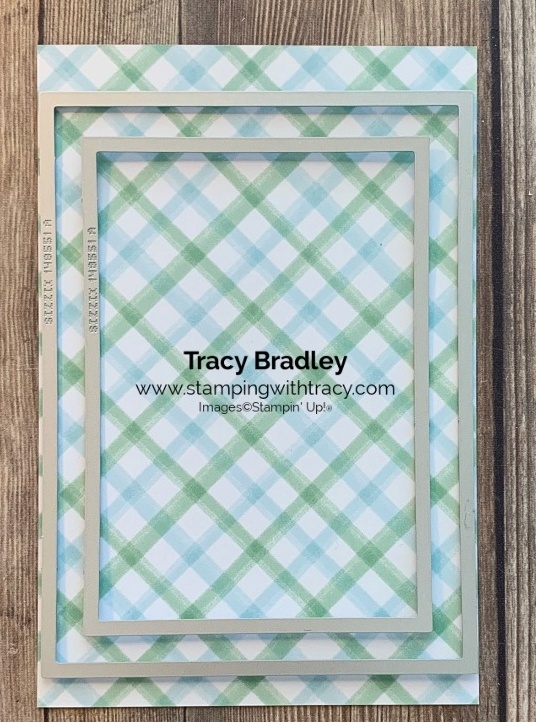
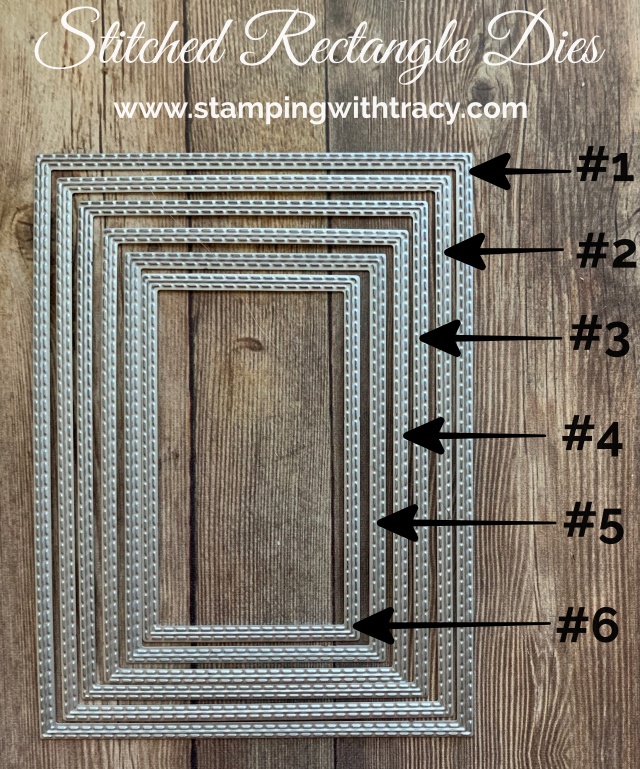
I started with a base of Just Jade cardstock. Then I used my Stitched Rectangles Dies to make a frame out of Abstract Beauty 4″ x 6″ Designer Series Paper. I placed two of the dies on my Designer Series Paper and then ran it through the Stampin’ Cut & Emboss Machine. I used the #1 & #3 dies (see photo below).
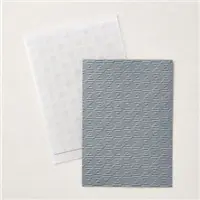
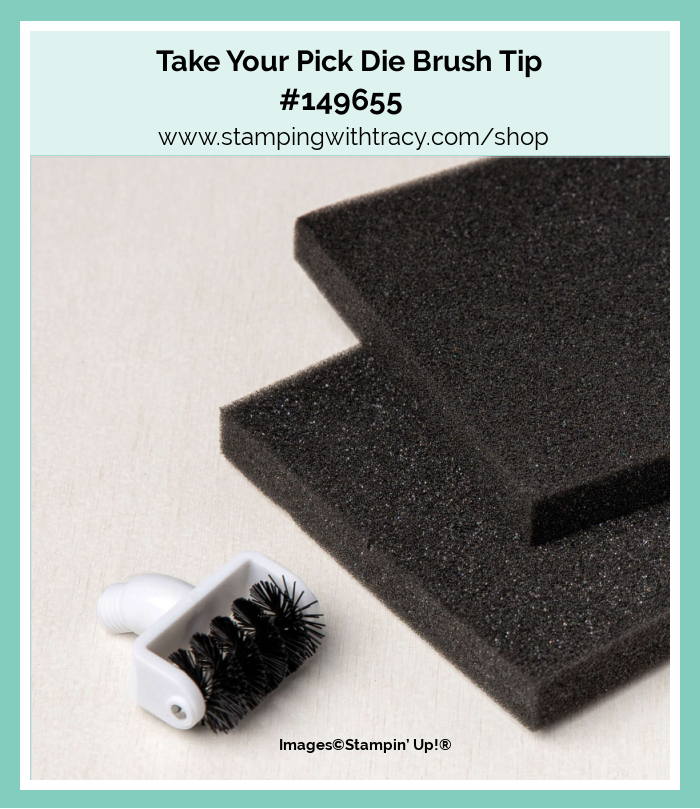
Next, I used the largest die in the Detailed Dahlia Dies and cut a piece of Basic White cardstock (see the measurements I used below the Supply List). I used the Take Your Pick Die Brushto get all the small pieces in this detailed die released (this brush twists into the Take Your Pick tool). You place your die cut piece on one of the pieces of foam that it comes with and then brush over the detailed die piece. I place the foam in a box so that all the pieces stay inside the box and not all over my work area.
I added Multipurpose Glue to the back of the Abstract Beauty frame (be careful not to add too much glue or you’ll see some warping) and then placed the Basic White Detailed Die piece on top of it. It doesn’t fit perfectly but it’s enough to adhere it. I trimmed all the pieces that were hanging off the edge. To adhere the frame to the card base, I added Mini Stampin’ Dimensionals around the perimeter of the frame but you could use small amounts of Multipurpose Glue or Mini Glue Dots. I found that the inside of the frame wasn’t laying flat but once I added the flowers and sentiment, I really didn’t notice.
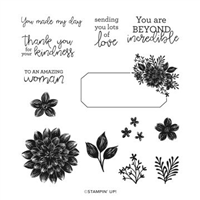
I stamped the flowers in Balmy Blue ink and the leaves in Just Jade ink using the stamp set, Dahlia Days and then cut them out with the Detailed Dahlia Dies. I used Mini Glue Dots to adhere the leaves to the flowers and a Stampin’ Dimensional between the two flowers, then added Stampin’ Dimensinals all over the back and adhered it to the front. I stamped the sentiment in Memento Ink and cut it out using the Seasonal Labels Dies. I added Stampin’ Dimensionals to the back and adhered it to the front of the card. To complete the card, I added a piece of Basic White cardstock to the inside and added two Classic Matte Dots in white to the middle of each flower.
Supply List
Below you’ll find all the Stampin’ Up! supplies I used for today’s card. If you need any stamping supplies, I’d love to be your demonstrator! You can place an order by clicking any of the images below to go to my Stampin’ Up! online store.
Abstract Beauty Designer Series Paper: use a full sheet of this 4″ x 6″ paper
Basic White cardstock (Detailed Dahlia die): 5-1/4″ x 4″
Basic White cardstock (inside card): 5-1/4″ x 4″
Basic White cardstock: scraps for flowers
Basic White cardstock: scraps for leaves
Basic White cardstock: approx. 2-3/4″ x 1″
January Host Code
Use the host code below when you place a minimum $50 order and you’ll receive an embellishment from me from the new catalog (it will be a surprise). Once I close the host code on January 31st, I’ll order all the embellishments and as soon as I receive them, I’ll mail them out which will be approximately February 15th. You must use the host code to receive your free gift BUT if your order is$150 or more, please do not use the host code so you can receive Stampin’ Rewards (free product) directly from Stampin’ Up! You will automatically receive the free gift from me. You’ll also receive at least one FREE Sale-a-Bration gift directly from Stampin’ Up!
Upcoming
February 1, 2022:All Together Products Released
February 4, 2022:New Card Sampler Released
February 10, 2022: Last Day to Purchase Safari Celebration Paper Pumpkin Kit
February 28, 2022: Sale-a-Bration Ends
February 28, 2022: Last Day to Earn Two Free Stamps Sets When You Purchase the Starter Kit