by Tracy | Dec 27, 2021 | Uncategorized
Happy Monday! I hope you all had a wonderful holiday! We did and ate way too much food but to me that’s the fun of the holidays. I made dinner for the family and baklava for dessert. I usually only make baklava during the holidays because it’s so decadent but oh so yummy. What’s not to like about butter, sugar, cinnamon, nuts and a flaky dough? My husband and I were able to celebrate with my mom, my sister and her husband and our oldest daughter and son-in-law and this weekend we’ll be celebrating Christmas again with our youngest daughter, son-in-law and grandkids. Something fun to look forward to. I’d love to hear about your holidays in the comments section below!
I’m popping in today to let you know that today’s the last day my Celebrate with Flowers Card Sampler will be available. You can read all the information below.
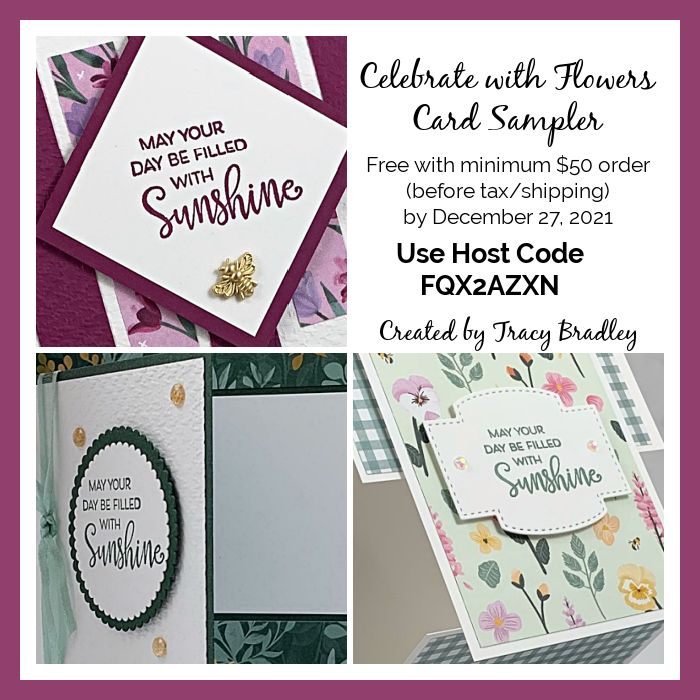
Here’s how you can earn it FREE!
- Place a minimum $50 order (before tax/shipping) at my Stampin’ Up! online store.
- You must use my special Celebrate with Flowers Card Sampler Host Code when placing your order: FQX2AZXN
- Place your order by the end of today, December 27, 2021.
- If your order reaches $150 or more, please DO NOT use the host code so you can receive Stampin’ Rewards (free product directly from Stampin’ Up!). Once you place your order, simply drop me an email (only necessary if your order is over $150) letting me know that you’d like the Celebrate with Flowers Card Sampler. If I don’t hear from you, I’ll assume you’d prefer to receive my regular card kits.

Here’s What You’ll Receive:
- All the paper and embellishments needed to make six cards (two each of three different designs). The paper will be cut, scored, embossed and die cut for you! You’ll need to supply your own adhesive, ink and stamp set (per Stampin’ Up! I cannot send stamped images). Envelopes will also be provided.
- A PDF Tutorial with instructions, pictures, cutting measurements and a complete supply list of all the products used.
- Earn at least one Bradley Point (earn ten Bradley Points and redeem them for free product).
All the Other Important Information:
- Your Celebrate with Flowers Card Sampler will ship first-class mail approximately Friday, January 7, 2022 and will be mailed to the address used on your online order.
- You’ll receive an email when I mail your Card Sampler. The PDF Tutorial will be included in that email.
- When using the Celebrate with Flowers Sampler Host Code to place your order, you will not qualify for my regular Customer Rewards Card Kits.
- Per Stampin’ Up! policy, kits can only be mailed within the United States.
The special Celebrate with Flowers Card Sampler HOST CODE will close today, Monday, December 27, 2021 and after today, the Card Sampler will no longer be available.
Approximate ship date of the Card Samplers is January 7, 2022.
Click here to place an order
Supplies Needed To Create the Card Sampler
Listed below are the supplies you’ll need to complete the cards exactly as shown (or you can use what you already own). Simply click any of the products and you’ll be taken to my Stampin’ Up! online store. When placing your order, don’t forget to use the special Celebrate with Flowers Card Sampler Host Code (please do not use host code if your order is over $150 – see above).
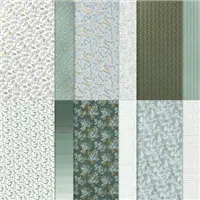
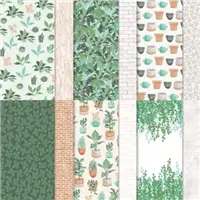
One card was made with Ever Eden 12″ x 12″ Designer Series Paper. You’ll receive all the paper you’ll need to complete the cards with this paper but if you wish to purchase more Ever Eden Designer Series Paper, it’s only available while supplies last or January 3, 2022!

Click here to shop the Retiring Products from the July – December Mini Catalog that are still available
Everything is available while supplies last or January 3, 2022.

Eden’s Garden
The Eden’s Garden stamp set, Eden Dies and Eden’s Garden Bundle are early releases from the January–June 2022 Mini Catalog but the other products in the collection are only available while supplies last. The available while supplies last products are:
Click here to shop Eden’s Garden products!
Have a wonderful day! Thanks for stopping by!
by Tracy | Dec 22, 2021 | Card Sampler, Designer Series Paper, Die-Cutting, Embossing Folders
Before sharing today’s card, I wanted to let you know that I will be taking a small break to spend the holidays with my family. I’ll be back here on my blog Monday, December 27th but if you have any questions, please feel free to reach out to me. Happy Holidays to all of you!
Today’s card was created using Ever Eden Designer Series Paper and it’s only available while supplies last. It’s so pretty in person, especially the gold accents on some of the sheets but I don’t think it shows well on a computer screen but it’s pretty in person.


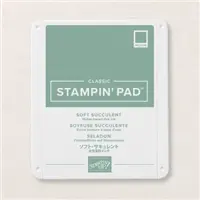
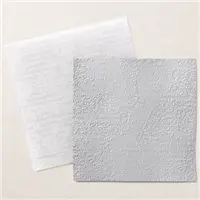
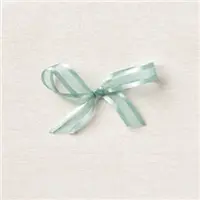
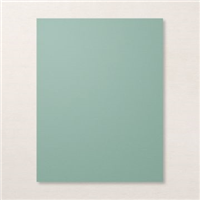
The base of my card is Thick Basic White cardstock and then I added a layer of Soft Succulent cardstock that I embossed using the Timeworn Type 3D Embossing Folder (this folder is not retiring). Then I layered Basic White cardstock with a piece of Ever Eden Designer Series Paper. I wrapped a piece of 3/8″ Open Weave ribbon in Soft Succulent around the piece before adding Stampin’ Dimensionals to the back and adhering it to the card front.

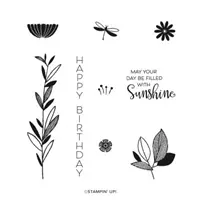
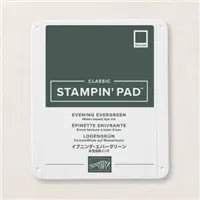
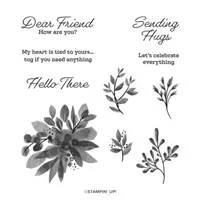
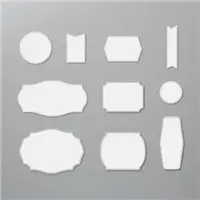
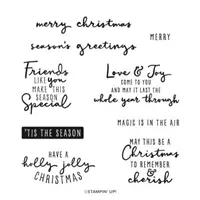
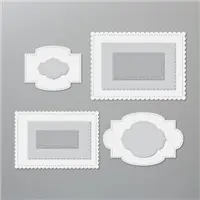
I stamped the sentiment in Evening Evergreen ink using the stamp set Eden’s Garden and then cut it out using the Tasteful Labels Dies. I used the Layering Circles Dies to cut a larger circle out of Soft Succulent cardstock and then layered the two pieces together. I added Stampin’ Dimensionals to the back and placed it to the right of the ribbon. You can find all the measurements I used below the Supply List.


Supply List
Below you’ll find all the Stampin’ Up! supplies I used for today’s card. If you need any stamping supplies, I’d love to be your demonstrator! You can place an order by clicking any of the images below to go to my Stampin’ Up! online store.
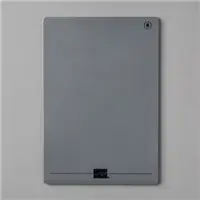
The Specialty Plate is used with 3D Embossing Folders.
Measurements
- Thick Basic White cardstock; 11” x 4-1/4” score at 5-1/2” OR 8-1/2” x 5-1/2” score at 4-1/4” (the only difference is how your card opens)
- Soft Succulent cardstock: 5-1/4″ x 4″
- Soft Succulent cardstock: scrap for scalloped circle
- Ever Eden Designer Series Paper: 4″ x 3″
- Basic White cardstock: 4-1/4″ x 3-1/4″
- Basic White cardstock: scrap for sentiment
Click here to see the Eden’s Garden Collection.
Some of these products are only available while supplies last.
Celebrate with Flowers Card Sampler
Place a minimum $50 order (before tax/shipping) at my Stampin’ Up! Online Store using my special host code FQX2AZXN and I’ll send you my Celebrate with Flowers Card Sampler. Orders must be placed by December 27, 2021 and the Card Samplers will be mailed approximately January 7, 2022. Please click HERE for all the details.
Click here to shop the Retiring Products from the July – December Mini Catalog
Everything is available while supplies last or January 3, 2022
See you again on December 27th! Happy Holidays!!
by Tracy | Dec 21, 2021 | Card Sampler, Designer Series Paper, Die-Cutting, Gift Card Holder
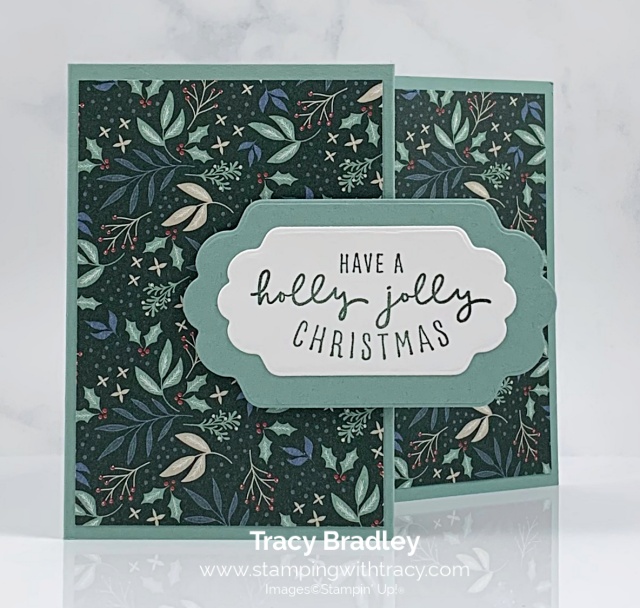
If you need a last minute gift card holder, then I have a very quick and easy one for you. I’ve made three or four of these in the last few days (yes, I’m very behind) and I’m sharing two of them today. I like to place these gift card holders in a box and then wrap it up or simply tie some ribbon around the envelope.
You’ll need to start with a piece of cardstock that measures 11″ x 4-1/4″ and score at 2-1/2″ and 5-1/2″. Fold on the score lines and then add adhesive to make the pocket where the gift card (or cash) will go. The picture shows a notch on the left side, but don’t do that until you’ve adhered the Designer Series Paper which I’ll explain below. I wanted a strong adhesive and prefer to use Tear & Tape.
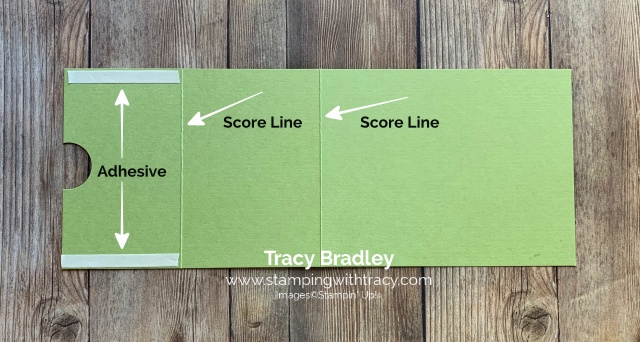
You’ll first need to add a piece of Tidings of Christmas Designer Series Paper to the front of the pocket (the other side of the piece where you added the adhesive). THEN, use the Layering Circles Dies to cut a notch so the recipient can easily pull out the cash or gift card. I used my retired 1″ Circle Punch but the Layering Circles Dies will work too. Now you’ll peel off the liner of the Tear & Tape and fold it towards the right, to make the pocket.

Next, add a panel of of Tidings of Christmas Designer Series Paper to the front of the card and the inside panel You’ll also add a piece of Basic White cardstock to the inside. We’re almost done! The sentiment was stamped onto Basic White cardstock using Evening Evergreen ink and the stamp set, Christmas to Remember (this stamp set isn’t retiring – yay!!!!). I cut the sentiment out using the Seasonal Labels Dies (also, NOT retiring) and cut a larger one out of Soft Succulent cardstock. I layered the two pieces together and then on the back (on the right-hand side only) I added Stampin’ Dimensionals and adhered it to the front of the card. Easy and so cute! You can find all the measurements I used below the Supply List.
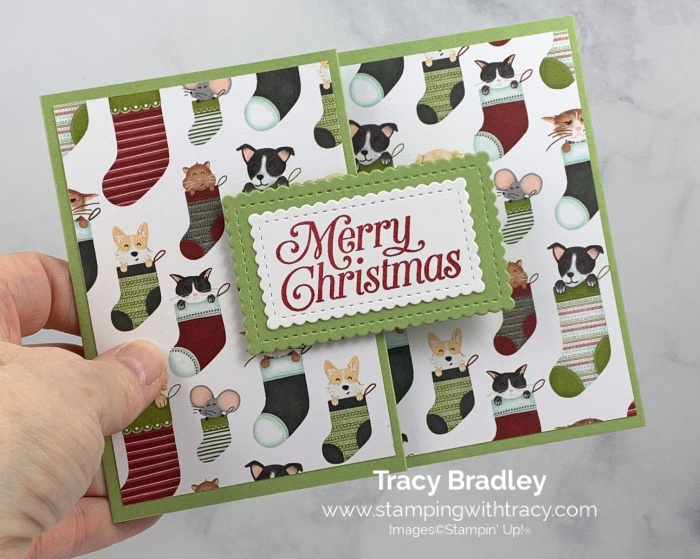
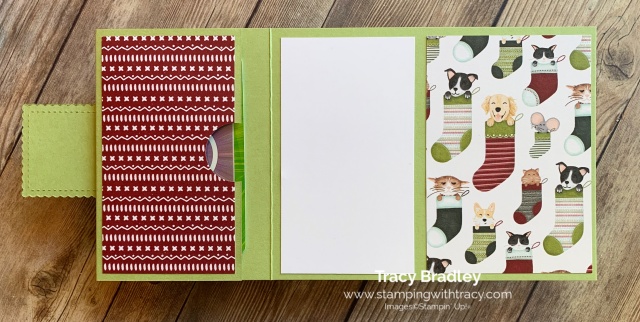
Here’s another gift card holder using Sweet Stockings Designer Series Paper (retiring), Pear Pizzazz cardstock, Cherry Cobbler ink, the stamp set Perfectly Plaid and the Stitched So Sweetly Dies.
Supply List
Below you’ll find all the Stampin’ Up! supplies I used for today’s card. If you need any stamping supplies, I’d love to be your demonstrator! You can place an order by clicking any of the images below to go to my Stampin’ Up! online store.
Measurements
- Base of Card: 11″ x 4-1/4″ score at 2-1/2″ & 5-1/2″
- Cardstock the Color of the Base (piece layered with the sentiment): approx. 3-3/4″ x 2-1/4″
- Designer Series Paper (front and inside left panel): (2) 4″ x 2-3/4″
- Designer Series Paper (pocket): 4″ x 2-1/4″
- Basic White cardstock (inside panel): 4″ x 2-1/4″
- Basic White cardstock (sentiment): approx. 3″ x 1-1/4″
Celebrate with Flowers Card Sampler
Place a minimum $50 order (before tax/shipping) at my Stampin’ Up! Online Store using my special host code FQX2AZXN and I’ll send you my Celebrate with Flowers Card Sampler. Orders must be placed by December 27, 2021 and the Card Samplers will be mailed approximately January 7, 2022. Please click HERE for all the details.
Last Chance Products – Get Your Favorites Before They’re Gone!
Click here to shop the Retiring Products from the July – December Mini Catalog
Everything is available while supplies last or January 3, 2022
January Paper Pumpkin

Kisses & Hugs Paper Pumpkin Kit
- Kit contains enough supplies to create 10 cards—5 each of 2 designs—and 10 coordinating envelopes
- Kit features an exclusive Two-Step photopolymer stamp set
- Kit includes a Gray Granite Classic Stampin’ Spot
- Card size: 4-1/2″ x 4-1/4″ heart-shaped cards; folded
- Coordinating colors: Blushing Bride, Flirty Flamingo, Gray Granite, Very Vanilla
Click here to order Kisses & Hugs
You can cancel at any time or even skip a month
This month’s Paper Pumpkin Kit has an Add On (see the photo above)! The coordinated treat boxes are not included in this month’s kit and are only available for purchase separately as an add-on online starting January 25, 2022. You must be a Paper Pumpkin subscriber to purchase and they are only available while supplies last.
Kisses & Hugs Mini Treat Boxes Add On For Paper Pumpkin Subscribers
Available January 25, 2022
Item number: 160147 | $10.00 USD
- Contains 20 mini treat boxes and 20 heart tags
- Gold cord: 10-1/2″ yards (9.6 m)
- Finished size: 1-3/4″ x 1-3/4″ x 1-3/4″
- Printed with gold foil
Upcoming
- December 27, 2021: Last Day to Order Celebrate with Flowers Card Sampler
- January 3, 2022: Last Day to Order Last Chance Products
- January 4, 2022: January – June 2022 Mini Catalog Debuts
- January 4, 2022: Sale-a-Bration Begins
- January 10, 2022: Last Day to Order Hugs & Kisses Paper Pumpkin
by Tracy | Dec 20, 2021 | Card Sampler
My Celebrate with Flowers Card Sampler is now available!
My Card Samplers give you the chance to “sample” different products and you’re able to see our Designer Series Paper, cardstock, embossed paper, die cut pieces and embellishments “in person” as you assemble the cards.
Here’s how you can earn it FREE!
- Place a minimum $50 order (before tax/shipping) at my Stampin’ Up! online store.
- You must use my special Celebrate with Flowers Card Sampler Host Code when placing your order: FQX2AZXN
- Place your order on or before December 27, 2021.
- If your order reaches $150 or more, please DO NOT use the host code so you can receive Stampin’ Rewards (free product directly from Stampin’ Up!). Once you place your order, simply drop me an email (only necessary if your order is over $150) letting me know that you’d like the Celebrate with Flowers Card Sampler. If I don’t hear from you, I’ll assume you’d prefer to receive my regular card kits.
Here’s What You’ll Receive:
- All the paper and embellishments needed to make six cards (two each of three different designs). The paper will be cut, scored, embossed and die cut for you! You’ll need to supply your own adhesive, ink and stamp set (per Stampin’ Up! I cannot send stamped images). Envelopes will also be provided.
- A PDF Tutorial with instructions, pictures, cutting measurements and a complete supply list of all the products used.
- Earn at least one Bradley Point (earn ten Bradley Points and redeem them for free product).
All the Other Important Information:
- Your Celebrate with Flowers Card Sampler will ship first-class mail approximately Friday, January 7, 2022 and will be mailed to the address used on your online order.
- You’ll receive an email when I mail your Card Sampler. The PDF Tutorial will be included in that email.
- When using the Celebrate with Flowers Sampler Host Code to place your order, you will not qualify for my regular Customer Rewards Card Kits.
- Per Stampin’ Up! policy, kits can only be mailed within the United States.
The special Celebrate with Flowers Card Sampler HOST CODE will close on Monday, December 27, 2021 and after that date, the Card Sampler will no longer be available.
Approximate ship date of the Card Samplers is January 7, 2022.
Click here to place an order
Supplies Needed To Create the Card Sampler
Listed below are the supplies you’ll need to complete the cards exactly as shown (or you can use what you already own). Simply click any of the products and you’ll be taken to my Stampin’ Up! online store. When placing your order, don’t forget to use the special Celebrate with Flowers Card Sampler Host Code (please do not use host code if your order is over $150 – see above).
One card was made with Ever Eden 12″ x 12″ Designer Series Paper. You’ll receive all the paper you’ll need to complete the cards with this paper but if you wish to purchase more Ever Eden Designer Series Paper, it’s only available while supplies last!
Click here to place an order!
Eden’s Garden Products
The Eden’s Garden stamp set, Eden Dies and Eden’s Garden Bundle are early releases from the January–June 2022 Mini Catalog but the other products in the collection are only available while supplies last. The available while supplies last products are:
Click here to shop Eden’s Garden products!
Last Chance Products from the Mini Catalog
Click here to shop the Last Chance Products!
Everything is available while supplies last or January 3, 2022
Upcoming
- December 27, 2021: Last Day to Order Celebrate with Flowers Card Sampler
- January 3, 2022: Last Day to Order Last Chance Products
- January 4, 2022: January – June 2022 Mini Catalog Debuts
- January 4, 2022: Sale-a-Bration Begins
- January 10, 2022: Last Day to Order Hugs & Kisses Paper Pumpkin
Enjoy your day!
by Tracy | Dec 18, 2021 | Free Tutorial

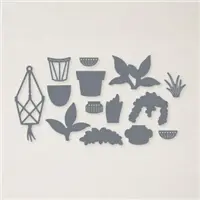
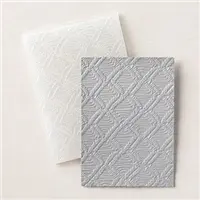
I have a free tutorial for you today that features Stampin’ Up! Bloom Where You’re Planted Designer Series Paper, the Macrame 3D Embossing Folder and the Perfect Plants Dies. You can access the tutorial below the Supply List. Enjoy your weekend!

Supply List
Below you’ll find all the Stampin’ Up! supplies I used for today’s card. If you need any stamping supplies, I’d love to be your demonstrator! You can place an order by clicking any of the images below to go to my Stampin’ Up! online store.
The Specialty Plate is used with 3D Embossing Folders.

Upcoming
- December 20, 2021: New Card Sampler Will Be Released (it’s being delayed due to the holidays)
- January 3, 2022: Last Day to Order Last Chance Products
- January 4, 2022: January – June 2022 Mini Catalog Debuts
- January 4, 2022: Sale-a-Bration Begins
- January 10, 2022: Last Day to Order Hugs & Kisses Paper Pumpkin