by Tracy | May 20, 2024 | Designer Series Paper
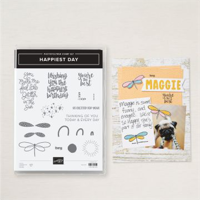
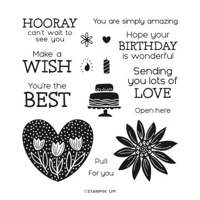
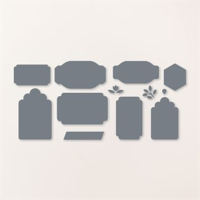
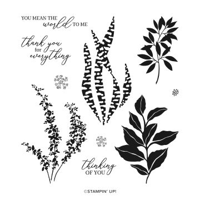
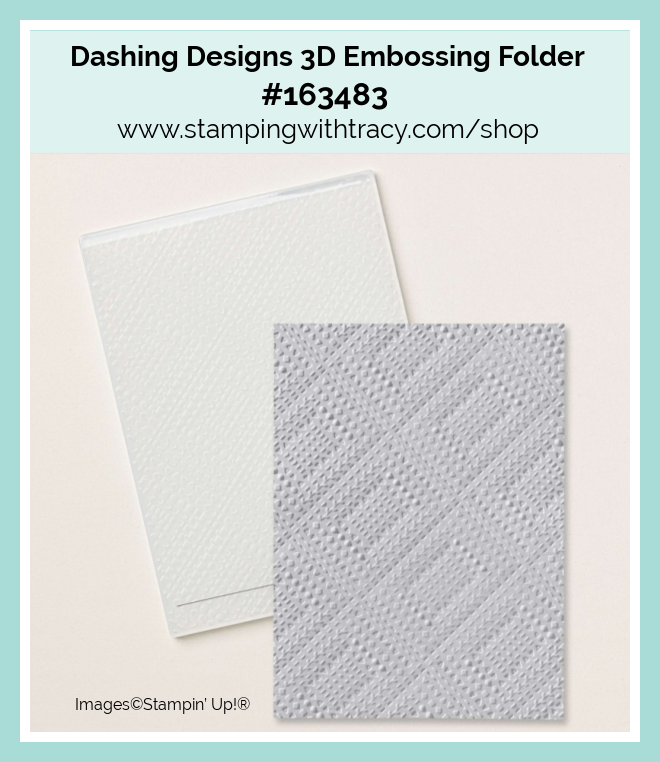
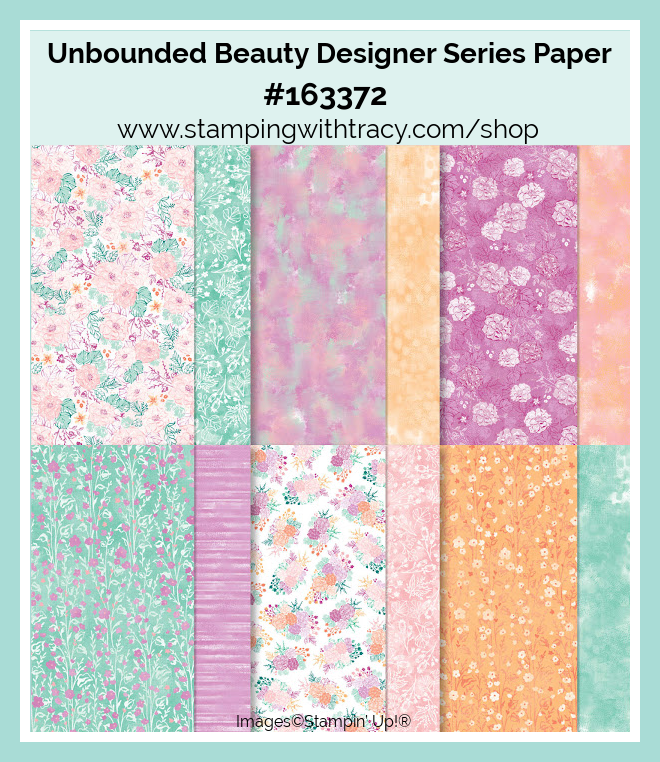
Today I’m sharing a card I made using the Happiest Day stamp set, Unbounded Beauty Designer Series Paper (DSP), the Spotlight on Nature Dies and the Dashing Designs 3D Embossing Folder.

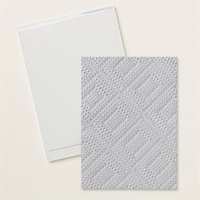
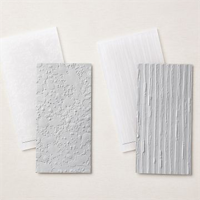
I started with a piece of Calypso Coral cardstock for the base of my card. Then, I cut a piece of Peach Pie cardstock (one of our new In Colors) and embossed it using the Dashing Designs 3D Embossing Folder. Next, I cut the embossed cardstock into (3) 1″ strips and that left me with (3) 1″ strips and (1) 2″ strip.
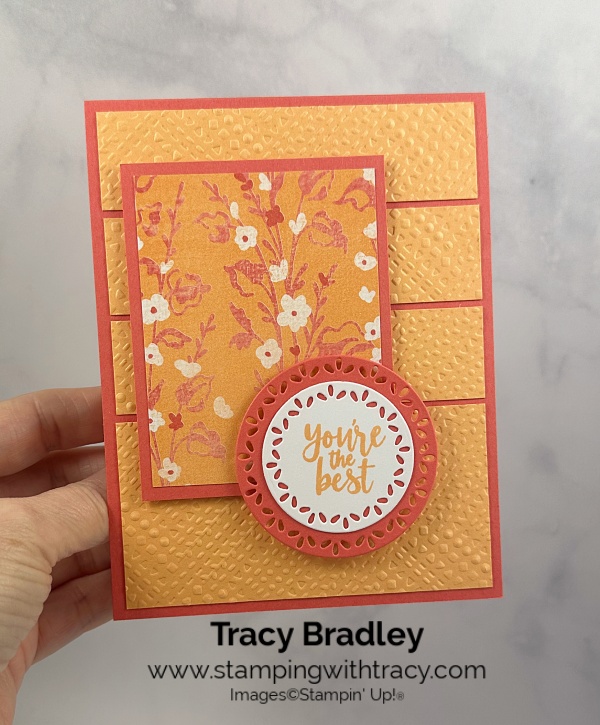
Next, I cut a piece of Calypso Coral cardstock and layered it with a piece of Unbounded Beauty Designer Series Paper, added Stampin’ Dimensionals to the back and adhered it to the front of my card.
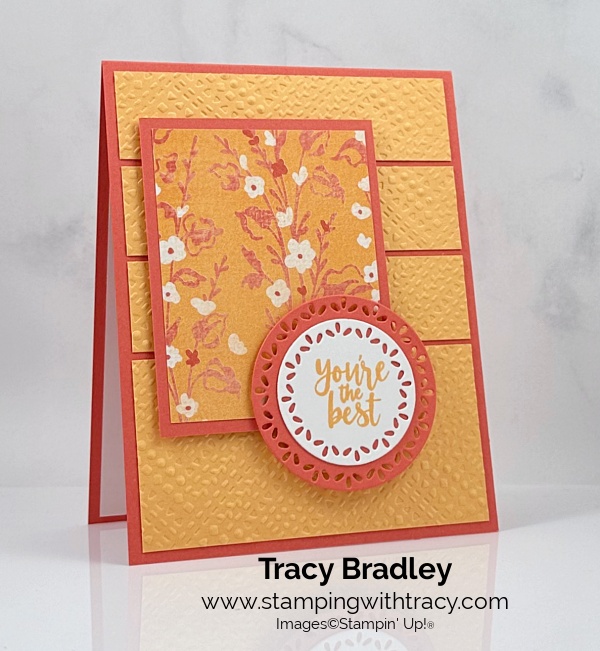
I stamped my sentiment onto Basic White cardstock using the stamp set, Happiest Day, and Peach Pie ink. I cut it out using the Spotlight on Nature Dies and then cut the same shape, but larger, out of Calypso Coral cardstock. I layered the two pieces together with adhesive and then added Stampin’ Dimensionals just to the top and adhered it to the DSP layer.


To complete my card, I added a piece of Basic White cardstock to the inside.
Supply List
Below you’ll find all the Stampin’ Up! supplies I used for today’s card. If you need any stamping supplies, I’d love to be your demonstrator! You can place an order by clicking any of the images below to go to my Stampin’ Up! online store.
The Specialty Plate is used with 3D Embossing Folders.
Measurements
- Calypso Coral cardstock: 11″ x 4-1/4″ scored at 5-1/2″ OR 8-1/2″ x 5-1/2″ scored at 4-1/4″
- Calypso Coral cardstock: 3-1/2″ x 2-3/4″
- Calypso Coral cardstock: approx. 2-1/2″ x 2-1/2″
- Peach Pie cardstock: 5″ x 4″ cut into (3) 1″ strips and (1) 2″ strip
- Basic White cardstock: 5-1/4″ x 4″
- Basic White cardstock (sentiment): 2″ x 2″
- Unbounded Beauty Designer Series Paper: 3-1/4″ x 2-1/2″
Free Shipping Tomorrow on Orders $75 or more!

Happiest Day Card Sampler
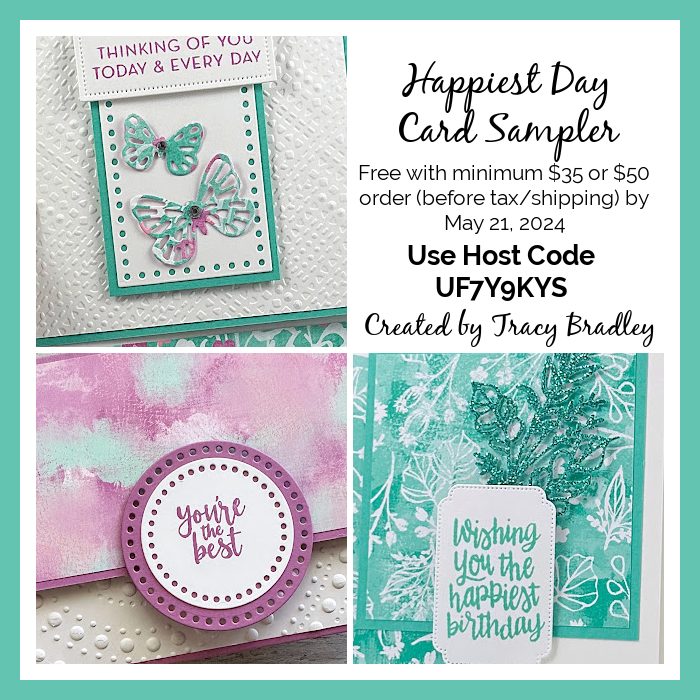
My Happiest Day Card Sampler is now available but only until Tuesday, May 21, 2024.
To create this Card Sampler I used Unbounded Beauty Designer Series Paper and the Happiest Day stamp set and a variety of new products.
Place a minimum $35 or $50 order (before shipping/tax) using my special host code UF7Y9KYS and my gift to you will be my Happiest Day Card Sampler.
- Place a minimum $35 order (up to $49.99) and you’ll receive one each of three different cards for a total of three cards.
- Place a minimum $50 order and you’ll receive two each of three different cards for a total of six cards.
For more information and all the details, please click here.
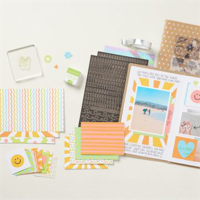
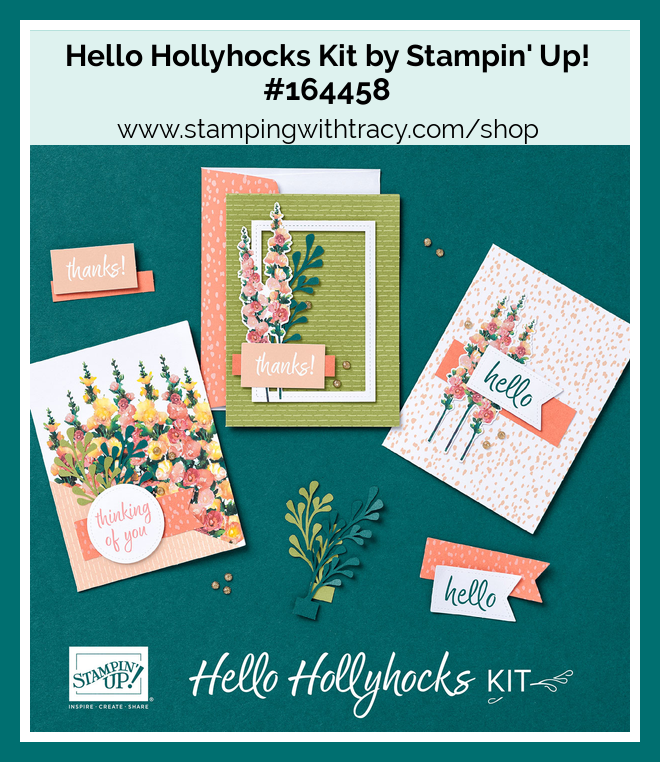
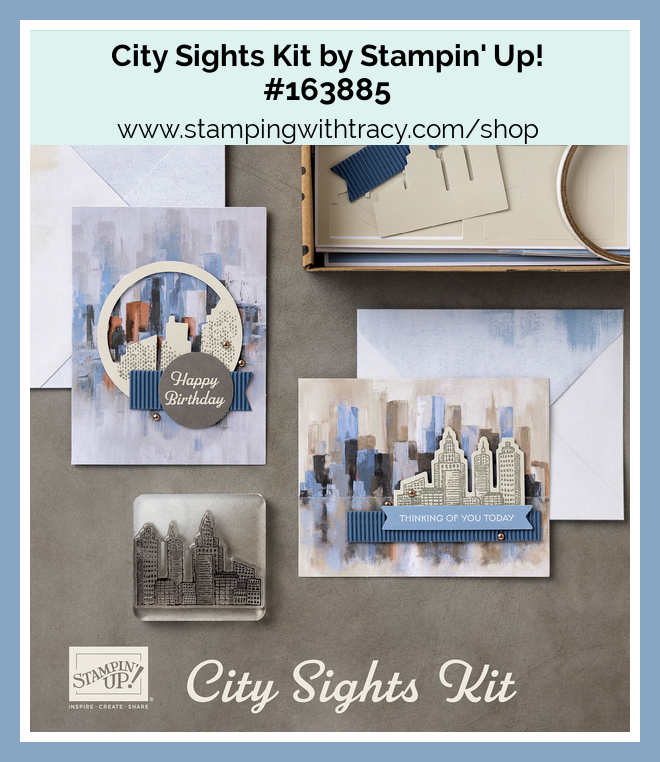
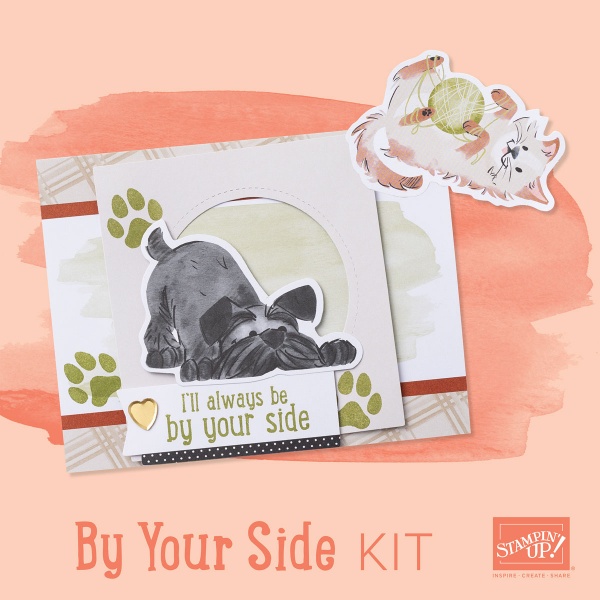
Two New Kits by Stampin’ Up!
Click the images below to get more information about the kits.
Starter Kit Special
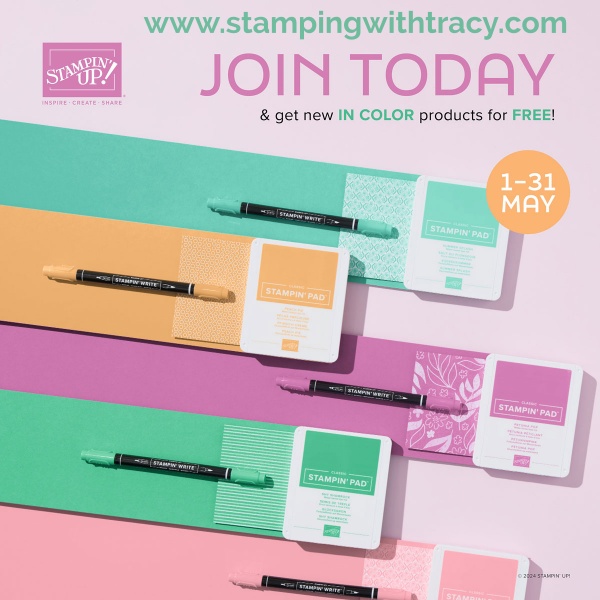
Stampin’ Up! is now offering a Starter Kit special for the month of May 2024! New demonstrators will receive the following products in their Starter Kit at no additional cost (these products are an $82 value):
- 2024-2026 In Color Classic Stampin’ Pad Bundle (all five new In Color ink pads)
- 2024-2026 In Color 8-1/2″ x 11″ cardstock in each of the five colors
- 2024-2026 In Color 6″ x 6″ Designer Series Paper
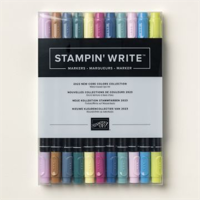
- 2024-2026 In Color Stampin’ Write Markers
The Starter Kit is $99 but you’ll get to pick out $125 in Stampin’ Up! products of your choice and don’t forget the In Color products with a value of $82! The Starter Kit always ships FREE! Being a part of Stampin’ Up!’s creative community also comes with several perks, including early access to products, special discounts, earning product credit, exclusive trainings, demonstrator-only events, and so much more!
Click here for a flyer of the Starter Kit Special!
Click here to purchase the Starter Kit!
For some frequently asked questions about the Starter Kit, click here.
Mystery Boxes

What’s a Mystery Box?
A Mystery Box is filled with retired products that I’d like to give to a new home. I’ve been a demonstrator for almost 15 years so you can just imagine how much I have! I have Medium Rate Flat Rate USPS shipping boxes stuffed with retired Stampin’ Up! product.The boxes contain stamps, dies, ribbon, embellishments and more! The boxes are already sealed and every box will be different and a mystery as to what’s inside! The value of each box is well over $200.
All of the products in the Mystery Boxes have retired but some have never been used, some are used and all are “as is”. Some of the stamp sets are wood mount.
You can place an order HERE.

There are two ways to get a Mystery Box
- Place a $125 or more order (before shipping/tax) at my Stampin’ Up! online store using the host code VCQST97K. I will send a Mystery Box to you as a free gift and I’ll even pay the postage! Using the host code will alert me that you want a Mystery Box. If your order is $150 or more, please DO NOT use the host code so you can receive Stampin’ Rewards (free product) directly from Stampin’ Up!. After you’ve placed your order (only if your order is $150 or more), please email me that you’d like a Mystery Box (click “Email Me” on the sidebar).
- If you don’t want to place an order, you can purchase a Mystery Box for $80 plus $15.00 postage. Email me that you want a box and I’ll send you a PayPal invoice (click “Email Me” on the sidebar).
More Information
- You must use the host code VCQST97K when placing your order (if your order is over $150, do not use the host code – see above)
- $125 order must be before tax/shipping amount
- One box per order
- Using the host code will let me know you want a Mystery Box
- You’ll receive at least TWO Bradley Points with your order
- No refunds or exchanges.
- Each box will be different and a mystery! The boxes are already sealed up and I’m unable to take requests for the contents of the boxes.
- Once all the boxes are gone, I’ll update this page.
- Feel free to email me before placing an order to see if I have boxes available.

Life is Sweet Paper Pumpkin Kit – Subscribe by June 10th
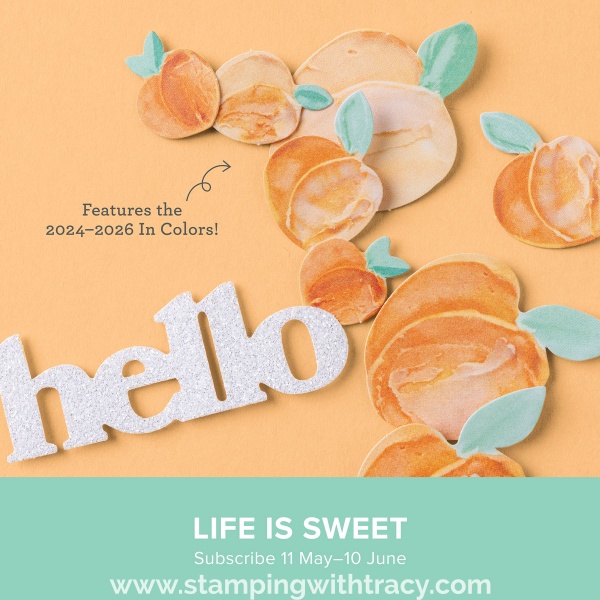
Click here to learn about Paper Pumpkin and you can subscribe here too!
Thanks for stopping by today!
by Tracy | Apr 19, 2024 | Card Sampler, Designer Series Paper, Die-Cutting, Embossing Folders
Today’s cards feature the stamp set, Hooray for Surprises, Countryside Inn Designer Series Paper, Something Fancy Dies and one new product that will be available May 1st, the Eyelet 3D Embossing Folder. The Countryside Inn Designer Series Paper is on the Low Inventory list right now and could go out of stock soon but it is NOT retiring, in fact, none of the products on today’s card will be retiring.


I started with a piece of Boho Blue cardstock for the base of my card and then embossed a piece of Basic White cardstock using the Eyelet 3D Embossing Folder (available May 1st). I adhered the embossed piece to the front of the card.


Next, I layered another piece of Basic White cardstock that I embossed onto a piece of Boho Blue cardstock and then adhered it to the front of the card. Then, I layered a piece of Countryside Inn Designer Series Paper to a another piece of Boho Blue cardstock and adhered it to the front of the card.


I stamped the sentiment in Night of Navy ink onto Basic White cardstock using the stamp set, Hooray for Surprises. I cut the sentiment out using the Something Fancy Dies and then cut the next larger size die out of Boho Blue cardstock. I layered the sentiment to the Boho Blue cardstock, added Stampin’ Dimensionals to the back and adhered it to the front of the card. To complete my card, I added a piece of Basic White cardstock to the inside.
Here’s another version using Balmy Blue cardstock and all the same products as the other card.

For this card I used Night of Navy cardstock and all the same products as the other two cards.

Bundle Alert: The Hooray for Surprises Bundle includes the Hooray for Surprises stamp set and Hooray for Surprises Dies.

Supply List
Below you’ll find all the Stampin’ Up! supplies I used for today’s card. If you need any stamping supplies, I’d love to be your demonstrator! You can place an order by clicking any of the images below to go to my Stampin’ Up! online store. The Specialty Plate is used with 3D Embossing Folders.
I also used the Eyelet 3D Embossing Folder #163414 which will be available on May 1st when the new Annual Catalog goes live.
Measurements
- Boho Blue, Night of Navy or Balmy Blue cardstock: 11″ x 4-1/4″ scored at 5-1/2″ OR 8-1/2″ x 5-1/2″ scored at 4-1/4″
- Boho Blue, Night of Navy or Balmy Blue cardstock: 3-3/4″ x 3-1/2″ (the 3-3/4″ side goes at the top)
- Boho Blue, Night of Navy or Balmy Blue cardstock: 4-3/4″ x 2-1/2″
- Boho Blue, Night of Navy or Balmy Blue cardstock (under sentiment): approx. 3″ x 2″
- Basic White cardstock:(2) 5-1/4″ x 4″
- Basic White cardstock: 3-1/2″ x 3-1/4″
- Basic White cardstock (sentiment):approx. 2-3/4″ x 1-3/4″
- Countryside Inn Designer Series Paper: 4-1/2″ x 2-1/4″
Last Chance Products
The Last Chance Products sale is still going on and many items are selling out. All products (whether they are on sale or not) are while supplies last! Click here to see what’s available.

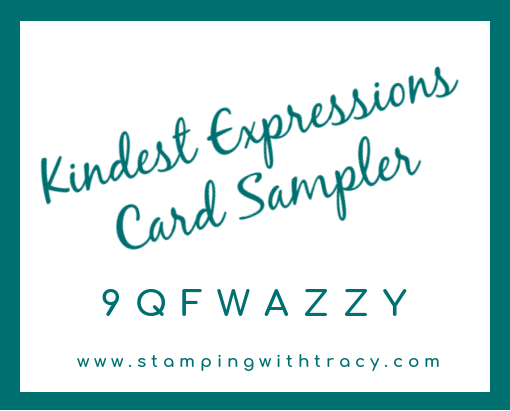
Kindest Expressions Card Sampler

My Kindest Expressions Card Sampler is now available but only until this Sunday, April 21, 2024.
Two of these cards are fun folds!
To create this Card Sampler I used Perennial Lavender Designer Series Paper and the Kindest Expressions stamp set.
Two of these cards are fun folds! Place a minimum $35 or $50 order (before shipping/tax) using my special host code 9QFWAZZY and my gift to you will be my Kindest Expressions Card Sampler.
- Place a minimum $35 order (up to $49.99) and you’ll receive one each of three different cards for a total of three cards.
- Place a minimum $50 order and you’ll receive two each of three different cards for a total of six cards.
Here’s how you can earn it FREE!
- Place a minimum $35 or $50 order (before tax/shipping) at my Stampin’ Up! online store.
- Use my special Kindest Expressions Card Sampler Host Code when placing your order (see below) BUT if your order reaches $150 or more, please DO NOT use the host code so you can receive Stampin’ Rewards (free product directly from Stampin’ Up!). Once you place your order, simply drop me an email (only necessary if your order is over $150) letting me know that you’d like the Kindest Expressions Card Sampler.
- Place your order on or before April 21, 2024.
Click here for more information about my Kindest Expressions Card Sampler and what supplies you’ll need to complete it.
Mystery Boxes Are Still Available

What’s a Mystery Box?
I offered Mystery Boxes last year but I still have SO MUCH retired Stampin’ Up! product in my home and I’d like to give it all to a new home. I’ve been a demonstrator for almost 15 years so you can just imagine how much I have! I have Medium Rate Flat Rate USPS shipping boxes stuffed with retired Stampin’ Up! product.The boxes contain Designer Series Paper, stamps, dies, ribbon, embellishments and more! The boxes are already sealed and every box will be different and a mystery as to what’s inside! The value of each box is well over $200.
All of the products in the Mystery Boxes have retired but some have never been used, some are used and all are “as is”. Some of the stamp sets are wood mount.
There are two ways to get a Mystery Box
- Place a $125 or more order (before shipping/tax) at my Stampin’ Up! online store using the host code HS2RTGAS. I will send a Mystery Box to you as a free gift and I’ll even pay the postage! Using the host code will alert me that you want a Mystery Box. If your order is $150 or more, please DO NOT use the host code so you can receive Stampin’ Rewards (free product) directly from Stampin’ Up!. After you’ve placed your order (only if your order is $150 or more), please email me that you’d like a Mystery Box (click “Email Me” on the sidebar).
- If you don’t want to place an order, you can purchase a Mystery Box for $80 plus $15.00 postage. Email me that you want a box and I’ll send you a PayPal invoice (click “Email Me” on the sidebar).
More Information
- You must use the host code HS2RTGAS when placing your order (if your order is over $150, do not use the host code – see above)
- $125 order must be before tax/shipping amount
- One box per order
- Using the host code will let me know you want a Mystery Box
- You’ll receive at least TWO Bradley Points with your order
- No refunds or exchanges.
- All boxes have two Designer Series Paper packages, at least three die bundles, an additional four stamp sets and other goodies added in.
- Each box will be different and a mystery! The boxes are already sealed up and I’m unable to take requests for the contents of the boxes.
- Once all the boxes are gone, I’ll update this page.
- Feel free to email me before placing an order to see if I have boxes available.
- Only available while supplies last.

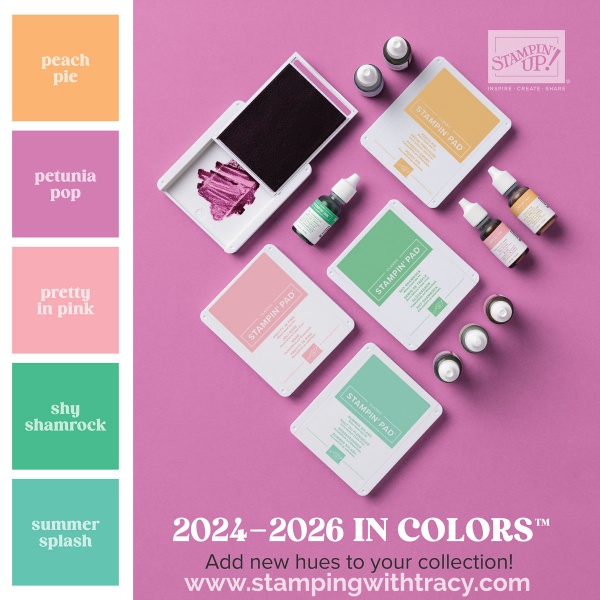
New Stampin’ Up! In Colors!
Here’s a look at the new upcoming In Colors! These new colors will be available on May 1, 2024, when the new Annual Catalog goes live!
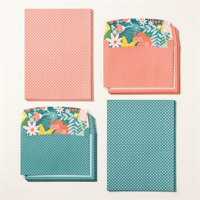
Stampin’ Up! Has Released Two New Papercrafting Kits
For more information about these kits, click on the images below
.

Price Increase
Stampin’ Up! will be raising prices in the new Annual Catalog. Prices will go up on May 1st but some products may become unavailable before that. Here’s a few of the products that will see a price increase:
- Solid Color cardstock (price will increase $1.50)
- Basic White & Very Vanilla cardstock (price will increase $2.50)
- Basic White Thick Cardstock (will increase $2.25)
- Basic White Medium Envelopes (will increase $2.50)
- Ink Refills (will increase .50)
- Mini Glue Dots (will increase $1.50)
- Stampin’ Blends (will increase $1.00)
- Multipurpose Liquid Glue (will increase .50)
- Glue Dots (will increase $1.50)
- Stampin’ Cut & Emboss Machine Standard Size (will increase $2.00)
- Stampin’ Cut & Emboss Plates Standard Size (will increase $1.00)
- Punches (will increase $1.00)
- Watercolor Pencils #1 (will increase $2.00)
- Watercolor Pencils #2 (will increase $1.50)
- Blender Pens (will increase $1.00)
- Embossing Paste (will increase $1.00)
- Heat Tool (will increase $1.00)
- Paper Snips Scissors (will increase $1.00)
- Paper Trimmer (will increase $2.00)
The Best There Is Paper Pumpkin Kit
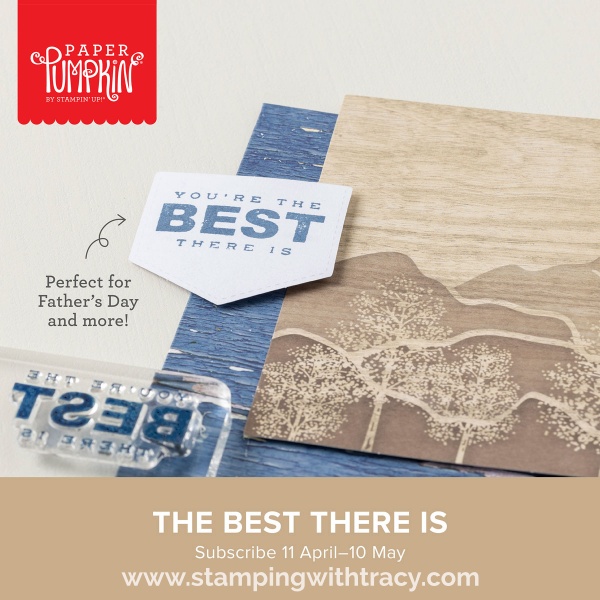
Click here to purchase The Best There Is Paper Pumpkin Kit!
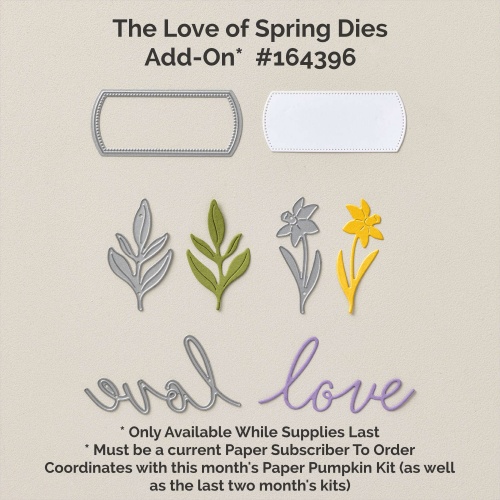
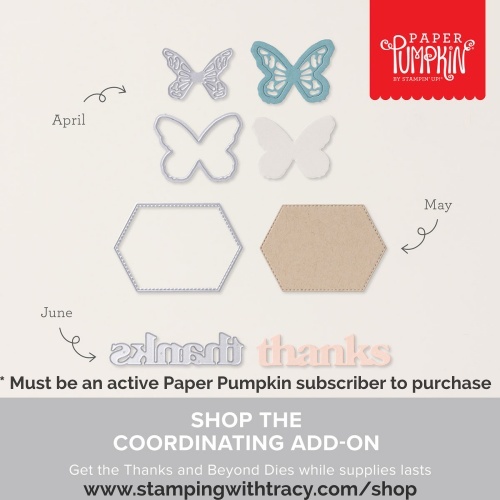
Purchase the coordinating Thanks & Beyond Dies (only available to active Paper Pumpkin subscribers).
Thanks for stopping by today!
by Tracy | Feb 14, 2024 | Blending Brushes, Designer Series Paper, Embossing Folders, Thankful for You
Happy Valentine’s Day!
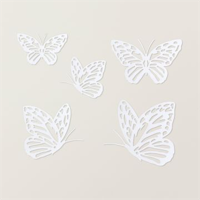
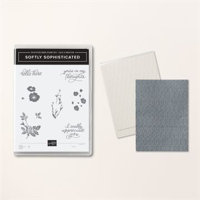
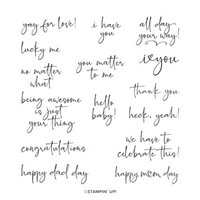
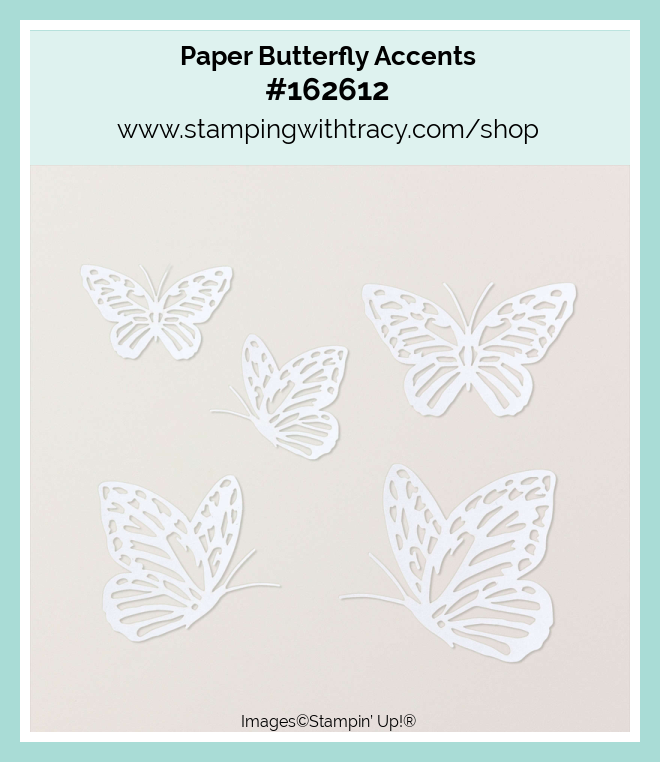
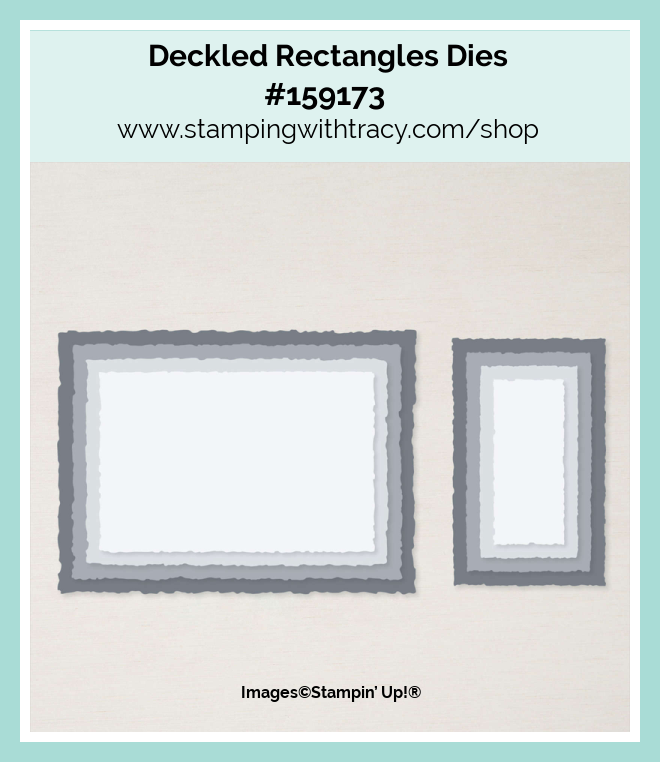
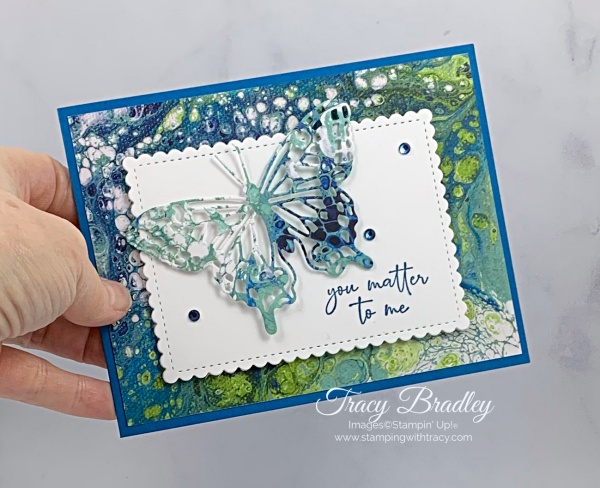
Today’s card was created using Perennial Lavender Designer Series Paper, the So Sincere stamp set, Paper Butterfly Accents, Deckled Rectangles Dies and one of the Basics 3D Embossing Folders.
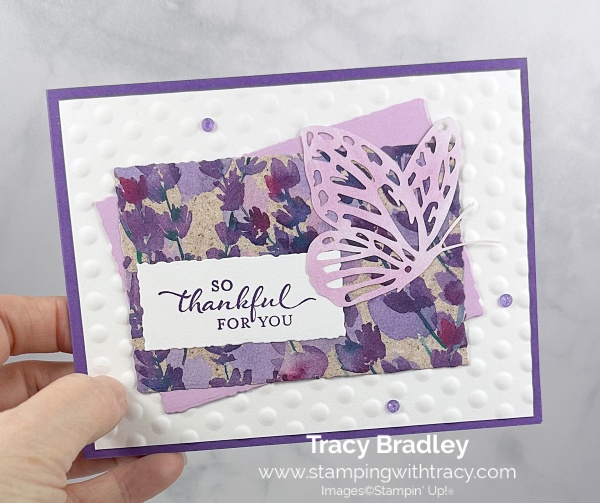
I started with Gorgeous Grape cardstock for the base of my card. Then, I embossed a piece of Basic White cardstock using one of the Basics 3D Embossing Folders and my Stampin’ Cut & Emboss Machine and then I adhered it to the front of the card.
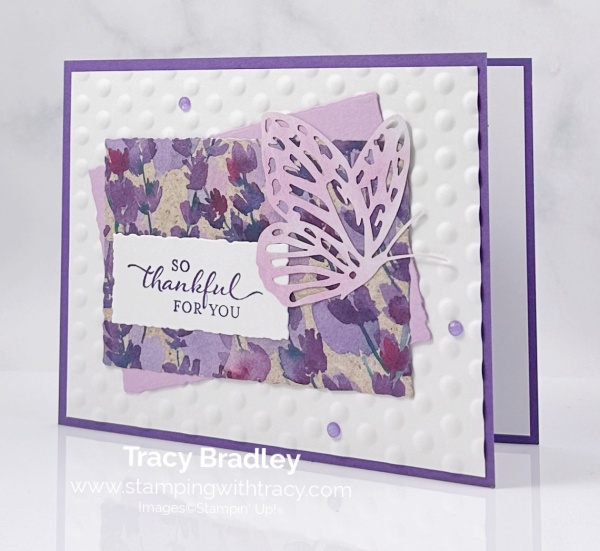

Next I cut a piece of Fresh Freesia cardstock and Perennial Lavender Designer Series Paper with the Deckled Rectangles Dies. I adhered the Fresh Freesia rectangle at an angle and then adhered the DSP rectangle.
I stamped my sentiment on Basic White cardstock using Gorgeous Grape ink and the stamp set, So Sincere. I cut it out using the Deckled Rectangles Dies. I didn’t use Stampin’ Dimensionals for this card (shock!!!) and adhered it to the Designer Series Paper. You can’t add Stampin’ Dimensionals to the back of the butterfly, which is why I didn’t pop up the sentiment with Dimensionals.
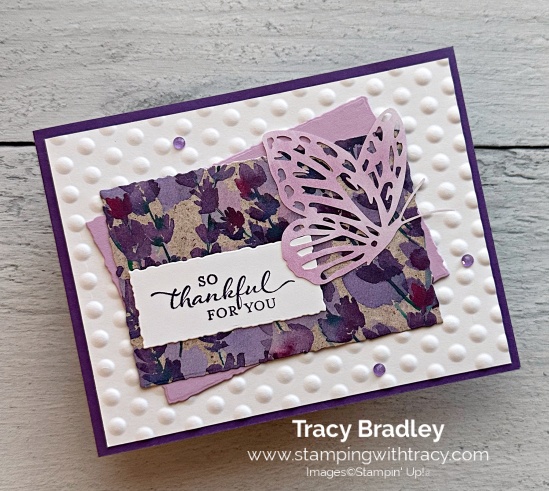

I used a Blending Brush to add color to my butterfly (there are 40 butterflies in one package of Paper Butterfly Accents) with Fresh Freesia ink. Then, I added Multipurpose Glue to the back and placed it on my card. To finish my card, I added three Purple Fine Glimmer Gems and added a piece of Basic White cardstock to the inside.
Supply List
Below you’ll find all the Stampin’ Up! supplies I used for today’s card. If you need any stamping supplies, I’d love to be your demonstrator! You can place an order by clicking any of the images below to go to my Stampin’ Up! online store.
The Specialty Plate is used with 3D Embossing Folders.
Measurements
- Gorgeous Grape cardstock: 11″ x 4-1/4″ score at 5-1/2″ or 8-1/2″ x 5-1/2″ score at 4-1/4″
- Basic White cardstock (inside the card and embossed): (2) 5-1/4″ x 4″
- Basic White cardstock (sentiment): approx. 2-3/4″ x 1-1/2″
- Fresh Freesia cardstock: 4-1/2″ x 3″ (edited)
- Perennial Lavender Designer Series Paper: approx. 4-1/2″ x 3″
Sale-a-Bration!!

Sale-a- Bration is the best time of year! For every $50 in product you purchase (before shipping/tax), you can choose from free stamps, free paper and more. If your order total is $50, you can choose one of the items listed below. If your order total is $100, you can choose (2) products from the $50 category or choose one item from the $100 category and so on and so on. There’s no limit to the amount of free gifts you can earn!
Very Important: The products (below) from the Annual Catalog have special item numbers, just for Sale-a-Bration. Be sure to add them to your order during checkout where you can select the Sale-a-Bration items of your choice (don’t manually add them in with their regular item numbers).
Here are the products you can choose from with a $50 purchase (click the images for more information about each product).
Here are the products you can choose from with a $100 purchase.
Two Weeks Left to Purchase the Starter Kit with Two Options!
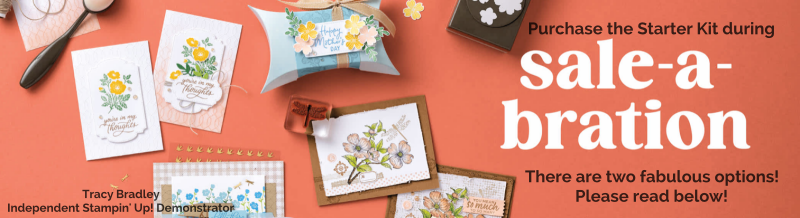
The best time to purchase the Starter Kit is during Sale-A-Bration!! The Starter Kit is $99 and you’ll receive $125 in Stampin’ Up! product (shipping is always free when you purchase the Starter Kit)! The Starter Kit is truly for anyone! It’s for the person who wants to receive a 20% (to start) discount when they buy their Stampin’ Up! products. It’s also for the business minded person. There’s no risk in purchasing the Starter Kit, only perks and you get to choose what you want to add to your Starter Kit. But wait, there’s more!
When I purchased the Starter Kit in 2009, I bought it just so I could get the discount. In 2009 you didn’t have the freedom to choose the products you wanted, it came with set products. I love that Stampin’ Up! gives you the chance to now customize your kit so that you pick the products you love and know you will use. For more information about the Starter Kit, you can take a look here for some frequently asked questions. You are also welcome to email me with any questions (click EMAIL ME on the sidebar).
You have two options during Sale-a-Bration:
Option 1: Choose the Stampin’ Glass Mat Studio (Retail Value $60). If you choose this option, Stampin’ Up! will send this to you, absolutely FREE!
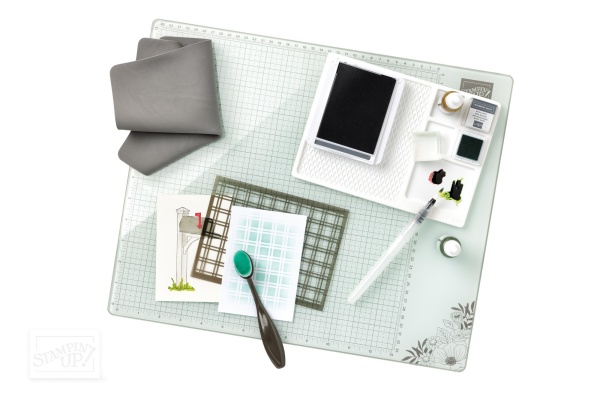
The heavy-duty glass mat comes printed with a ruler and grid lines for easy measuring, while the large surface space gives ample room for spreading out while paper crafting. The safety-tempered glass has a heat and scratch resistant surface that wipes clean with the included cloth and water—no chemicals needed. The reusable cloth also cleans ink off your stamps! The nonslip, heat resistant, waterproof silicone mat features four palette squares for mixing custom ink colors or for holding small ink spots in place while crafting. Each component can be used separately or you can use all three items together for a multipurpose paper crafting studio that’s both functional and elegant.
Option 2: Your choice of an additional $30 in FREE products to add to your Starter Kit!
March Paper Pumpkin Kit – Subscribe by March 10th
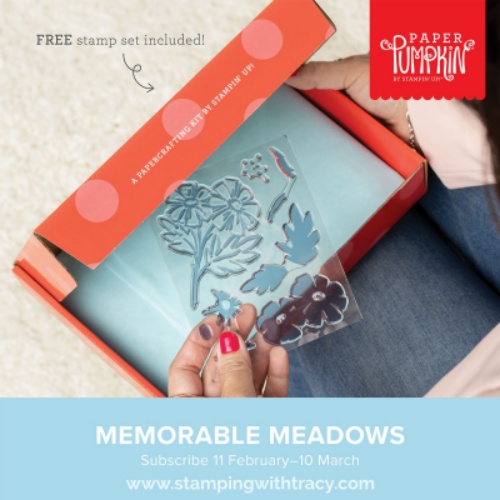
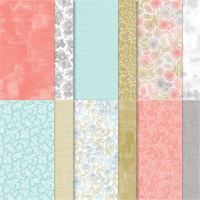
Share nature’s beauty with lovely all-occasion cards!
• Makes 9 cards: 3 each of 3 designs with 9 coordinating envelopes
• Precut vellum pieces & wood embellishments
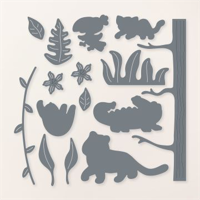
• Coordinates with the Meandering Meadows Suite Collection (item 162745)
• Coordinating colors: Granny Apple Green, Garden Green (Classic Stampin’ Spot), Balmy Blue, Night of Navy, Gorgeous Grape, Fresh Freesia

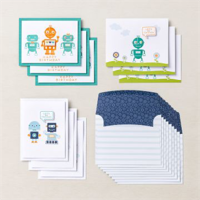
Two New Stampin’ Up! Kits are Now Available!
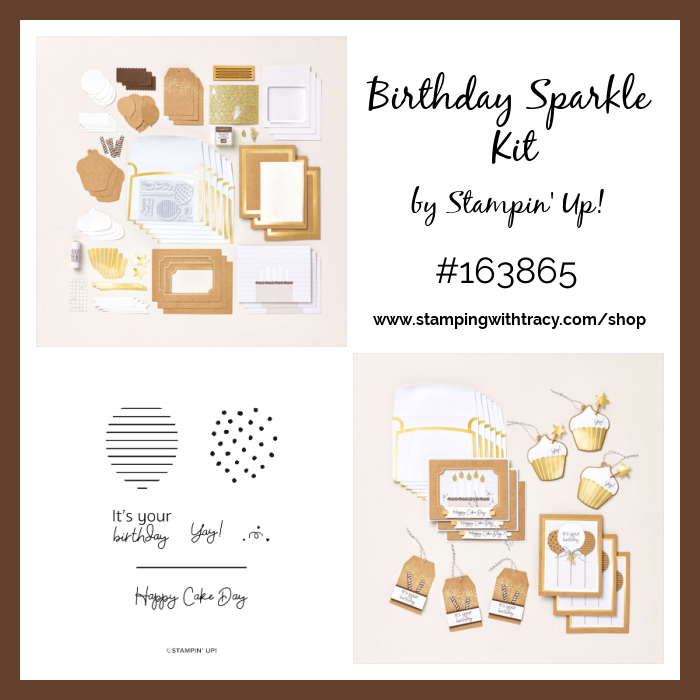
For more information or to purchase the Birthday Sparkle Kit click here.
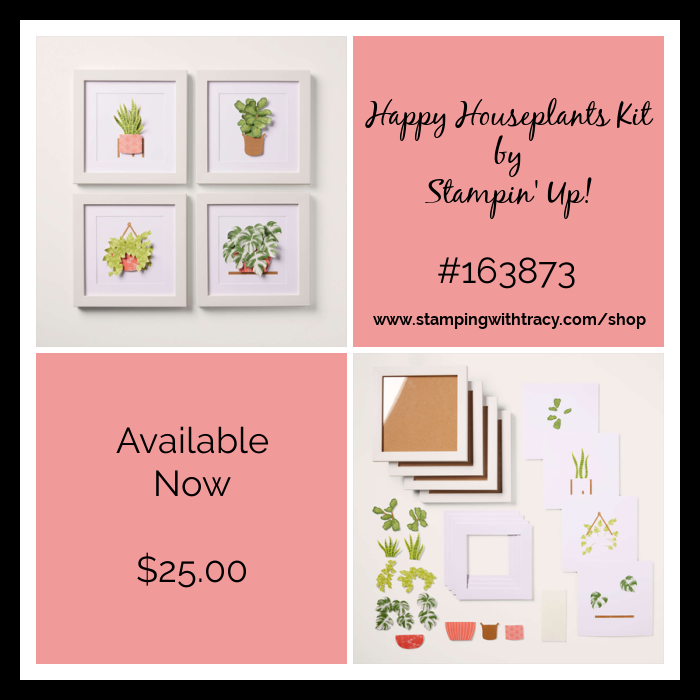
For more information or to purchase the Happy Houseplants Kits click here.
Host Code
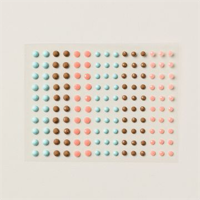
Use the host code PGSZWAYV with your $50 or more Stampin’ Up! order and you’ll receive a package of Rainbow Adhesive-Backed Dots after the promotion has ended.To make sure you’re shopping with me, if you’re on a phone, click the three lines at the top of the page and you should see my name. If you’re on a computer, my name will be in the upper left-hand corner. Please read all the details below.
Please note: If your order is $150 or more, do NOT use the host code so you can receive the Stampin’ Rewards directly from Stampin’ Up! If you put my host code in, you will forfiet your rewards. If you’d like the Rainbow Dots, just send me an email (only if your order is $150 or more) letting me know you’d like the Rainbow Dots.


Thanks for stopping by today!
by Tracy | Mar 4, 2022 | Bundle, Designer Series Paper, Die-Cutting, Embossing Folders, Scalloped Contours Dies
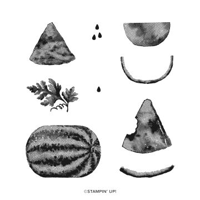
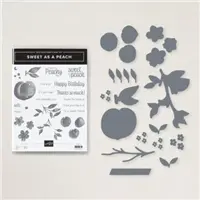
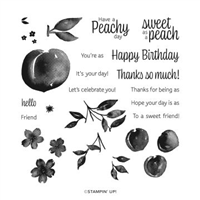
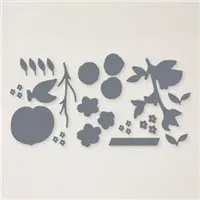
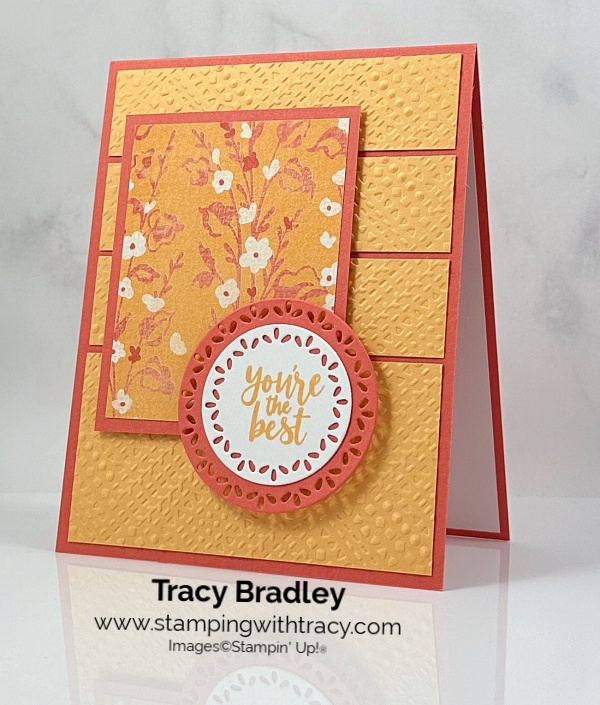
Today’s card features the Sweet as Peach Bundle (on sale the month of March) and the Scalloped Contours Dies. The Sweet as a Peach Bundle (compatible with the Mini Cut & Emboss Machine and on sale this month) includes the Sweet as a Peach stamp set and the Peach Dies.
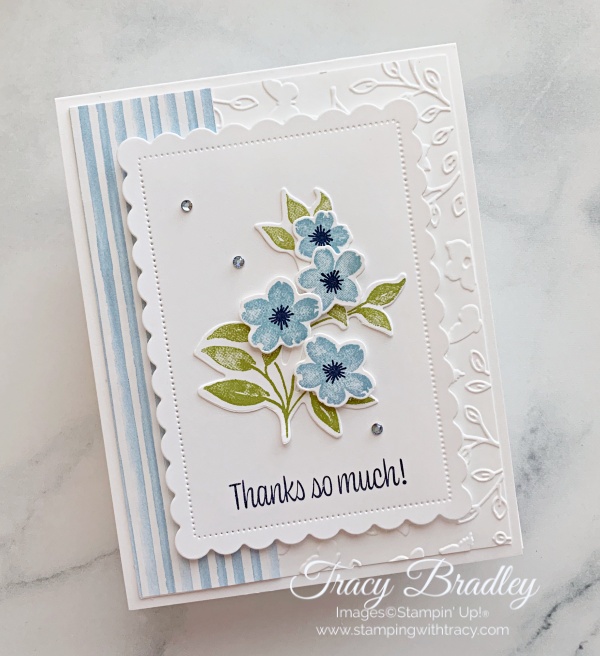

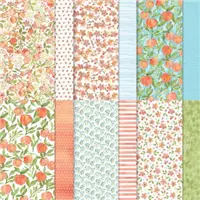
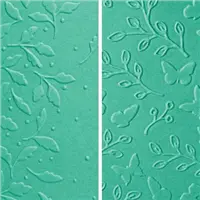
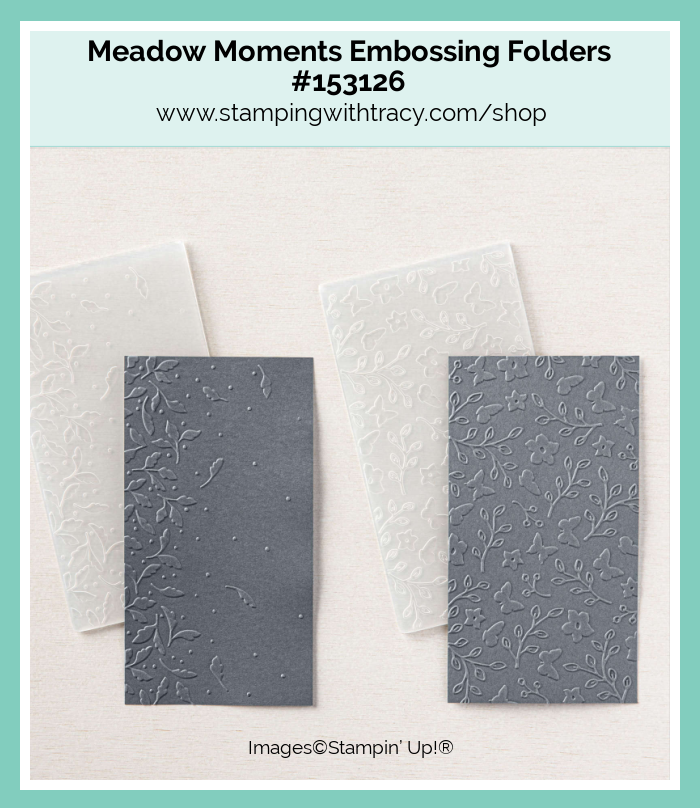
I started with a piece of Thick Basic White cardstock and then added a layer of Basic White Cardstock that I ran through the Stampin’ Cut & Emboss Machine using one of the Meadow Moments Embossing Folders. These embossing folders are smaller (compatible with the Mini Cut & Emboss Machine) and the entire piece of paper will not be completely embossed but I covered the part that wasn’t embossed with a piece of You’re a Peach Designer Series Paper.

I used the Scalloped Contours Dies to cut a scalloped rectangle out of a piece of Basic White cardstock. I stamped the sentiment in Night of Navy ink using the Sweet as a Peach stamp set and then added Stampin’ Dimensionals to the back and adhered it to the front of the card.


Using the Sweet as a Peach stamp set, I stamped the leaves in Pear Pizzazz ink and the flowers in Balmy Blue and Night of Navy ink onto Basic White cardstock and then cut them out using the Peach Dies. I glued the leaves down and then added Mini Stampin’ Dimensional to three flowers and placed them on the leaves. I added glue to the top flower and tucked it underneath (when I make this card again, I’m going to try adding Dimensionals to the leaves and then glue the flowers). To complete the card, I added three Rhinestone Waves Basic Jewels.

Supply List
Below you’ll find all the Stampin’ Up! supplies I used for today’s card. If you need any stamping supplies, I’d love to be your demonstrator! You can place an order by clicking any of the images below to go to my Stampin’ Up! online store.
Sale: $32.75
Price: $36.75
Measurements
- Thick Basic White cardstock: 11″ x 4-1/4″
- Basic White cardstock: 5-1/4″ x 4″
- Basic White cardstock (scalloped rectangle): approx. 4-3/4″ x 3-1/2″
- Basic White cardstock: approx. scrap for leaves
- Basic White cardstock: scraps for flowers
- You’re a Peach Designer Series Paper: 5-1/4″ x 1-1/2″
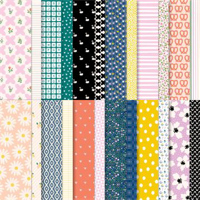
Pattern Party Card Kits
Place a minimum $40 order AND use my special host code EGBT4VJY by March 6th to receive at least three of my Pattern Party Card Kits. Each kit includes all the paper you’ll need to complete a beautiful card (the paper will be cut, scored, embossed and die cut for you). You’ll need to supply your own stamps, ink and adhesive. You’ll also receive a PDF Tutorial for the cards that will include pictures, instructions, measurements and a supply list. If your order is $150 or more, please do not use the host code so you can receive Stampin’ Rewards directly from Stampin’ Up!. I will automatically send card kits to you.
I used Pattern Party Designer Series Paper to create all six cards. Each card is the same design but I’ve used different cardstock and ink for all six cards (you can see two of the cards in the graphic below).

Stampin’ Up! Promotions
Click each image for more information


Upcoming
- March 6, 2022: Last Day to Earn Pattern Party Card Kits
- March 7, 2022: New Card Sampler Released
- March 10, 2022: Last Day to Order Beyond the Horizon Paper Pumpkin Kit
- March 31, 2022: Savings Are in Bloom Promotion Ends
by Tracy | Mar 1, 2022 | Designer Series Paper, Die-Cutting, Uncategorized
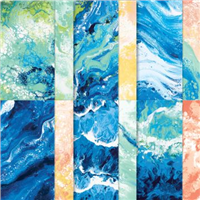
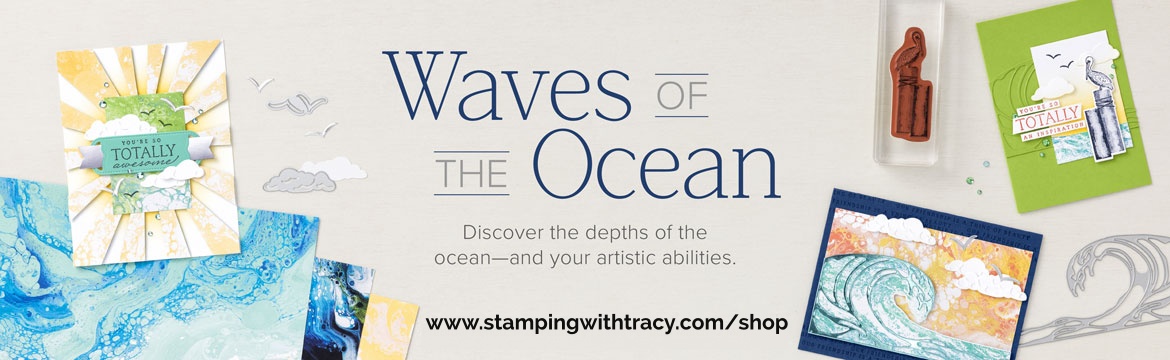
March 1st has arrived and five new Stampin’ Up products from the Waves of the Ocean collection are now available plus the Savings Are In Bloom sale has begun! This blog post is jammed packed with information but first, I’d like to share my card for today.
My card features two new products from the Waves of the Ocean Collection: Waves of the Ocean 12″ x 12″ Designer Series Paper and Rhinestone Waves Basic Jewels.


I started with a piece of Pacific Point cardstock for the base of my card and then added a layer of Waves of the Ocean Designer Series Paper (this paper is only available while supplies last). Then I cut a piece of Basic White cardstock using the Stitched So Sweetly Dies.
I stamped the sentiment using the stamp set, Happy & Heartfelt, in Pacific Point ink onto the stitched rectangle and then added Stampin’ Dimensionals to the back and adhered it to the Designer Series Paper.Then I used the same design of paper to die-cut a butterfly using the Brilliant Wings Dies. I placed two Mini Stampin’ Dimensionals down the center of the butterfly and adhered it to the front of the card.

To complete the card, I added a piece of Basic White cardstock to the inside and then added three Rhinestone Waves Basic Jewels to the front of the card. When these rhinestones arrived in my preorder, the first words out of my mouth were, “WOW, these are beautiful!!!!” I’m definitely buying more of them! These rhinestones are only available while supplies last!

Supply List
Below you’ll find all the Stampin’ Up! supplies I used for today’s card. If you need any stamping supplies, I’d love to be your demonstrator! You can place an order by clicking any of the images below to go to my Stampin’ Up! online store.
Measurements
- Pacific Point cardstock: 11″ x 4-1/4″ score at 5-1/2″
- Waves of the Ocean Designer Series Paper: 5-1/4″ x 4″
- Waves of the Ocean Designer Series Paper (butterfly): approx. 4″ x 3″
- Basic White cardstock: approx. 5″ x 3-1/2″
- Basic White cardstock: 5-1/4″ x 4″
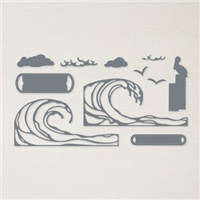
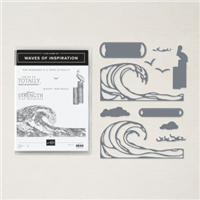
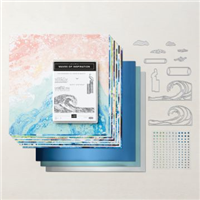
Waves of the Ocean
The Waves of the Ocean Collection includes the Waves of Inspiration Cling Stamp Set, Waves Dies, Waves of Inspiration Bundle (which includes the stamp set and dies at a discounted price), Waves of the Ocean 12″ x 12″ Designer Series Paper, Blue Foils 12″ x 12″ Specialty Paper, Rhinestone Waves Basic Jewels and if you want it ALL, the Waves of the Ocean Collection. The stamp set and dies (and bundle with these two items) will be in the upcoming 2022-2023 Annual Catalog but the rest of the products are only available while supplies last! For more information about each product, click the images below.
Savings Are In Bloom Promotion
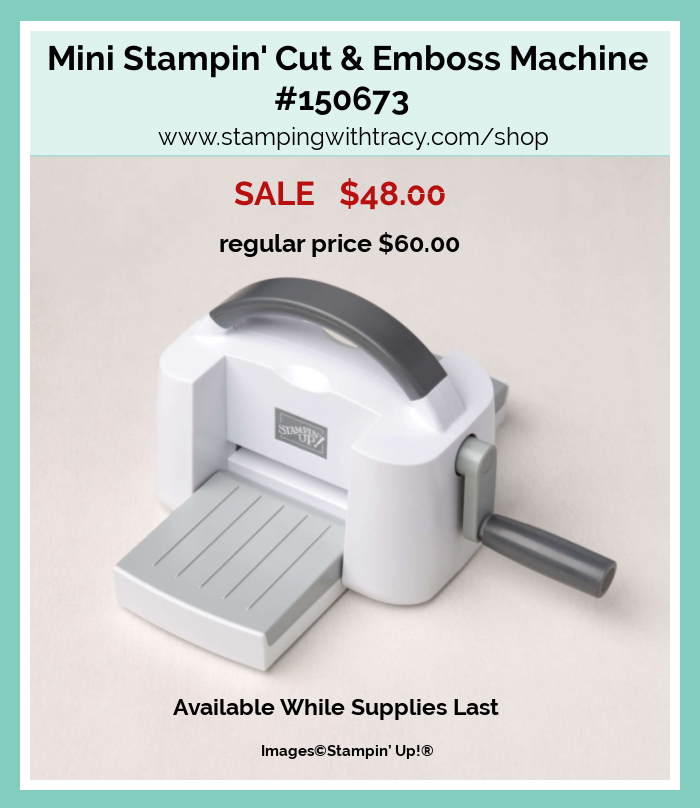
Starting today you can save 20% on the Mini Stampin’ Cut & Emboss Machine! This discount is available all month long but the machine will only be available while supplies last so if Stampin’ Up! runs out out these before the end of the month, the sale on the Mini Cut & Emboss Machine will be over.
Select stamp and die bundles that are compatible with the Mini Stampin’ Cut & Emboss Machine will also be on sale with an additional 20% discount plus, for this promotion only, three retired bundles are being brought back: Art Gallery, Celebrate Sunflowers, and Garden Wishes. Click on each product below for more information.
Sale: $40.00
Price: $45.00
Sale: $46.25
Price: $52.00
Sale: $45.50
Price: $51.25
Sale: $45.50
Price: $51.25
Sale: $46.25
Price: $52.00
Sale: $45.50
Price: $51.25
Sale: $47.00
Price: $53.00
Sale: $41.50
Price: $46.75
Sale: $32.75
Price: $36.75
Sale: $44.75
Price: $50.25
Sale: $40.75
Price: $45.75
Sale: $34.25
Price: $38.50
Pattern Party Card Kits
Place a minimum $40 order AND use my special host code EGBT4VJY by March 6th to receive at least three of my Pattern Party Card Kits. Each kit includes all the paper you’ll need to complete a beautiful card (the paper will be cut, scored, embossed and die cut for you). You’ll need to supply your own stamps, ink and adhesive. You’ll also receive a PDF Tutorial for the cards that will include pictures, instructions, measurements and a supply list.
I used Pattern Party Designer Series Paper to create all six cards. Each card is the same design but I’ve used different cardstock and ink for all six cards (you can see two of the cards in the graphic below).
Please read all the information below on how you can earn free card kits!
- Place a minimum $40 order (before tax and shipping) at my Stampin’ Up! Online Store
- Use my special Pattern Party Host Code EGBT4VJY when placing your order. If your order is $150 or more, do not use the host code so you can receive Stampin’ Rewards directly from Stampin’ Up! You’ll still receive your card kits.
- Place your order on or before March 6, 2022.
The Card Kits will be mailed approximately March 14, 2022. You’ll receive an email from me once yours has been mailed and I’ll have the PDF Tutorial for you at that time
- An order of $40-$49.99 will receive three card kits (before tax/shipping)
- An order of $50-$99.99 will receive four card kits (before tax/shipping)
- An order of $100-$149.99 will receive five card kits (before tax/shipping)
- An order of $150 or more will receive all six card kits (before tax/shipping)
On March 7th, I’ll close the host code and order the supplies I’ll need. Once they arrive, I’ll begin assembling the card kits!
Supply List for my Pattern Party Card Kits
Below are the supplies needed to complete all six cards or you can use what you already own. Simply click on any of the products and you’ll be taken to my Stampin’ Up! Online Store. Don’t forget to use the special host code EGBT4VJY when placing your order (don’t use the host code if your order is $150 or more).
Upcoming
- March 1, 2022: New Products Being Released: Waves of the Ocean Collection (click here for the flyer)
- March 1, 2022: Savings Are In Bloom Promotion (click here for the flyer)
- March 6, 2022: Last Day to Earn Pattern Party Card Kits
- March 7, 2022: New Card Sampler Released
- March 10, 2022: Last Day to Order Beyond the Horizon Paper Pumpkin Kit
by Tracy | Feb 21, 2022 | Designer Series Paper, Die-Cutting, Embossing Folders
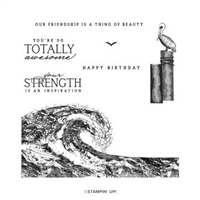
Today’s card is a quick and easy one that was made using Stampin’ Up! Ornate Frames Dies, Ornate Layers Dies and Flowering Fields Designer Series Paper.


I started with a piece of Thick Basic White cardstock and then added a layer of Basic White cardstock that was embossed using the Tasteful Textile 3D Embossing Folder. Usually I add a layer that’s a little bit smaller than the card base but this piece is the same size as the base. Next, I used the Ornate Layers Dies to cut a piece of Flowering Fields Designer Series Paper and then adhered it to the card front.

I stamped the sentiment onto a piece of Basic White cardstock using Rich Razzleberry ink and the stamp set, Eclectic Garden. I cut it out using the Ornate Frames Dies, added Stampin’ Dimensionals to the back and adhered it to the front of the card.


To complete the card, I added three Opal Rounds to the front of the card. See? Easy!!
Supply List
Below you’ll find all the Stampin’ Up! supplies I used for today’s card. If you need any stamping supplies, I’d love to be your demonstrator! You can place an order by clicking any of the images below to go to my Stampin’ Up! online store.
The Specialty Plate is used with 3D Embossing Folders.
Measurements
- Thick Basic White cardstock: 11″ x 4-1/4″
- Basic White cardstock: 5-1/2″ x 4-1/4″
- Basic White cardstock (sentiment): approx. 3″ x 1-1/4″
- Flowering Fields Designer Series Paper: approx. 6″ x 2-3/4″
Hand-Penned Card Sampler

Place a minimum $50 order (before tax/shipping) at my Stampin’ Up! Online Store using this special host code 2BVUBSKJ and I’ll send you my Hand-Penned Card Sampler. It’s very important that the host code is used when placing your order EXCEPT if your order is $150 or more. Do not use the host code for an order $150 or more so you can receive Stampin’ Rewards from Stampin’ Up!. Contact me after you’ve placed the order to let me know that you’d like the Sampler – you only need to contact me if your order is $150 or more.
With your order, you’ll also receive at least one free Sale-a-Bration gift directly from Stampin’ Up! Orders must be placed by February 24, 2022 and the Card Samplers will be mailed approximately March 7, 2022. Please click HERE for all the details.

Sale-a-Bration – Ends on February 28, 2022

Starter Kit Special – Ends on February 28, 2022

Upcoming
- February 24, 2022: Last day to earn my Hand-Penned Card Sampler
- February 28, 2022: Sale-a-Bration Ends
- February 28, 2022: Last Day to Earn two free stamp sets when you purchase the Starter Kit
- March 1, 2022: New Products Being Released: Waves of the Ocean Collection (click here for the flyer)
- March 10, 2022: Last Day to Order Beyond the Horizon Paper Pumpkin Kit