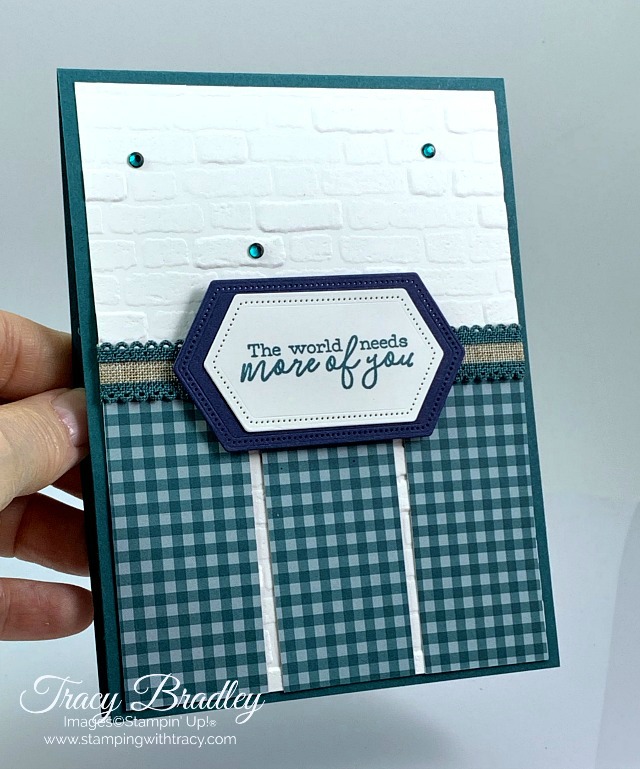
When I find a card sketch I like, I enjoy making it with different combinations of Designer Series Paper and cardstock. Last week I shared another version of this sketch that you can see here.
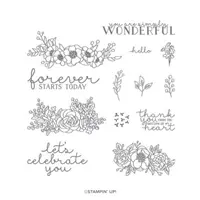
Today’s card is another one of my free card kits. My card kits are sent to anyone who places a Stampin’ Up! order over at my online store. In addition to the card kit, I also include a PDF Tutorial that contains pictures, measurements, directions and a supply list. When you assemble your card kit, you’ll need to supply adhesive, ink and a stamp set of your choice (I used Bloom & Grow to complete mine).
Supply List
If you need any stamping supplies, I’d love to be your demonstrator! You can place an order by clicking any of the images below to go to the homepage of my Stampin’ Up! online store.If you have questions about products you’re considering purchasing or ones you’ve already purchased, I’m just an email away (click the Email Me button on the sidebar of my blog).
Time is running out! The Starter Kit special will be over in a few days! Purchase the Starter Kit for $99 and then choose $155 worth of Stampin’ Up! product!! After purchasing it, you’ll have all the perks of being a demonstrator but you decide if you want to simply receive a discount on all your future purchases (20-25%) or if you’d like to hold get togethers to share your love of the product. It’s totally up to you! I’d love to have you join my team!
For more information, click here. To sign up right now, click here. You’re also welcome to email me with any questions you might have!
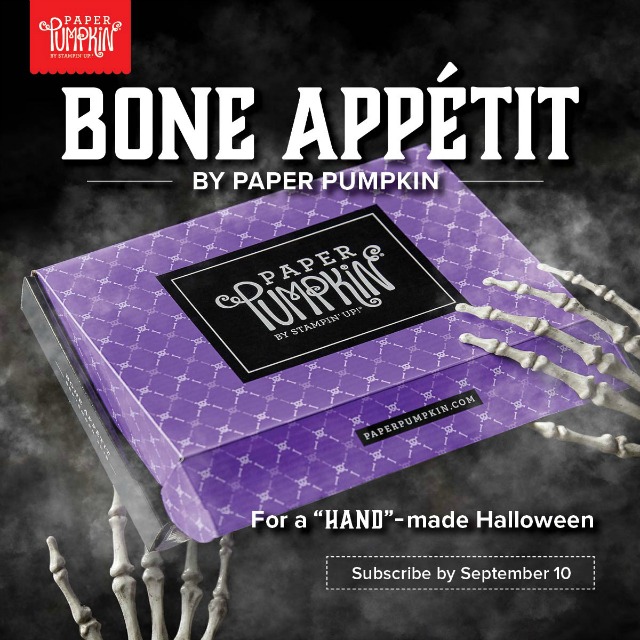
Subscribe by September 10th to receive a spooky Paper Pumpkin kit! Click here for more information!
Every order placed at my Stampin’ Up! online store receives at least one of my card kits and today’s card is one of my current kits. Each kit includes all the paper and embellishments you’ll need to quickly create a beautiful card. You’ll just need to supply adhesive, ink and a stamp set – I used the stamp set Bloom & Grow. You’ll also receive a PDF tutorial with pictures, directions and measurements!
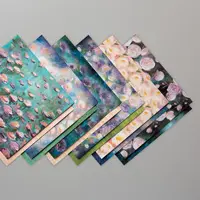
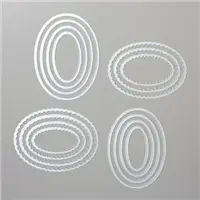
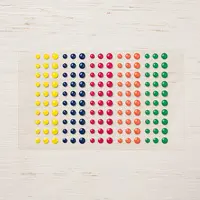
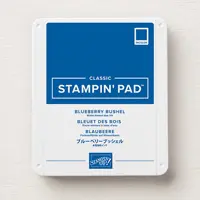
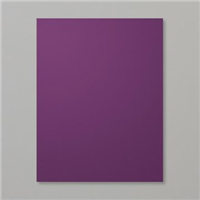
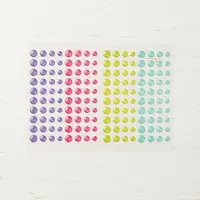
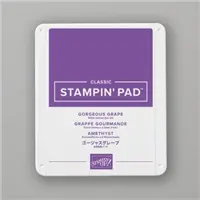
I also used Perennial Essence Designer Series Paper combined with Highland Heather and Gorgeous Grape cardstock. The sentiment was cut out using the Layering Ovals Dies. To complete the card, I used three beautiful Glitter Enamel Dots.
To receive at least one of my card kits, simply place an order at my Stampin’ Up! online store. Click here to place an order. If you have questions, please let me know.
Supply List
If you need any stamping supplies, I’d love to be your demonstrator! You can place an order by clicking any of the images below to go to the homepage of my Stampin’ Up! online store.If you have questions about products you’re considering purchasing or ones you’ve already purchased, I’m just an email away (click the Email Me button on the sidebar of my blog).
It’s Tuesday which means I have another FREE PDF Tutorial for you. Today’s tutorial is for the card above that I featured last week and if you missed that post, you can see it here. Click below for your free tutorial. If you make the card, I’d love to see your version! Just drop me an email!
Yesterday I shared the new Stampin’ Up! Beginners Brochure which includes some stamp sets not found in the Annual Catalog. The Beginners Brochure was created for the new stamper because if you’re a new stamper, Stampin’ Up! realizes that the Annual Catalog can be a bit overwhelming. If you missed yesterday’s post, which includes the Hoot Hoot Hooray stamp set, another product in the brochure, you can see it here.
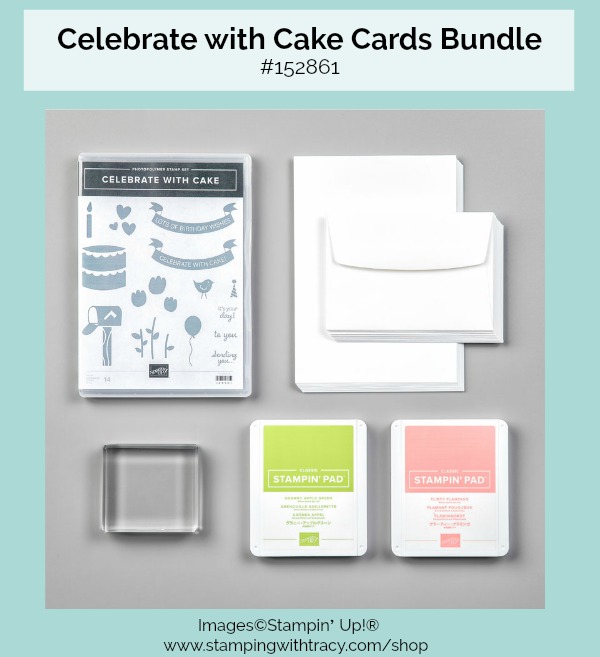
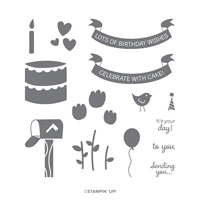
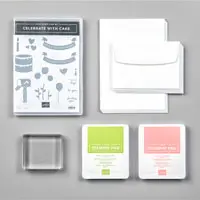
The Celebrate with Cake stamp set is one of the stamp sets you won’t find in the Annual Catalog. You can purchase the stamp set separately or you can get the bundle with everything included in the photo below.
Below you’ll find a video from Stampin’ Up! that shows samples using the Celebrate with Cake stamp set and you’ll see what’s included in the bundle.
Supply List
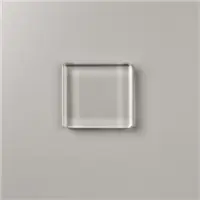
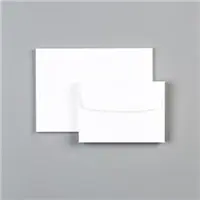
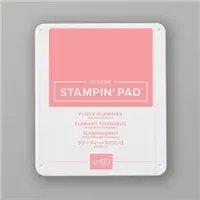
You can purchase the Celebrate with Cake products individually or choose the bundle option. In this Supply List, I’ve listed all the products separately in case you have some of the products in the bundle. I also included several products mentioned in the video.
If you’re a new stamper, sometimes a huge catalog filled with wonderful products can be a bit overwhelming. Recently Stampin’ Up! introduced a Beginner Brochure. Inside you’ll find fun projects and kits just for the beginners in mind (although experienced stampers will love them too). You’ll also find stamp sets inside this brochure that you can’t find anywhere else!
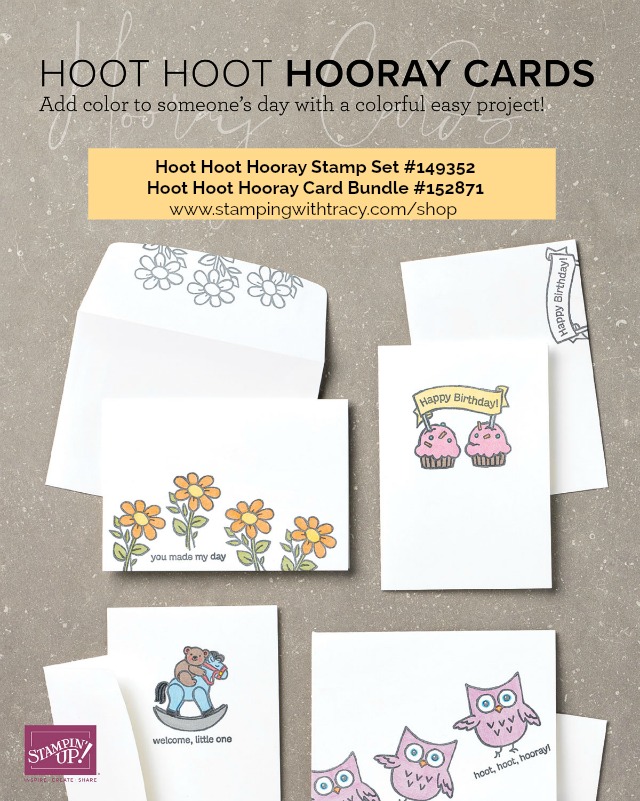
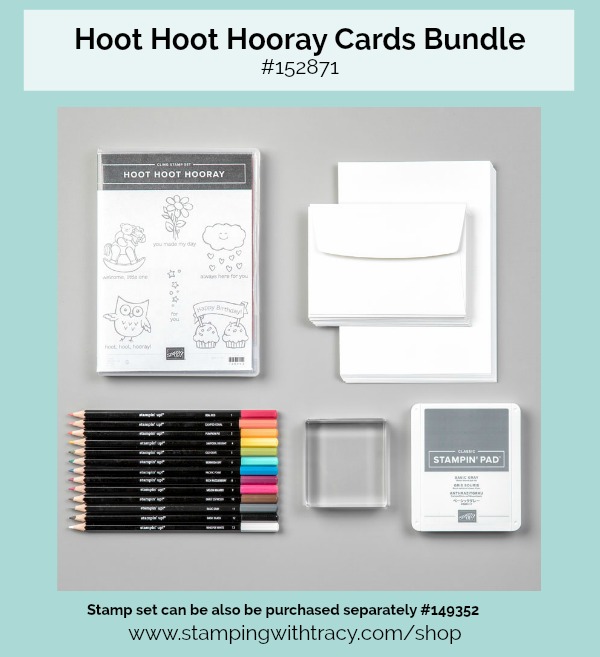
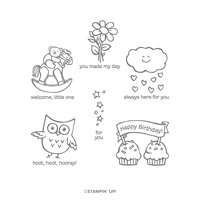
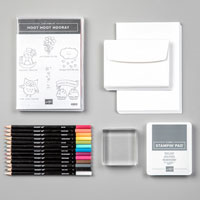
One of the stamp sets in the brochure is Hoot Hoot Hooray. You can purchase the stamp set separately or in a bundle, which includes everything you’ll need to make 20 cards. The video, farther down in the post, walks you through what’s included in the bundle and some tips and tricks just with the beginner in mind.
If you have any questions about the Hoot Hooray products or the other products in the Beginners Brochure, please don’t hesitate to contact me.
Supply List
There are several products mentioned in the video which are not included in the bundle and I’ve included those in the Supply List. You may already have some of the products in the bundle so I’ve also listed each of the items, in the bundle, separately.
If you need any stamping supplies, I’d love to be your demonstrator! You can place an order by clicking any of the images below to go to the homepage of my Stampin’ Up! online store.If you have questions about products you’re considering purchasing or ones you’ve already purchased, I’m just an email away (click the Email Me button on the sidebar of my blog).