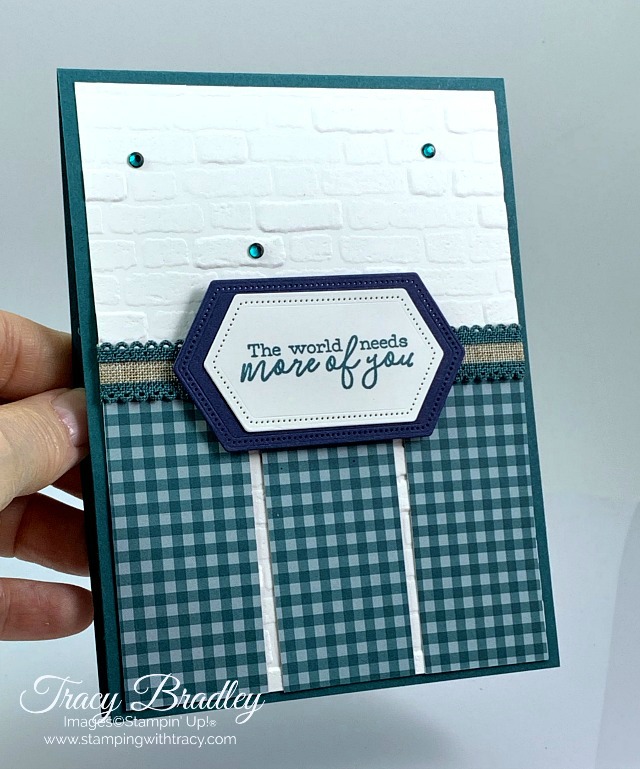
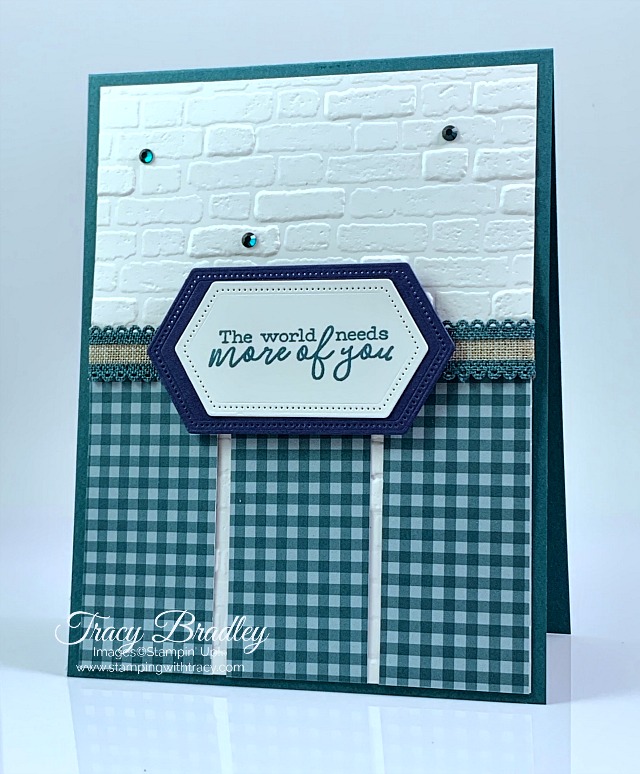
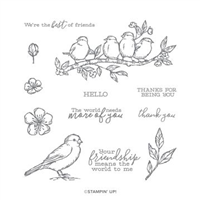
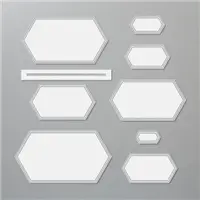
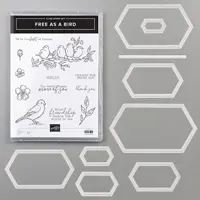
The card I’m sharing today uses the Free as a Bird Bundle. This bundle includes the stamp set, Free as a Bird, and the Stitched Nested Labels Dies. You’ll always save 10% on a bundle so if you’re thinking about purchasing both of these items, be sure to use item #151123.
All of the products I’ve used can be found in the supply list towards the end of the post. Simply click any product and you’ll be taken to that product in my Stampin’ Up! online store.
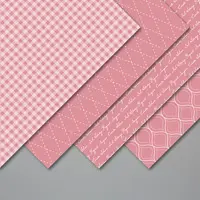
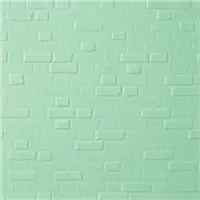
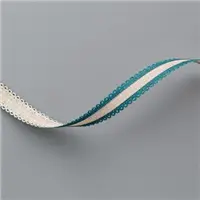
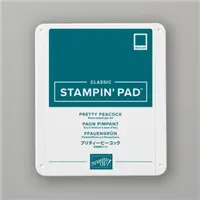
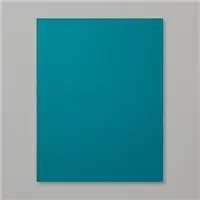
I used our 2019-2021 In Color 6″ x 6″ Designer Series Paper (DSP) in Pretty Peacock along with Pretty Peacock, Night of Navy and Whisper White cardstock. Before I glued the DSP onto the Whisper White, I embossed it using the Brick & Mortar embossing folder and my die-cutting machine. I wrapped our Pretty Peacock 1/2″ Scalloped Linen Ribbon around the panel before gluing it to the Pretty Peacock cardstock.
The sentiment was stamped in Pretty Peacock ink and cut out with the Stitched Nested Labels Dies. Using the same dies, a larger one was cut out of Night of Navy cardstock. The two pieces were adhered together using Snail but then Stampin’ Dimensionals were added to the back of the Night of Navy shape.
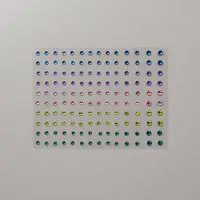
I added three Noble Peacock Rhinestones in Pretty Peacock to complete the card.
Supply List
If you need any stamping supplies, I’d love to be your demonstrator! You can place an order by clicking any of the images below to go to the homepage of my Stampin’ Up! online store.If you have questions about products you’re considering purchasing or ones you’ve already purchased, I’m just an email away (click the Email Me button on the sidebar of my blog).
2019-2021 In Color 6″ x 6″ Designer Series Paper: (3) 3″ x 1-1/4″
Online Card Class
Today is the very last day to receive my FREE August Online Card Class! Click here for more details!!
This is a great month to purchase the Starter Kit! It’s for EVERYONE who loves Stampin’ Up! products. You have until August 31st to purchase the Starter Kit for $99 and then you’ll choose $155 worth of Stampin’ Up! product (that’s $30 more in free product)! You’ll also receive a $10 coupon to use in September. The Starter Kit ALWAYS ships free! Once you purchase the kit, you’ll be able to start ordering more Stampin’ Up! product with your 20% discount! For more information, please click here! Feel free to email me with any questions! If you love Stampin’ Up! products, this special is too good to pass up!
The September Paper Pumpkin kit will help you get ready to pass out Halloween treats. The kit will make 20 Halloween-themed, food-safe treat boxes in these colors: Basic Black, Gorgeous Grape, Pumpkin Pie, and Whisper White. Click here to sign up today!
It’s Tuesday so it’s time for a FREE PDF Tutorial and it’s for the card pictured below. If you missed the post for this card, you can see it here. You can access the free tutorial below!
My August Online Card Class is only available for a few more days! When you place a minimum $50 order and use the host code N3WP3Z7F, I’ll send you all the paper and embellishments to create six cards. Click here for all the details.
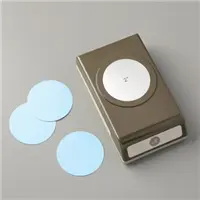
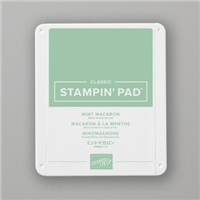
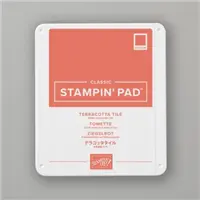
I stamped the sentiment three different times – twice in Terracotta Tile and once in Mint Macaron. The first one was stamped in Terracotta Tile and cut out with the larger die pictured below. Then I stamped it again in Mint Macaron and cut just the center using the smaller die. Then I stamped it again in Terracotta Tile and just cut out “thank you” using my Paper Snips. I used Snail to adhere them all together but added Stampin Dimensionals to the back of the larger piece and adhered it to a 2″ circle of Terracotta Tile. I also added Stampin’ Dimensionals to the back of the Terracotta Tile circle.
Supply List
If you need any stamping supplies, I’d love to be your demonstrator! You can place an order by clicking any of the images below to go to the homepage of my Stampin’ Up! online store.If you have questions about products you’re considering purchasing or ones you’ve already purchased, I’m just an email away (click the Email Me button on the sidebar of my blog).
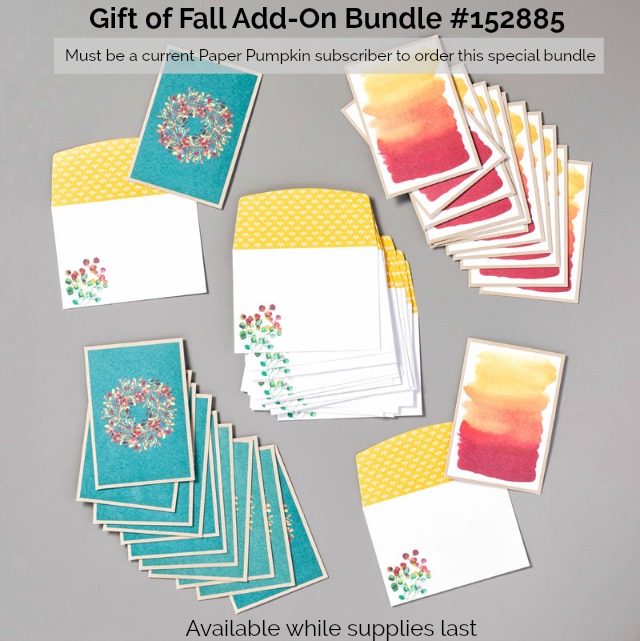
I’m popping in to let you know today is the last day to sign up for this month’s Paper Pumpkin. Paper Pumpkin is a monthly kit delivered directly to your mailbox each month. What’s inside is always a surprise but recently Stampin’ Up! has been giving hints. This month it’s all about bags but, for the first time, they’re offering an add on bundle so you can turn your bags into cards!
You don’t need the Add-On Bundle to complete this month’s Paper Pumpkin Kit but if you’d like the option of cards, this bundle is for you. You must be a current Paper Pumpkin subscriber to order the Add-On Bundle and it’s only available while supplies last.
Check out the video below to see some hints on what you can find in this month’s Paper Pumpkin!
Subscribe by the end of today and you’ll receive this month’s Paper Pumpkin. Then, each month a new kit will arrive in your mailbox. You can skip a month or unsubscribe at any time! Click here to order Paper Pumpkin! If you’re already a subscriber and would like the Add-On Bundle, click here.
Questions? Please feel fee to contact me. Look for the Email Me button on the right side of this post.
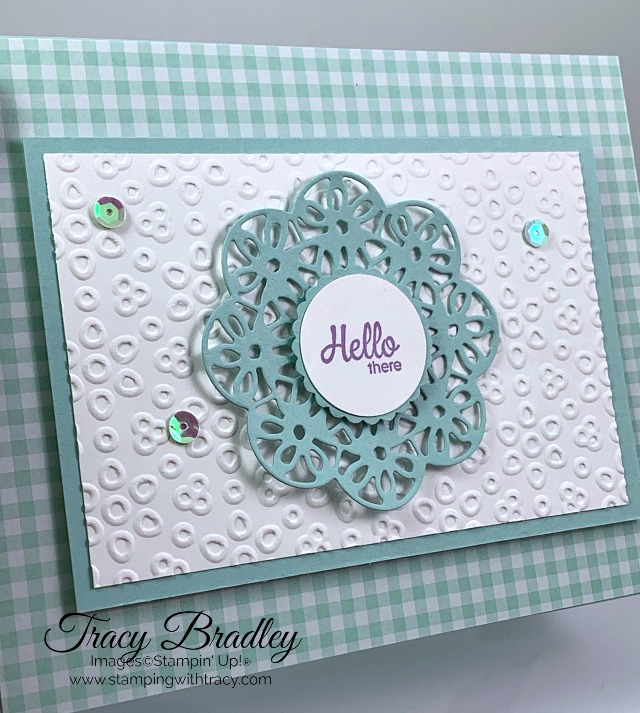
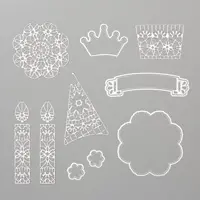
One of my first purchases from the new Annual Catalog was the Doily Wishes Dies. I immediately loved the intricate dies but decided I didn’t want the Wish For It Allstamp set. Well, the other day I purchased the stamp set and I’m disappointed because I lost out on saving 10%. Had I purchased the two products together using the special bundle item number, I would have saved 10%! I hate when that happens!
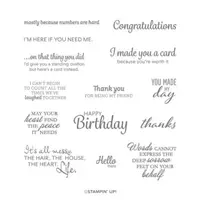
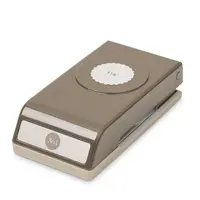
My card today uses the Doily Wishes Dies and the stamp set, Here’s a Card. I needed a small greeting, which is why I didn’t use the Wish For It All stamp set. The sentiment was stamped in Highland Heather and was cut out using the 1″ Circle Punch. I cut a scalloped oval using Pool Party cardstock and the 1-1/8″ Scallop Circle Punch for the sentiment to sit on. I used Stampin’ Dimensionals on the back.
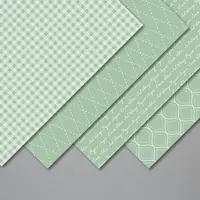
A piece of 6″ x 6″ Subtles Designer Series Paper in Pool Party sits on my base of Pool Party cardstock (Thick Whisper White cardstock would also work).
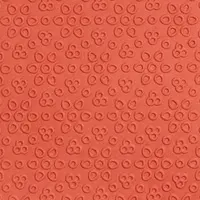
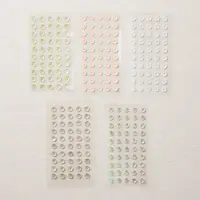
The piece of Whisper White cardstock is embossed using the Eyelet Lace Embossing Folder. I finished the card by adding our Basic Adhesive Backed Sequins.
This card will be my free PDF Tutorial on Tuesday, which will include all the measurements, so check back next week. Thanks for stopping by today!
If you need any stamping supplies, I’d love to be your demonstrator! You can place an order by clicking any of the images below to go to the homepage of my Stampin’ Up! online store.If you have questions about products you’re considering purchasing or ones you’ve already purchased, I’m just an email away (click the Email Me button on the sidebar of my blog).