by Tracy | Aug 8, 2019 | Online Card Class

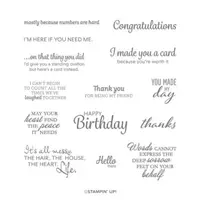
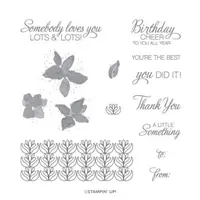
My August Online Card Class is now available but only for a limited time! This month I designed three cards using Mosaic Mood Specialty Designer Series Paper and the stamp set, Here’s a Card. When you place a minimum $50 order at my Stampin’ Up! online store AND use my special host code (N3WP3Z7F), you’ll receive all the paper and embellishments needed to create six cards, two of each design. Here’s how you can earn my FREE August Online Card Class:
- Place a minimum $50 order (before tax/shipping) at my Stampin’ Up! online store.
- Use my special August Online Card Class Host Code when placing your order.
- Place your order on or before Wednesday August 14, 2019.
- If your order reaches $150 or more, please do not use the host code so you can receive Stampin’ Rewards (free product directly from Stampin’ Up!). Once you place your order, simply drop me an email letting me know that you’d like the Online Card Class.

Here’s What You’ll Receive:
- All the paper and embellishments needed to make 6 cards (2 each of three designs). The paper will be cut, scored, and die cut for you! You’ll need to supply your own adhesive, ink and stamp set (per Stampin’ Up! I cannot send stamped images). Envelopes will also be provided for each card.
- A FREE video explaining how to make each card along with some tips and tricks.
- A FREE PDF Tutorial with instructions, pictures, cutting measurements and a complete supply list of all the products used. Keep the instructions in a binder so you can refer to them over and over again!
All the Other Important Stuff
- Your kits will ship first-class mail no later than Wednesday, August 21st and will be mailed to the address used on your online order.
- On Wednesday, August 21st, you’ll receive an email from me that will include your PDF Tutorial and the link for the video.
- When using the August Online Card Class Host Code to place your order, you will not qualify for my regular Customer Rewards Card Kits.
- Per Stampin’ Up! policy, kits can only be mailed within the United States.
The special August Online Card Class HOST CODE will close at the end of the day on August 14th and after that date, the class will no longer be available!
Expected ship date of the kits is August 21, 2019.
After the deadline of August 14th, I will order all of the product I need to make the kits. It will take me about one week to order, cut, assemble and ship the kits.
If you aren’t sure how to use a host code, click here! Place your order here!
Supplies You’ll Need
Listed below are the supplies, not included in your kit, that you’ll need to complete the cards (or you can substitute any of these products with what you already own). Click any of the products below and you’ll be taken to my online store. When placing your order, don’t forget to use the special August Online Card Class Host Code to receive your free card kit, PDF tutorial, and video link.
If you have questions, please don’t hesitate to contact me!
by Tracy | Aug 7, 2019 | Designer Series Paper, Layering Ovals Dies
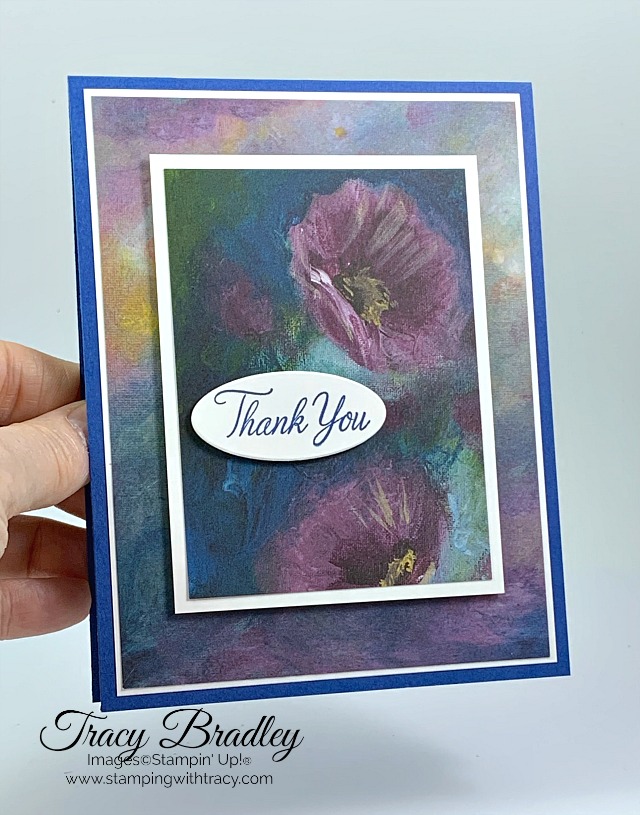
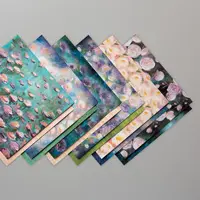
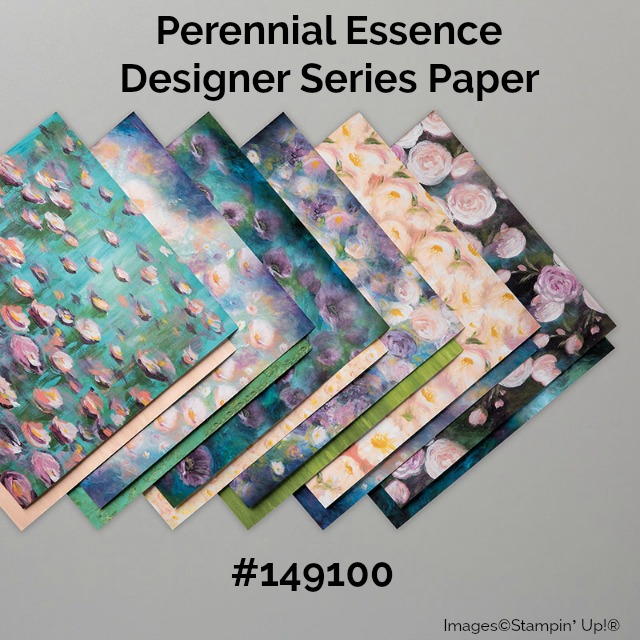
I’m in love with our Perennial Essence Designer Series Paper. This paper is so gorgeous that you really don’t need to add much else to your card. I used two different designs in this pack of paper for the two layers of my card. They coordinate so well together!
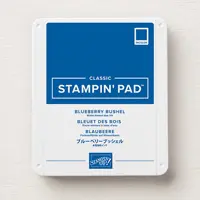
The base of the card is Blueberry Bushel. The first layer of Designer Series Paper was adhered with Snail but the top layer has Stampin’ Dimensionals on the back, as does the sentiment. Adding Dimensionals to a layer really changes the look of a card.

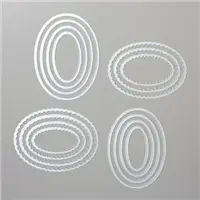
The sentiment was stamped onto Whisper White cardstock using Blueberry Bushel ink and the stamp set, Parcels & Petals. It was cut out using the Layering Ovals Dies.

Supply List
If you need any stamping supplies, I’d love to be your demonstrator! You can place an order by clicking any of the images below to go to the homepage of my Stampin’ Up! online store. If you have questions about products you’re considering purchasing or ones you’ve already purchased, I’m just an email away (click the Email Me button on the sidebar of my blog).

Click here to place an order!
Measurements
- Blueberry Bushel cardstock: 11″ x 4-1/4″
- Whisper White cardstock: 5-1/4″ x 4″
- Perennial Essence Designer Series Paper: 5-1/8″ x 3-7/8″
- Whisper White cardstock: 4″ x 3″
- Perennial Essence Designer Series Paper: 3-3/4″ x 2-3/4″

Thanks for stopping by today! If you have any questions, please don’t hesitate to contact me. If you’d like to place an order, click here to head over to my Stampin’ Up! online store.
by Tracy | Aug 6, 2019 | Designer Series Paper, Die-Cutting, Free Tutorial, Layering Ovals Dies, Stitched Shapes Dies

It’s Tuesday which means I have a free tutorial for you! The card I chose is the one I shared yesterday. If you missed that post, you can see it here. Scroll down to access your free PDF tutorial!

Click here to place an order!
Supply List
If you need any stamping supplies, I’d love to be your demonstrator! You can place an order by clicking any of the images below to go to the homepage of my Stampin’ Up! online store. If you have questions about products you’re considering purchasing or ones you’ve already purchased, I’m just an email away (click the Email Me button on the sidebar of my blog).
by Tracy | Aug 5, 2019 | Designer Series Paper, Die-Cutting, Layering Ovals Dies, Stitched Shapes Dies
Happy Monday! I hope you had a nice weekend! Last week we went on a mini vacation where we were just a block away from the beach. Several mornings we got up and walked down to the beach to watch the waves and the surfers. I wish I could wake up to that every single morning. It’s so calming and beautiful. While we were away, my husband, Mark, and I also celebrated our 39th wedding anniversary. It was really nice getting away for a few days.
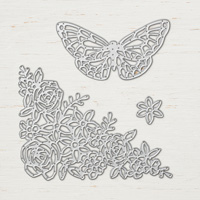
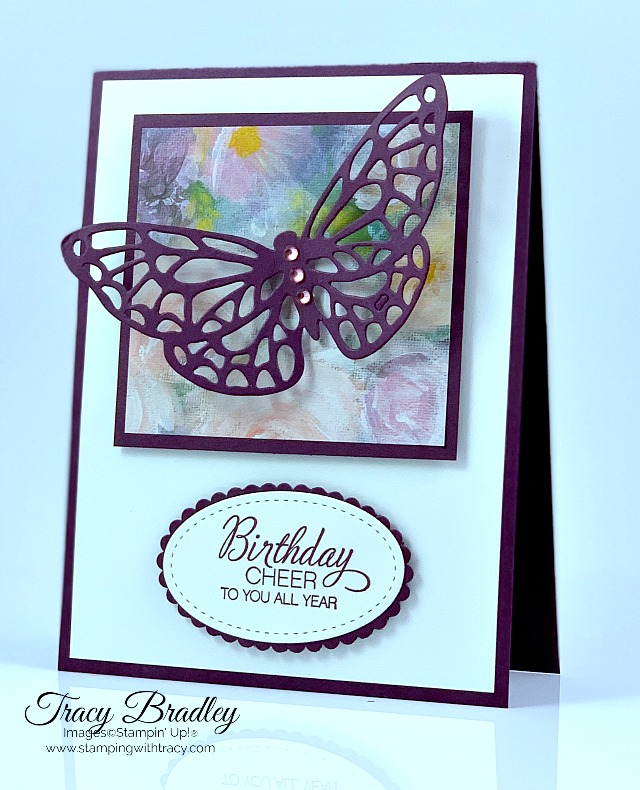
When we got home from our vacation, I created today’s card which uses an oldie but goodie die, Springtime Impressions, which includes a beautiful die-cut butterfly.

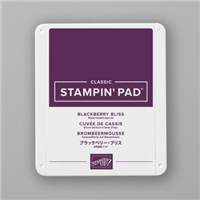
I paired it with our Perennial Essence Designer Series Paper and Blackberry Bliss cardstock. I absolutely love this Designer Series Paper. It’s gorgeous!
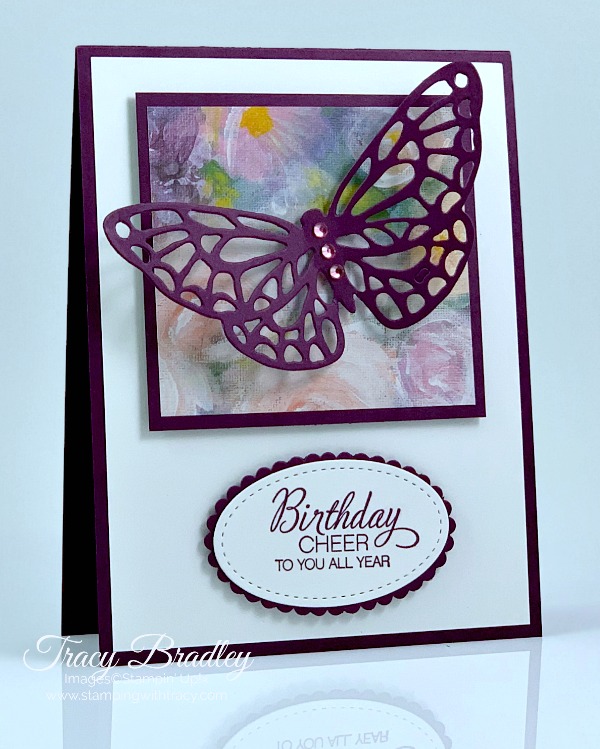
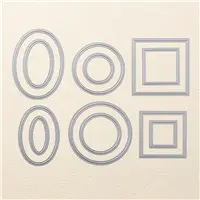
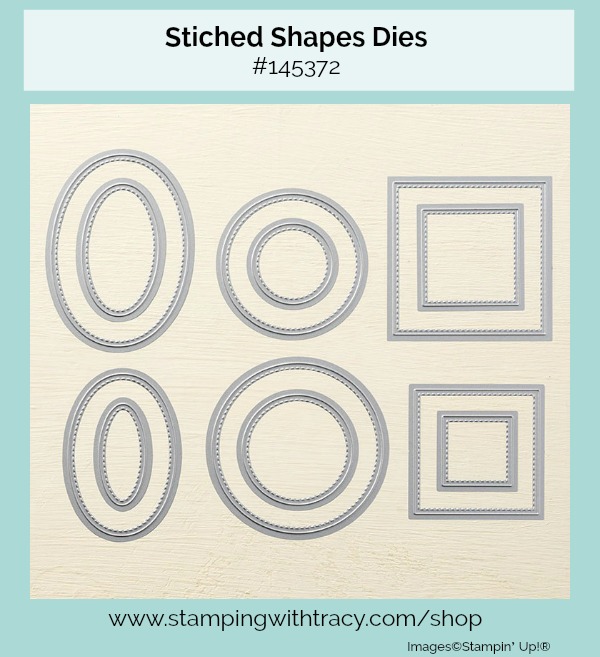
I used the stamp set Parcels & Petals for the sentiment and inked it up with Blackberry Bliss. I cut it out with the Stitched Shapes Dies and then cut a Blackberry Bliss scalloped oval using the Layering Ovals Dies. The Stitched Shapes Dies are very versatile because they coordinate with the Layering Circles Dies, Layering Squares Dies and Layering Ovals Dies.

The smaller layer of cardstock and Designer Series Paper was popped up with Stampin’ Dimensionals as well as the Blackberry Bliss scalloped oval. Mini Stampin’ Dimensionals were used on the back of the butterfly to give it dimension too!
Bundle Alert
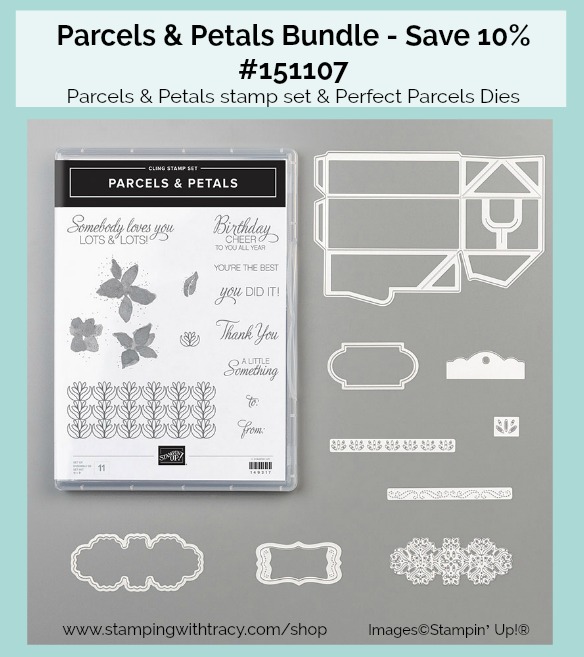
When you purchase the Parcels & Petals Bundle, you’ll save 10%. It includes the Parcels & Petals stamp set and the Perfect Parcels Dies. Be sure to use the bundle item number 151107.
Click here to place an order!
Supply List
If you need any stamping supplies, I’d love to be your demonstrator! You can place an order by clicking any of the images below to go to the homepage of my Stampin’ Up! online store. If you have questions about products you’re considering purchasing or ones you’ve already purchased, I’m just an email away (click the Email Me button on the sidebar of my blog).
Measurements
- Blackberry Bliss: 11″ x 4-1/4″
- Whisper White: 5-1/4″ x 4″
- Blackberry Bliss: 3-1/4″ x 3″
- Whisper White: 3″ x 2-3/4″
Starter Kit Special
The Starter Kit promotion is continuing through the month of August. The Starter Kit is $99 but then you’ll choose $155 worth of Stampin’ Up! product (items that you choose) plus you’ll receive free shipping! After that, you’ll receive a 20% discount on all your future purchases (with the opportunity to earn an even bigger discount). You’ll also be able to preorder from the Holiday Catalog which doesn’t go live until next month! This is a great deal and there’s absolutely no risk, honest!! For more information about this wonderful opportunity, click here. Feel free to contact me with any questions you might have!
Click here to order the August Paper Pumpkin Kit!
Thanks for stopping by!
by Tracy | Aug 1, 2019 | Glitter Queens Blog Hop, Layering Squares Dies

It’s the beginning of a brand new month which means it’s time for the Glitter Queens Blog Hop! This month it’s all about Shaker Cards!
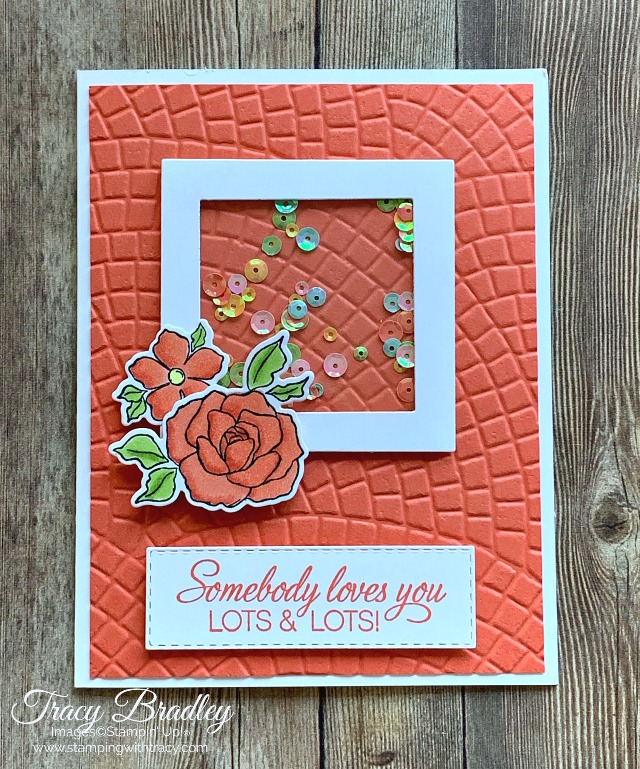
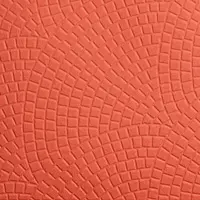
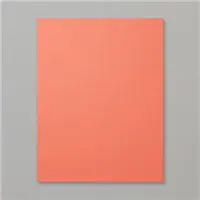
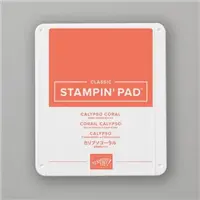
I started with a card base of Thick Whisper White cardstock. I like to use this thick paper any time my base is white because it’s sturdier and with the extra weight of a shaker card, it’s a good choice. The next layer is a piece of Calypso Coral that was placed inside the Mosaic 3D embossing folder and run through a die-cutting machine.

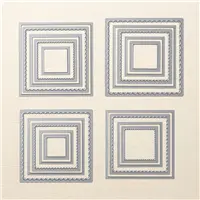
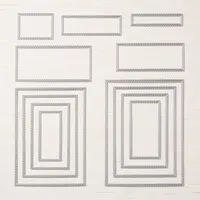
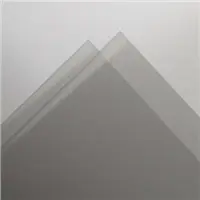
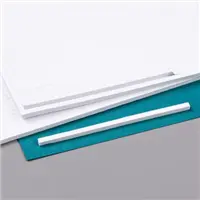
To create the window, I used the Layering Squares Dies, one inside the other as indicated in the image below. You’ll need a clear Window Sheet to keep all the sequins inside so I used a piece that measured 2-1/2″ x 2-1/2″. To attach the Window Sheet, I added Multipurpose Liquid Glue all around the edges of the rectangle. Then I added our Foam Adhesive Strips on each side of the rectangle.

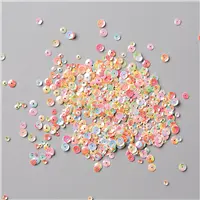
Once I figured out where I wanted my Iridescent Sequins to go, I shook them out onto the card base – I wish I had added a little more than I did. Next, I peeled off the backing on the rectangle and attached the window to the card.

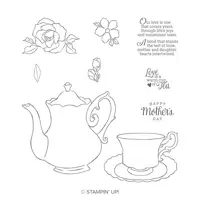
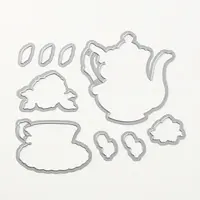
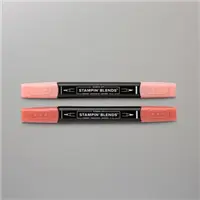
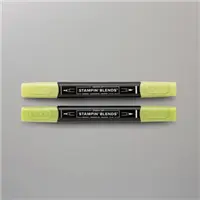
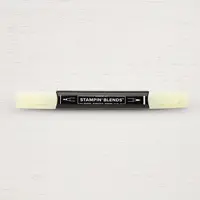
The sentiment was stamped in Calypso Coral ink using the stamp set Parcels & Petals and cut out with the Stitched Rectangles Dies. The flowers were stamped in Memento Ink onto Whisper White cardstock using the stamp set, Tea Together. They were colored in using Stampin’ Blends: Calypso Coral Dark and Light, Granny Apple Green Dark and Light and Pineapple Punch Light. The flowers were cut out using the Tea Time Dies. I got these dies when they were a Sale-a-bration free gift. I’m so glad they can now be purchased in the Annual Catalog!
The smaller flower was attached to the frame of the window using Snail and the larger one has Stampin’ Dimensionals on the back. A shaker card may look like it’s really hard to make but it isn’t! I hope you’ll give it a try!

Supply List
If you need any stamping supplies, I’d love to be your demonstrator! You can place an order by clicking any of the images below to go to the homepage of my Stampin’ Up! online store. If you have questions about products you’re considering purchasing or ones you’ve already purchased, I’m just an email away (click the Email Me button on the sidebar of my blog).
I hope you’ll continue around the hop! Sheila is up next!

Dawn Griffith
Tracy Bradley – You Are Here
Sheila Myers
Beth Bolinger
Cheryl Pierce Smith
Click here to place an order!
See you on Monday! Have a great weekend!