by Tracy | Oct 16, 2017 | Uncategorized
Happy Monday! I hope you had an enjoyable weekend! We had a long weekend in Palm Springs with our family. We rented a beautiful house with a gorgeous backyard that included a pool. We had such a good time being together. It’s always so hard coming back home from a weekend that you don’t want to end!
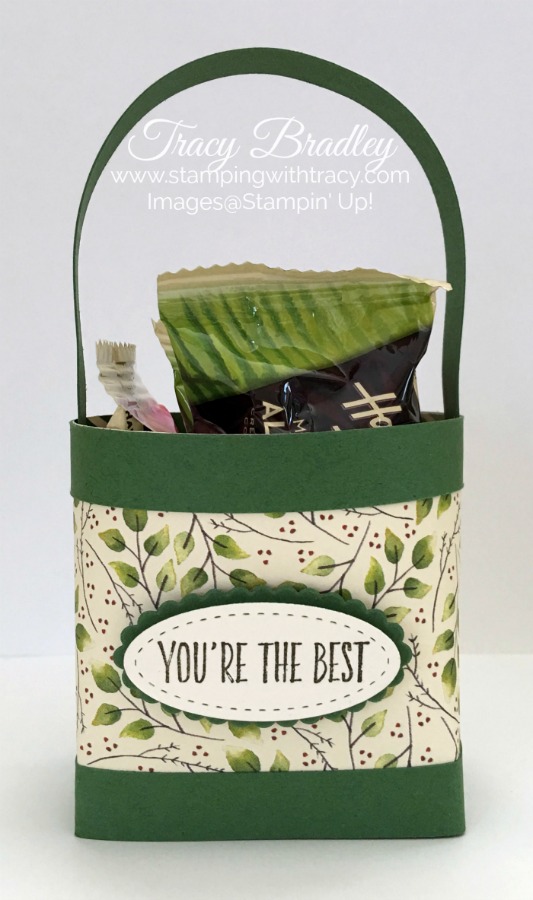
I brought some stamping to do while we were away as well as my computer but I have to admit that I didn’t touch either. We were busy from morning to night. The project I have to share today is one that I know you’ll want the directions to so I’ll work on a pictorial tutorial and have it for you later this week! Sorry I didn’t get it done this weekend!

If you love this paper, Painted Autumn, as much as I do, it is currently on sale. Buy 3 specially selected packages of paper and receive one absolutely free. Click HERE to see all the papers that are included in the sale. Click here to place an order!

To place an order or for more information, click any of the products below!

Thanks for stopping by!

by Tracy | Oct 14, 2017 | Uncategorized

When I first saw the stamp set, Lovely Inside and Out in the catalog, it was one that I initially passed on purchasing. Then I started seeing such cute cards using the set that I just had to buy it!

Lovely Inside & Out
Wood #144008
Clear #144011
I love the color combination of Lemon Lime Twist, Black and Whisper White!
www.stampingwithtracy.com
After stamping the large shape from the set, I stamped the word “FRIEND” in Memento Ink. I embossed “THANKS” with white embossing powder onto Basic Black cardstock. Because I hate trying to cut a shape out freehand, I cut the sentiment with the Classic Label punch and cut off one end. Such an easy card to make!
All of the supplies I used are listed below.
Click on any of the products for more information or to place an order!
The stamp set Lovely Inside & Out can also be purchased as a bundle with the Lovely Words Thinlits Dies, in either wood or clear mount (save 10% on the bundle). Click here for more information!
Thanks so much for stopping by today! I’ll be back on Monday!
by Tracy | Oct 13, 2017 | Uncategorized

I love this card! The design was inspired by a card created by Kylie Bertucci, an Australian demonstrator. I loved her card and wanted to make my own! I made a few changes but I really do have to credit her original card.
The stamp set I used was Ribbon of Courage with the matching Support Ribbon Frameits Dies (purchase both and save 10%). The stamp set was inspired by Patty Bennett, a Stampin’ Up! Million Dollar Sales Achiever! It’s a stamp set with so much meaning behind it.

Using the heart stamp and Rich Razzleberry ink, I stamped directly onto Whisper White cardstock. More hearts were stamped in Berry Burst on a separate piece of cardstock and cut out with the Support Ribbon Framelits. I added Stampin Dimensionals to the backs and attached them to the card front.
The base of my card is Berry Burst as well as the scalloped circle for my sentiment. I embossed the sentiment, also from the Ribbon of Courage stamp set, using Versamark ink and white embossing powder. It was cut out with the Layering Circles Framelits. Stampin’ Dimensionals were also added to the back before placing it onto the front of the card.

Click on any of the products below for more information or to place an order!
|
|
|
|
|
|
|
|
|
|
|

Rich Razzleberry Classic Stampin’ Pad*
[115658]
$5.95
|
|
|
|
|
|
|
|
|
If you have any questions about today’s card, don’t hesitate to leave a comment or email me!
by Tracy | Oct 12, 2017 | Uncategorized

The other day my daughter mentioned that she needed to cut hearts in multiple colors and shapes using felt and wondered if I had anything we could use to cut them out. YES!! We pulled out the Big Shot and the Sweet & Sassy Framelits and started die cutting!

Did you think that the Big Shot only cut paper? You can also cut fun foam, fabric, thin sheets of cork, vellum, and felt. When I had my own classroom, I used to cut shapes out of fun foam and use them for projects and games. With the wide variety of shapes available, the possibilities are endless!

If you’ve had your eye on a Big Shot, knowing that you are able to cut so much more than just paper with it, gives you more reasons to have one of your very own!
For more information about the Big Shot or the Sweet & Sassy Framelits, or to place an order, click either picture below and you’ll head over to my Stampin’ Up! online store.
Buy 3 packs of select packages of Designer Series Paper and Get 1 Free! Click here for more details! Offer good until October 31st!
by Tracy | Oct 11, 2017 | Uncategorized

Today I wanted to share a card I received in the mail from my team leader, Dawn Griffith. Isn’t it cute? I don’t have the stamp set, Creep it Real, so I’m glad that I have a card to share with you using this set.
Dawn used three different stamp sets:
- Creep it Real – main sentiment
- Spooky Cat – the rat
- Season to Sparkle – hanging spider
Measurements
- Spooky Night Designer Series Paper: (4) squares cut at 1-3/4″ x 1-3/4″
- Basic Black cardstock: 4″ x 4″
- Smoky Slate cardstock: 4-1/8″ x 5″ tear the bottom 5″ edge
- You’ll also need Very Vanilla & Basic Black cardstock to cut out squares using the Layering Squares Framelits.
The supply list can be found below. Click on any of the products and you’ll be directed to my Stampin’ Up! online store. Thanks for stopping by today!
Select Designer Series Paper packages are on sale, Buy 3 Get 1 Free. Click here for more information!


