Are you on Facebook? If so, I’d love for you to join my Facebook group. I have a Business Facebook page but with but with the current Facebook algorithms, you don’t see each of my posts. With the Facebook group, you will! I’ll be having a giveaway in the group later this week! Click here to check out the group! Once there, just click where it says JOIN (you’re seeing my page so it says joined). It’s that easy!
These Special Offers end TODAY! Each product has been marked down 25%. To place an order, just click on any of the products below and you’ll be taken to my Stampin’ Up! online store.
Normally I’m not already thinking about holiday treats but with all of the cuteness in the Holiday Catalog, it’s hard not to! For the next seven days I’m going to share projects that will help with your October treat giving.
What chocolate lover wouldn’t love opening a box filled with a humongous sized package of M&M’s?? Yesterday I posted a Stampin’ Up! video that showed how to make your own custom box (if you missed it, you can see it HERE). After watching it and following the directions, I made a box that fit my candy perfectly! You can see it sitting in the bottom half of the box.
Here’s the finished box! I used lots of different products from the Holiday Catalog and I’ve listed them all below in the Product List. The bottom of my box was made using Basic Black cardstock and the top is from the Halloween Night Specialty DSP pack. I wrapped it up with two different pieces of twine but they come together in a set.
My tag was made using the Cheerful Tags Framelits Dies. There are two different types of tags in the set with 8 dies in all. My cute bats come from the very popular stamp set Cookie Cutter Halloween. I finished it off with the Halloween Night Enamel Dots and a piece of Washi tape at the bottom.
Here are the dimensions that I used for box. Bottom: 6-1/2″ x 10″ Score at 1″ along all the sides Top: 6″ x 9-1/2″ Score at 3/4″ along all of the sides. In the video Donna suggests cutting a smidge off two of the sides of the bottom of the box so be sure to refer back to it so that your top will fit nicely onto the bottom.
Product List – Click on any of the products below to place your order!
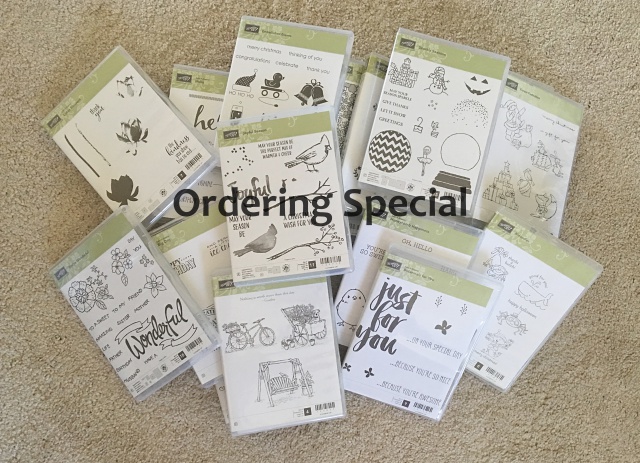
My Ordering Special is still going on! Place a $50 order at my online store and choose a free stamp set. Be sure to read all of the details here! Any questions, please ask!
I love making boxes and packaging for treats so I was excited when this video from Stampin’ Up! was released. Donna, from the Home Office, takes us through figuring out to do the math to make a box of any size! She has such a wonderful teaching style that I am sure you’ll feel like you CAN make a custom box.
Because I love treat packaging, on Wednesday I am going to be kicking off my Week of Treat Packaging. Each day for seven days, I’ll show you a different way to package a treat. In the meantime, enjoy the video!
Don’t forget that I have an Ordering Special going on now! My offer is good until next week! Any questions, please ask! Click here for all the details!
I hope you had an enjoyable weekend! We are still experiencing warm weather, low 90’s, and I am very ready for some fall weather.
Today I’m sharing a 3″ x 5″ notepad. I used Peekaboo Peach for the cover of the notepad along with Whisper White and finished it off with a piece of Fruit Stand Designer Series Paper. While creating this I kept trying to bring in a complimentary color but I wasn’t happy with any of the combinations and decided to go with a monochromatic look.
I used the Layering Ovals Framelits for my sentiment. These are currently on sale until Wednesday for 25% off. They rarely go on sale so I’d say go for it if you’ve been thinking about purchasing them! The butterfly is one of two butterflies in the Bold Butterfly Framelits. I couldn’t resist adding a few rhinestones for some sparkle.
I sponged Peekaboo Peach around the edges of the scalloped piece. I was surprised by how dark it looked, actually pleasantly surprised. My sentiment is part of the Watercolor Wishes Card Kit (a kit with all the supplies to make 20 cards and a stamp set).
If you’d like the dimensions and supplies for this project in PDF format, click here.
Product List – Below you’ll find the products I used to make my project. Please note that the Layering Ovals Framelits are on sale until Wednesday but the sale price isn’t reflected here. Click any of the pictures in the Product List to see them in the store or for more information.
I currently have an ordering special! For every $50 purchase (before shipping/tax) at my Stampin’ Up! online store, you can choose a free stamp set. This offer is good until September 30th. Click here to read all the details!
To visit my Stampin’ Up! online store, click here!
I’ve never before shown a picture of my craft room but since an area of it is clean and organized, today is the day! We’ve recently moved and I’ve been working hard to get my craft room set up in between upacking the rest of the house. Priorities, right?
We’ve lived in our “new” house in Southern California for a little over three years. We bought it as a second home so that we could be near our grandchildren. Our other home is also in California in the Central Valley and for the past three years we’ve been going back and forth between our two homes. It’s been difficult to do so we decided early this year to sell our Central California home. We lived there for 28 years and our children were very young when we first moved in, so I’m sad to say goodbye to our house and the area. Our house will officially close in a few weeks.
I’m so lucky to now have a HUGE craft room. Before we bought our house (actually when we first looked at it), I got so excited imagining what my craft room would look like in this room – my husband never even got a chance to claim the room. 🙂 I loved my craft room in our other house. It used to be our office and several years ago we converted it to just my craft room. My husband spent long hours making a table for me that fit along one wall. When we began our move we decided we wouldn’t take the table as we didn’t think it would survive. The more I thought about it, I really wanted to take it with us. I am happy to say that it did just fine during the move. I’ve been using multiple fold up tables as my work area so having my beautiful table in my room makes me very happy!
My desk rarely looks like this. When I’m creating, stuff is flying everywhere! It looks so pretty and pristine now!
I used my Brother P-touch to label many of my drawers and baskets. I am still getting used to my room and where I’ve put everything so the labels are really helping me find things quickly.
I’ll show more pictures of my room once I get other areas cleaned up and organized!
I currently have an ordering special! For every $50 purchase (before shipping/tax) at my Stampin’ Up! online store, you can choose a free stamp set. This offer is good until September 30th. Click here to read all the details!
To visit my Stampin’ Up! online store, click here!