by Tracy | Mar 17, 2013 | Uncategorized
I love this set, Patterned Occasions! I wasn’t quite sure at first how I wanted to use this particular stamp but I am happy with how it turned out. I used Crumb Cake ink for the bandaid and it is just the right shade of brown. The heart was punched out using the Small Heart punch with Red Glimmer paper. As I am sitting here typing this post, I’m realizing that I didn’t put small holes around the red oval. I will add that touch next time!
This is such a cute set but is only available until March 22nd which is next Friday! Time is running out! How can you get one? Place a $50 order at my online store. You will then be prompted to enter the item number for your freebie! You can choose an item for EACH $50 worth of product that you order. You can click on each page of the flyer to see it larger. If you have any questions, let me know!
Tracy
by Tracy | Mar 15, 2013 | Uncategorized
I love it when Stampin’ Up! comes out with a new stamp set that coordinates with a punch I love!!!!!! Today they have released a new stamp set, A Round Array. It will be in the 2013-2014 catalog but you can purchase it now in clear mount until May 30, 2013. It will also be offered in wood mount but it won’t be available until the actual release of the 2013-2014 catalog. You can purchase the stamp set with the punch for 15% off (Spring Surprise Bundle). If you already have the punch, then you can just purchase the new stamp set! I can’t wait to order mine! You can click on the flyer below to see it enlarged.
Spring Surprise Bundle (clear only): #133899 $23.95
A Round Array Stamp Set (clear only): #129090 $14.95
You can purchase this great offer at my
Stampin’ Up! website. Stock up on some cardstock too and if your order reaches $50, you will get a FREE gift through Sale-a-bration! Check out the details on
my website or feel free to email me!
Have a great day!
Tracy
by Tracy | Mar 13, 2013 | Uncategorized
Have you ever been in the situation where you have almost finished a card and you then you notice that there is a a sticky dirty-looking piece of adhesive on it??? You may have thought that you card was ruined but this somewhat overlooked tool is the answer!! It is called an Adhesive Remover (#103684 $3.50). It works just like an eraser and you can erase the unwanted mark on your card. It has saved many of my cards!! It works best with Snail Adhesive, not a tape, such as Sticky Strip. If the surface of the remover becomes gummy, simply slice off the top layer! This is definitely a crafting tool that you will want to have in your crafting toolbox.
You can find the Adhesive Remover on page 177 in the Annual Stampin’ Up! catalog, in the lower right hand corner.
Thanks for stopping by!! You can order directly from my online store by clicking here! Sale-a-bration ends in TEN DAYS!! Place your $50 order and receive free product. Contact me today for more information!
Tracy
by Tracy | Mar 11, 2013 | Big Shot
Happy Monday! I hope you had an enjoyable weekend and that you were able to adjust to the time change with Daylight Savings Time in effect. It is always difficult the first day, isn’t it? I did enjoy the fact that it didn’t get dark until later in the evening!
I spent my Sunday working on a video for today. I have a new computer AND a new editing program so it took some time trying to learn it. Thank goodness for YouTube videos as I saw some there that helped me out!! I tend to be a perfectionist but realized if I waited for this video to be perfect, I would never post it!!! So, here it is!
Last week I spotlighted the Big Shot so I wanted to make a video showing how to use the embossing folders. I LOVE my embossing folders and use them on 95% of my cards.
Have a great day!
Tracy
You can order 24/7 from my online store! Just click HERE or go to www.teacherstamper.stampinup.net
by Tracy | Mar 8, 2013 | Uncategorized
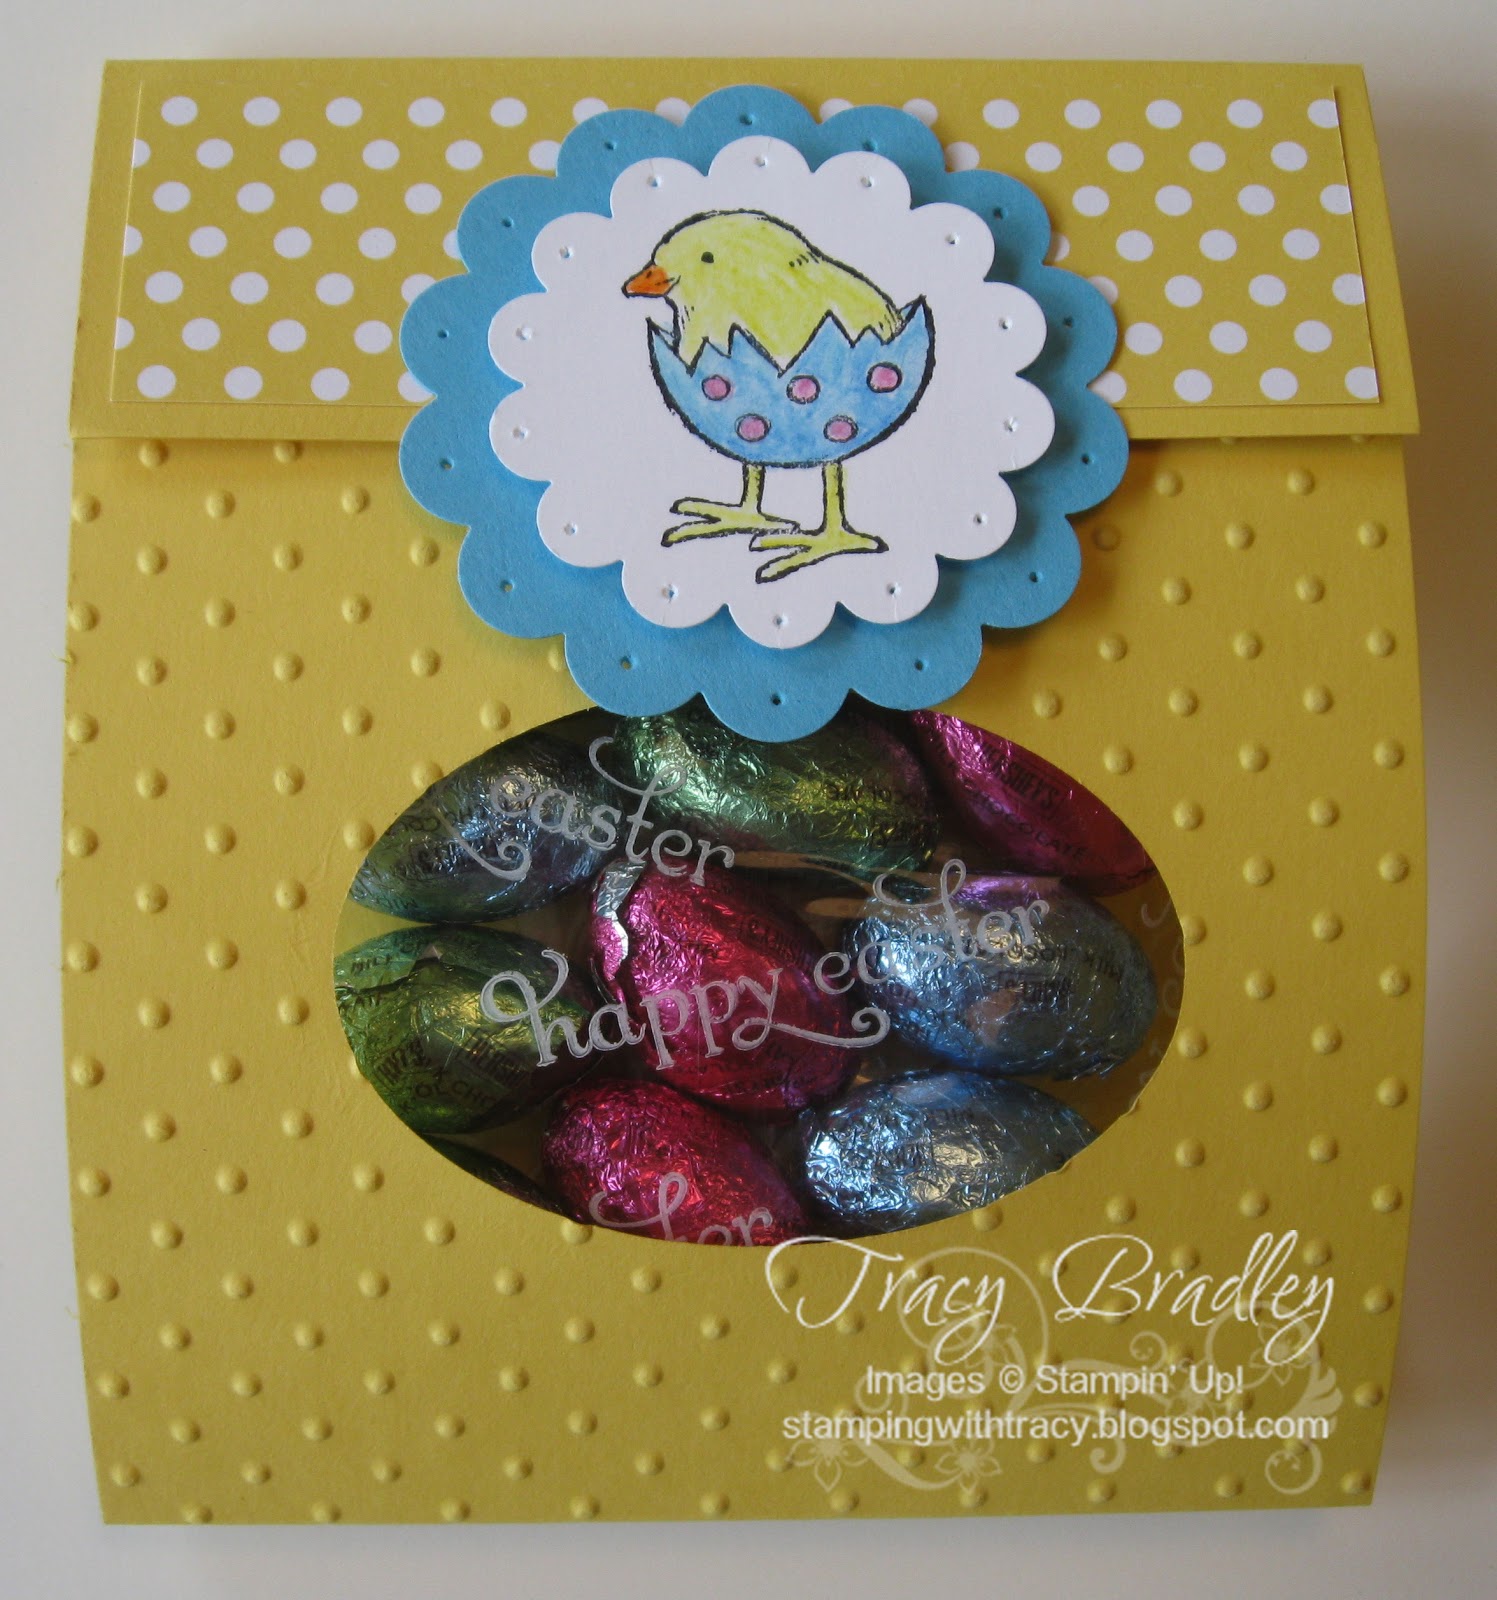
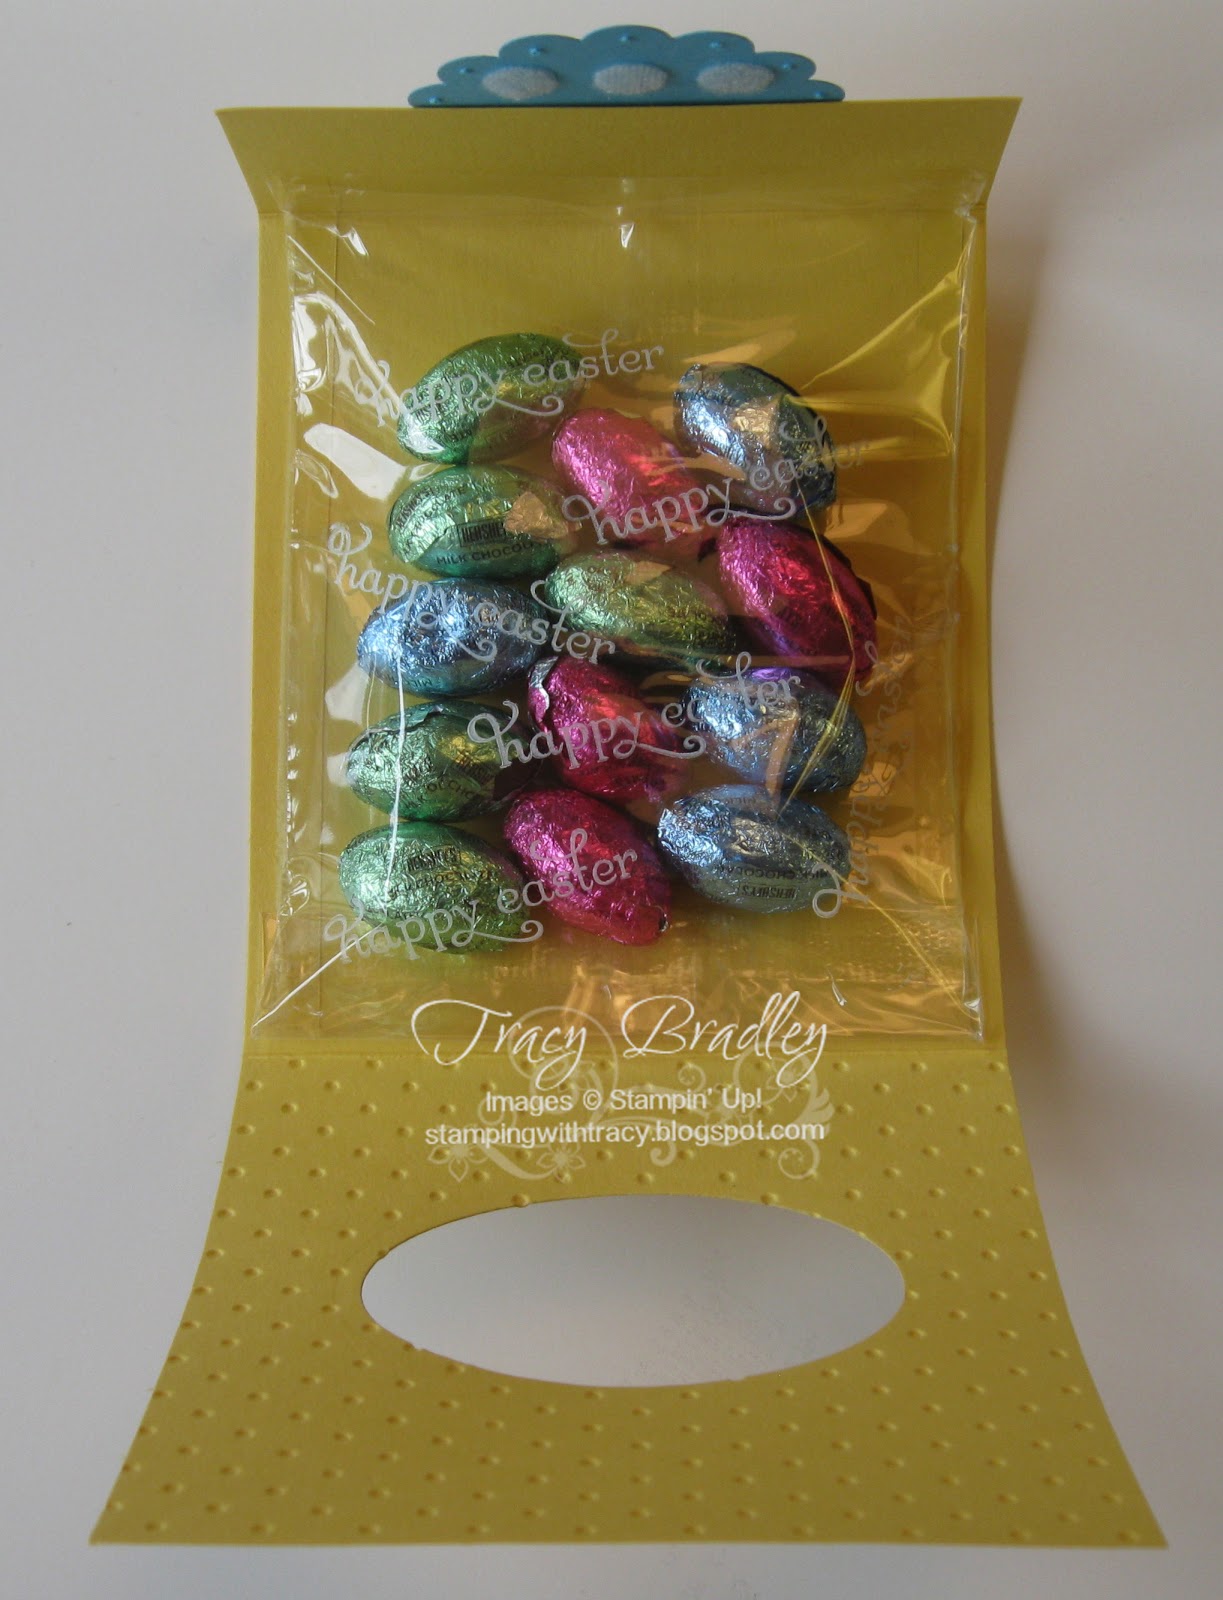
We made this cute little treat holder at my Stamp Clubs this month. I used a half sheet of 8 1/2 x 11 cardstock (4 1/2 x 11). I scored it at 1 1/2 and 6 1/2 inches. Before embossing the front, I used one of the ovals from the Ovals Collection Framelits to cut out the front. I stamped the front of the cello bag with StazOn Opaque (white). It dries pretty quickly and adds such a nice finishing touch to the project. I attached small velcro dots, which I bought at a local hardware store, to the 2 3/8 Scallop Oval. Once I shut it, the other half of the Velcro was exactly where I wanted it! The trick is to put your candy inside FIRST before you attach the velcro. I did it the other way around the first time and it wouldn’t shut properly. I hope this inspires you to give it a try!
Tracy
Supplies
Everybunny W-122705 $27.95 C-122707 $19.95
Delightful Dozen W-1222650 $32.95 C-122652 $24.95
Daffodil Delight cardstock #119683 $6.95
Tempting Turquoise cardstock #102067 $6.95
Whisper White cardstock #100730 $8.50
Blender Pens #102845 $9.95
Watercolor Pencils #101879 $19.95
Watercolor Crayons Each (four different sets): $16.95 page 157
2 3/8 Scallop Circle Punch #118874 $16.95
1 ¾ Scallop Circle Punch #119854 $16.95
Ovals Collection Framelits #129381 $26.95
Paper Piercing Tool #126189 $3.95
Paper Piercing Mat #126199 $4.95
Polka Dot Parade Designer Series Paper #126902 $10.95 Size on project: 4 x 1 ¼
StazOn Opaque (White pad and refill) #106960 $11.95
StazOn Black ink pad #101406 $7.95
4×6 Cello Bags #102757 $4.50 trimmed to 5 ½”
Sticky Strip #104294 $6.95
Perfect Polka Dots embossing folder #117335 $7.95
Velcro dots (non Stampin’ Up!
You can order any of these products from my Stampin’ Up! online store, just click HERE.