Stampin’ Up! Naturally Gilded Designer Series Paper
Demonstrators will be able to take a peek at the new Annual Catalog today at noon, Mountain Time. This catalog will go live on May 2, 2023. Later today, I will post again and let you know which colors are retiring. If you have subscribed to my blog, you will NOT get a notice that I’ve written a post. Notifications go out at 8:00 am Pacific each morning so any post I write after eight in the morning, goes out the following day to my post notification subscribers. You’ll have to come back here later today to check my blog post.
I am currently at my mom’s as she’s having surgery this Friday. My blog posts may be sporadic for the next week or so. I’m trying to schedule my posts ahead of time but it may not happen. Thanks for your understanding.
UPDATE: All the Mystery Boxes are Gone! I will have more in the near future! Update on Mystery Boxes: I have one box left. PLEASE contact me if you’d like one before placing your order so you aren’t disappointed that I don’t have one for you. Please see THIS POST for the all the information about my Mystery Boxes, including the host code.
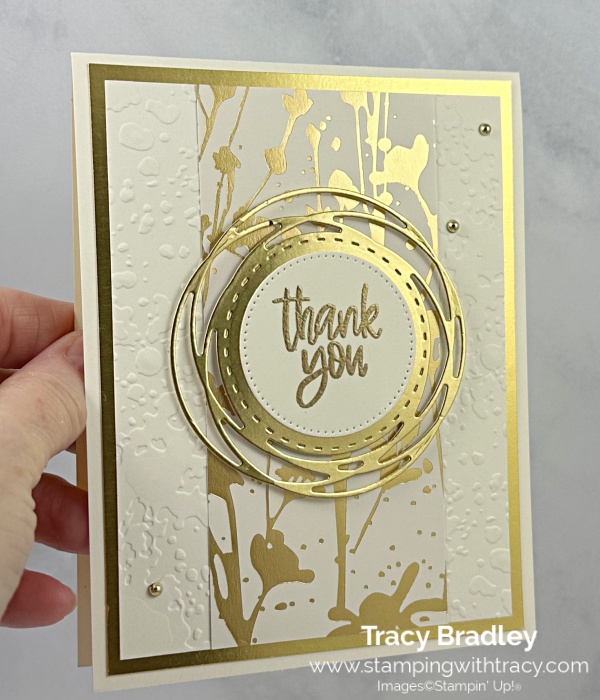
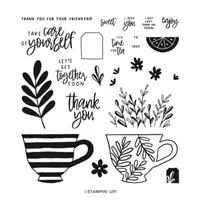
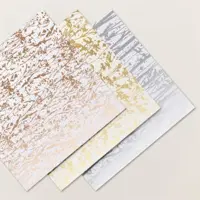
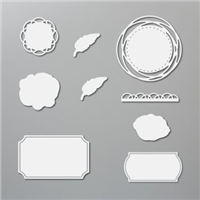
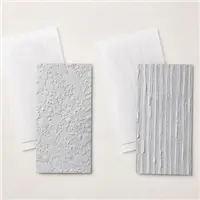
Today’s card was made using an Online Exclusive Specialty Designer Series Paper called Naturally Gilded. I also used the Painted Labels Dies, Stylish Shapes Dies, Cup of Tea stamp set and one of the Stripes & Splatters Embossing Folders.
I started with a piece of Thick Very Vanilla cardstock for the base of my card. Then I cut a piece of Gold Foil and adhered it to the base of the card. I took a piece of Very Vanilla cardstock and ran it through the Stampin’ Cut & Emboss Machine using one of the Stripes & Splatters Embossing Folders. Because this is a smaller embossing folder, I had to run it through the machine twice.
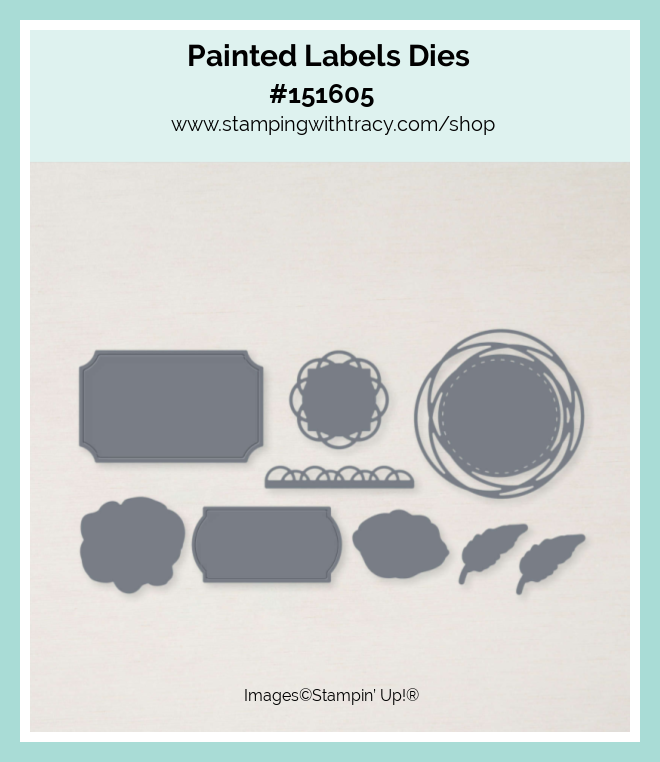
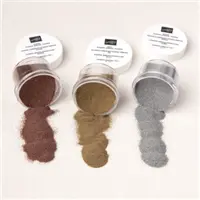
I cut a piece of Naturally Gilded Designer Series Paper and adhered it to the embossed Very Vanilla and then adhered that piece to the Gold Foil. I then embossed the sentiment using the stamp set, Cup of Tea, Versamark and Gold Embossing Powder (if you haven’t embossed before, I’ve included directions below). Embossing anything on a card always adds a bit of elegance to it, don’t you think? I used the Stylish Shapes Dies to cut the sentiment out. Next, I used the Painted Labels Dies to cut the decorative circle out of Gold Foil and then adhered the sentiment to it. I added Stampin’ Dimensionals to the back and adhered it to the front of the card.
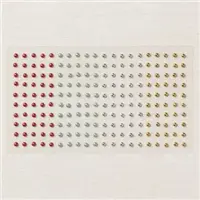
To complete my card, I added three gold Festive Pearls to the front of the card.
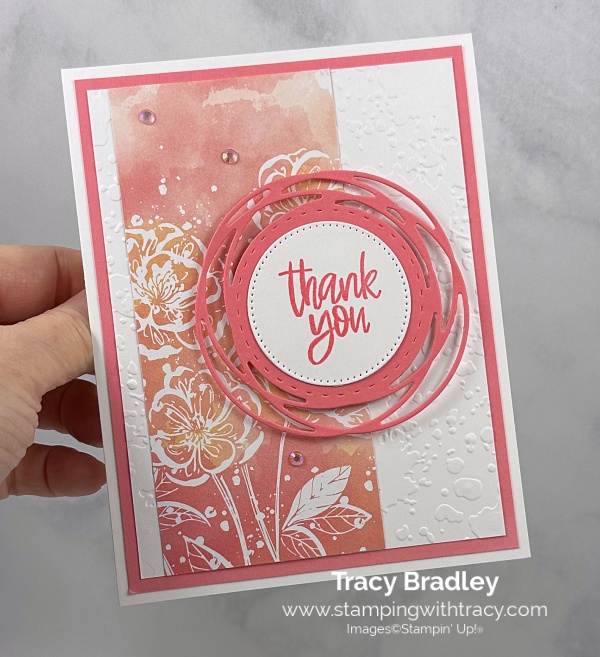
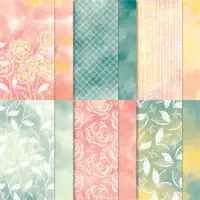
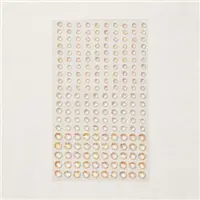
Here’s another version of the card using Hello, Irresistible Designer Series Paper. I didn’t want to cover up the design on the paper so I moved the panel of Designer Series Paper over to the left. I used Flirty Flamingo cardstock, Flirty Flamingo ink and Iridescent Rhinestone Basic Jewels.
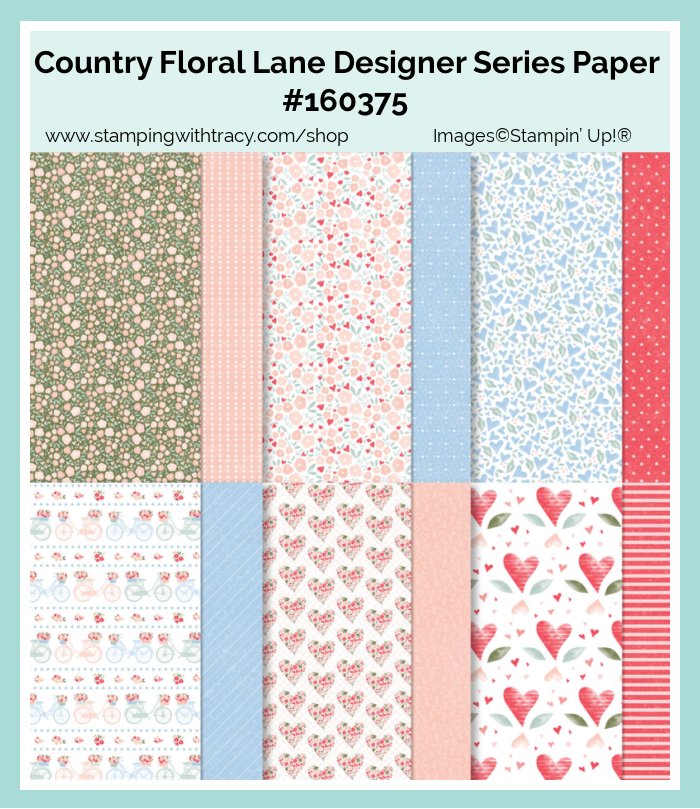
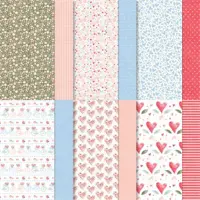
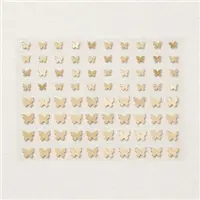
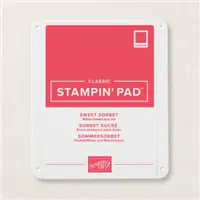
Here’s another version using Country Floral Lane Designer Series Paper, Petal Pink cardstock, Sweet Sorbet ink and Brushed Brass Butterflies.
How to Heat Emboss
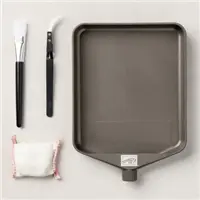
Prepare your cardstock by rubbing the Embossing Buddy (an anti-static pouch that can be found in the Embossing Additions Tool Kit) over the surface of the paper as it helps keep away stray particles of embossing powder. Stamp your sentiment or image using a Versamark pad. This is very sticky ink and your embossing powder will stick right to it. Sprinkle embossing powder over the stamped image and then shake off any excess. Before applying heat to your paper, heat the Heat Tool first so your paper won’t warp (about 10 seconds). Direct the heat over your image and watch as your image becomes shiny and beautiful!
Supply List
Price: $10.00
Price: $12.50
Price: $12.00
Measurements
These measurements and colors pertain to the first card. All the measurements are the same for all three cards.
- Thick Very Vanilla cardstock: 11″ x 4-1/4″
- Very Vanilla cardstock (embossed): 5″ x 3-3/4″
- Very Vanilla cardstock (sentiment): approx. 2-1/4″ x 2-1/4″
- Gold Foil Sheet: 5-1/4″ x 4″
- Gold Foil Sheet (decorative circle): approx. 3-1/4″ x 3-1/4″
- Naturally Gilded Designer Series Paper: 5″ x 2-1/4″
Request an Annual Catalog
If you aren’t a current customer of mine, place an order at my Stampin’ Up! online store and then fill out the 2023-2024 Annual Catalog Request Form here.
If you don’t want to place an order but would like a catalog, I can send you a PayPal invoice. Simply send me an email (click the “Email Me” button on the sidebar) with your name and address. The PayPal invoice will be sent in early April when I know the cost of the catalog and postage.
I’ve had a few forms filled out by people who are not current customers of mine. Unfortunately, I will not be able to honor those requests. Complimentary copies of the catalog are a perk for those that order from me. Thanks for your understanding!
Host Code
Not sure how to use a host code? Click here!
Stampin’ Up! Colorful Kaleidoscope Kit
All the Little Things Paper Pumpkin Kit
When you subscribe to this month’s kit, you’ll get a FREE box organizer! The organizer can be customized to different sizes of compartments, depending on what you want to store. It’s a great way to keep track of products from past kits. Subscribe today to get the April kit and the free box organizer!
This kit includes:
- 9 cards, 3 each of 3 designs, and 9 coordinating envelopes.
- 1 photopolymer stamp set with celebratory sentiments.
- 1 Shaded Spruce Stampin’ Spot.
- Precut cherry blossom paper pieces with iridescent foil.
- Unique embellishments and twine.
- Adhesives to complete the projects.
- Final card size: 5-1/2” x 4-1/4”
- Coordinating Stampin’ Up! colors: Balmy Blue, Basic Black, Calypso Coral, Granny Apple Green, Petal Pink, Poppy Parade, Shaded Spruce.
- FREE box organizer
Order must be placed by April, 10, 2023
You can cancel at any time or even skip a month
Click here to order this month’s Paper Pumpkin kit!
Online Exclusives
Click here for a flyer of all the New Online Exclusives
Click here to shop the Online Exclusives
Enjoy your day!


