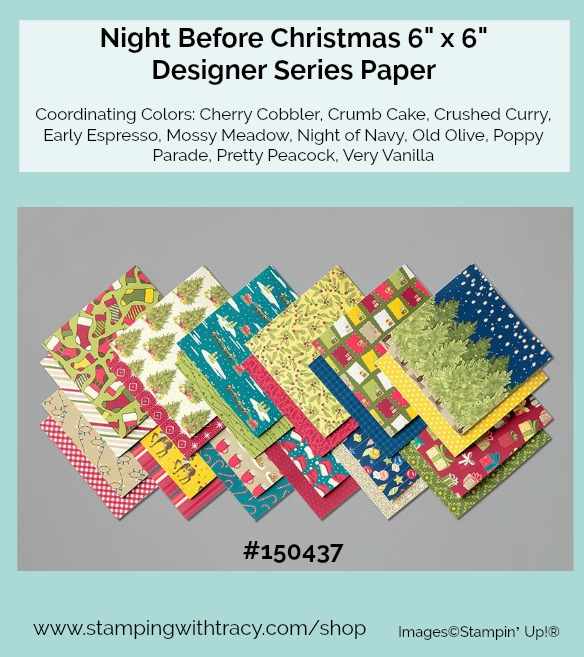
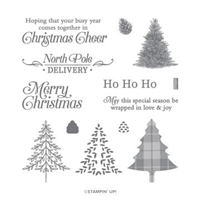
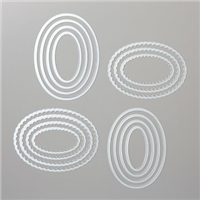
Yesterday’s card featured paper from Night Before Christmas 6″ x 6″ Designer Series Paper and today my card showcases another design from this pack of paper along with the Stitched Nested Labels Dies.
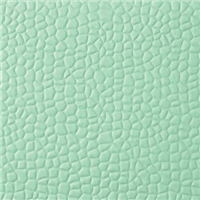
Because I find it difficult leaving a prominent piece of cardstock plain, I used my very favorite embossing folder of the season, Hammered Metal. After running the Crushed Curry cardstock and embossing folder through my die-cutting machine, I wrapped our 3/8″ Metallic-Edge Gold Ribbon around the cardstock and then placed Stampin’ Dimensionals on the back and attached it to my card base of Crushed Curry.
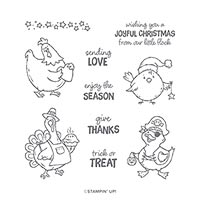
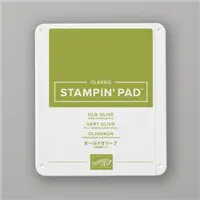
I stamped the sentiment in Old Olive onto Very Vanilla cardstock using the Birds of a Feather stamp set. Then I cut it out using the Stitched Nested Labels Dies
If you’d like to make today’s card, you’ll find the supply list below which includes all the Stampin’ Up! products I used. All the measurements can be found below as well.
Supply List
If you need any stamping supplies, I’d love to be your demonstrator! You can place an order by clicking any of the images below to go to the homepage of my Stampin’ Up! online store.If you have questions about products you’re considering purchasing or ones you’ve already purchased, I’m just an email away (click the Email Me button on the sidebar of my blog).
Night Before Christmas Designer Series Paper: 5-1/4″ x 2′
Very Vanilla cardstock: scrap for stitched shape
Card Kits
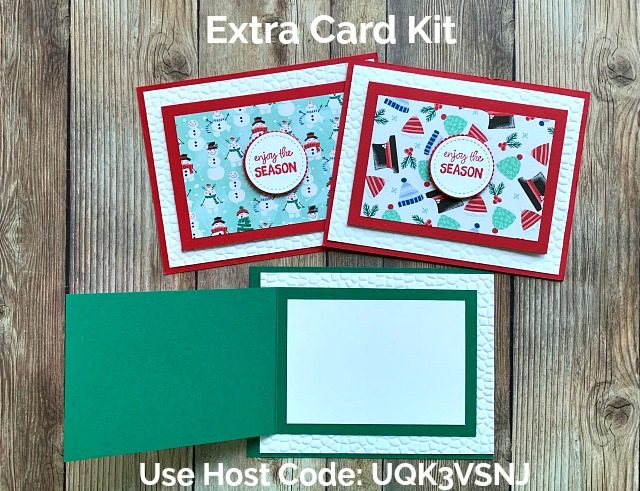
My current card kits are a Fun Fold, as pictured below, but use a variety of holiday papers from the Stampin’ Up! Holiday Catalog (the samples were made using Let It Snow Designer Series Paper). Use the host code UQK3VSNJ and you’ll receive an extra card kit in your thank you package. Click here to place an order!
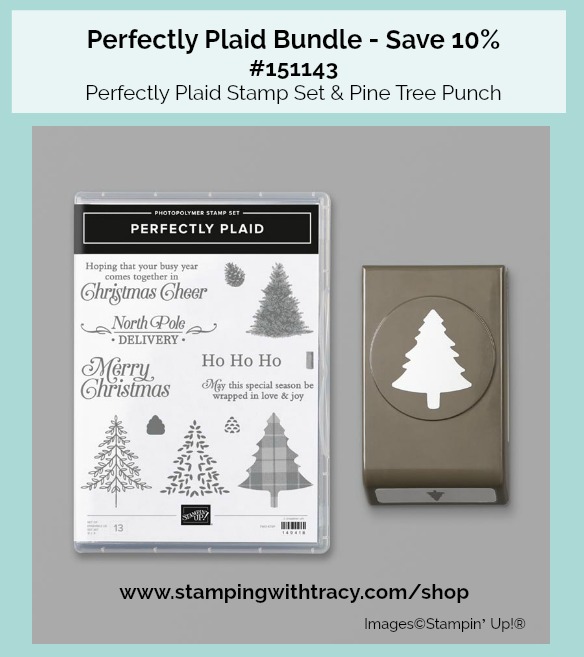
Today’s card features the Stampin’ Up! Perfectly Plaid stamp set and Night Before Christmas Designer Series Paper. I also used the Subtle Embossing Folder for just a touch of dimension on the Very Vanilla cardstock. Normally I’d use Stampin’ Dimensionals on both the sentiment and the Designer Series Paper rectangle piece but for this card, I only used them on the sentiment.
Below I have another version of the card using Cherry Cobbler underneath the Designer Series Paper instead of Night of Navy and I DID use Stampin’ Dimensionals to pop the piece up.
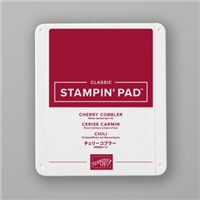
The sentiment was stamped in Cherry Cobbler ink and cut out using the Stitched Shapes Dies. I love the detail of the stitching! The oval underneath was cut out using the Layering Ovals Dies.
If you’d like to make today’s card, you’ll find the measurements I used below the Supply List. I have to give credit for this layout to Amy Frillicii over at Gathering Inkspiration.
Bundle Alert – Save 10%
Supply List
If you need any stamping supplies, I’d love to be your demonstrator! You can place an order by clicking any of the images below to go to the homepage of my Stampin’ Up! online store.If you have questions about products you’re considering purchasing or ones you’ve already purchased, I’m just an email away (click the Email Me button on the sidebar of my blog).
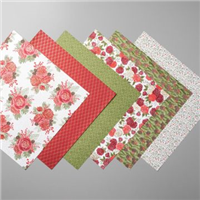
Last Friday the Christmastime Is Here suite of products debuted. There are so many products to choose from: a stamp set, dies, Designer Series Paper, Gold Enamel Dots, Shimmer Ribbon and a bracelet! My card today uses three products from the suite:
Christmastime Is Here Designer Series Paper
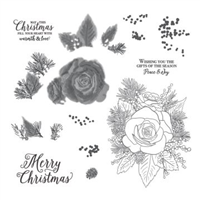
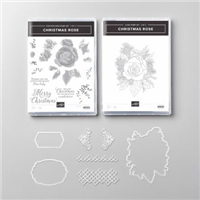
Christmas Rose Stamp Set
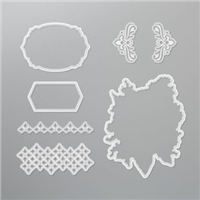
Roses Dies
I’ll bet you are thinking I colored in the beautiful rose. Guess what? It’s Designer Series Paper! And to make it even better, I used a die in the Roses Dies to cut it out (see the die below). How easy is that for making a quick and easy card?!!
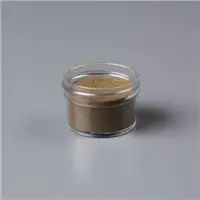
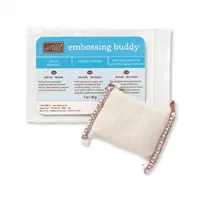
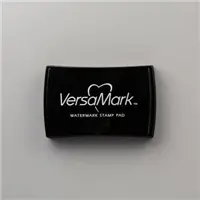
Since the rose is outlined in gold, I decided to emboss my sentiment using the Christmas Rose stamp set. Embossing always kicks your card up a notch because it’s so elegant looking! If you haven’t tried embossing, you really should. It couldn’t be easier! Before embossing, rub the Embossing Buddy (all these products are in my supply list below) over your paper. This little tool picks up stray particles on your paper. Then stamp your image using Versamark ink which is very sticky. Then, sprinkle your embossing powder over the sentiment and shake off the excess. Now, grab your heat tool – let it warm up a bit to prevent your paper from curling – and direct it towards the powder. Watch the magic happen! If you haven’t tried it before, you need to! You’ll love the results!
Christmas Rose Stamp Set #152431 $38.00
The base of my card is Cherry Cobbler. The next layer is Whisper White which I ran through my die-cutting machine using the Subtle Embossing Folder. After using the Roses Dies to cut out the rose, I added Stampin’ Dimensionals to the back and placed it on the card. The sentiment is also popped up with dimensionals.
Supply List
If you need any stamping supplies, I’d love to be your demonstrator! You can place an order by clicking any of the images below to go to the homepage of my Stampin’ Up! online store.If you have questions about products you’re considering purchasing or ones you’ve already purchased, I’m just an email away (click the Email Me button on the sidebar of my blog).
It’s time for the Glitter Queens Blog Hop! Our theme this month is Layer Up! I hope you’ll visit all the Glitter Queens participating in the hop!
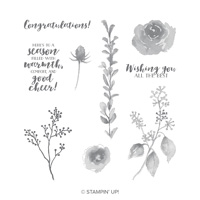
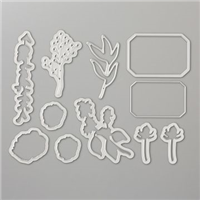
I actually have two cards to share with you today! They both use the stamp set First Frost and the coordinating dies, Frosted Bouquet. The sentiment, roses and greenery were stamped with images from the stamp set and then cut out with the dies. The silver foil sprigs were also cut out using the dies as well as the Shaded Spruce piece behind the sentiment.
I ran my Whisper White layer through my die-cutting machine using the Hammered Metal 3D Embossing Folder to add some extra dimension to my card. Three rhinestones were added for some extra added bling!
My next card uses some non-traditional colors of Purple Posy and Highland Heather. I made a few subtle changes such as only adding two roses to this one, I omitted the greenery and used larger rhinestones. In real life, both cards have so much sparkle!!
You can find both the stamp set, First Frost, and the Frosted Bouquet Dies in the Annual Catalog. For more information about any of the products I used, click the images in the supply list below!
Supply List
If you need any stamping supplies, I’d love to be your demonstrator! You can place an order by clicking any of the images below to go to the homepage of my Stampin’ Up! online store.If you have questions about products you’re considering purchasing or ones you’ve already purchased, I’m just an email away (click the Email Me button on the sidebar of my blog).
I hope you’ll continue around the hop and visit all the Glitter Queens participating this month. Dee Slater is up next and I know you’ll love her project!
Today only, I’m giving double Bradley Points! Place a minimum $50 order (before tax/shipping) at my Stampin’ Up! online store, and you start earning Bradley Points, except today you’ll receive double Bradley Points.
How Do Bradley Points Work?
Once you’ve collected 8 points you’ll be able to redeem them for a free stamp set or set of dies valued at $39.00 or less!
You’ll earn 1 point for every $50 increment in Stampin’ Up! product you order (before shipping/tax). For example, an order of $49.99 would not receive a point. An order of $101.00, would receive 2 points. Separate orders cannot be combined. (Today only, you’ll receive double points)!
All orders must be placed with me, either in person or online. For online orders, look for my name in the upper right hand corner of the shopping page.
From time to time I have a host code. Please do not use it if your order is $150 or above. Orders $150 and above receive Host Rewards directly from Stampin’ Up! to redeem for free product! When you add a host code, the system will not prompt you to enter in your freebies! Orders over $150 will still earn Bradley Points!
Clearance Rack items can be included in your order as well as any other products currently on sale.
When you receive your thank you package from me, I’ll let you know how many points you earned. When you reach 8 points, you will have earned your free stamp set or dies and I’ll contact you.
Host items and Bundles are not available as your free items.
Life has been very busy in the Bradley house and I haven’t been able to get into my craft room. I’m anxious to get my hands on my dies, stamps and ink later today and start creating! In the meantime, I have three Stampin’ Up! videos for you to enjoy! All of the products mentioned will be listed in the Supply List towards the end of the post.
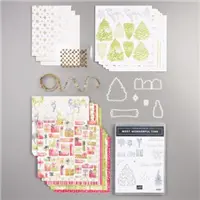
The first video is for our Most Wonderful Time Product Medley. With just one item number, you’ll receive all the products shown in the video.
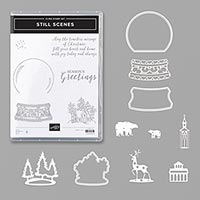
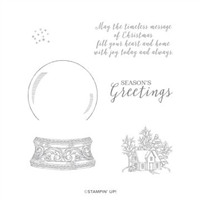
If you love snow globes, you’re going to love this next video which features the Still Scenes Bundle.
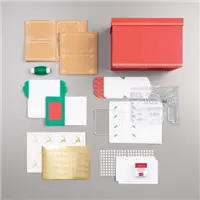
Do you love making tags for your gifts? If you answered yes, I think you’re going to enjoy this next video which showcases the Joy of Giving Tag Kit!