Last week I posted THIS card and I mentioned that I had made a few more using the same basic layout. The same pack of paper, Cupcakes & Carousels, was used to create all of them. Here they are!
This last one is the same as the first one except that I added rhinestones to the butterfly. It seemed a bit naked to me!
On the fourth card, I did some embossing on black paper for the sentiment but with all the others I used a combination of the Stitched Shapes Framelits and the Layering Ovals Framelits Dies. I used Glue Dots that I rolled up into balls and placed them down the center of each butterfly to adhere it to my card front.
If you’d like the measurements that I used, you can refer to the card from last week. Click HERE and scroll down to the bottom of the post. You’ll also see how I cut the DSP so that I had enough for my card front, butterfly and a strip for the inside the card.
All the supplies used to create these cards are Stampin’ Up! They are shown below along with their item number and price. When you click on the picture, you’ll be taken to that item in my Stampin’ Up! online store. From there it’s easy to add it to your cart. Choose a FREE item from the Sale-A-Bration Catalog for every $50 you spend. Click HERE and HERE to take a look at the Sale-a-bration catalogs.
For those of you who receive updates via email, you saw a post come through a few minutes ago but I hadn’t finished it! I accidentally hit PUBLISH instead of SAVE. I was writing it early so that it would post on Monday but it looks like it is going out today!! Here’s the finished version! I’m sorry for any confusion I might I have caused.
Today I’m sharing a Gate Fold birthday card that fits nicely inside one of our Whisper White envelopes.
To make this fold, start out with a piece of cardstock that measures 8-1/2” x 4-1/4”. Score at 2-1/8” on the long side and again at 2-1/8” on the opposite side and fold on the score lines.
Attach Stampin’ Dimensionals to the LEFT side of the scalloped piece and attach it to the left panel on the front of the card being careful that your dimensionals are hidden.
Measurements
Card base: 8-1/2” x 4-1/4”. Score at 2-1/8” on the long side and again at 2-1/8” on the opposite side.
Designer Series Paper: Two pieces cut @ 1-7/8” x 4”.
Whisper White cardstock:
3-1/4” x 3-1/4” scalloped piece: run it through the Big Shot using the Layering Squares Framelits
2-3/8” x 2-3/8” for the sentiment; if you have the Layering Squares Framelits to cut this piece, start with a piece that measures 2 ½” x 2 ½”).
4″ x 4″ for inside the card
Coordinating cardstock: 2-5/8” x 2-5/8” ; if you have the Layering Squares Framelits to cut this piece, start with a piece that measures 2 ¾” x 2 ¾”)
All the supplies used to create this card are Stampin’ Up! They are shown below along with their item number and price. When you click on the picture, you’ll be taken to that item in my Stampin’ Up! online store. From there it’s easy to add it to your cart. Choose a FREE item from the Sale-A-Bration Catalog for every $50 you spend.
I love buying pretty paper but sometimes it sits around and I don’t use it! Has that ever happened to you? The other day I pulled out my Cupcakes & Carousels DSP Stack and came up with this card! In fact I created several more cards with this paper but I’ll share those next week.
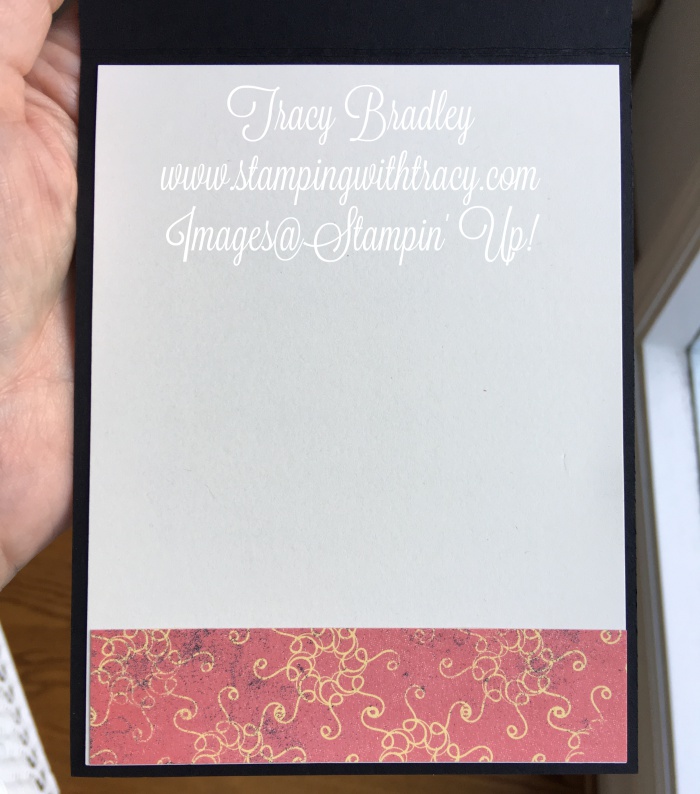
This particular paper comes with 40 sheets that are each 6″ x 6″. The picture below is another design in the stack but I wanted to show you that you can use the entire sheet for the base of your card, the butterfly AND to decorate the inside!
Go grab some of your paper and give this a try! If you do, email me as I’d love to see what you’ve created! All of the supplies I used to create my card can be found below in the Product List. If you have any questions, don’t hesitate to ask!
Measurements
Base of Card: Basic Black 11″ x 4-1/4″
Very Vanilla: 4″ x 5-1/4″ (2 pieces: one for the front of the card and one for the inside); sentiment 3/4″ x 2-3/4″
Designer Series Paper: 3-3/4″ x 5″ for the front of the card; 1″ x 4″ for inside of the card; scrap for the butterfly
Product List : All the supplies used to create this card are Stampin’ Up! They are shown below along with their item number and price. When you click on the picture, you’ll be taken to that item in my Stampin’ Up! online store. From there it’s easy to add it to your cart. Choose a FREE item from the Sale-A-Bration Catalog for every $50 you spend!
Click HERE and HERE to see what you can earn for FREE from the Sale-a-bration catalogs! Sale-a-bration ends on March 31st! For every $50 in product that you purchase (before tax/shipping), you can earn FREE gifts!
Click hereto place your order! Use the March host code and receive a gift from me with your thank you card!
Today I’m sharing a card I sent off to a friend last week!
I think blue and green combined is so pretty and was really pleased how nicely Pacific Point and Emerald Envy blended together. Here’s how to create the watercolor look:
Tape your watercolor paper down with blue painter’s tape. I use a thin wooded board. You want to do this to help with warping.
Tap each stamp pad onto a clear block. This is where you’ll pick up your color.
Wet your watercolor paper completely with an oval wash paintbrush or an Aqua Painter. You don’t want to add too much water! You’ll have to play around to figure out how much to use.
Grab your Aqua Painter and squeeze a little bit of water out of the barrel so that the tip is damp. Pick up color from the clear block and drop it onto your paper. The water that you added in step #3 will make the ink spread around your paper. Keep adding color. It will usually look completely different when it’s dried so if you aren’t happy with the results, wait until it has thoroughly dried. Trust me!
Once it’s completely dried, add more color if you want.
The next step is to add your sentiment. Be sure to use an anti-static tool such as the Stampin’ Up! Embossing Buddy and rub it across the entire surface of your paper. This helps prevent embossing powder from sticking to your paper where you don’t want it.
Use Versamark to stamp your image, pour embossing powder over it and watch the magic happen as you heat it up with the heat tool.
I hope you’ll give this a try and if you do, I’d love to see what you create!
Product List – Here’s the list of all the Stampin’ Up! products I used. The stamp set is a FREE Sale-a-bration gift with a $50 order!
Ready to place an order? Click on any of the products above and you’ll be taken to my Stampin’ Up! online store. If you have any questions at all, feel free to contact me!
Sale-a-bration ends at the end of the month!! There’s still lots of time to get free product for every $50 you spend! Both Sale-a-bration catalogs can be found on the right hand side of my blog. Click the catalogs to see what you can get for FREE!
March Host Code: UAWUUQG4
Use this code when placing your online order and receive a gift from me with your thank you card!
We’ve just entered the final month of Sale-A-Bration! So many items to choose from for every $50 you spend. One of the new stamp sets, Make a Medallion, just became available on February 21st. Enjoy the video below for some tips and tricks and card ideas using this fun set!
If you’re reading this post in an email, many times the video doesn’t show up, so please click here to view the video over on the Stampin’ Up! YouTube channel.
Click here to take a look inside the Sale-a-bration catalog!
Click here to take a look at the items that became available on February 21st.
If you’re ready to place an order, click here to head on over to my Stampin’ Up! online store! Be sure to use the host code for March for an extra gift from me!
I wanted to post a quick note to those of you who receive updates via email when I post to my blog. I want to apologize for two broken links when you tried to view the videos in several recent blog posts. I tried something new and it obviously didn’t work! Back to the drawing board!
A quick fix – if you click on the title of the blog post in the body of the email, it will take you directly to my blog post where you’ll be able to see the video.
I’m sorry for the inconvenience. I hope you have a terrific day!
Today I’d like to share a Stampin’ Up! video showcasing the FREE Sale-a-bration stamp set, Designer Tee. It coordinates with the Custom Tee stamp set and the T-shirt Builder Framelits Dies (sold separately or as a bundle) in the Occasions catalog but it can definitely be used on its own, as you’ll see in the video.
If you are reading this in an email, please click here to view the video.
This stamp set can’t be purchased but you can earn it FREE with a $50 order, before shipping and tax. Place a $100 and choose 2 free gifts. Click here and here to see all of your choices!
Product List Below you’ll find all of the products mentioned in the video. Click on any of the pictures and you’ll head over to my Stampin’ Up! online store.
There’s just something about lots of sparkle that makes me smile! One of the new Sale-A-Bration items that just became available on Tuesday, is the Glimmer Paper Assortment Pack. Enjoy the video below from Stampin’ Up! showcasing this pretty paper!
If you’re reading this in an email, click here to view the video.
This paper is absolutely FREE with a $50 order! Click here to head on over to my Stampin’ Up! online store! Use the host code below when placing your order and receive a gift from me!
Sale-a-bration just got even better! Three new items are NOW available! Personally, I can’t wait to get my hands on the glimmer paper!! For every $50 purchase, you can choose a Sale-a-bration gift! There’s no limit!
Is it just me or do you find coloring relaxing? I think the love of coloring is something that we just don’t outgrow so I was really excited when Stampin’ Up! announced that one of the free Sale-a-bration gifts this year would be 12″ x 12″ coloring sheets! Take a look at the video below for some great ideas using this fun paper!
If you are reading this in an email, please click here to watch the video!
You can earn this paper for free with a qualifying order of $50 before shipping and handling. Ready to place an order? Click hereto shop online 24/7 at my Stampin’ Up! online store.
Three more items will be available starting tomorrow!
Click here to see what’s available for FREE today!
Use the host code when placing your online order and receive a gift from me!
If you didn’t think Sale-A-Bration could get any better, just wait! On Tuesday, February 21st, there will be three brand new Sale-A-Bration gifts to choose from!
Place a $50 order (before shipping and tax) and choose an item from the Sale-A-Bration catalog! On Tuesday, you’ll have three more options!
And here are a few samples!
Click HERE to head on over to my Stampin’ Up! online store!
I have another card using the Sale-A-Bration stamp set, So Very Much (you can get it absolutely FREE with a $50 purchase). I posted the card below in early January and both cards use the gorgeous Stampin’ Up! Moroccan Designer Series Paper. This paper makes it so easy to make a quick, but cute card! The DSP and sentiment do all the work!
#141645 $11.00
It is extremely hard to see the pattern of the paper I used in today’s card from the picture above but it is the one that looks like solid green but if you look closely, you can see the pattern.
Measurements
Dapper Denim card base: 11″ x 4-1/4″ score @ 5-1/2″
Dapper Denim: 3-3/8″ x 4-3/8″
DSP: 5-1/4″ x 4″
Whisper White: 4″ x 3-1/8″
All the supplies used to create this card are Stampin’ Up! They are shown below along with their item number and price. When you click on the picture, you’ll be taken to that item in my Stampin’ Up! online store. From there it’s easy to add it to your cart.
Choose a FREE item from the Sale-A-Bration Catalog for every $50 you spend before tax and shipping until March 31, 2017.