
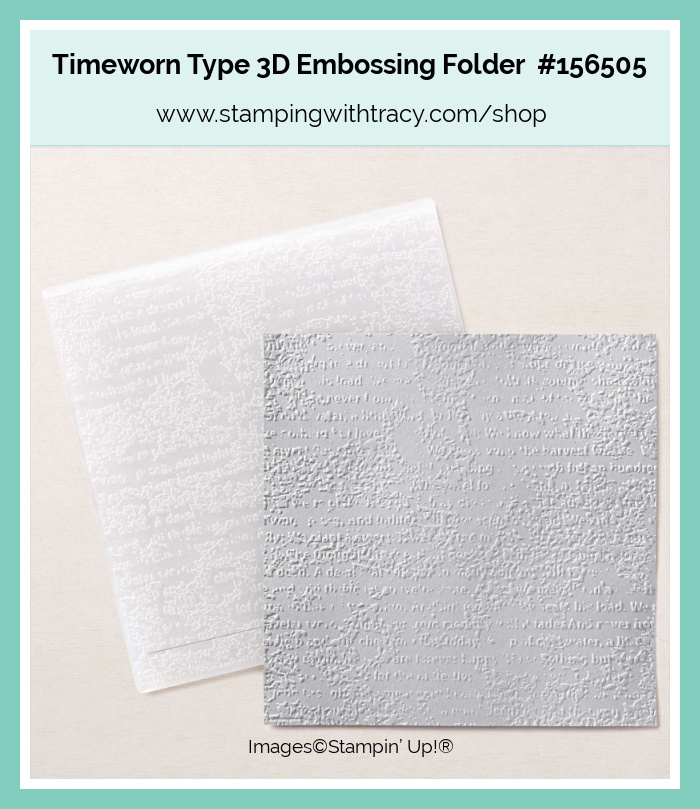
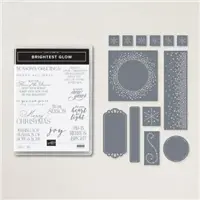
Today’s card features the Brightest Glow Bundle which includes the Brightest Glow stamp set and the Labels Aglow Dies. I also used Lights Aglow Designer Series Paper and the Timeworn Type 3D Embossing Folder.


I started with a piece of Thick Basic White cardstock and then added a layer of Basic White cardstock that I ran through the Stampin’ Cut & Emboss Machine using the Timeworn Type 3D Embossing Folder before adding it to the card front. Normally I cut this piece of Basic White down a little bit but I cut it to cover the entire front (you can find the measurements I used below the Supply List).
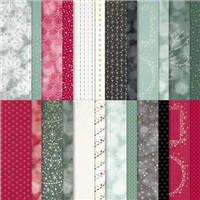
Next, I cut a piece of Real Red cardstock and layered it with a piece of Lights Aglow Designer Series Paper. Then, I adhered it to the front of the card.


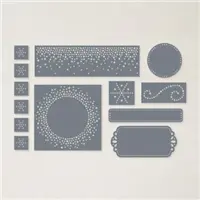
Next, I cut a piece of Real Red cardstock and ran it through the Stampin’ Cut & Emboss Machine using the Labels Aglow Dies. Then I cut a smaller piece of Gold Foil and adhered it to the back of the Real Red cardstock so the pretty gold foil would show through the holes. I added Stampin’ Dimensionals to the back and adhered it to the card front.

I embossed the sentiment in gold onto Basic White cardstock using Versamark ink and the Brightest Glow stamp set (I have directions for heat embossing below). I cut it out using the Labels Aglow Dies, added Stampin’ Dimensionals to the back and adhered it to the front of the card.

To complete my card, I added three Festive Pearls to the front of the card. The Festive Pearls are currently out of stock but are estimated to be back in stock the week of November 21st.
How To Heat Emboss
Prepare your cardstock by rubbing the Embossing Buddy (an anti-static pouch that can be found in the Embossing Additions Tool Kit) over the surface of the paper as it helps keep away stray particles of embossing powder. Stamp your sentiment or image using a Versamark pad. This is very sticky ink and your embossing powder will stick right to it. Sprinkle embossing powder over the stamped image and then shake off any excess. Before applying heat to your paper, heat the Heat Tool first so your paper won’t warp (about 10 seconds). Direct the heat over your image and watch as your image becomes shiny and beautiful!
Supply List
Below you’ll find all the Stampin’ Up! supplies I used for today’s card. If you need any stamping supplies, I’d love to be your demonstrator! You can place an order by clicking any of the images below to go to my Stampin’ Up! online store.


Price: $15.00


Measurements
- Thick Basic White cardstock: 11″ x 4-1/4″ score @ 5-1/2″
- Basic White cardstock (embossed): 5-1/2″ x 4-1/4″
- Basic White cardstock (sentiment): approx. 2″ x 2″
- Real Red cardstock: 5-1/4″ x 2-1/4″
- Real Red cardstock: 3-1/2″ x 3-1/2″
- Lights Aglow Designer Series Paper: 5″ x 2″
- Gold Foil: 3-1/4″ x 3-1/4″
Paper Pumpkin Sale for Current Subscribers

Last Day to Order From the North Pole Paper Pumpkin Kit
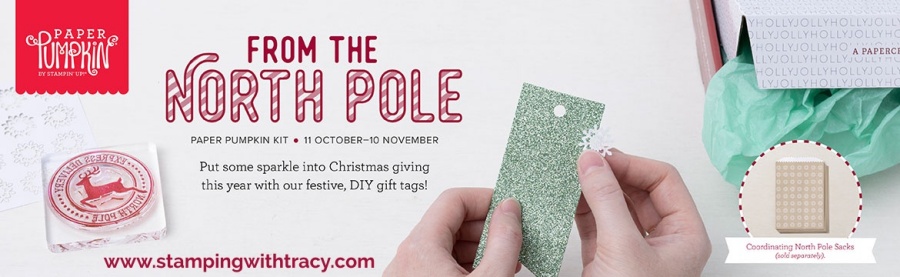
From the North Pole Paper Pumpkin Kit
- This month’s kit contains enough elements to create 12 tags—4 each of 3 designs. This all-inclusive kit includes printed die-cut paper pieces, twine, adhesive, and more!
- Includes a Cherry Cobbler Classic Stampin’ Spot!
- You’ll love decorating your gift tags with snowflake and banner die-cut pieces on our Mint Macaron glitter specialty paper (a Paper Pumpkin exclusive).
- Create festive gift tags for all your packaging needs this holiday season with classic Christmas colors and designs.
Finished gift tag size: 2″ x 3″
Coordinating Stampin’ Up! colors: Basic Black, Cherry Cobbler, Crumb Cake, Mint Macaron, Shaded Spruce, Sweet Sorbet
Order must be placed by TODAY, November 10, 2022
You can cancel at any time or even skip a month
Click here to order the From the North Pole Paper Pumpkin Kit
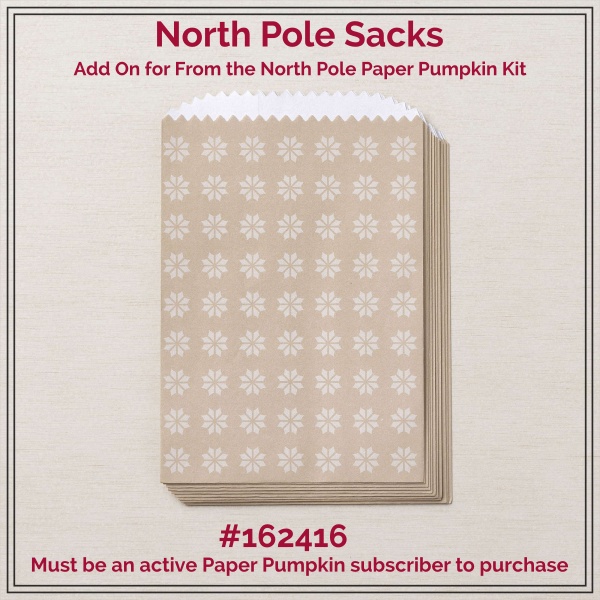
North Pole Sacks Add-On
Item Number: 162416
Item Price: $4.00 On Sale $2.00
Add-on details:
- Includes 12 food-safe paper bags
- Create fun packaging for your seasonal gifts and treats
- Features a festive design in Crumb Cake
- Bag size: 4″ x 6″
Click here to order the North Pole Sacks
Fitting Florets Collection

Thanks for stopping by today!


