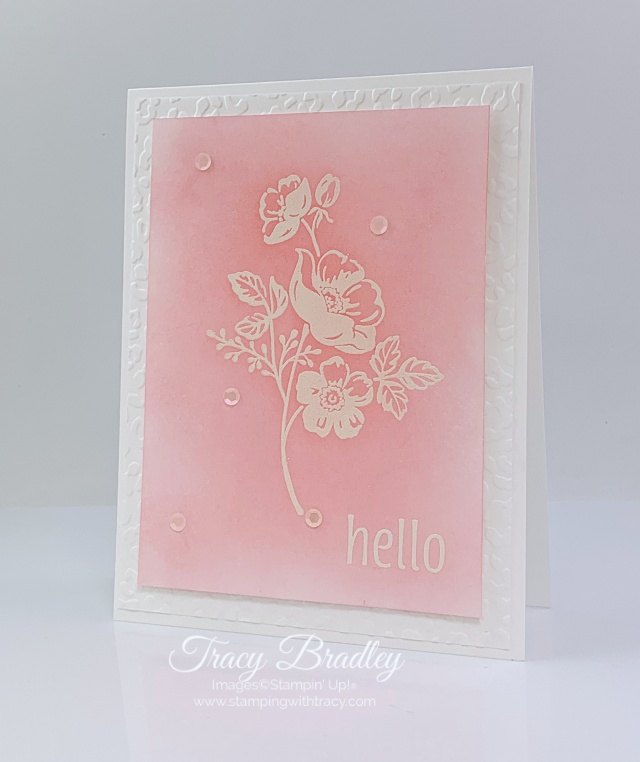
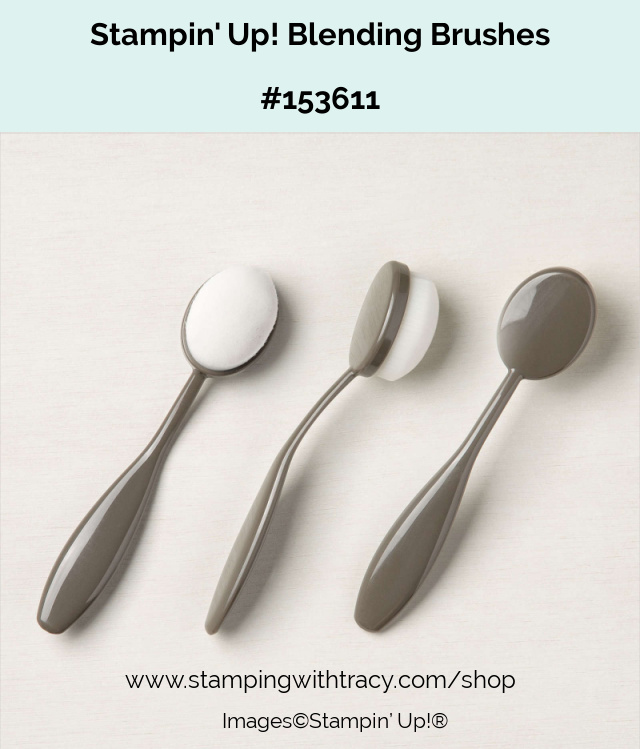
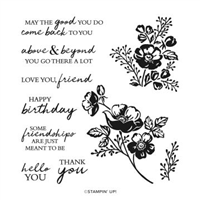
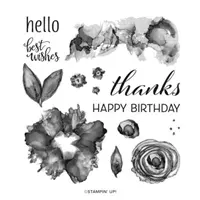
Today’s card was created using our Blending Brushes and the stamp set, Shaded Summer. This stamp set is currently on backorder but is estimated to be back in stock the week of August 23rd. As of today, it can still be added to your cart and when it’s in stock, Stampin’ Up! will mail it to you (the rest of your order will ship as usual).
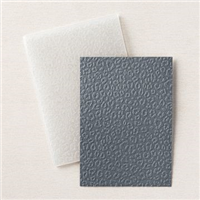
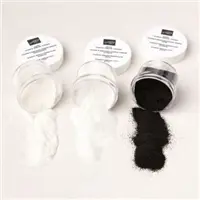
I started with a base of Thick Basic White cardstock and then added a layer of our regular Basic White cardstock that I embossed using the Animal Print Embossing Folder. Next, I stamped the flowers from Shaded Summer using Versamark ink onto a piece of Basic White cardstock. I then heat embossed the image using white embossing powder from our Basics Embossing Powders set and our Heat Tool (you can find more detailed instructions for embossing farther down in the post). I also heat embossed the sentiment using the stamp set Artistically Inked.
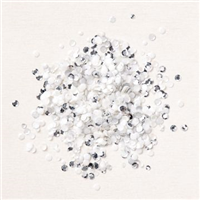
Next, using one of our Blending Brushes, I blended Flirty Flamingo ink over the cardstock until I had the color I wanted. When I was done, I took a soft tissue and wiped over all the embossed parts to take off any ink that might have been sitting on top. To complete the card, I added five of our new Subtle Shimmer Sequins to the card front using Multipurpose Glue. The sequin at the bottom of the stem was added because some of my embossing powder collected there so I hid it with a sequin.
How to Heat Emboss
Prepare your cardstock by rubbing an anti-static pouch (Stampin’ Up! no longer carries this product but it’s a must when embossing) over the surface as it helps keep away stray particles of embossing powder. Stamp your sentiment or image using a Versamark pad. This is very sticky ink and your embossing powder will stick right to it. Sprinkle embossing powder over the stamped image. Shake off any excess. Before applying heat to your paper, heat the Heat Tool first so the paper won’t warp (about 10 seconds). Direct the heat over your image and watch as it’s transformed!
Supply List
Below you’ll find all the Stampin’ Up! supplies I used for today’s card. If you need any stamping supplies, I’d love to be your demonstrator! You can place an order by clicking any of the images below to go to my Stampin’ Up! online store.
Measurements
- Thick Basic White cardstock:11″ x 4-1/4″ score at 5-1/2″ or 8-1/2″ x 5-1/2″ score at 4-1/4″
- Basic White cardstock: 5-1/4″ x 4″
- Basic White cardstock: 4-3/4″ x 3-1/2″
Sale-a-Bration Starter Kit Promotion
If you’re planning to make a $99 purchase, you might want to consider the Stampin’ Up! Starter Kit because you can turn that $99 purchase into $125 in Stampin’ Up! product PLUS during Sale-a-Bration you can choose one of the bundles listed below!! When you purchase the Starter Kit for $99, you’ll be able to choose $125 in Stampin’ Up! product from any current catalog and you’ll choose which bundle you’d like (see below). Plus, the Starter Kit always ships FREE so you won’t be paying for the Starter Kit to be shipped to you. After purchasing the Starter Kit you’ll be able to get your future purchases at a 20% discount.
There’s no risk in signing up! To stay active, the quarterly minimum is $300 in product (which is only $240 after your discount!) that can be from personal orders, online orders or ones from family and friends. The quarters are January – March, April – June, July – September, October – December. Once you join, your quarterly minimum begins during your first FULL quarter so if you join during this promotion, your first minimum will be due at the end of December! If you don’t meet the minimum, you’re simply dropped.
Purchase the Starter Kit to start your own business or to just get your stamping supplies at a discount! It’s up to you!
Sale-a-Bration
September Paper Pumpkin
Haunts & Harvest Paper Pumpkin Kit
- Kit contains enough supplies to create 12 treat packages—4 each of 3 designs. The all-inclusive kit includes printed die-cut boxes, die-cut sheets, adhesive, and more!
- Finished treat box size: 2-1/2″ x 2″
- Includes an exclusive stamp set and a Classic Stampin’ Spot
- Coordinating colors: Basic Black, Pale Papaya, Poppy Parade, Pumpkin Pie, Soft Succulent
Click here to subscribe today
You can cancel at any time or even skip a month
Thanks for stopping by today!








I love the heat embossed card you shared. It is lovely and can be used for any occasion, but I’m thinking I will use it for a Sympathy Card.
Thank you, Ceresa. I think it would make a lovely sympathy card.