
Stampin’ Up! Flowering Fields Daisy
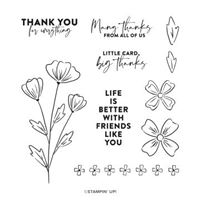
Today’s card features the Flowers of Friendship stamp set, Flowering Fields Designer Series Paper, the Label Me Fancy Punch and both the Daisy Punch (retiring and on sale!) and the Medium Daisy Punch.
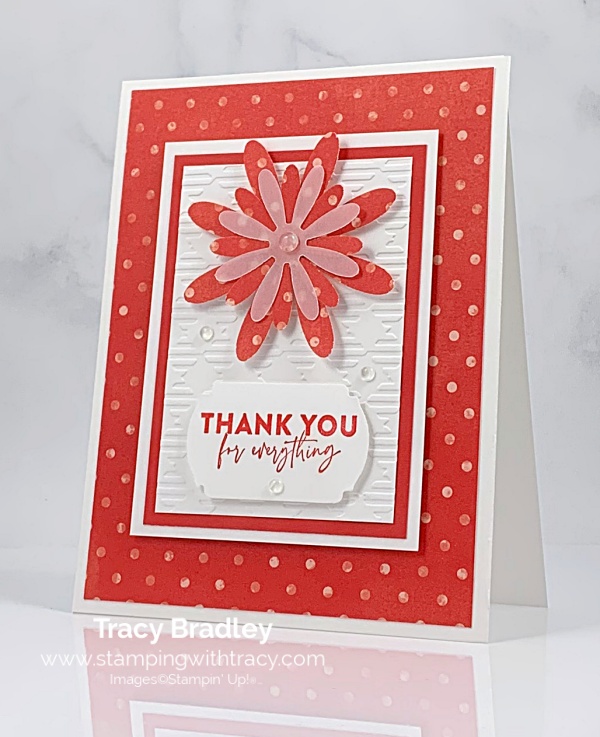
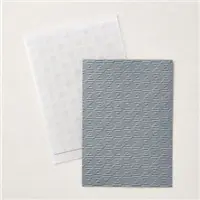
I started with a piece of Thick Basic White cardstock and then added a layer of Flowering Fields Designer Series Paper. Then I added a layer of Basic White cardstock, Poppy Parade cardstock and another piece of Basic White cardstock that I embossed using the Gingham Embossing Folder. I added Stampin’ Dimensionals to the back and adhered it to the front of the card.
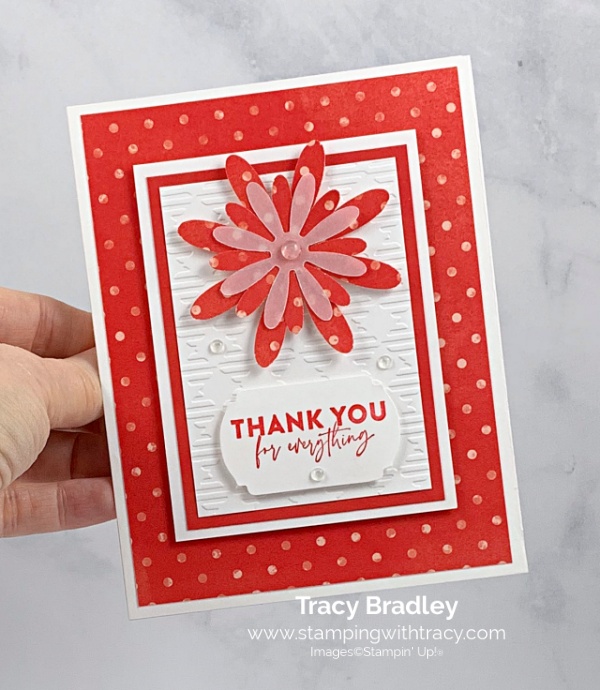

To create the daisy, I used the Daisy Punch to cut a large daisy out of Flowering Fields Designer Series Paper. Then I used the Medium Daisy Punch to cut a small daisy out of the same paper and another one out of Vellum. I layered the pieces together using Mini Glue Dots (large daisy, small daisy, small vellum daisy), added a Stampin’ Dimensional to the back and adhered it to the front of the card. I added a Large Polished Dot to the center of the daisy.


I stamped the sentiment using the stamp set Flowers of Friendship onto Basic White cardstock using Poppy Parade ink and then cut it out using the Label Me Fancy punch. I added Stampin’ Dimensionals to the back and placed it below the daisy. To complete the card, I added three more Polished Dots.

Supply List
Below you’ll find all the Stampin’ Up! supplies I used for today’s card. If you need any stamping supplies, I’d love to be your demonstrator! You can place an order by clicking any of the images below to go to my Stampin’ Up! online store.

Price: $11.50


Measurements
- Thick Basic White cardstock: 11″ x 4-1/4″
- Basic White cardstock: 4″ x 3″
- Basic White cardstock: 3-1/2″ x 2-1/2″
- Basic White cardstock: scrap for sentiment
- Poppy Parade cardstock; 3-3/4″ x 2-3/4″
- Flowering Fields Designer Series Paper: 5-1/4″ x 4″
- Flowering Fields Designer Series Paper (small daisy): scrap
- Flowering Fields Designer Series Paper: (large daisy): scrap
- Vellum cardstock (small daisy): scrap
Host Code Special
Place an order for $40 or more (before tax and shipping) using my special host code K3NSUVMZ and receive a package of Rhinestone Waves Basic Jewels. If you love blues and greens, you’ll love these rhinestones! These rhinestones are no longer available on the Stampin’ Up! website but I have quite a few that I can send out. If I run out, I will end the offer early.
** One per person
** Cannot be combined with other offers
** Host code must be used
** This gift is from me, not Stampin’ Up! and will be shipped separately from your order

April Paper Pumpkin

This month’s Paper Pumpkin Kit features the new In Colors (Orchid Oasis, Parakeet Party, Starry Sky, Sweet Sorbet, Tahitian Tide) and as an added bonus, every May Paper Pumpkin subscriber will get the chance to win a GOLDEN Voucher worth $25 in Stampin’ Up! products! The winners will find their Golden Voucher in their May 2022 Paper Pumpkin box.
Celebrating In Color Kit Contains:
- Celebrating In Color Photopolymer Stamp Set
- Basic Gray Classic Stampin’ Spot®
- Printed card bases
- Printed In Color envelopes
- Printed In Color gift card holders
- Foiled die cuts
- Printed die cuts
- Adhesive-backed In Color embellishments
- Tear & Tape Adhesive
- dimensionals
Card size: 4-1/4″ x 5-1/2″ (10.8 x 14 cm)
Coordinating Stampin’ Up! colors: Orchid Oasis, Parakeet Party, Starry Sky, Sweet Sorbet, Tahitian Tide
Click here to order the Celebrating in Color Pumpkin Kit
You can cancel at any time or even skip a month
Last Chance (Retiring) Products
In just a few short weeks, the 2021-2022 Annual Catalog will be retiring. Many products are retiring and some are on sale up to 50%. Many bundles are also retiring but the products themselves are NOT retiring just the bundle price.
Click here to see what’s available and retiring!
Click here for the itemized list (print is very small). Three asterisks on this list means that items in a bundle are not retiring but they will no longer be bundled together with a 10% savings after May 2, 2022.
If you have questions, you can always contact me.

Have a beautiful Easter weekend!


