Family Time!
Spending time with family is everything, isn’t it? I returned a few days ago from a fun trip to Palm Springs with my daughters and grandchildren. Several years ago we started the tradition of going on a mini vacation together and we called it our Girls Weekend. This year we included my grandson and next year, we want the guys to join us too! It’s time for a new name!

The day we left was a busy one. I was running around getting things done and I ran right into the highchair. Since I’ve retired from teaching, I tend to go barefoot or wear sandals. Not such a great idea. I hit my toe and oh. my. gosh! Painful! I wish I could say this is the first time I’ve run into something with my foot but it isn’t. My toe and the top of my foot are an ugly shade of black and blue. It’s pretty sore to walk on and made our trip a bit more challenging but we still managed to have lots of fun!
Before we left for our trip, I made a quick card. I saw the Striped Inlay technique on Jennifer McGuire’s blog and I tried my hand at it with Stampin’ Up! products.
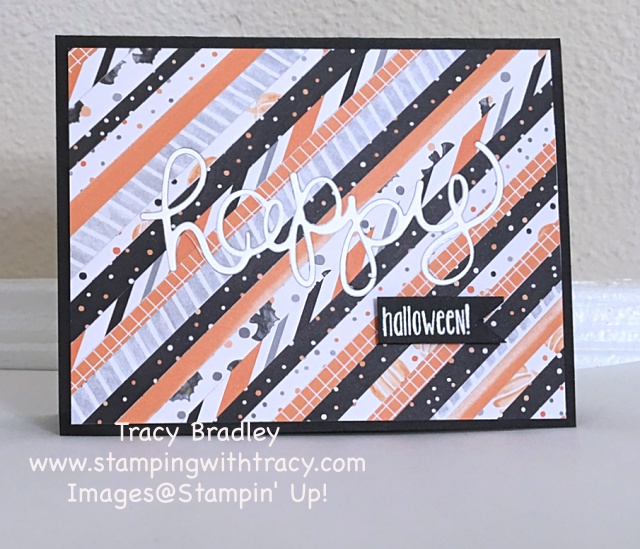
She did her card with solid cardstock (I’m trying that next) but I used our Halloween Night Specialty Designer Series Paper. I cut the paper into different sized strips, no need to make them all the exact same size. Then I used a non Stampin’ Up! product called Stick It. It’s a full sized sheet of paper with adhesive (you certainly could use our Multipurpose glue). I attached the full sheet of Stick It to our grid paper and then cut it down to a smaller size. It was easy to then add the strips of paper, making sure to get them nice and close to each other. After they’re all adhered to the paper, turn the piece over and just snip off all the excess paper!
This may be hard to see but I didn’t glue the word happy onto the top of the strips. I actually cut the word out of the striped piece and made sure to save all of the little pieces too (inside each of the letters). I cut another “happy” out of Whisper White cardstock. I added another little strip of the Stick It adhesive on the back of my background so that I could then put the white “happy” into the space that was created in my striped background. I carefully added all of the little pieces inside the letters.
I embossed the word Halloween using the stamp set Spooky Fun. The word Happy is also part of the sentiment but I trimmed my paper so that it wouldn’t show.
I already have solid cardstock cut so that I can give this technique another try! If you also try it, email me your creation! I’d love to see it!
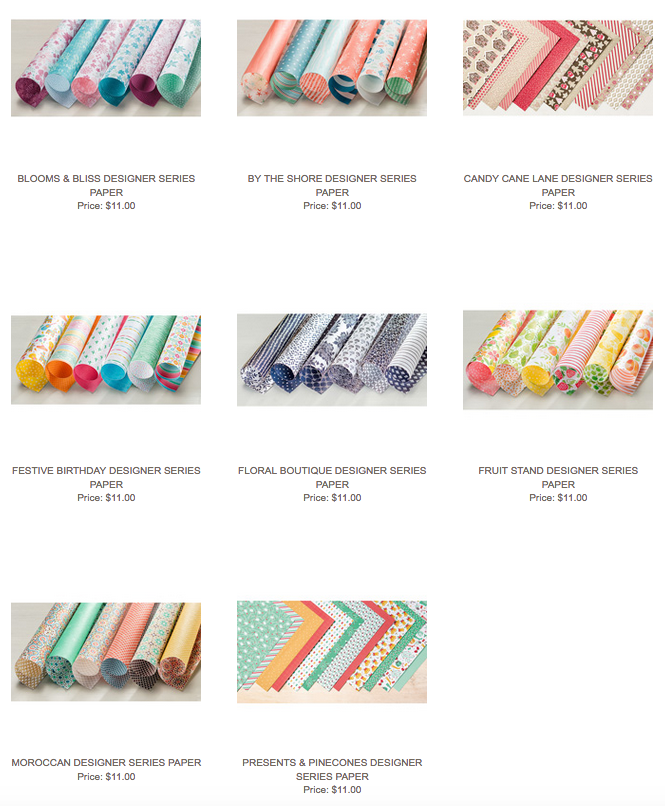
Product List – To place an order, click any of the products below!
|
|
|
|
|
|
|
|