Stampin’ Up! Scottie Dog Thank You Card
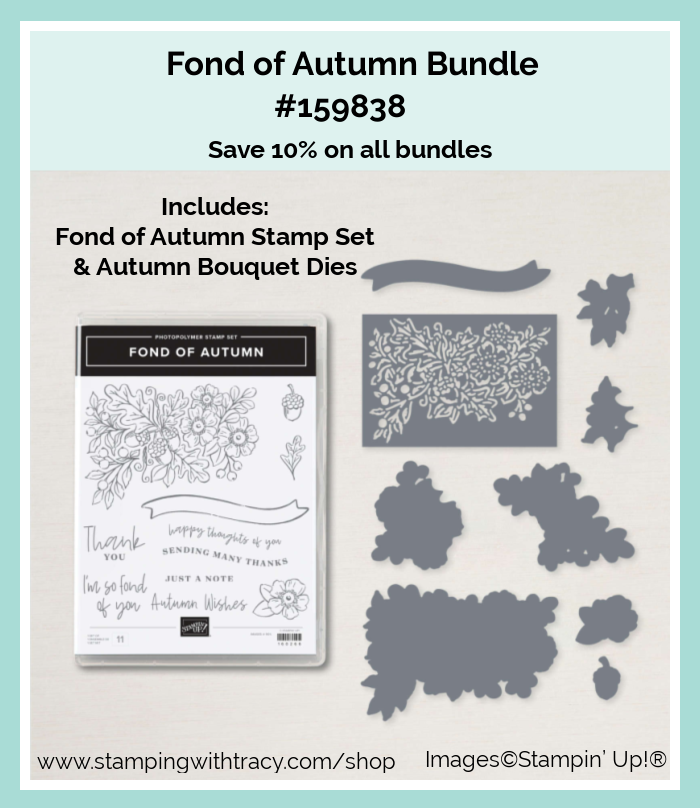
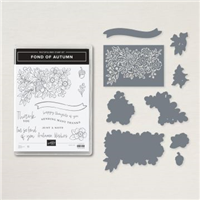
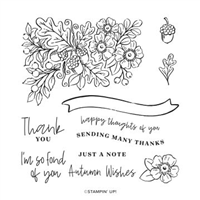
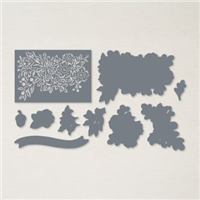
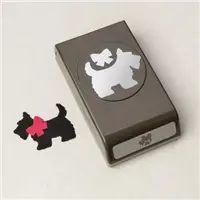
I have one more card using the Scottie Dog Punch and it’s a thank you card. If you missed my last two cards using this punch you can see the Autumn card HERE and the Christmas card HERE. I also used the Fond of Autumn Bundle which includes the Fond of Autumn stamp set and the Autumn Bouquet Dies.


I started with a piece of Orchid Oasis cardstock and then added a layer of Basic White cardstock that I embossed using the Painted Texture 3D Embossing Folder. Then I added a layer of Orchid Oasis cardstock with a piece of 2022-2024 In Color 6″ x 6″ Designer Series Paper, also in Orchid Oasis. I added Stampin’ Dimensionals to the back of this layer and adhered it to my card front.


I used Basic Black cardstock and the Scottie Dog Punch to cut out the dog and used a piece of Orchid Oasis cardstock to cut the bow. I used a Mini Stampin’ Dimensional to attach the bow to the dog and then added Stampin’ Dimensionals to the back and adhered the dog to the front of the card.
The Scottie Dog Punch is also available in the Christmas Scottie Bundle which also includes the Christmas Scottie stamp set.

I used the Fond of Autumn stamp set to stamp the sentiment in Orchid Oasis ink onto Basic White cardstock. I used the Autumn Bouquet Dies to cut it out, added Stampin’ Dimensionals to the back and adhered it below the dog. The Fond of Autumn Bundle includes both the Fond of Autumn stamp set and the Autumn Bouquet Dies.
To complete my card, I added a piece of Basic White cardstock to the inside of the card.

Supply List
Below you’ll find all the Stampin’ Up! supplies I used for today’s card. If you need any stamping supplies, I’d love to be your demonstrator! You can place an order by clicking any of the images below to go to my Stampin’ Up! online store.

Price: $12.00


Measurements
- Orchid Oasis cardstock: 11″ x 4-1/4″ scored at 5-1/2″
- Orchid Oasis cardstock: 3-1/4″ x 3-1/4″
- Orchid Oasis cardstock (bow): scrap
- Basic White cardstock (embossed): 5″ x 3-3/4″
- Basic White cardstock (inside): 5-1/4″ x 4″
- Basic White cardstock (sentiment): approx. 4-1/2″ x 1-1/4″
- Designer Series Paper: 3″ x 3″
- Basic Black cardstock (dog): scrap
September – October Card Kits

This is a different host code from last month. Host codes are only good for 30 days so it’s been changed.
Use the host code FWZ3BKN9 when placing your order at my Stampin’ Up! online store and you’ll receive my September – October PDF Tutorial with directions to make a featured card and fourteen more ideas using the same layout but with a variety of different colors of cardstock, embossing folders and Designer Series Paper.
All orders using the host code will receive the ten page PDF Tutorial and a thank you card.
If your order is $50 or more (before tax/shipping), you’ll also receive:
- At least six card kits* mailed to you via snail mail
- At least one Bradley Point (earn points and redeem them for free product)
*A card kit includes all the cardstock, Designer Series Paper and embellishments you’ll need to complete a card. I’ve cut, scored, die cut and embossed all the pieces for you! You’ll just need to supply your own stamp set, ink and adhesive. You can use the stamp set I used to create the cards (Soft Seedlings) or use what you already own.
- $50.00 – $99.99 = 6 card kits
- $100 – $149.99 = 7 card kits
- $150 or more = 8 card kits
If your order is $150 or more, do NOT use the host code so you can receive Stampin’ Rewards directly from Stampin’ Up! You will automatically receive 8 card kits from me.
You can use this host code multiple times. There are fifteen different card kits and I keep track of which card kits I’ve sent to you. Each time you’ll receive different kits unless you’ve earned all fifteen and then you’ll start to receive multiples. It’s a great way to have cards on hand to send to friends and loved ones!


Thanks for stopping by today! Enjoy your weekend!