by Tracy | Nov 14, 2025 | Christmas Card
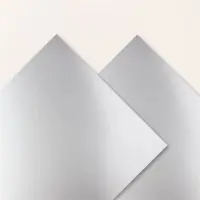
The card I’m sharing with you today was made using the Homemade Treats Bundle (an Online Exclusive), the Perennial Postage Dies, Real Red & White Adhesive-Backed Peppermints (an Online Exclusive) and Silver 12″ x 12″ Foil Sheets. Unfortunately, the Silver Foil Sheets are not in stock at this time but you can sign up and get an email when they are back in stock.


I started with a piece of Shaded Spruce cardstock for the base of my card. Then, I used the Perennial Postage Dies to cut a piece of Real Red cardstock using the largest die in the set and a piece of Basic White cardstock using the second largest die.
Next, I stamped the sentiment onto the Basic White cardstock die cut using the Homemade Treats Stamp Set in Real Red ink. I adhered the Basic White cardstock to the Real Red cardstock and then adhered it to the front of the card.
Then, I stamped the gingerbread men onto Basic White cardstock using Pecan Pie ink and Homemade Treats Stamp Set. Next, I stamped the candy cane onto Basic White cardstock using the Homemade Treats Stamp Set using Real Red ink. I die cut all the pieces with the Homemade Treats Dies.


I die cut the cookie sheet using a Silver Foil Sheet & the Homemade Treats Dies. I adhered the cookie sheet to the Basic White die cut using Multipurpose Glue and attached the candy cane & gingerbread men using Mini Glue Dots. I then adhered the Real Red & White Adhesive-Backed Peppermints to the card.
To complete my card, I added a piece of Basic White cardstock to the inside of the card.


Supply List
Below you’ll find all the Stampin’ Up! supplies I used for today’s card. If you need any stamping supplies, I’d love to be your demonstrator! You can place an order by clicking any of the images below to go to my Stampin’ Up! online store.
Measurements
- Shaded Spruce cardstock: 4-1/4″ x 11″ scored at 5-1/2″
- Real Red cardstock (die cut): approximately 4-1/4″ x 5-1/2″
- Basic White cardstock (die cut): approximately 5″ x 3-3/4″‘
- Basic White cardstock (gingerbread men and candy cane): scraps
- Basic White cardstock (inside the card): 4″ x 5-1/4″
- Silver Foil Sheet (cookie sheet): 3″ x 2″
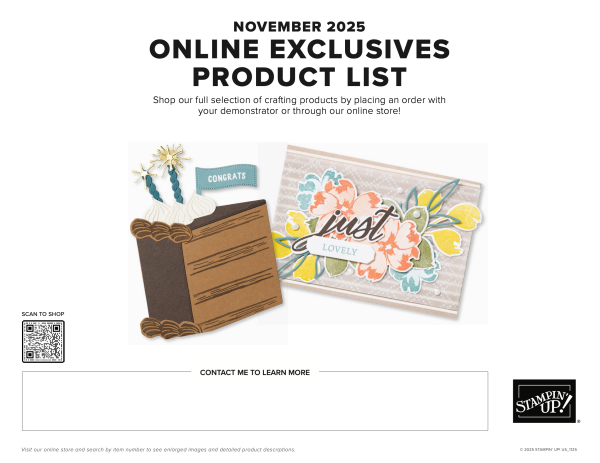
Online Exclusives – November 2025
Click the graphic below to access the November 2025 Online Exclusives Product List! Stampin’ Up! has made a printable flyer and they’ve made it much easier to shop the new products! You won’t find Online Exclusives in any catalog, they’ll be listed in the Online Store. Click here to shop Online Exclusives.
Stampin’ Up Is Offering a Brushed with Beauty Class
Click the graphic below to purchase this class!

All the Details On the Class:
- Available for Purchase: November 4, 2025
- Price: $30
- Live Stream: November 20 at 2:00 p.m. (MT)
- Where: An exclusive Facebook group
- Class: Brushed with Beauty Craft Class (170074)
- Product: Brushed with Beauty Suite Collection (167100)
- Language: The class will be presented in English. Attendees will receive supply lists and project instructions available in English, French, German, and Dutch.
- Video on Demand: We will record this live class, which will be available as a video on demand right after the live stream. Videos with English, French, German, and Dutch captioning will be available through the Facebook page one week after the live stream.
Click here to get the additional supplies you’ll need!
Last Chance Products

Click here to go straight to the Last Chance Products page on the Stampin’ Up! site! Some products are discounted! More products were added on October 1, 2025!
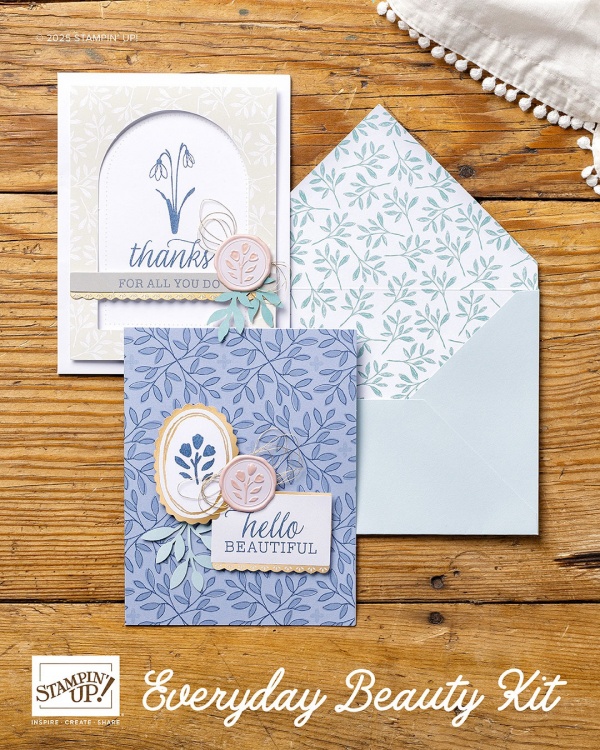
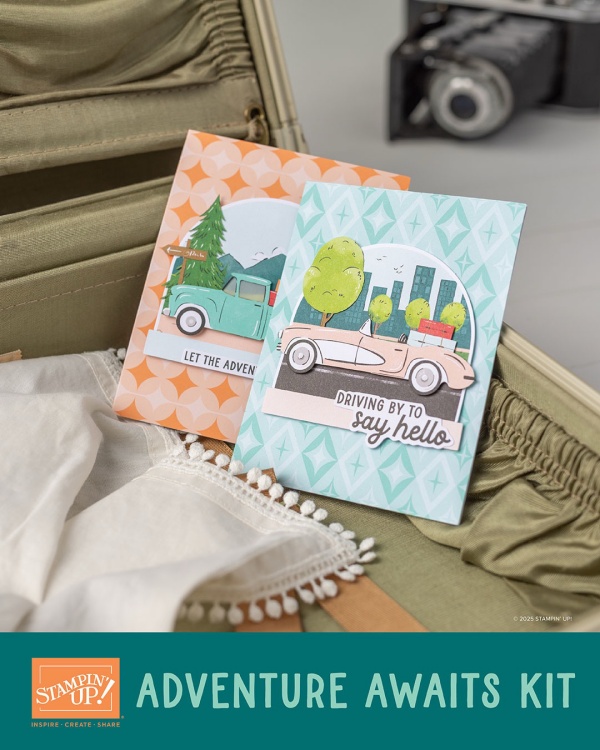
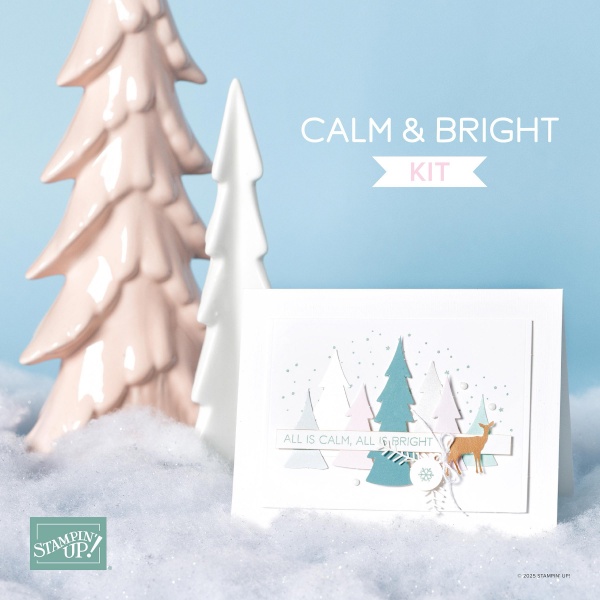
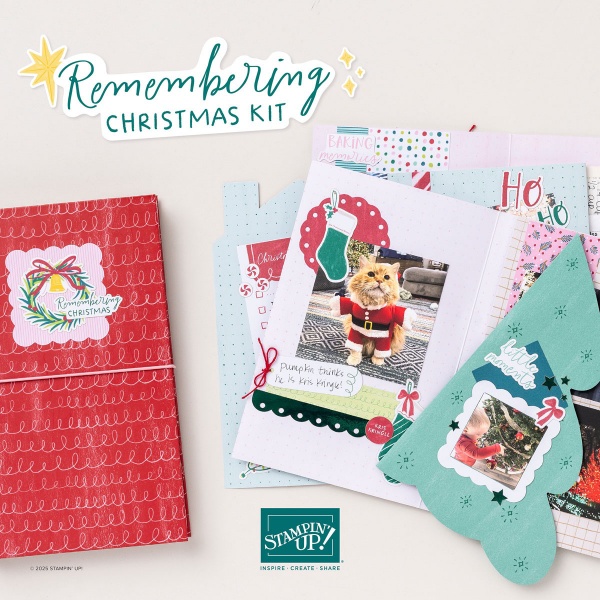
Stampin’ Up! Kits – We Have Two New Kits!
Click the graphics below for information about the kits!
December Paper Pumpkin – Subscribe by December 10th
If you’d like to subscribe, please click here or the graphic below.
This is what comes in the Watercolor In Bloom Paper Pumpkin Kit:
Show your love and appreciation with rich watercolor hues and elegant botanical flourishes.
• Makes 9 cards: 3 each of 3 designs with 9 coordinating envelope
• Copper foil and copper sequins
• Precut paper and vellum pieces
• Coordinating colors: Copper, Garden Green, Night of Navy (Classic Stampin’ Spot), Pretty Peacock, Secret Sea, Shaded Spruce
Personalize your card greetings with customizable sentiment stamps!

An additional coordinating add-on is available but only for Paper Pumpkin subscribers. Click the image below for more information. These dies coordinate with October Paper Pumpkin Kit, November Paper Pumpkin Kit and December Paper Pumpkin Kit.

Thanks for stopping by today! Have an enjoyable weekend!!
by Tracy | Oct 31, 2025 | Christmas Card
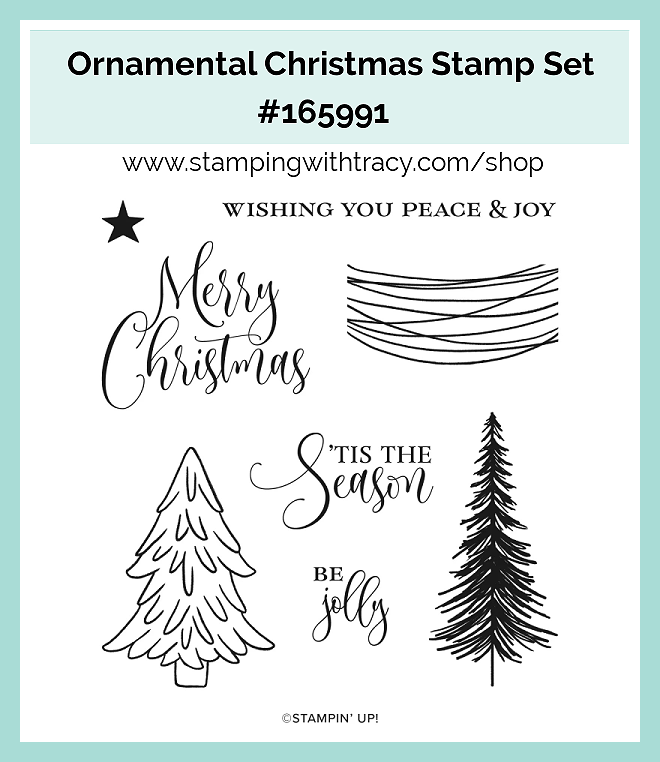
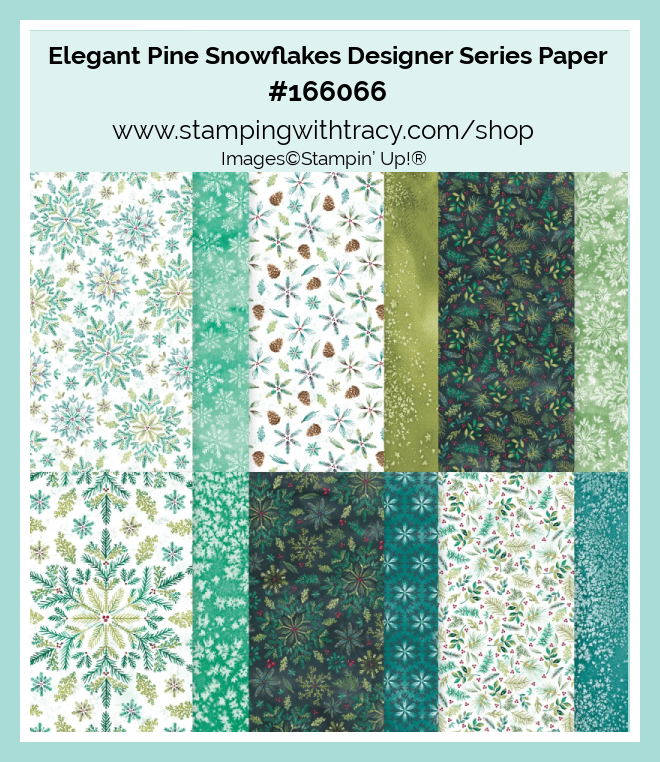
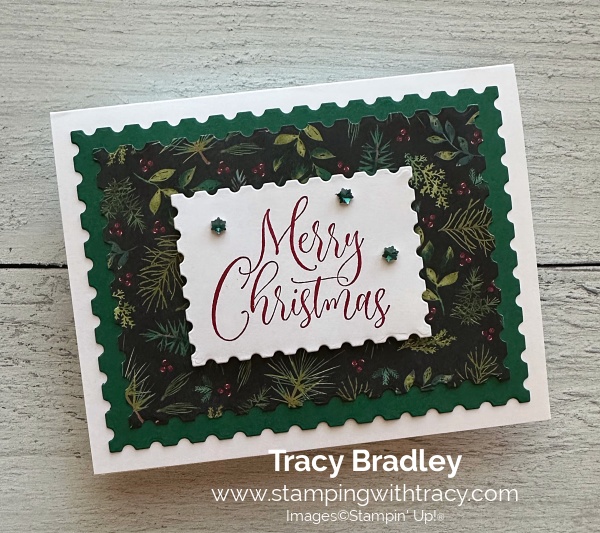
The card I’m sharing with you today was made using the Ornamental Christmas stamp set (an Online Exclusive), Elegant Pine Snowflakes Designer Series Paper (an Online Exclusive), Perennial Postage Dies and Faceted Snowflakes (an Online Exclusive).This is the same layout that I used on Wednesday and you can see that card here. The Elegant Pine Snowflakes Designer Series Paper and the Faceted Snowflakes are part of the Elegant Pine Snowflakes Suite Collection and you can see it here.
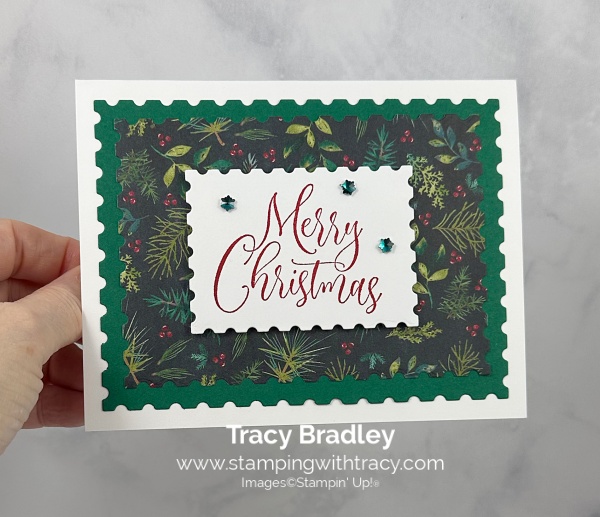
I started off with a piece of Thick Basic White cardstock for the base of my card. Next, I used the Perennial Postage Dies to cut a piece of Shaded Spruce cardstock (I used the largest die). Then I used the next smallest die to cut a piece of Elegant Pine Snowflakes Designer Series Paper. I adhered them together and adhered it to the card base.
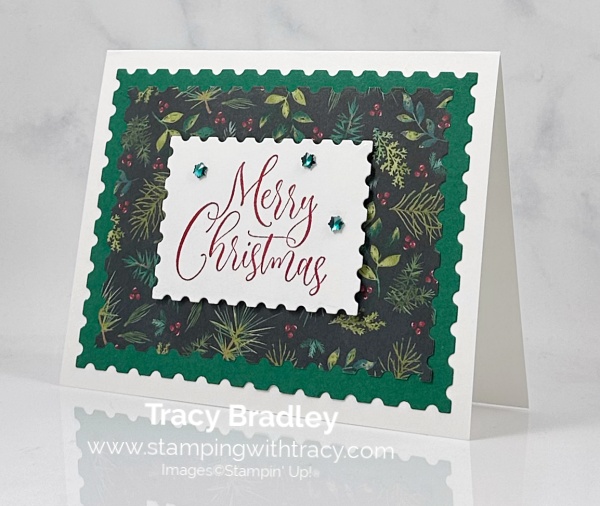
I stamped the sentiment onto Basic White cardstock using the Ornamental Christmas Stamp Set in Real Red ink and then cut it out using the third largest die in the Perennial Postage Dies. I added Stampin’ Dimensionals to the back and adhered it to the card front.
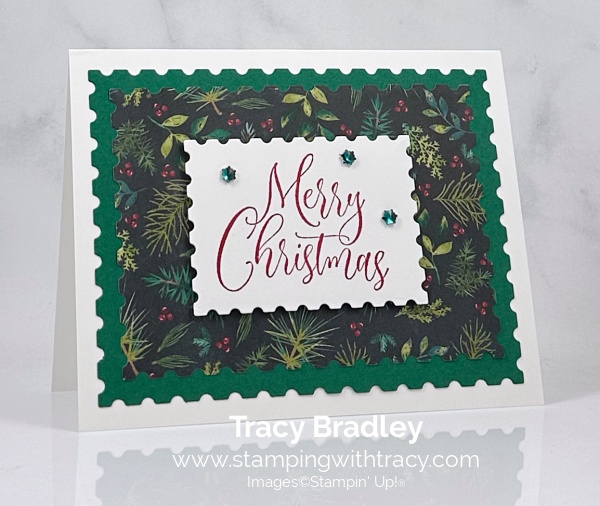
To complete my card, I added three Faceted Snowflakes around the sentiment.

Supply List
Below you’ll find all the Stampin’ Up! supplies I used for today’s card. If you need any stamping supplies, I’d love to be your demonstrator! You can place an order by clicking any of the images below to go to my Stampin’ Up! online store.
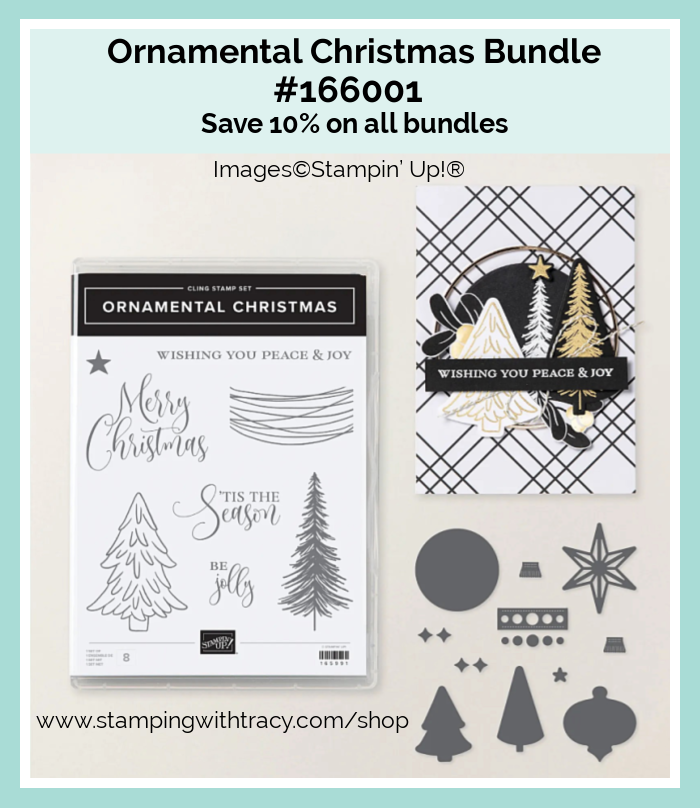
Bundle Alert: The Ornamental Christmas Bundle is available with a 10% discount rather than buying the products separately.
Measurements
- Thick Basic White cardstock: 5-1/2″ x 8-1/2″ scored at 4-1/4″
- Basic White cardstock (sentiment); approximately 2-3/4″ x 3-1/4″
- Shaded Spruce cardstock (die cut): approximately 4-1/4″ x 5-1/2″
- Elegant Pine Snowflakes Designer Series Paper (die cut): approximately 5″ x 3-3/4″
Online Exclusives – September 2025
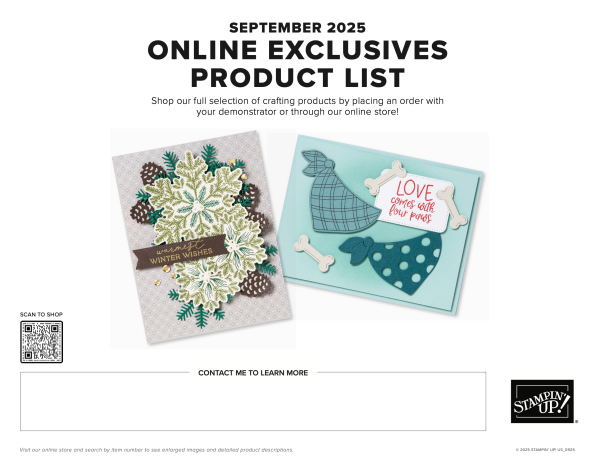
Stampin’ Up! has made a printable flyer and they’ve made it much easier to shop the new products! You can get to the flyer by clicking here or the above graphic.
You won’t find Online Exclusives in any catalog, they’ll be listed in the Online Store. Click here to shop Online Exclusives.
Best Starter Kit Offers Ever – This Offer Ends Today!!
These are phenomenal offers, the best ever since I’ve been a demonstrator! If you love Stampin’ Up! products, you should consider getting the Starter Kit! I’d love to add you to our team!
Stampin’ Up! is doing a join offer October 1st and running through the end of the month! You will be able to choose from two offers! $125 worth of products for just $35 or $189 worth of products for just $99! If you’d like to purchase the Starter Kit, please click the graphic above!

OR

Promotion Details
- Promotion Dates: October 1-31
- New team members who purchase their starter kit from October 1 to 31 will be able to choose between these two offers $125 for just $35 or $189 for just $99.
- New demonstrators who submit their Independent Demonstrator Agreement (IDA) before October 1 or after October 31 will not be eligible for these offers.
- Deadline to join October 31, 2025 at 11:59 p.m (Mountain Time).
- The Starter Kit SHIPS FREE!
If you’d like to sign up to purchase the Starter Kit, you can do it here!
If you’d like more information about the Starter Kit, please click here!
Last Chance Products
Click here to go straight to the Last Chance Products page on the Stampin’ Up! site! Some products are discounted! More products were added on October 1, 2025!
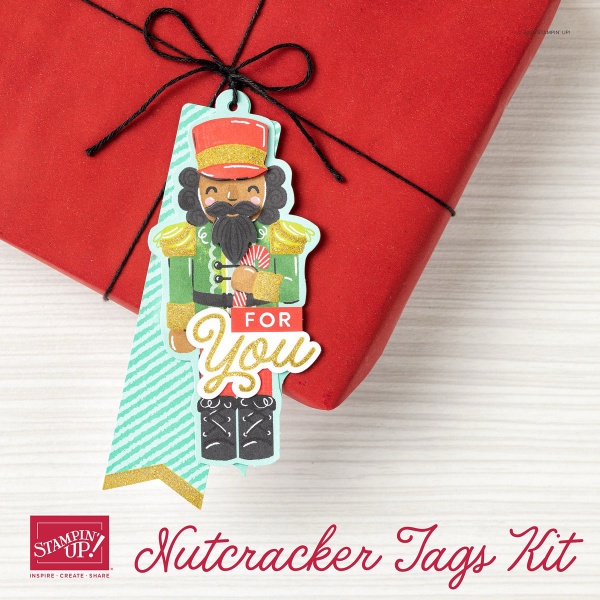
Stampin’ Up! Kits
Click the graphics for more information about the kits.
November Paper Pumpkin – Wrapped in Cheer
If you’d like to subscribe, please click here or the graphic below.
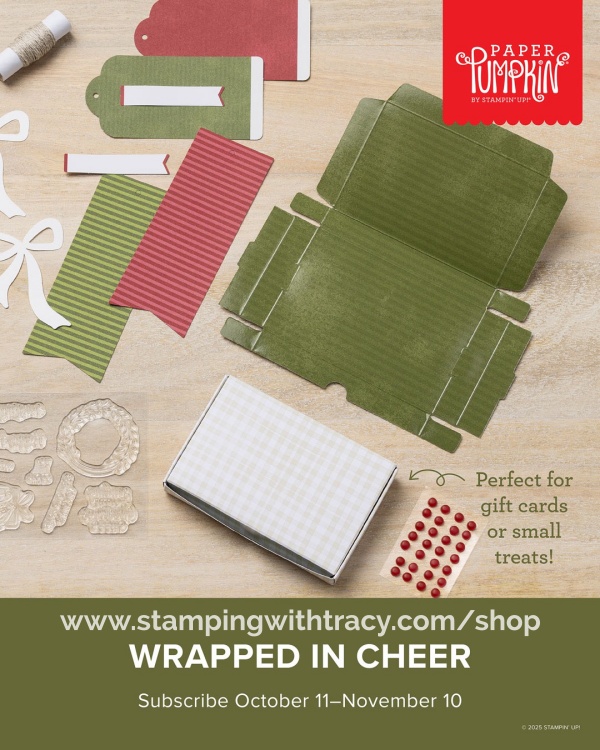
This is what comes in the Wrapped in Cheer Paper Pumpkin Kit:
- Craft festive goody boxes perfect for holding gift cards or small treats!
- Makes 8 projects: 4 each of 2 tag designs with 8 identical coordinating boxes
- Foldable box bases and precut paper pieces
- Linen thread and red dot embellishments
- Coordinating colors: Basic Beige, Cherry Cobbler, Mossy Meadow
- (Classic Stampin’ Spot), Old Olive
- Delicate greenery pieces with double-sided printing add a sophisticated touch.
An additional coordinating add-on is available but only for Paper Pumpkin subscribers. Click the image below for more information.
Thanks for stopping by today! Enjoy your weekend!
by Tracy | Oct 29, 2025 | Appreciation Card
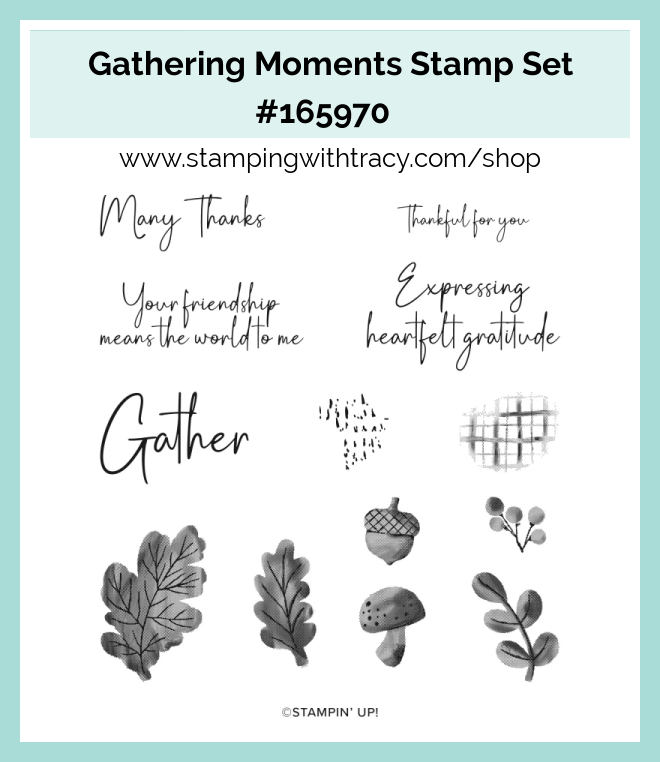
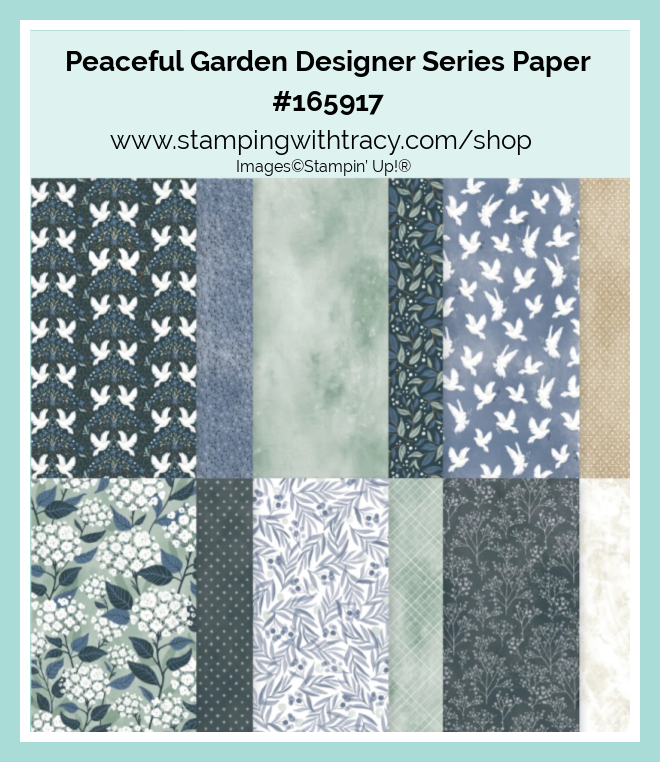
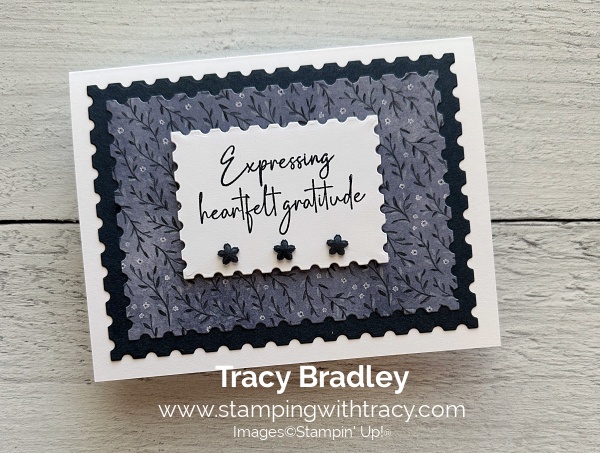
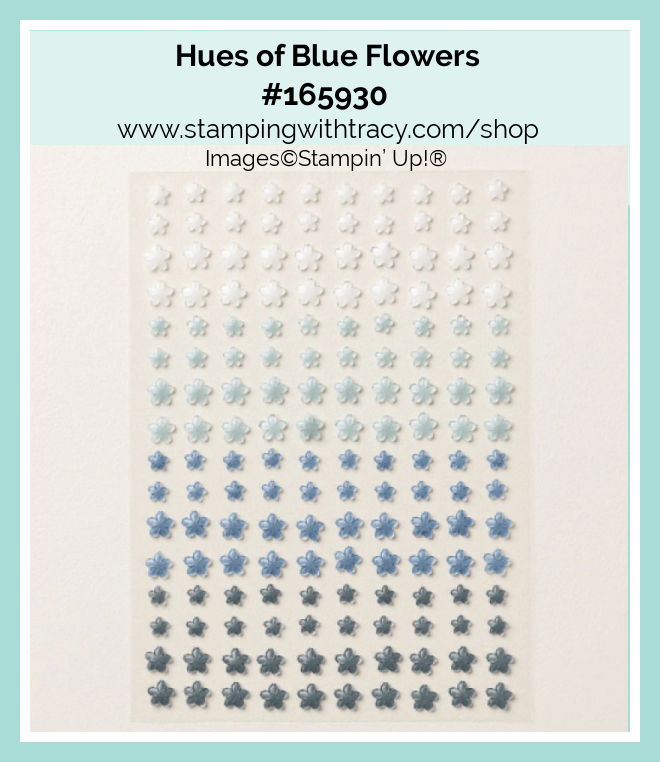
I made another card that uses Peaceful Garden Designer Series Paper. I also used the Gathering Moments Stamp Set, Perennial Postage Dies and Hues of Blue Flowers.
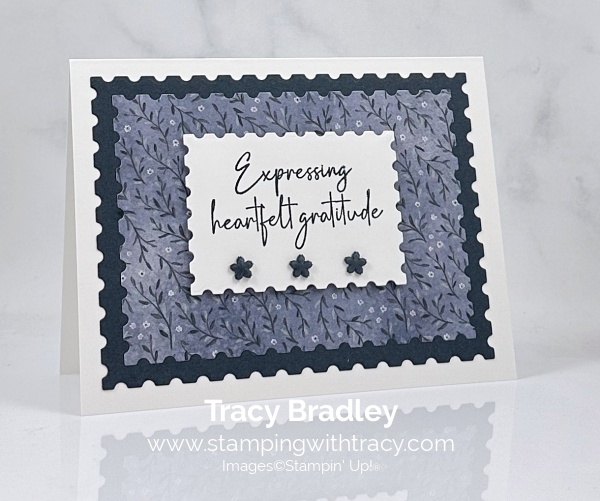
I started with a piece of Thick Basic White cardstock for the base of my card. Next, I used the Perennial Postage Dies to cut a piece of Secret Sea cardstock (I used the largest die). Then I used the next smallest die to cut a piece of Peaceful Garden Designer Series Paper. I adhered them together and adhered it to the card base.
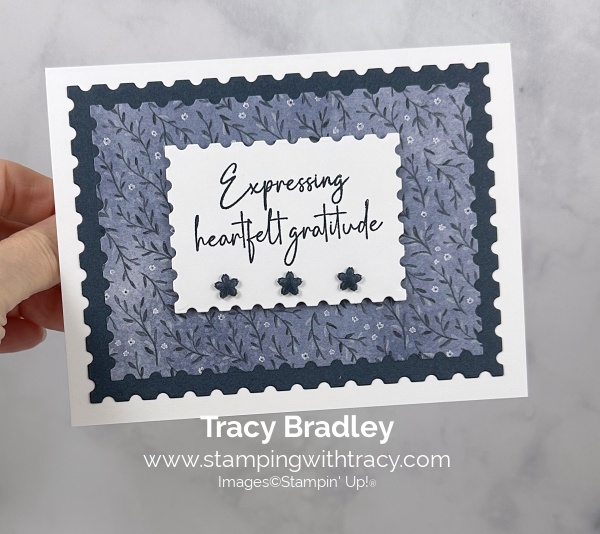
I stamped the sentiment onto Basic White cardstock using the Gathering Moments Stamp Set in Secret Sea ink and then cut it out using the third largest die in the Perennial Postage Dies. I added Stampin’ Dimensionals to the back and adhered it to the card front.
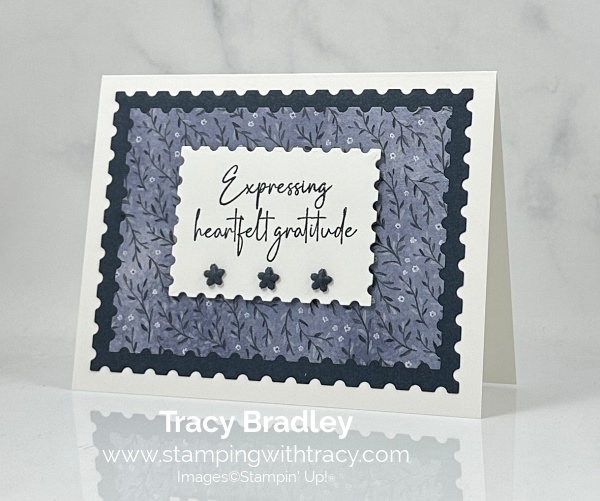
To complete my card, I added three Hues of Blue Flowers under the sentiment. This card was a quick and easy card to make!
Supply List
Below you’ll find all the Stampin’ Up! supplies I used for today’s card. If you need any stamping supplies, I’d love to be your demonstrator! You can place an order by clicking any of the images below to go to my Stampin’ Up! online store.
Bundle Alert: The Gathering Moments Bundle is available with a 10% discount rather than buying the products separately.

Measurements
- Thick Basic White cardstock: 5-1/2″ x 8-1/2″ scored at 4-1/4″
- Basic White cardstock (sentiment); approximately 2-3/4″ x 3-1/4″
- Secret Sea cardstock (die cut): approximately 4-1/4″ x 5-1/2″
- Peaceful Garden Designer Series Paper (die cut): approximately 5″ x 3-3/4″
Online Exclusives – September 2025
Stampin’ Up! has made a printable flyer and they’ve made it much easier to shop the new products! You can get to the flyer by clicking here or the above graphic.
You won’t find Online Exclusives in any catalog, they’ll be listed in the Online Store. Click here to shop Online Exclusives.
Best Starter Kit Offers Ever – This Offer Ends on Friday!!
These are phenomenal offers, the best ever since I’ve been a demonstrator! If you love Stampin’ Up! products, you should consider getting the Starter Kit! I’d love to add you to our team!
Stampin’ Up! is doing a join offer October 1st and running through the end of the month! You will be able to choose from two offers! $125 worth of products for just $35 or $189 worth of products for just $99! If you’d like to purchase the Starter Kit, please click the graphic above!
OR
Promotion Details
- Promotion Dates: October 1-31
- New team members who purchase their starter kit from October 1 to 31 will be able to choose between these two offers $125 for just $35 or $189 for just $99.
- New demonstrators who submit their Independent Demonstrator Agreement (IDA) before October 1 or after October 31 will not be eligible for these offers.
- Deadline to join October 31, 2025 at 11:59 p.m (Mountain Time).
- The Starter Kit SHIPS FREE!
If you’d like to sign up to purchase the Starter Kit, you can do it here!
If you’d like more information about the Starter Kit, please click here!
Last Chance Products
Click here to go straight to the Last Chance Products page on the Stampin’ Up! site! Some products are discounted! More products were added on October 1, 2025!
Stampin’ Up! Kits
Click the graphics for more information about the kits.
November Paper Pumpkin – Wrapped in Cheer
If you’d like to subscribe, please click here or the graphic below.
This is what comes in the Wrapped in Cheer Paper Pumpkin Kit:
- Craft festive goody boxes perfect for holding gift cards or small treats!
- Makes 8 projects: 4 each of 2 tag designs with 8 identical coordinating boxes
- Foldable box bases and precut paper pieces
- Linen thread and red dot embellishments
- Coordinating colors: Basic Beige, Cherry Cobbler, Mossy Meadow
- (Classic Stampin’ Spot), Old Olive
- Delicate greenery pieces with double-sided printing add a sophisticated touch.
An additional coordinating add-on is available but only for Paper Pumpkin subscribers. Click the image below for more information.
Thanks for stopping by today! Enjoy your day!!
by Tracy | Apr 30, 2025 | Thank You Card
For my card today, I used two new products coming May 6th. The two products on my card that are new is Florals in Bloom Designer Series Paper #165175, which is in the new Annual Catalog and the Impressions Abloom Bundle #165611 which is an Online Exclusive and both of these products are available on May 6th.
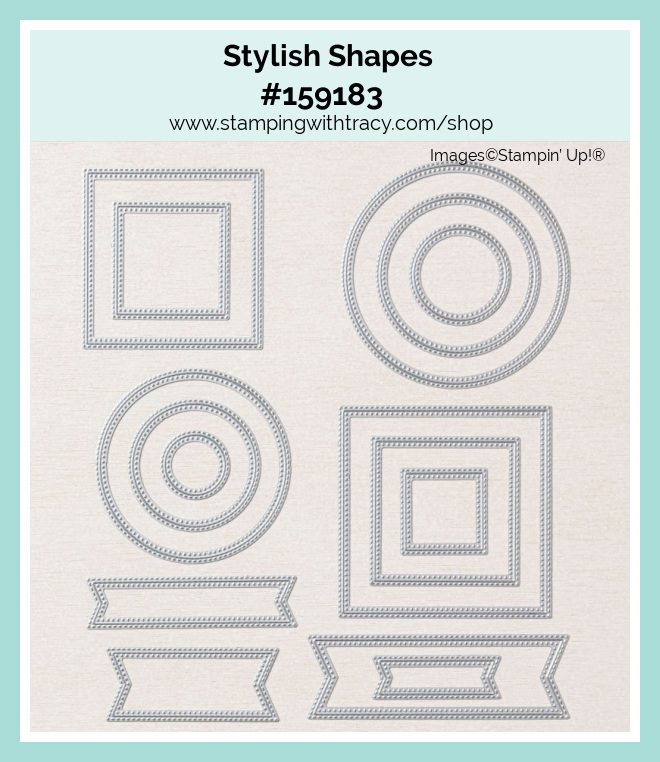
The current product I used on my card today are the Perennial Postage Dies and the Stylish Shapes Dies.

I started with a piece of Bubble Bath cardstock for the base of my card. I added a piece of Basic White cardstock to the front of my card. I used the Perennial Postage Dies to cut a large rectangle out of Bubble Bath cardstock (I used the largest die). Then, I cut (the second largest die) a rectangle out of Florals in Bloom Designer Series Paper (DSP). I attached the DSP to the Bubble Bath cardstock and then adhered the entire piece to the front of the card.

The Impressions Abloom Bundle includes the Impressions Abloom stamp set and Impressions Abloom dies. I used the dies to cut the three flowers and their centers. I used Berry Burst cardstock and Bubble Bath cardstock. I then set the flowers aside.
I stamped the sentiment on Basic White cardstock in Berry Burst ink using the Impressions Abloom stamp set. I cut it out using the Stylish Shapes Dies and made sure the sentiment was over to the far right.

Next, I figured out where I wanted my flowers to go in relation to the sentiment. I adhered the sentiment down and then adhered both of the Bubble Bath flowers. I added a Stampin’ Dimensional to the middle of the Berry Burst flower and adhered it to the card front.
To complete my card, I added a piece of Basic White cardstock to the inside of the card.

Supply List
Below you’ll find all the Stampin’ Up! supplies I used for today’s card. If you need any stamping supplies, I’d love to be your demonstrator! You can place an order by clicking any of the images below to go to my Stampin’ Up! online store.
I also used Florals in Bloom Designer Series Paper #165175 and Impressions Abloom Bundle #165611. Both of these products are available on May 6th.
Measurements
- Bubble Bath cardstock: 5-1/2″ x 8-1/2″ scored at 4-1/4″
- Bubble Bath cardstock (rectangle): approx. 4-1/4″ x 5-1/2″
- Bubble Bath cardstock (flowers): (2) approx. 2-1/4″ x 2-1/4″
- Bubble Bath or Berry Burst cardstock (center of flowers): scraps
- Berry Burst cardstock (flower): approx. 2-1/4″ x 2-1/4″
- Florals in Bloom Designer Series Paper: approx. 5″ x 3-3/4″
- Basic White cardstock (front and inside card): (2) 5-1/4″ x 4″
- Basic White cardstock (sentiment): approx. 4″ x 1-1/2″
The New Stampin’ Rewards Program

The New Stampin’ Rewards Program was rolled out on April 15th. You will receive 10% in rewards when your order is $20 or more but you have to opt in to get the rewards. The more you shop, the more you earn!
Last Chance Products
Click here to go straight to the Last Chance Products page on the Stampin’ Up! site!
Three New Stampin’ Up! Kits
Click each graphic below for more information about the kit.


Mountain Majesties Paper Pumpkin Kit
Did you know that Paper Pumpkin has moved to the Stampin’ Up! website? You can now order subscriptions and manage your subscription on the Stampin’ Up! website! If you’d like to subscribe, please click the graphic below.

An additional coordinating add-on is available but only for Paper Pumpkin subscribers. Click the image below for more information.

Thanks for stopping by today!
by Tracy | Apr 21, 2025 | Hello Card
The card I’m sharing with you today was made with the following products: Beautiful Butterflies Bundle, Beautiful Bokeh 6″ x 6″ Designer Series Paper, Perennial Postage Dies, Eyelet 3D Embossing Folder and Starburst Sequins.


I started with a piece of Fresh Freesia cardstock for the base of my card. Then, I adhered a piece of Beautiful Bokeh Designer Series Paper to the front of the card. Next, I used a piece of Basic White cardstock and cut it out using the Perennial Postage Dies. I ran it through my Stampin’ Cut & Emboss Machine using the Eyelet 3D Embossing Folder and then adhered it to the front of the card.


I stamped the sentiment onto Basic White cardstock in Fresh Freesia ink using the Beautiful Butterflies stamp set. When I cut it out using the Perennial Postage Dies, I had the sentiment over to very right because I slipped the excess under the butterfly. I then set the sentiment aside.
I cut the solid butterfly out of Fresh Freesia cardstock and the detailed one out of Beautiful Bokeh Designer Series Paper using the Beautiful Butterflies Dies (these dies come with Beautiful Butterflies Hybrid Embossing Folder). I adhered the detailed butterfly to the solid butterfly running a small amount of glue down the middle of the detailed butterfly. I cut an antenna for the butterfly out of Basic White cardstock and adhered the antenna to the body of the butterfly using Multipurpose Glue.


I decided where I wanted the sentiment to go and adhered it to the card. Then, I put Stampin’ Dimensionals on the back of the butterfly and adhered it to the front of the card.
To complete my card, I added a piece of Basic White cardstock to the inside and three small Starburst Sequins to the front of the card.


Supply List
Below you’ll find all the Stampin’ Up! supplies I used for today’s card. If you need any stamping supplies, I’d love to be your demonstrator! You can place an order by clicking any of the images below to go to my Stampin’ Up! online store. The Specialty Plate is used with 3D Embossing Folders and Hybrid Embossing Folders.
Measurements
- Fresh Freesia cardstock: 5-1/2″ x 8-1/2″ score at 4-1/4″
- Fresh Freesia cardstock (bold butterfly): approximately 4-1/2″ x 3-1/2″
- Basic White cardstock (embossed): approximately 5″ x 3-3/4″
- Basic White cardstock (antenna): scrap
- Basic White cardstock (sentiment): scrap
- Basic White cardstock (inside card): 5-1/4″ x 4″
- Beautiful Bokeh Designer Series Paper: 5-1/4″ x 4″
- Beautiful Bokeh Designer Series Paper (detailed butterfly): approximately 4-1/8″ x 3″
The New Stampin’ Rewards Program
The New Stampin’ Rewards Program was rolled out on April 15th. You will receive 10% in rewards when your order is $20 or more but you have to opt in to get the rewards. The more you shop, the more you earn!
Last Chance Products
Click here to go straight to the Last Chance Products page on the Stampin’ Up! site!
Three New Stampin’ Up! Kits
Click each graphic below for more information about the kit.
Mountain Majesties Paper Pumpkin Kit
Did you know that Paper Pumpkin has moved to the Stampin’ Up! website? You can now order subscriptions and manage your subscription on the Stampin’ Up! website! If you’d like to subscribe, please click the graphic below.
An additional coordinating add-on is available but only for Paper Pumpkin subscribers. Click the image below for more information.
Thanks for stopping by today!