by Tracy | Mar 21, 2025 | Thank You Card
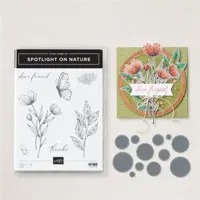
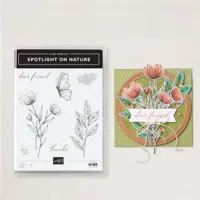
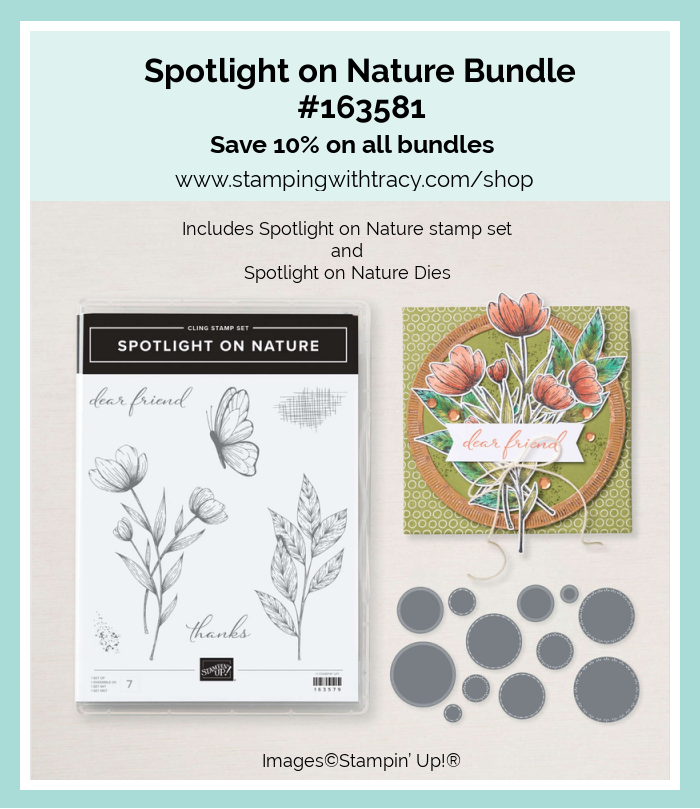
Today I’m sharing a card I made with a new Online Exclusive product, Botanical Textures Designer Series Paper. I also used the Spotlight on Nature Bundle, Silver Foil Sheets, Forever Plaid 3D Embossing Folder and Silver & White Sheer Ribbon.


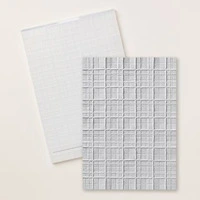
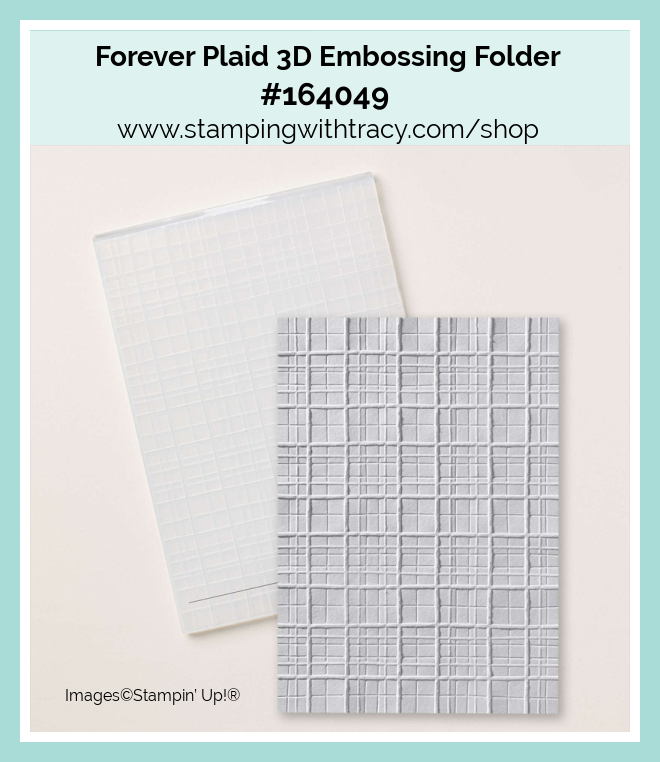
I started with a piece of Basic Black cardstock for the base of my card. Next, I embossed a piece of Basic Black cardstock using the Forever Plaid 3D Embossing Folder and my Stampin’ Cut & Emboss Machine. Then, I layered the embossed piece to a piece of Silver Foil and then adhered it to the base of the card.

I layered a piece of Botanical Textures Designer Series Paper to a piece of Basic White cardstock. Then, I wrapped a piece of Silver & White Sheer Ribbon around the piece and tied a knot. I then adhered it to the front of the card.

I stamped the sentiment onto a piece of Basic White cardstock using the stamp set, Spotlight on Nature, in Tuxedo Black Memento Ink. I cut the sentiment out using the Spotlight on Nature Dies. I added a Stampin’ Dimensional, one to the top and one to the bottom of the sentiment and adhered it down on the ribbon.
To complete my card, I added a piece of Basic White cardstock to the inside.


Supply List
Below you’ll find all the Stampin’ Up! supplies I used for today’s card. If you need any stamping supplies, I’d love to be your demonstrator! You can place an order by clicking any of the images below to go to my Stampin’ Up! online store. The Specialty Plate is used with 3D Embossing Folders and Hybrid Embossing Folders.
Measurements
- Basic Black cardstock: 4-1/4″ x 11″ scored at 5-1/2″
- Basic Black cardstock (embossed): 3-3/4″ x 5″
- Silver Foil: 4″ x 5-1/4″
- Basic White cardstock: 3-1/4″ x 4-1/4″
- Basic White cardstock (sentiment): approximately 2″ x 2″
- Basic White cardstock (inside): 4″ x 5-1/4″
- Botanical Textures Designer Series Paper: 3″ x 4″
Last Chance Products

Click here to go straight to the Last Chance Products page on the Stampin’ Up! site!
Two New Stampin’ Up! Kits
Click each graphic below for more information about the kit.


Inked Occasions Paper Pumpkin Kit
Did you know that Paper Pumpkin has moved to the Stampin’ Up! website? You can now order subscriptions and manage your subscription on the Stampin’ Up! website! If you’d like to subscribe, please click the graphic below.
If you have a current subscription to Paper Pumpkin, you will need to claim your subscription. You can follow written directions, here or you can watch a video, here.

An additional coordinating add-on is available but only for Paper Pumpkin subscribers. Click the image below for more information.

Thanks for stopping by today! Enjoy your weekend!
by Tracy | Feb 17, 2025 | Happy Birthday Card
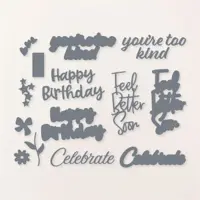
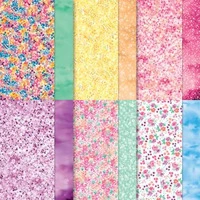
The card I’m sharing with you today was made using Wildflower Birthday Specialty Designer Series Paper, Wanted to Say Dies, Spotlight on Nature Dies and Party Dots.


I started with Blueberry Bushel cardstock for the base of my card. Then, I added a piece of Wildflower Birthday Specialty DSP to Gold Foil and then adhered it to the front of the card.

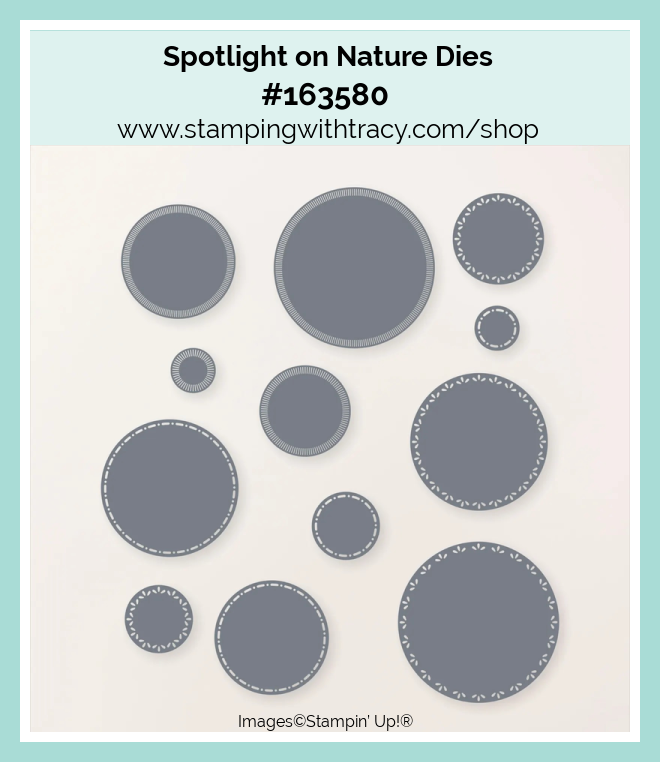
I used the Spotlight on Nature Dies to cut a Basic White cardstock circle. Next, I adhered one of the premade die cuts in the Wildflower Birthday Specialty DSP to the front, added Stampin’ Dimensionals to the back and adhered it to the card front.
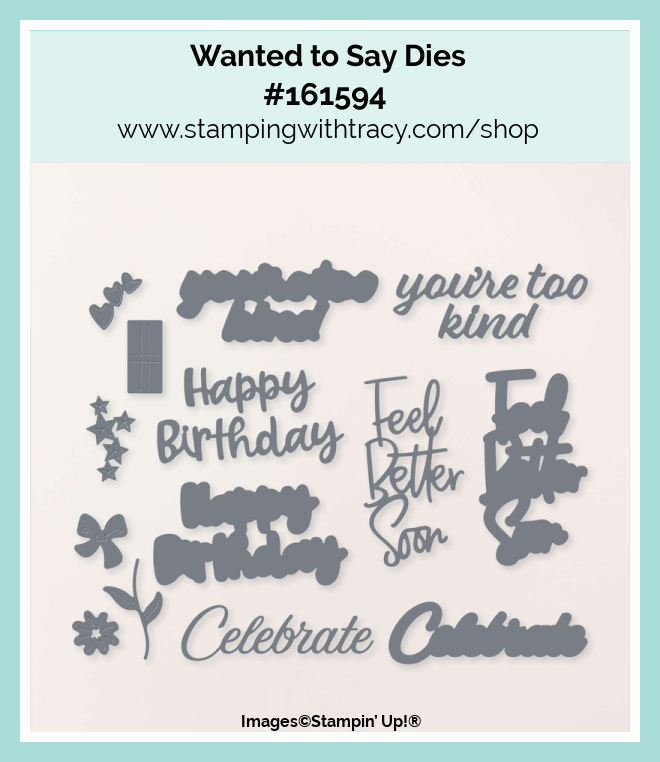
I used the Wanted to Say Dies to cut the background piece in “Happy Birthday” in Blueberry Bushel cardstock. Then, I added an adhesive sheet to the back of a piece of Gold Foil (for the actual words “Happy Birthday”) and then ran it through the Stampin’ Cut & Emboss Machine. I tore off the adhesive sheet and adhered it to the Blueberry Bushel background. I added Stampin’ Dimensionals to the back and adhered it to the front of the card.

To complete my card I added three Party Dots in Pretty in Pink around the cake slice and added a piece of Basic White cardstock to the inside of the card.


Supply List
Below you’ll find all the Stampin’ Up! supplies I used for today’s card. If you need any stamping supplies, I’d love to be your demonstrator! You can place an order by clicking any of the images below to go to my Stampin’ Up! online store.
Bundle Alert: The Spotlight on Nature Bundle is available with a 10% discount rather than buying the products separately.
Measurements
- Blueberry Bushel cardstock: 11″ x 4-1/2″ score at 5-1/2″
- Blueberry Bushel cardstock (background for Happy Birthday): approximately. 3-1/2″ x 2-1/4″
- Gold Foil Sheets: 5-1/4″ x 4″
- Gold Foil Sheets (Happy Birthday): approximately 3-1/4″ x 2″
- Wildflower Birthday Specialty Designer Series Paper: 5″ x 3-3/4″
- Wildflower Birthday Specialty Designer Series Paper: premade die cut
- Basic White cardstock (die cut circle): 3-1/2″ x 3-1/2″
- Basic White cardstock (inside card): 5-1/4″ x 4″
Sale-a-Bration
Click the graphic below to see what free products you can earn, then scroll down and click the different categories. On February 4th many more items were added to the $60 category! Please note: On the recently added products, these are products from the Mini and Annual Catalogs. You must use the Sale-a-Bration special item number, not the normal product number.

Become a Demonstrator and Purchase the Starter Kit During Sale-a-Bration

Stampin’ Up! always has a really good join offer during Sale-a-Bration and this year is no different! You have two options this year:
Option #1:
- $125 worth of products for $99
- Two Free Marker Sets
- A Free Stamp Set – Handmade Designs Cling Stamp Set
- Free Shipping
- That’s a $216 value for $99
Option #2
- $125 worth of products for $99
- Plus and additional $30 to spend on Stampin’ Up! products
- Free Shipping
- That’s a $155 value for $99
You can join the Stampin’ Up! family of demonstrators! There’s no pressure at all to sell or hold workshops! You can join for the incredible value and for the fun! You’ll get an ongoing discount on all products and early access to all product launches! If you have more questions, you can look here, and if I don’t address your questions, just shoot me an email (look on the sidebar). If you’re ready to join the Stampin’ Up! family, you can click here.
Last Chance Products
Click here to go straight to the Last Chance Products page on the Stampin’ Up! site!
Two New Stampin’ Up! Kits
Click each graphic below for more information about the kit.


Paper Pumpkin Kit – Daisy Daydream

An additional coordinating add-on is available but only for Paper Pumpkin subscribers. Click the image below for more information.

Thanks for stopping by today!
by Tracy | Feb 12, 2025 | Hello Card
The card I’m sharing with you today was made using Wildflower Birthday Specialty Designer Series Paper, Beautiful Butterflies stamp set, Spotlight on Nature dies, and Party Dots. If any links don’t work, please try them again. Stampin’ Up! let demos know that this is a global issue impacting links beyond just Stampin’ Up!, meaning you may encounter other broken links while browsing the web. Stampin’ Up! has not yet provided an estimated timeline for resolution.

I started with Pretty in Pink cardstock for the base of my card. Then, I cut a piece of Wildflower Birthday Designer Series Paper and adhered it to the front of the card. You can find the measurements I used below the Supply List.

I used the Spotlight on Nature Dies to cut a large circle and a smaller circle out of Basic White cardstock. Then, I punched the premade die cuts out and arranged them on the larger circle and adhered the die cuts down. I added Stampin’ Dimensionals to the back of the circle and then set it aside.
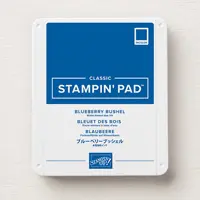
I stamped my sentiment on the smaller circle in Blueberry Bushel ink. Next, I decided where I wanted the circles to be on the card front. I adhered the smaller circle first and then the larger circle.


To complete my card, I added three Party Dots in Pretty in Pink to the larger circle and then added a piece of Basic White cardstock to the inside. I love how this card turned out and I’m having fun using the Wildflower Birthday DSP.

Supply List
Below you’ll find all the Stampin’ Up! supplies I used for today’s card. If you need any stamping supplies, I’d love to be your demonstrator! You can place an order by clicking any of the images below to go to my Stampin’ Up! online store
Measurements
- Pretty in Pink cardstock: 11” x 4-1/4” scored at 5-1/2” OR 8-1/2” x 5-1/2” scored at 4-1/4” the only difference is how the card
- Wildflower Birthday Specialty Designer Series Paper: 5-1/4″ x 4″
- Basic White cardstock (large circle): approximately 4-1/4″ x 4-1/4″
- Basic White cardstock (small circle): approximately 2″ x 2″
- Basic White cardstock (inside card): 5-1/4″ x 4″
Sale-a-Bration
Click the graphic below to see what free products you can earn, then scroll down and click the different categories. On February 4th many more items were added to the $60 category! Please note: On the recently added products, these are products from the Mini and Annual Catalogs. You must use the Sale-a-Bration special item number, not the normal product number.
Become a Demonstrator and Purchase the Starter Kit During Sale-a-Bration
Stampin’ Up! always has a really good join offer during Sale-a-Bration and this year is no different! You have two options this year:
Option #1:
- $125 worth of products for $99
- Two Free Marker Sets
- A Free Stamp Set – Handmade Designs Cling Stamp Set
- Free Shipping
- That’s a $216 value for $99
Option #2
- $125 worth of products for $99
- Plus and additional $30 to spend on Stampin’ Up! products
- Free Shipping
- That’s a $155 value for $99
You can join the Stampin’ Up! family of demonstrators! There’s no pressure at all to sell or hold workshops! You can join for the incredible value and for the fun! You’ll get an ongoing discount on all products and early access to all product launches! If you have more questions, you can look here, and if I don’t address your questions, just shoot me an email (look on the sidebar). If you’re ready to join the Stampin’ Up! family, you can click here.
Last Chance Products
Click here to go straight to the Last Chance Products page on the Stampin’ Up! site!
Two New Stampin’ Up! Kits
Click each graphic below for more information about the kit.
Paper Pumpkin Kit – Daisy Daydream
An additional coordinating add-on is available but only for Paper Pumpkin subscribers. Click the image below for more information.
Thanks for stopping by today!
by Tracy | Jan 23, 2025 | Thank You Card
I’ve made a few more cards using Bloom Impressions Designer Series Paper (FREE with a $60 order during Sale-a-Bration). You can see another card I made with this same design using Beautiful Bokeh 6″ x 6″ Designer Series Paper, here!
For today’s card, I also used the Spotlight on Nature Bundle which includes the Spotlight on Nature dies and the Spotlight on Nature stamp set.


I started with a piece of Blackberry Bliss cardstock for the base of my card. Then I cut a piece of Basic White cardstock and scored it in two places (you can find the measurements I used below the Supply List). I cut two pieces of Bloom Impressions DSP and attached them to the front flaps.

I then folded up the Basic White cardstock and adhered it to the Blackberry Bliss cardstock base using Tear & Tape Adhesive (that’s what I like to use) but you can also use Stampin’ Seal+.
I stamped the sentiment in Blackberry Bliss ink onto Basic White cardstock using the stamp set Spotlight on Nature and cut it out using the Spotlight on Nature Dies. I cut another, larger circle out of Blackberry Bliss cardstock using the next larger shape in the Spotlight on Nature Dies. I adhered the sentiment to the Blackberry Bliss circle, added Stampin’ Dimensionals to the back but only on the right and adhered it to the left flap.

Here’s two more variations. With this first one I used Blackberry Bliss cardstock and Blackberry Bliss ink. With both of them I used the Starstruck Embossing Folder (FREE with a $60 order during Sale-a-Bration).


With this next one I used Bloom Impressions DSP and Melon Mambo cardstock and Melon Mambo ink.

Supply List
Below you’ll find all the Stampin’ Up! supplies I used for today’s cards. If you need any stamping supplies, I’d love to be your demonstrator! You can place an order by clicking any of the images below to go to my Stampin’ Up! online store.
Measurements
- Blackberry Bliss or Melon Mambo cardstock: 5-1/2″ x 4-1/4″
- Blackberry Bliss or Melon Mambo cardstock (circle underneath sentiment): approx. 2-1/2″ x 2-1/2″
- Basic White cardstock: 11″ x 4″ score at 3″ & 8-1/4″
- Basic White cardstock (inside): 5″ x 3-3/4″
- Basic White cardstock (sentiment): approximately 2″ x 2″
- Bloom Impressions Designer Series Paper: 3-3/4″ x 2-3/4″
- Bloom Impressions Designer Series Paper or Basic White cardstock (embossed): 3-3/4″ x 2-1/2″
Sale-a-Bration
Click the graphic below to see what you can earn, then scroll down and click the different categories.
Become a Demonstrator and Purchase the Starter Kit
Stampin’ Up! always has a really good join offer during Sale-a-Bration and this year is no different! You have two options this year:
Option #1:
- $125 worth of products for $99
- Two Free Marker Sets
- A Free Stamp Set – Handmade Designs Cling Stamp Set
- Free Shipping
- That’s a $216 value for $99
Option #2
- $125 worth of products for $99
- Plus and additional $30 to spend on Stampin’ Up! products
- Free Shipping
- That’s a $155 value for $99
You can join the Stampin’ Up! family of demonstrators! There’s no pressure at all to sell or hold workshops! You can join for the incredible value and for the fun! You’ll get an ongoing discount on all products and early access to all product launches! If you have more questions, you can look here, and if I don’t address your questions, just shoot me an email (look on the sidebar). If you’re ready to join the Stampin’ Up! family, you can click here.
Last Chance Products
Click here to go straight to the Last Chance Products page on the Stampin’ Up! site!
Three New Stampin’ Up! Kits
Click each graphic below for more information about the kit.


Paper Pumpkin Kit – Hello Spring

An additional coordinating add-on is available but only for Paper Pumpkin subscribers. Click the image below for more information.
Thanks for stopping by today! Enjoy your day!
by Tracy | Jan 6, 2025 | Thank You Card
Before I share my card with you today, I want to remind you that tomorrow the January-April 2025 Mini Catalog goes live as well as some new Online Exclusives and Sale-a-Bration begins!

Sale-a-Bration is when every $60 or $120 you spend on Stampin’ Up! products (before tax/shipping), you can choose a FREE Sale-a-Bration product!

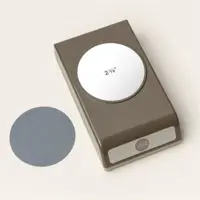
Now, on to my card! I’ve used the stamp set from the Mini Catalog which goes live tomorrow, With You In Mind and Wildflower Birthday Specialty Designer Series Paper, also in the new Mini Catalog. I also used the Spotlight On Nature Dies, 2-3/8″ Circle Punch, our Gold Foil Sheets and Iridescent Foil Gems.

I started with a piece of Blueberry Bushel cardstock for the base of my card. Then, I layered a piece of Gold Foil Sheet and a piece of Wildflower Birthday Designer Series Paper and adhered it to the front of the card.


I stamped the sentiment onto Very Vanilla cardstock using the stamp set, With You in Mind and Blueberry Bushel ink. I cut the sentiment out using the 2-3/8″ Circle Punch. Then, I cut a circle out of the Spotlight on Nature Dies in Gold Foil. I adhered the sentiment to the front, added Stampin’ Dimensionals to the back and adhered it to the front of the card.

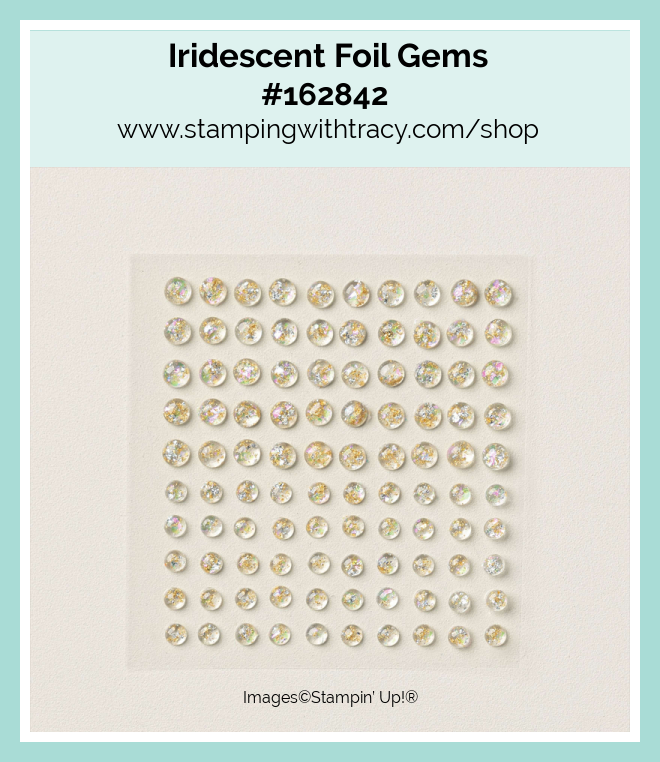
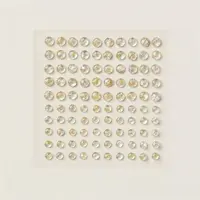
To complete my card, I added three Iridescent Foil Gems to the front (I love the little flecks of gold in these gems) and added a piece of Very Vanilla cardstock to the inside of the card.

Supply List
Below you’ll find all the Stampin’ Up! supplies I used for today’s card. If you need any stamping supplies, I’d love to be your demonstrator! You can place an order by clicking any of the images below to go to my Stampin’ Up! online store.
I also used:
- With You in Mind stamp set #164747 available January 7th
- Wildflower Birthday Speciatly Designer Series Paper #164591 available January 7th
Measurements
- Blueberry Bushel cardstock: 11″ x 4-1/4″ scored at 5-1/2″
- Gold Foil Sheet: 5-1/4″ x 4″
- Gold Foil Sheet (circle): scrap
- Very Vanilla cardstock (sentiment): scrap
- Very Vanilla cardstock (inside card): 5-1/4″ x 4″
- Wildflower Birthday Specialty Designer Series Paper: 5″ x 3-3/4″
Last Chance Products
Click here to go straight to the Last Chance Products page on the Stampin’ Up! site!
Special Release of Three Designer Series Papers
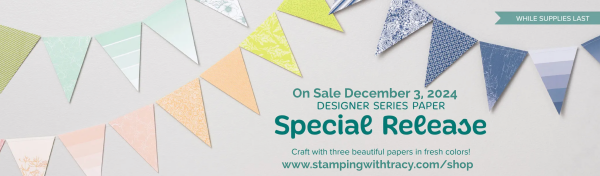
Click here to see the new papers in the Online Exclusives part of the Stampin’ Up! Online Store
We Will Have Three New Stampin’ Up! Kits on January 7, 2025
I don’t get information beforehand about the kits so I’ll update this when I have information!
Paper Pumpkin Kit – Hearts For You

An additional coordinating add-on is available but only for Paper Pumpkin subscribers. Click the image below for more information.
Thanks for stopping by today!