by Tracy | Nov 25, 2024 | Christmas Card
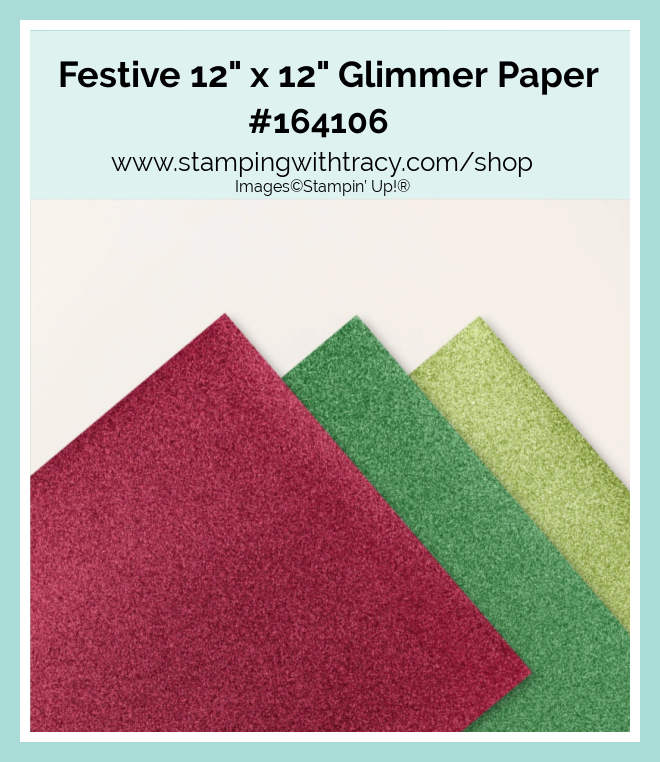
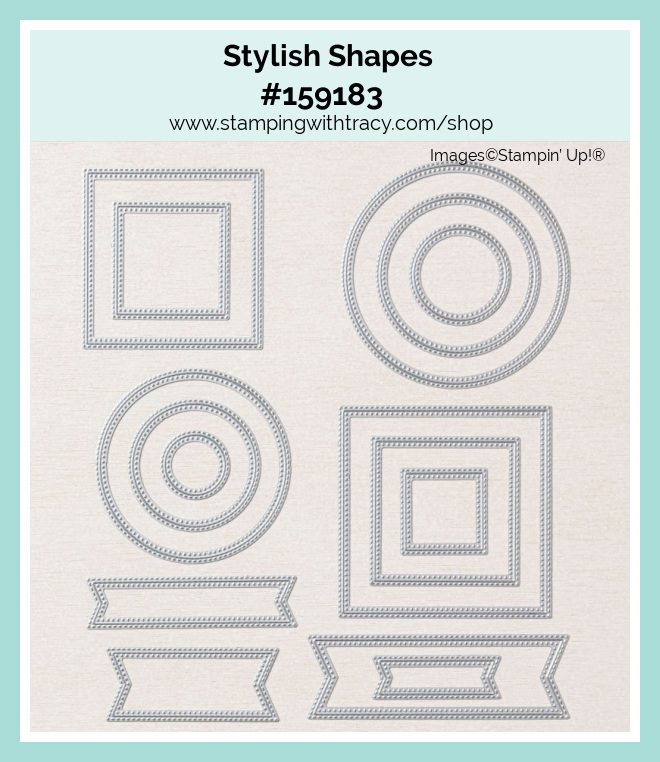
The card I’m sharing with you today was made using Stampin’ Up! A Little Bit Festive Designer Series Paper, Christmas Friends stamp set, Stylish Shapes Dies, Festive 12″ x 12″ Glimmer Paper and the Forever Plaid 3D Embossing Folder.
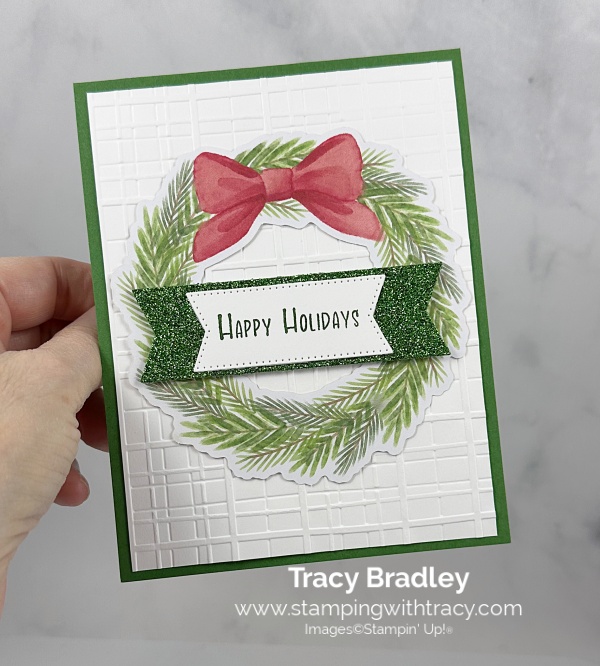
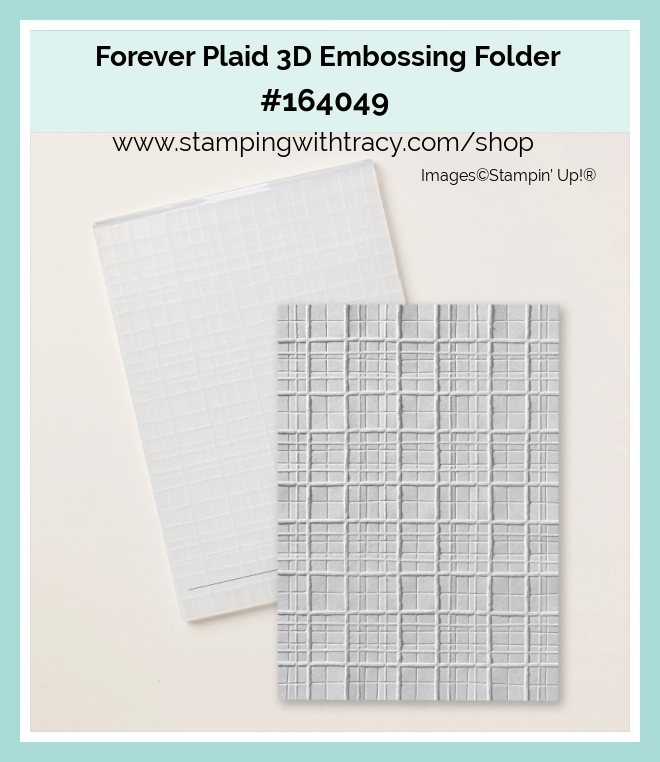
I started with a piece of Garden Green cardstock for the base of my card. Then, I embossed a piece of Basic White cardstock using the Forever Plaid 3D Embossing Folder and my Cut & Emboss Machine. Next, I adhered the embossed cardstock to the front of the card.
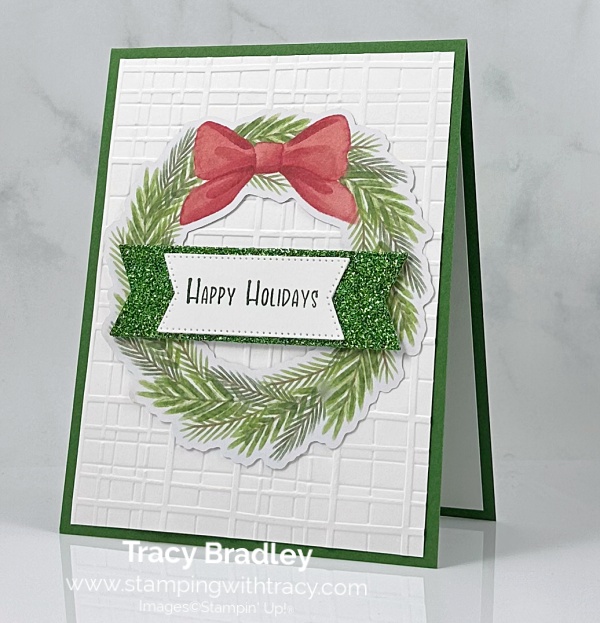
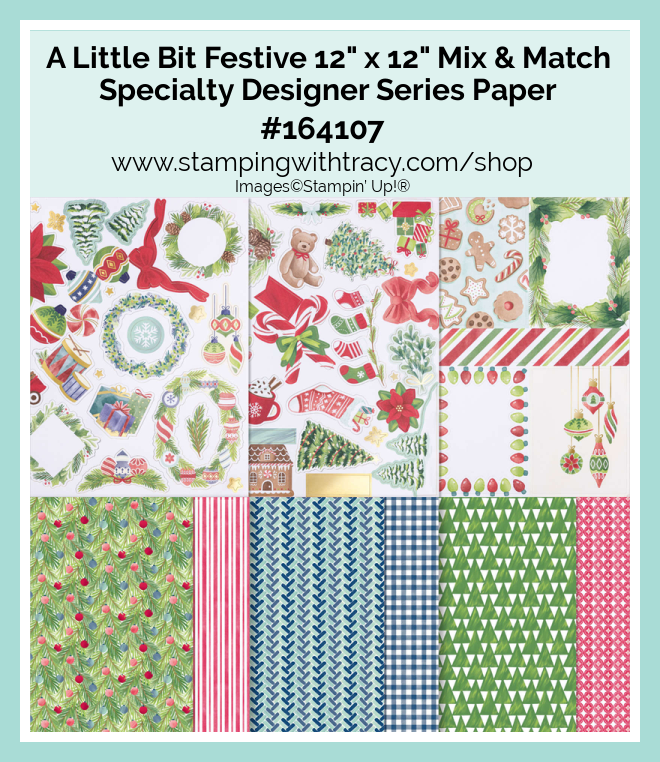
Did you know Stampin’ Up! A Little Bit Festive Designer Series Paper comes with cut outs? My wreath is a cut out! After I punched the wreath out, I adhered it to the front of the card. I used our Festive Glimmer Paper to cut a banner using the Stylish Shapes Dies.
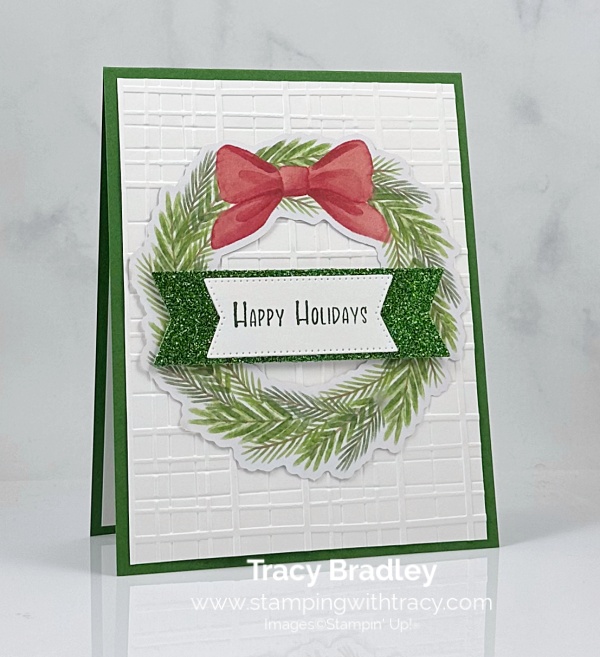
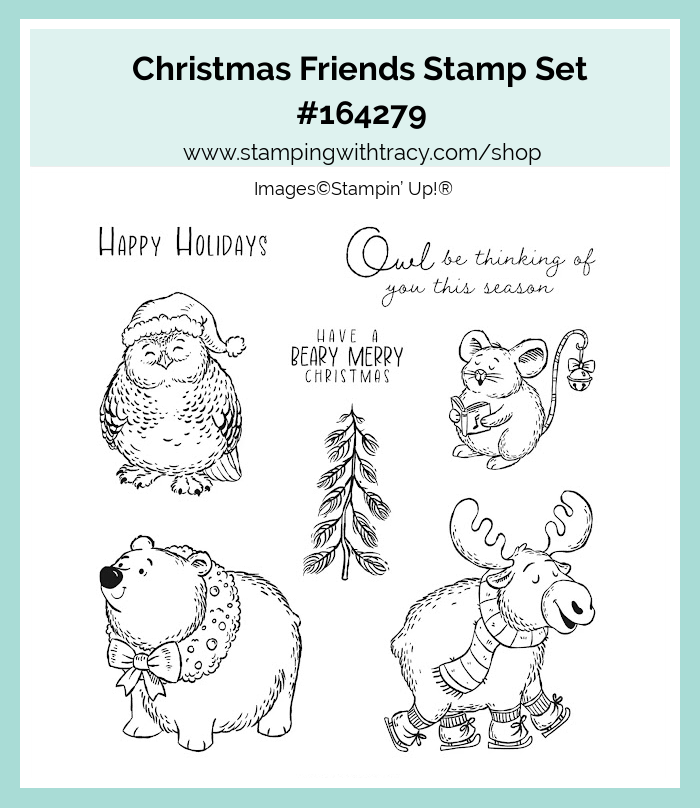
I stamped the sentiment onto Basic White cardstock using Garden Green ink and the stamp set, Christmas Friends. Then, I cut it out using the smaller banner in the Stylish Shapes Dies. I adhered the sentiment to the Glimmer Paper and then added Stampin’ Dimensionals to the back of the Glimmer Paper and adhered it to the wreath.
To complete my card, I added a piece of Basic White cardstock to the inside of the card.

Supply List
Below you’ll find all the Stampin’ Up! supplies I used for today’s card. If you need any stamping supplies, I’d love to be your demonstrator! You can place an order by clicking any of the images below to go to my Stampin’ Up! online store. The Specialty Plate is used with 3D Embossing Folders.
Measurements
- Garden Green cardstock: 11” x 4-1/4” scored at 5-1/2” OR 8-1/2” x 5-1/2” scored at 4-1/4”
- Basic White cardstock: (2) 5-1/4″ x 4″
- Basic White cardstock (sentiment): scrap
- Garden Green Glimmer Paper: scrap
- A Little Bit Festive Designer Series Paper: wreath
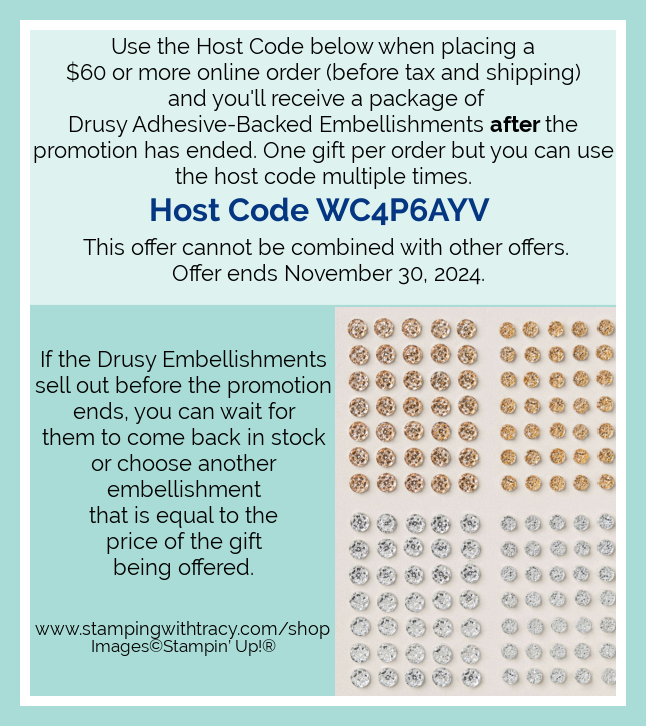
Free Drusy Adhesive-Backed Embellishments with an Order of $60 Using the Host Code

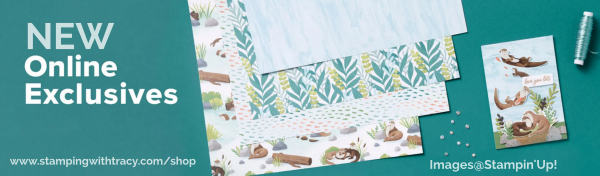
New Online Exclusives
New Online Exclusives went live November 5th. Click here to see what’s new!
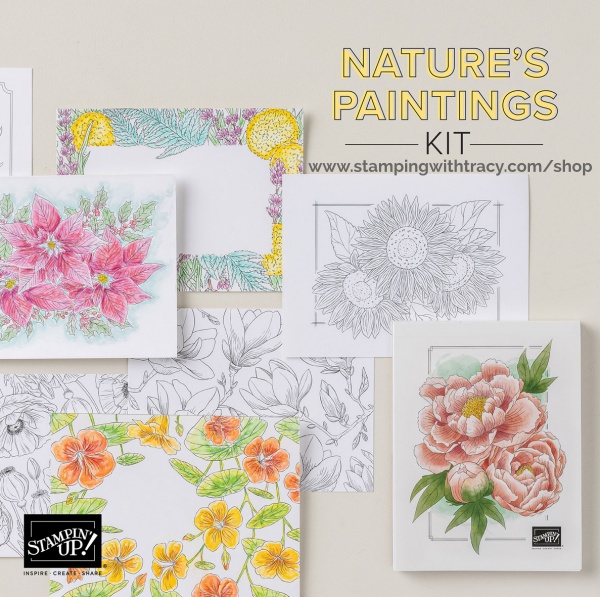
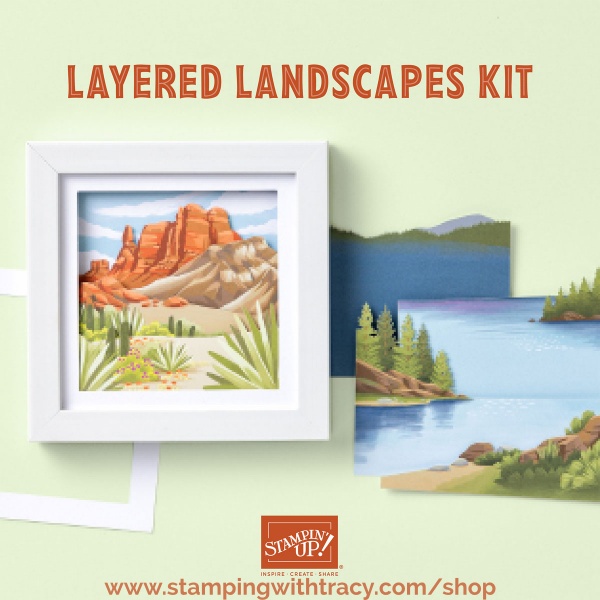
Two New Stampin’ Up! Kits!
Click each graphic for more information!
December Paper Pumpkin Kit
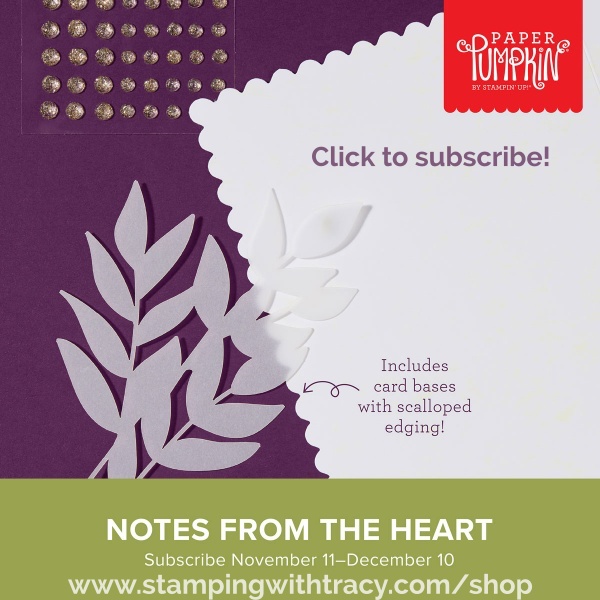
An additional coordinating add-on is available but only for Paper Pumpkin subscribers. Click the image below for more information.

I hope you have a wonderful day!
by Tracy | Nov 21, 2024 | Christmas Card
Before sharing my card with you, because it’s my birthday today, I’m going to offer Double Bradley Points for today only, November 21st! You can earn free products when you earn 10 Bradley Points! You earn Bradley Points with every $50 purchase!
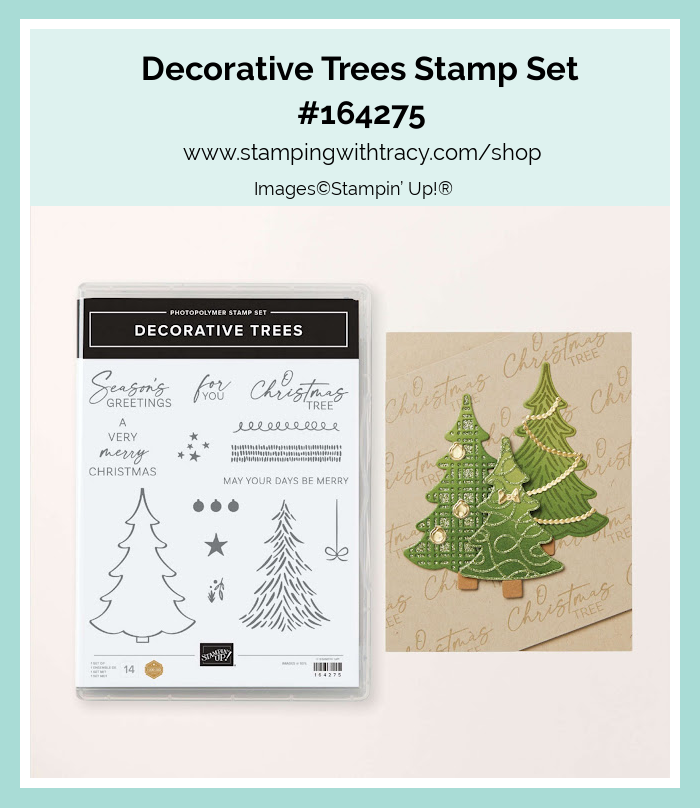
The card I’m sharing today was made using Stampin’ Up! A Little Bit Festive Specialty Designer Series Paper, the Decorative Trees stamp set and Stylish Shapes Dies. I’ve created a pocket where you can insert a gift card and note or just a note.
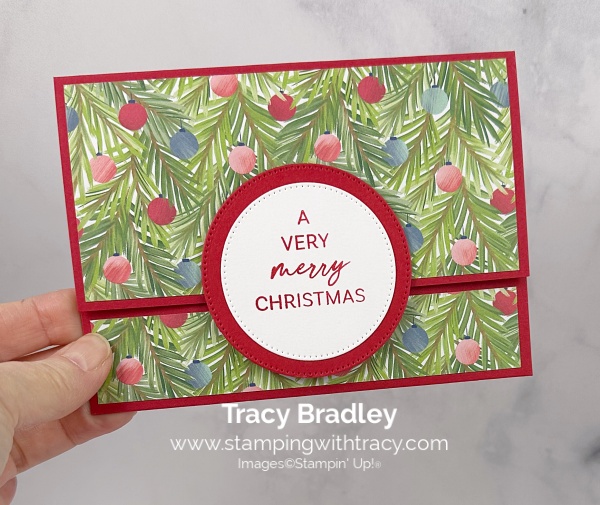
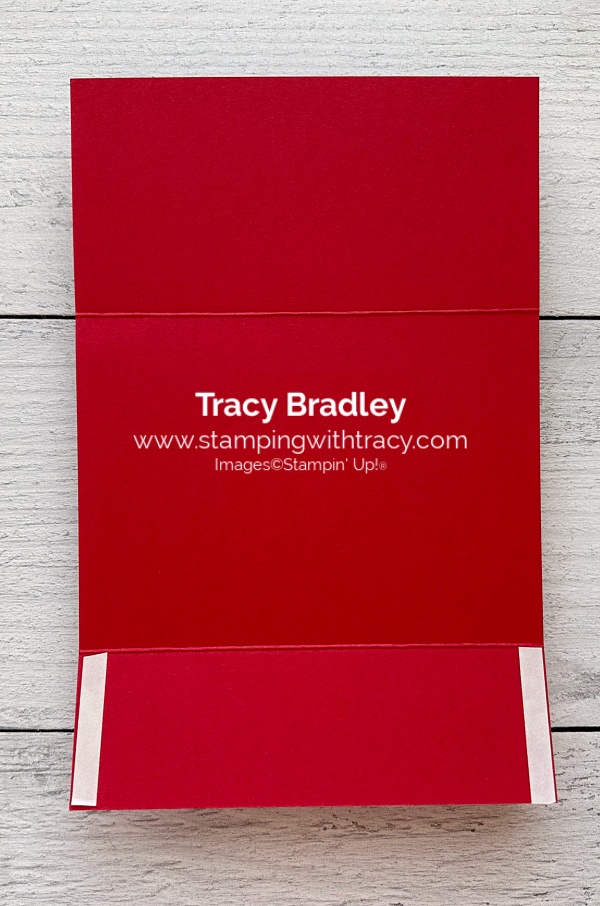
I started with a piece of Real Red cardstock for the base of my card. I scored it in two places (you can see the measurements I used below the Supply List) and then used my bone folder to burnish the score lines. On the smaller end (you can see the picture below), I added a strong adhesive, such as Tear & Tape, to both ends and folded up to create the pocket.

I added A Little Bit Festive Designer Series Paper to the top portion on the front and then shut the card so I could apply the bottom part. I cut a piece of Basic White cardstock to put in the pocket and adhered a strip of A Little Bit Festive Designer Series Paper. I will give you the measurements of the exact size but I like to cut it a bit longer than I need and then trim it off.
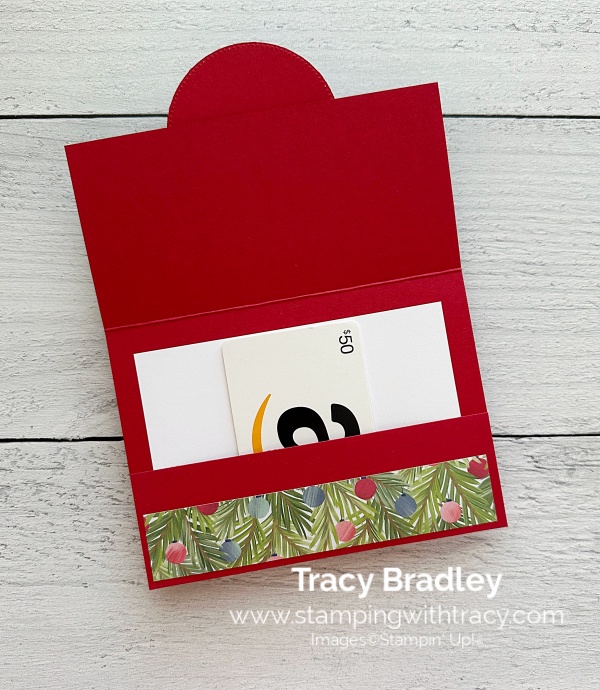

I stamped the sentiment in Real Red ink onto Basic White cardstock using the Decorative Trees stamp set. I cut the sentiment out using the Stylish Shapes Dies and then cut the next larger circle out of Real Red cardstock. I adhered the sentiment to the Real Red circle, added Stampin’ Dimensionals to the back, on only the upper part, and then adhered it to the upper flap.
Supply List
Below you’ll find all the Stampin’ Up! supplies I used for today’s card. If you need any stamping supplies, I’d love to be your demonstrator! You can place an order by clicking any of the images below to go to my Stampin’ Up! online store.
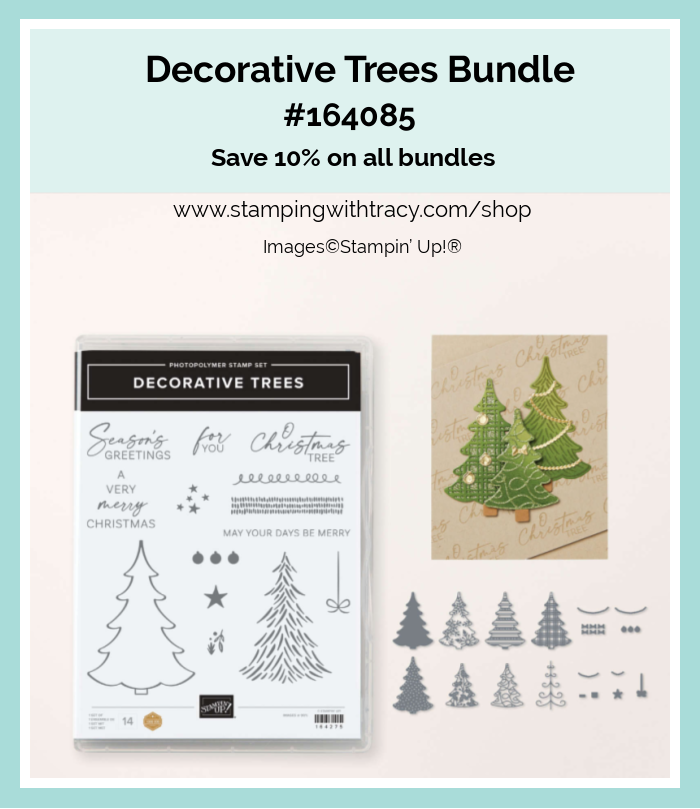
Bundle Alert: The Decorative Trees Bundle is available with a 10% discount rather than buying the products separately.
Measurements
- Real Red cardstock: 8-1/2″ x 5-1/2″ score at 2-3/4″ x 6-3/4″
- Real Red cardstock (underneath sentiment): scrap
- Basic White cardstock (in pocket): 4-3/4″ x 3-1/2″
- Basic White cardstock (sentiment): scrap
- A Little Bit Festive Designer Series Paper: 5-1/4″ x 2-1/2″
- A Little Bit Festive Designer Series Paper: 5-1/4″ x 1″
Free Drusy Adhesive-Backed Embellishments with an Order of $60 Using the Host Code
New Online Exclusives
New Online Exclusives went live November 5th. Click here to see what’s new!
Two New Stampin’ Up! Kits!
Click each graphic for more information!
December Paper Pumpkin Kit
An additional coordinating add-on is available but only for Paper Pumpkin subscribers. Click the image below for more information.
Thanks for stopping by today!
by Tracy | Nov 19, 2024 | Christmas Card
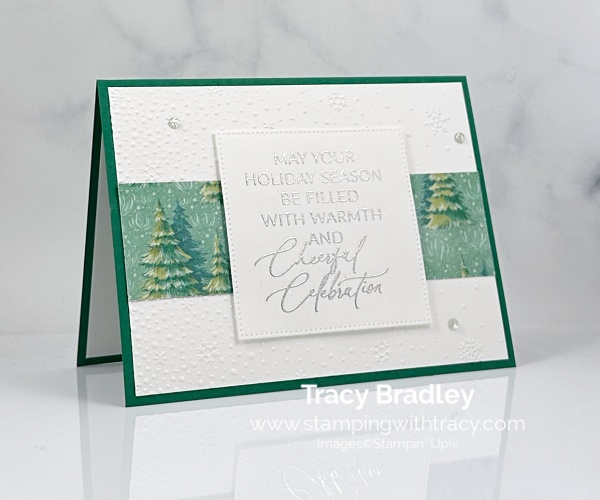
Today I’m sharing a card I made using Stampin’ Up! Sentimental Christmas Designer Series Paper, Greetings of the Season stamp set, Stylish Shapes Dies, Snowflake Sky 3D Embossing Folder (currently on the Low Inventory List). I also added some silver embossing powder to my sentiment to make it sparkle!
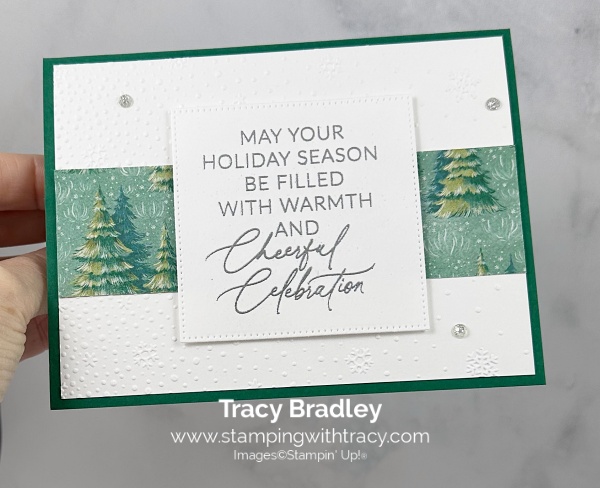


I started with a piece of Shaded Spruce for the base of my card. Then I embossed a piece of Basic White cardstock using the Snowflake Sky 3D Embossing Folder and my Stampin’ Cut & Emboss Machine. Next, I cut a piece of Sentimental Christmas Designer Series Paper (I like to cut this paper longer than I actually need and then trim it off; I will add the exact dimensions of the finished piece below the Supply List). I then adhered it to the embossed Basic White cardstock and then adhered it to the front of the card.
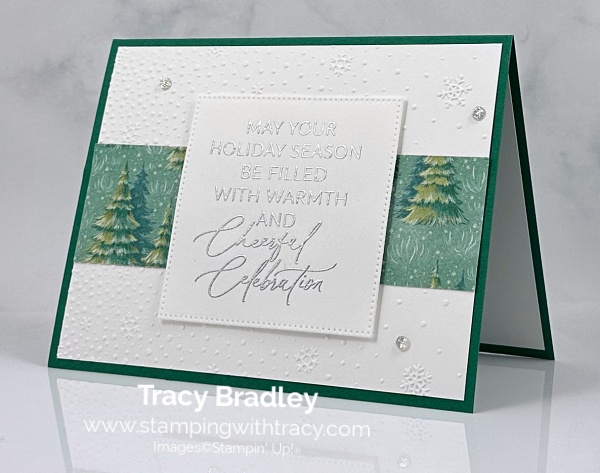
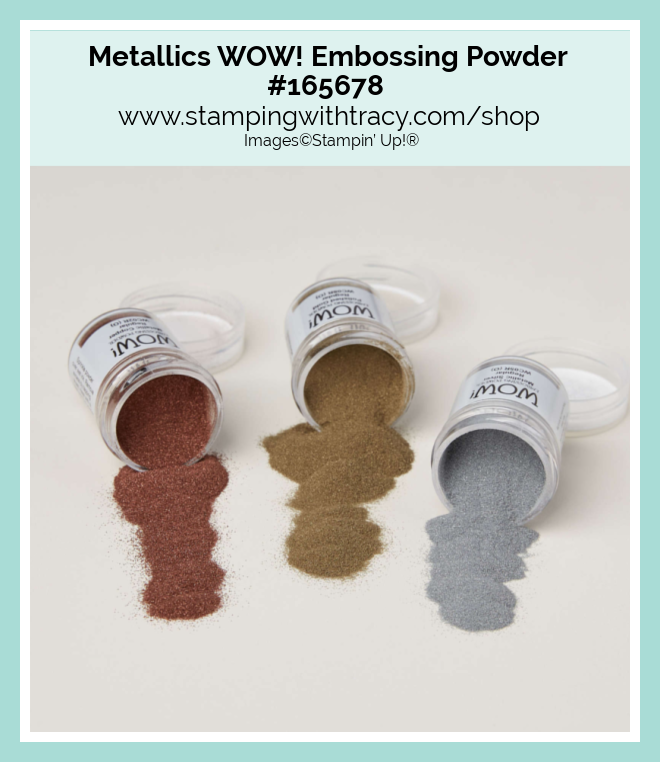
I stamped the sentiment onto Basic White cardstock using a Versamark ink pad, sprinkled my silver embossing powder over it and then heated it with my heat tool. I used the Stylish Shapes Dies to cut it out, added Stampin’ Dimensionals to the back (I like to use a lot of Dimensionals) and adhered it to the front of the card.
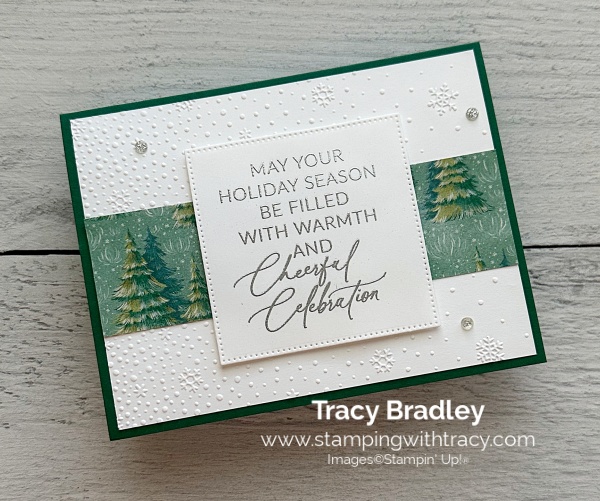
To complete my card, I added three Adhesive-Backed Sparkle Gems in silver, to the front and added a piece of Basic White cardstock to the inside of the card.
How to Heat Emboss
Prepare your cardstock by rubbing the Embossing Buddy (an anti-static pouch that can be found in the Embossing Additions Tool Kit) over the surface of the paper as it helps keep away stray particles of embossing powder. Stamp your sentiment or image using a Versamark pad. This is very sticky ink and your embossing powder will stick right to it. Sprinkle embossing powder over the stamped image and then shake off any excess. Before applying heat to your paper, heat the Heat Tool first so your paper won’t warp (about 10 seconds). Direct the heat over your image and watch as your image becomes shiny and beautiful!
Supply List
Below you’ll find all the Stampin’ Up! supplies I used for today’s card. If you need any stamping supplies, I’d love to be your demonstrator! You can place an order by clicking any of the images below to go to my Stampin’ Up! online store. The Specialty Plate is used with 3D Embossing Folders.
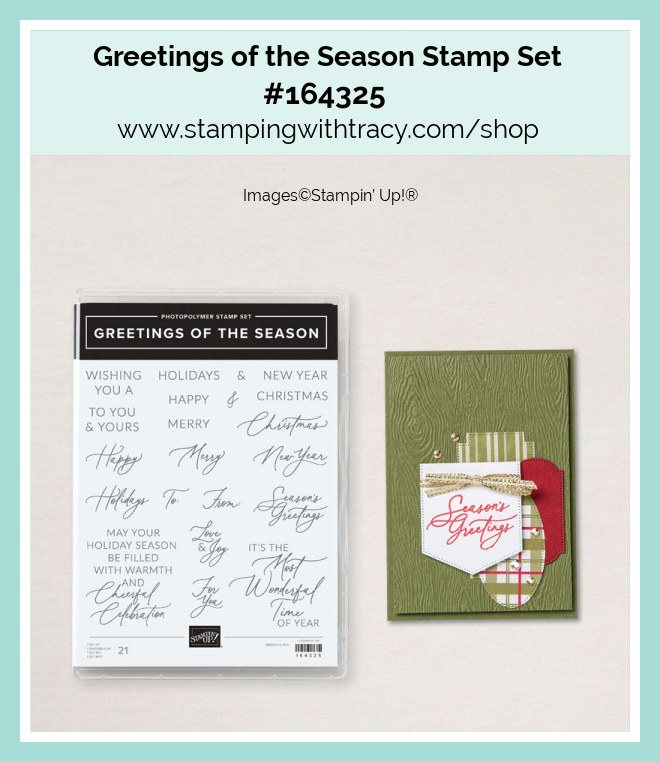
Bundle Alert: The Greetings of the Season Bundle is available with a 10% discount rather than buying the products separately.

Measurements for Today’s Card
- Shaded Spruce cardstock: 8-1/2″ x 5-1/2″ score at 4-1/4″
- Basic White cardstock: (2) 5-1/4″ x 4″
- Basic White cardstock (sentiment): approx. 3-1/4″ x 3-1/4″
- Sentimental Christmas Designer Series Paper: 5-1/4″ x 1-1/2″
Tomorrow is the Last Day to Get My Christmas Cards Card Sampler
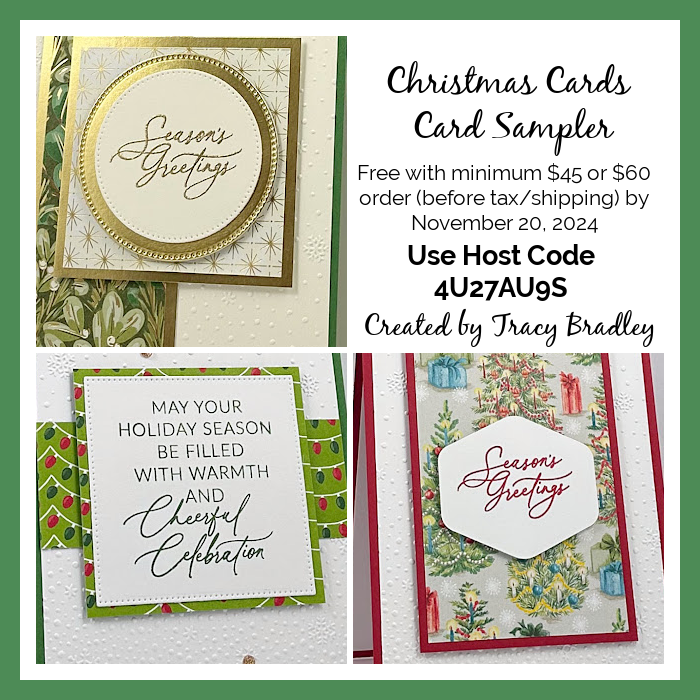
My Christmas Cards Card Sampler is now available! When you use the host code 4U27AU9S and your order is a minimum of $45 or $60 (before shipping/tax), I’ll send you one each of three different cards if your order is $45 (up to $59.99) or I’ll send you two each of three different cards when your order is $60 or more. To create this card sampler, I used the Greetings of the Season stamp set, Sentimental Christmas Designer Series Paper, Reindeer Days Designer Series Paper and Season of Green & Gold Designer Series Paper.
Here’s What You’ll Receive:
- All the paper and embellishments needed to make three or six cards. Envelopes will also be provided. For this Sampler you only need to provide a stamp set, ink and adhesive (see below for what you’ll need).
- A PDF Tutorial with instructions, pictures, cutting measurements and a complete supply list of all the products used.
- Earn at least one Bradley Point (earn ten Bradley Points and redeem them for free product) when your order is $50 or more.
- If your order is over $150, please do not use the host code or you won’t receive your Stampin’ Rewards. After you place your order, simply email me and let me know that you’d like the Greetings of the Season Card Sampler (you only need to do this if your order is over $150). You can send me an email on the sidebar.
All the Other Important Information:
- Your Christmas Cards Card Sampler Sampler will be shipped first-class mail approximately November 30, 2024 and will be mailed to the address used on your online order.
- You’ll receive an email when I mail your Card Sampler and the PDF Tutorial will be included in that email.
- When using the Christmas Cards Card Sampler host code to place your order, you will not qualify for other current host code rewards.
- Per Stampin’ Up! policy, card samplers can only be mailed within the United States.
For more information and the supplies you’ll need to complete the Christmas Cards Card Sampler, click here!
Free Drusy Adhesive-Backed Embellishments with an Order of $60 Using the Host Code
New Online Exclusives
New Online Exclusives went live November 5th. Click here to see what’s new!
Two New Stampin’ Up! Kits!
Click each graphic for more information!
December Paper Pumpkin Kit
An additional coordinating add-on is available but only for Paper Pumpkin subscribers. Click the image below for more information.
Thanks for stopping by today!
by Tracy | Oct 10, 2024 | You're the Best
Today I’m sharing three more cards I made using the same layout I used on Tuesday. You can see Tuesday’s card here.
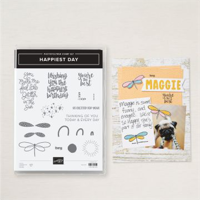
For this first card I used Perennial Lavender Designer Series Paper, Stylish Shapes Dies, Happiest Day stamp set and the Fern 3D Embossing Folder ( I used the Stylish Shapes Dies and the Happiest Day stamp set for all the cards).


I started with Pretty Peacock for the base of my card. Then, I embossed a piece of Basic White cardstock using the Fern 3D Embossing Folder and my Stampin’ Cut & Emboss Machine. I adhered the embossed cardstock on the inside flap of the card. Next I cut a piece of Perennial Lavender DSP and adhered it to the front of the card.


I stamped the sentiment onto Basic White cardstock using Pretty Peacock ink and the stamp set, Happiest Day. I cut it out using the Stylish Shapes Dies. Then, I cut a larger circle using the same dies out of Pretty Peacock cardstock. I adhered the sentiment to the Pretty Peacock circle. I added Stampin’ Dimensionals just at the top of the sentiment and adhered it to the DSP.

To complete my card, I added a piece of Basic White cardstock to the inside of the card. This is a quick and easy to make card!


For this next card, I also used Perennial Lavender Designer Series Paper and the Eyelet 3D Embossing Folder, Highland Heather cardstock and Gorgeous Grape ink.


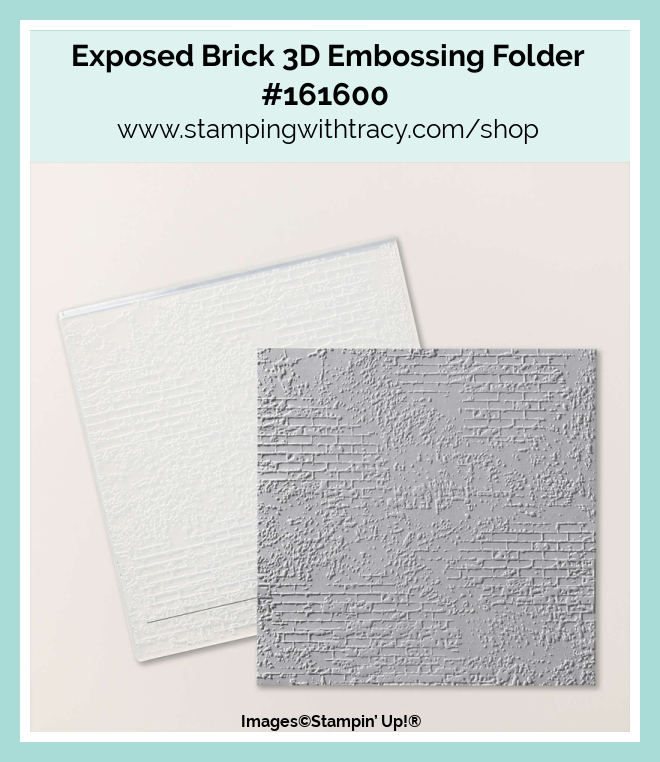
For this final card, I used Regal Winter Designer Series Paper, Exposed Brick 3D Embossing Folder and Blackberry Bliss cardstock and ink.


Supply List
Below you’ll find all the Stampin’ Up! supplies I used for today’s card. If you need any stamping supplies, I’d love to be your demonstrator! You can place an order by clicking any of the images below to go to my Stampin’ Up! online store. The Specialty Plate is used with 3D Embossing Folders.
Measurements
- Blackberry Bliss, Pretty Peacock and Highland Heather cardstock: 11″ x 5-1/2″ scored at 3″ & 7-1/4″
- Blackberry Bliss Pretty Peacock and Highland Heather cardstock (under sentiment): approx. 2-1/2″ x 2-1/2″
- Basic White cardstock (inside): 5-1/4″ x 4″
- Basic White cardstock (embossed): 5-1/4″ x 3-1/2″
- Basic White cardstock (sentiment): approx. 2″ x 2″
- Regal Winter or Perennial Lavender Designer Series Paper: 5-1/4″ x 2-3/4″
Kits Collection Sale!
During the month of October, you can save up to 30% off Stampin’ Up! Kits. Each kit comes with everything you need to create an unique paper craft. Each kit is only available while supplies last. This promotion will end on October 31st. Click here to see all the kits Stampin’ Up! offers.

Starter Kit Special

From October 1–31, anyone who signs up to be a Stampin’ Up! demonstrator will get $155 worth of products in their Starter Kit for just $99! This offering also includes FREE business supplies and FREE shipping. The Starter Kit is for anyone – the business minded person or the person who wants to get at least a 20% discount on the products they buy! It’s a great deal for anyone! For more information, please click here!

Annual Catalog 2024-2052 Products
Stampin’ Up! has created a PDF of Designer Series Paper, Dies and Punches that can be found in the Annual Catalog. You can download (or print) the PDF here.
Two New Kits by Stampin’ Up!
Click each image below for more information about the kit. These new kits are also on sale!


To see all of the kits Stampin’ Up! offers, click here!
Online Exclusives

Click here to shop Stampin’ Up! Online Exclusives!
Last Day for Nests of Christmas Paper Pumpkin

Have you thought about subscribing to Paper Pumpkin? Now is the time to do it! You’ll get 40% off the first month when you subscribe by October 10th. Use the code HOLIDAY40. This is the last day you can sign up for the discount and the last day to order this kit.
Please read the terms below:
- This offer is only for new month to month subscribers.
- The discount will be applied to one kit in the first shipment of the Paper Pumpkin subscription. After your first box has arrived, each month’s kit will return to the regular price of $25.00
- You will receive the Nests of Christmas Paper Pumpkin kit. To get your first month 40% off you must use the code HOLIDAY40
- This offer expires on October 10, 2024.
Subscribe by clicking here or the image above.

An additional coordinating add-on is available but only for Paper Pumpkin subscribers. Click the image below for more information.
Thanks for stopping by today!
by Tracy | Oct 8, 2024 | You're the Best
Before sharing my card, I want to remind you that the Stampin’ Up! stamp sale is going on now! Click here to shop!

- This stamp sale only happens once a year!
- The sale will run for three days.
- The 15% off discount will apply to all stamp sets (photopolymer and cling) from the 2024–2025 Annual Catalog.
- Bundles are not included in this sale.
- Stamp sets are available while supplies last.
My card today was made with Regal Winter Designer Series Paper, Happiest Day stamp set (on sale until Wednesday). Stylish Shapes Dies, and the Exposed Brick 3D Embossing Folder.

I started with a piece of Blackberry Bliss cardstock for the base of my card (you can find the measurements I used below the Supply List). Then, I embossed a piece of Basic White cardstock using the Exposed Brick 3D Embossing Folder and my Stampin’ Cut & Emboss Machine. Next I adhered it to the inside of the card.

I then cut Regal Winter Designer Series Paper and adhered it to the front of the card. I stamped the sentiment onto Basic White cardstock using Blackberry Bliss ink and the Happiest Day stamp set. I cut it out using the Stylish Shapes Dies and then cut a larger circle out of Blackberry Bliss cardstock. I adhered the sentiment to the Blackberry Bliss cardstock and then put Stampin’ Dimensionals just at the top of the Blackberry Bliss cardstock and adhered it to the Regal Winter Designer Series Paper.

To complete my card, I added a piece of Basic White cardstock to the inside of the card.

Supply List
Below you’ll find all the Stampin’ Up! supplies I used for today’s card. If you need any stamping supplies, I’d love to be your demonstrator! You can place an order by clicking any of the images below to go to my Stampin’ Up! online store. The Specialty Plate is used with 3D Embossing Folders.
Sale: $17.00
Price: $20.00
Measurements
- Blackberry Bliss cardstock: 11″ x 5-1/2″ scored at 3″ & 7-1/4″
- Blackberry Bliss cardstock: approx. 2-1/2″ x 2-1/2″
- Basic White cardstock (inside): 5-1/4″ x 4″
- Basic White cardstock (embossed): 5-1/4″ x 3-1/2″
- Basic White cardstock (sentiment): approx. 2″ x 2″
- Regal Winter Designer Series Paper: 5-1/4″ x 2-3/4″
Kits Collection Sale!
During the month of October, you can save up to 30% off Stampin’ Up! Kits. Each kit comes with everything you need to create an unique paper craft. Each kit is only available while supplies last. This promotion will end on October 31st. Click here to see all the kits Stampin’ Up! offers.
Starter Kit Special
From October 1–31, anyone who signs up to be a Stampin’ Up! demonstrator will get $155 worth of products in their Starter Kit for just $99! This offering also includes FREE business supplies and FREE shipping. The Starter Kit is for anyone – the business minded person or the person who wants to get at least a 20% discount on the products they buy! It’s a great deal for anyone! For more information, please click here!
Annual Catalog 2024-2052 Products
Stampin’ Up! has created a PDF of Designer Series Paper, Dies and Punches that can be found in the Annual Catalog. You can download (or print) the PDF here.
Two New Kits by Stampin’ Up!
Click each image below for more information about the kit. These new kits are also on sale!
To see all of the kits Stampin’ Up! offers, click here!
Online Exclusives
Click here to shop Stampin’ Up! Online Exclusives!
Nests of Christmas Paper Pumpkin
Have you thought about subscribing to Paper Pumpkin? Now is the time to do it! You’ll get 40% off the first month when you subscribe by October 10th. Use the code HOLIDAY40.
Please read the terms below:
- This offer is only for new month to month subscribers.
- The discount will be applied to one kit in the first shipment of the Paper Pumpkin subscription. After your first box has arrived, each month’s kit will return to the regular price of $25.00
- You will receive the Nests of Christmas Paper Pumpkin kit. To get your first month 40% off you must use the code HOLIDAY40
- This offer expires on October 10, 2024.
Subscribe by clicking here or the image above.
An additional coordinating add-on is available but only for Paper Pumpkin subscribers. Click the image below for more information.
Thanks for stopping by today!