by Tracy | May 12, 2025 | Birthday Card
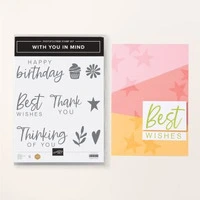
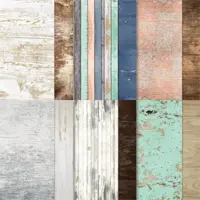
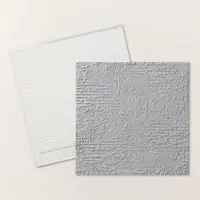
I hope you all had a good weekend! I needed to make a birthday card for my brother-in-law and I’m sharing that card with you today. I made it with Country Woods Designer Series Paper, With You in Mind Stamp Set and the Textured Notes Dies.
Both the Textured Notes Dies and the With You in Mind Stamp Set can be found in the Online Exclusives section of the Stampin’ Up! website.

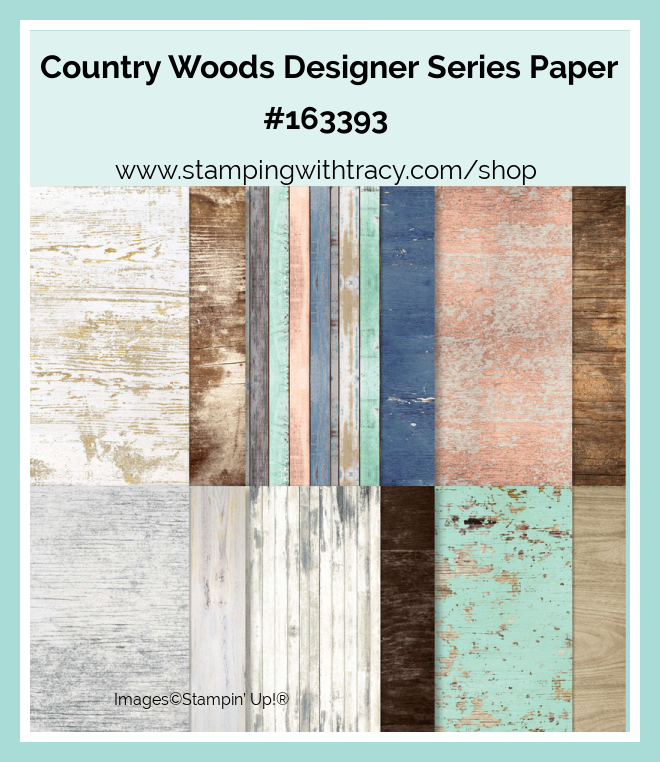
I started with a piece of Pool Party cardstock for the base of my card. Then, I added a layer of Country Woods Designer Series Paper to the front of the card. You can find all the measurements I used below the Supply List.


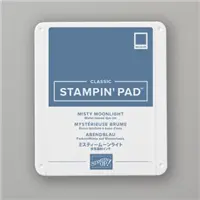
I stamped the sentiment onto Basic White cardstock using the stamp set, With You In Mind, in Misty Moonlight ink. I cut the sentiment out using the Textured Notes Dies. Then, I cut the next larger size and cut it out with Pool Party cardstock.


I adhered the sentiment to the Pool Party rectangle, added Stampin’ Dimensionals to the back and adhered it to the front of the card. To complete my card I added a piece of Basic White cardstock to the inside. I hope my brother-in-law likes the card I made him!

Supply List
Below you’ll find all the Stampin’ Up! supplies I used for today’s card. If you need any stamping supplies, I’d love to be your demonstrator! You can place an order by clicking any of the images below to go to my Stampin’ Up! online store.
Bundle Alert: The Textured Notes Bundle is available with a 10% discount rather than buying the products separately.

Measurements
- Pool Party cardstock: 5-1/2″ x 8-1/2″ score at 4-1/4″
- Pool Party cardstock (rectangle): approximately 4-1/8″ x 2-5/8″
- Country Woods Designer Series Paper: 5-1/4″ x 4″
- Basic White cardstock (sentiment): approximately 3-1/2″ x 2″
- Basic White cardstock (inside card): 5-1/4″ x 4″
Starter Kit Special

Starting May 6 and ending on May 31st, you can purchase the Starter Kit for $99. You will receive $165 in Stampin’ Up! product! That’s $66 more in product! You choose products you want! The Starter Kit ships free and you’ll receive a 20% discount on the products you purchase. Did I mention you’ll also receive a Paper Pumpkin Kit, too!
Commonly Asked Questions
- If I purchase the Starter Kit, do I have to sell Stampin’ Up! products to my family and friends? No, you are under NO obligation to sell. You can be your only customer. Of course once your friends see the cute cards you’re making, they’ll want to buy their stamping supplies from you.
- Will I receive a discount on any products I buy? Yes!! This is the best part! You’ll receive at least a 20% discount on all your purchases.
- Do I have to buy/sell a certain amount of product? The quarterly minimum is $300 in product (which is only $240 after your discount!) that can be from personal orders, online orders or ones from family and friends. The quarters are January – March, April – June, July – September, October – December. Once you join, your quarterly minimum begins during your first FULL quarter.
- What if I can’t make the quarterly minimum? You’ll simply be dropped. No one will hassle you. No one will bother you. It truly is risk free to purchase the Starter Kit!
Are there other perks to purchasing the Starter Kit? Yes! Here are just a few:
- The Starter Kit ships FREE!
- Approximately a month before new products are released, you’ll be able to participate in a preorder and purchase brand new products ahead of the public
- Attend Stampin’ Up! events like OnStage
- Personal purchases of $20 are eligible to receive Stampin’ Rewards. Yes, demonstrators can also receive Stampin’ Rewards!
- Complimentary copy of each current catalog from Stampin’ Up! Once the preorder begins, a complimentary copy will be included in your order. If no preorder is made, the catalog will be included in the first order placed during the catalog sales period.
- Free access to my Card Sampler PDF tutorials
If you have more questions, please reach out to me sending an email to me (you can send me an email on the sidebar of my blog)

The New Stampin’ Rewards Program

The New Stampin’ Rewards Program was rolled out on April 15th. You will receive 10% in rewards when your order is $20 or more but you have to opt in to get the rewards. The more you shop, the more you earn!
Last Chance Products

Click here to go straight to the Last Chance Products page on the Stampin’ Up! site!
Two New Stampin’ Up! Kits
Click each graphic below for more information about the kit. These kits can be found in the Online Exclusives part of the Stampin’ Up! website.


Full of Charm Paper Pumpkin Kit
You can now order subscriptions and manage your Paper Pumpkin subscription on the Stampin’ Up! website! You can cancel your Paper Pumpkin subscription at any time. If you want to skip the next kit, you can do that! You also receive Stampin’ Rewards when you order a single kit or purchase a 3-month, 6-month or 12-month subscription to Paper Pumpkin. If you’d like to subscribe, please click the graphic below.

An additional coordinating add-on is available but only for Paper Pumpkin subscribers. Click the image below for more information.

Thanks for stopping by today!
by Tracy | May 7, 2025 | Thank You Card
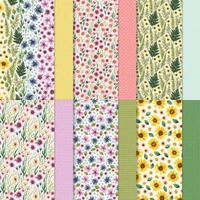
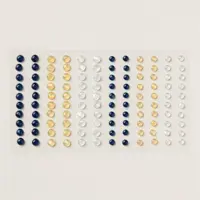
The card I’m sharing with you today was made using the Textured Notes Bundle (back in stock after being unavailable- this product is an Online Exclusive), Floral Impressions Designer Series Paper (this product is also an Online Exclusive) and Opal Rounds Assortment.

I started with a piece of Daffodil Delight cardstock for the base of my card. Then, I cut a piece of Floral Impressions Designer Series Paper and adhered it to the base of my card. You can find all the measurements I used below the Supply List.


I cut a piece of Garden Green cardstock using the Textured Notes Dies and a smaller one in Basic White cardstock.
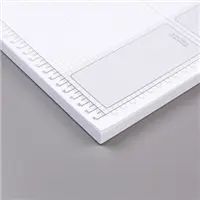
I stamped the sentiment in Garden Green ink onto the Basic White rectangle using the Textured Notes Stamp Set and then stamped the leaves also using the Textured Notes stamp set. When I stamped the leaves, I did one in full strength and for the other, I inked it up, and stamped onto my grid paper and then stamped (to create a shadow effect). This is called “stamping off”.

I adhered the sentiment to the green rectangle, add Stampin’ Dimensionals to the back and adhered it to the front of the card.
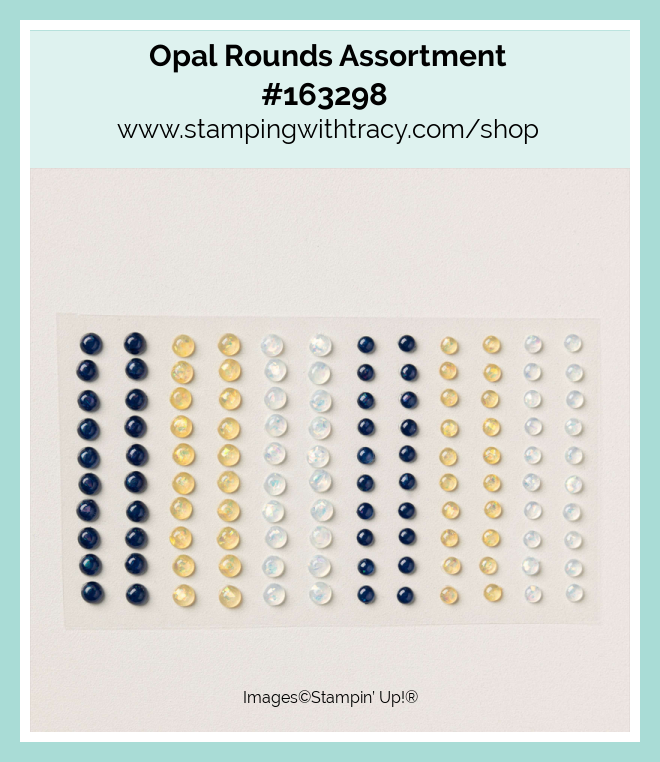
To complete my card, I added three Opal Rounds in Daffodil Delight, and added a piece of Basic White cardstock to the inside of the card.

Supply List
Below you’ll find all the Stampin’ Up! supplies I used for today’s card. If you need any stamping supplies, I’d love to be your demonstrator! You can place an order by clicking any of the images below to go to my Stampin’ Up! online store.
Measurements
- Daffodil Delight cardstock: 5-1/2″ x 8-1/2″ scored at 4-1/4″
- Garden Green cardstock (rectangle): approximately 4-1/8″ x 2-5/8″
- Floral Impressions Designer Series Paper: 5-1/4″ x 4″
- Basic White cardstock (sentiment) approximately 3-1/2″ x 2″
- Basic White cardstock (inside card): 5-1/4″ x 4″
The New Stampin’ Rewards Program
The New Stampin’ Rewards Program was rolled out on April 15th. You will receive 10% in rewards when your order is $20 or more but you have to opt in to get the rewards. The more you shop, the more you earn!
Last Chance Products
Click here to go straight to the Last Chance Products page on the Stampin’ Up! site!
Two New Stampin’ Up! Kits
Click each graphic below for more information about the kit. These kits can be found in the Online Exclusive part of the Stampin’ Up! website.
Mountain Majesties Paper Pumpkin Kit – Deadline to order May 10th
Did you know that Paper Pumpkin has moved to the Stampin’ Up! website? You can now order subscriptions and manage your subscription on the Stampin’ Up! website! If you’d like to subscribe, please click the graphic below.

An additional coordinating add-on is available but only for Paper Pumpkin subscribers. Click the image below for more information.
Thanks for stopping by today!
by Tracy | Apr 26, 2025 | Appreciation Card
My card today was made using the Gallery Blooms Bundle #165213 (available on May 6th, when the new Annual Catalog goes live), Exposed Brick 3D Embossing Folder, the Textured Notes Bundle and Two-Tone Sparkle Gems.

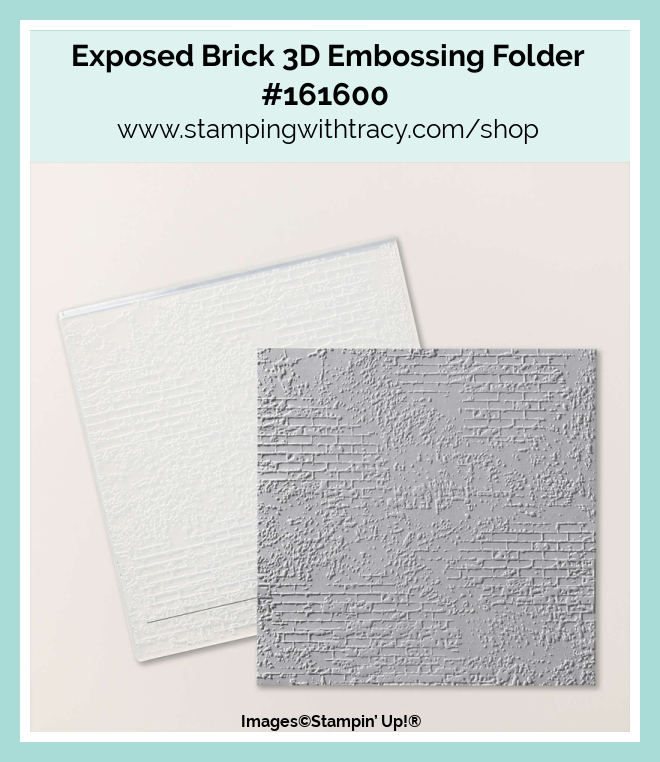
I started with a piece of Bubble Bath cardstock for the base of my card. Next, I embossed a piece of Basic White cardstock using the Exposed Brick 3D Embossing Folder and my Stampin’ Cut & Emboss Machine. Then, I adhered it to the card base.
I used the Textured Notes Dies (the second largest one) to cut a rectangle out of Bubble Bath cardstock and then I embossed it using the Exposed Brick 3D Embossing Folder and adhered it to the front of the card. The Textured Notes Bundle is an Online Exclusive.

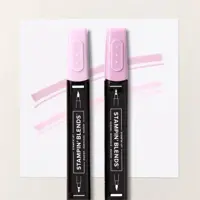
I stamped the flowers onto Basic White cardstock using Memento Ink. Then, I cut it out using the Gallery Blooms Dies (I like to cut it out before I color it). I colored it using my Stampin’ Blends: Bubble Bath (both light & dark) and Granny Apple Green (both light and dark). I added Stampin’ Dimensionals to the back and adhered it to the card front (I did have to cut a Stampin’ Dimensional in half to adhere the upper left leaf down).


I stamped the sentiment onto Basic White cardstock using the Textured Notes stamp set in Petunia Pop ink. I cut it out using the Textured Notes Dies. I added Stampin’ Dimensionals to the back and adhered it to the front of the card.
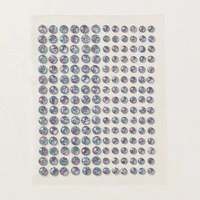
To complete my card, I added a piece of Basic White cardstock to the inside and added three Two-Tone Sparkle Gems around the flowers. These gems don’t look as good in pictures but they are so pretty in person. They have shades of Bubble Bath and Balmy Blue and they are very pretty on Bubble Bath cardstock.

Supply List
Below you’ll find all the Stampin’ Up! supplies I used for today’s card. If you need any stamping supplies, I’d love to be your demonstrator! You can place an order by clicking any of the images below to go to my Stampin’ Up! online store. The Specialty Plate is used with 3D Embossing Folders and Hybrid Embossing Folders.
I also used the Gallery Blooms Bundle #165213 – this product will be available on May 6th.
Measurements
- Bubble Bath cardstock: 4-1/4” x 11” scored at 5-1/2” OR 8-1/2” x 5-1/2” scored at 4-1/4” the only difference is how the card opens
- Bubble Bath cardstock (rectangle): approximately 5-1/4″ x 3-3/4″
- Basic White cardstock (embossed and inside card): (2) 5-1/4″ 4″
- Basic White cardstock (flowers): approximately 2-1/2″ x 4-1/2″
- Basic White cardstock (sentiment): approximately 2-1/2″ x 1″
The New Stampin’ Rewards Program
The New Stampin’ Rewards Program was rolled out on April 15th. You will receive 10% in rewards when your order is $20 or more but you have to opt in to get the rewards. The more you shop, the more you earn!
Last Chance Products
Click here to go straight to the Last Chance Products page on the Stampin’ Up! site!
Three New Stampin’ Up! Kits
Click each graphic below for more information about the kit.


Mountain Majesties Paper Pumpkin Kit
Did you know that Paper Pumpkin has moved to the Stampin’ Up! website? You can now order subscriptions and manage your subscription on the Stampin’ Up! website! If you’d like to subscribe, please click the graphic below.
An additional coordinating add-on is available but only for Paper Pumpkin subscribers. Click the image below for more information.
Thanks for stopping by today! Enjoy the rest of your weekend!
by Tracy | Apr 15, 2025 | Birthday Card
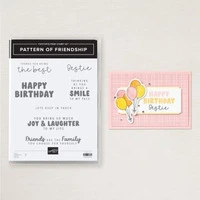
My card today was created using the Pattern of Friendship Stamp Set, Lovely Garden Designer Series Paper, the Textured Notes Dies, Exposed Brick 3D Embossing Folder and the Starburst Sequins.
I’ve mentioned this before, but if the links don’t work click them again! I had to click a link three times before it brought me to the right page.
Stampin’ Up! will be offline today, April 15th at 8:00 am (Mountain Time) for six hours. Visitors to the site will be redirected to a message about the planned downtime. Once the transition is complete the website will be available with the new Stampin’ Rewards program. The new Stampin’ Rewards program will reward customers with an order of $20 or more and you will now receive 10% in rewards. This new Rewards program will begin on April 15th once the Stampin’ Up! website is back up.


I started with a piece of Crushed Curry cardstock for the base of my card. I embossed a piece of Basic White cardstock using the Exposed Brick 3D Embossing Folder and my Stampin’ Cut & Emboss Machine. Then, I adhered it to the front of the card.


I cut two more pieces of Crushed Curry cardstock (you can find all the measurements I used below the Supply List) and two pieces of Lovely Garden Designer Series Paper and adhered them to the Crushed Curry cardstock. Then, I adhered them both to the front my card.


I stamped the sentiment onto Basic White cardstock using the Pattern of Friendship Stamp Set in Garden Green ink. I cut it out using the Textured Notes Dies. Then, I added Stampin’ Dimensionals to the back and adhered it to the front of the card.
To complete my card, I added three large Starburst Sequins to the front in Crushed Curry and added a piece of Basic White cardstock to the inside of the card.


Supply List
Below you’ll find all the Stampin’ Up! supplies I used for today’s card. If you need any stamping supplies, I’d love to be your demonstrator! You can place an order by clicking any of the images below to go to my Stampin’ Up! online store. The Specialty Plate is used with 3D Embossing Folders and Hybrid Embossing Folders.
Bundle Alert: The Pattern of Friendship Bundle is available with a 10% discount rather than buying the products separately.

Bundle Alert: The Textured Notes Bundle is available with a 10% discount rather than buying the products separately.
Measurements for Today’s Card
- Crushed Curry cardstock: 8-1/2″ x 5-1/2″ score at 4-1/4″
- Crushed Curry cardstock: 2-1/4″ x 3-3/4″
- Crushed Curry cardstock: 1-3/4″ x 3-1/4″
- Basic White cardstock (embossed and inside card): (2) 4″ x 5-1/4″
- Basic White cardstock (sentiment): approx. 3-1/2″ x 2″
- Lovely Garden Designer Series Paper: 2″ x 3-1/2″
- Lovely Garden Designer Series Paper: 1-1/2″ x 3″
Last Chance Products
Click here to go straight to the Last Chance Products page on the Stampin’ Up! site!
Three New Stampin’ Up! Kits
Click each graphic below for more information about the kit.
Mountain Majesties Paper Pumpkin Kit
Did you know that Paper Pumpkin has moved to the Stampin’ Up! website? You can now order subscriptions and manage your subscription on the Stampin’ Up! website! If you’d like to subscribe, please click the graphic below.
An additional coordinating add-on is available but only for Paper Pumpkin subscribers. Click the image below for more information.
Thanks for stopping by today!
by Tracy | Apr 7, 2025 | Birthday Card
The card I’m sharing with you today was made using the Pattern of Friendship stamp set, Wildflower Birthday Specialty Paper, Textured Notes Dies, Eyelet 3D Embossing Folder and the retiring Tinsel Gems Four Pack.

I started with a piece of Blueberry Bushel cardstock for the base of my card. I embossed Pretty in Pink cardstock using the Eyelet 3D Embossing Folder and my Stampin’ Cut & Emboss Machine. Then, I adhered the embossed cardstock to the front of my card.


Next, I used the Textured Notes Dies to cut a rectangle out of Basic White cardstock. Then, I stamped “Happy Birthday” in Blueberry Bushel ink onto the rectangle using the Pattern of Friendship stamp set. I selected the cake (it’s a die cut) in the Wildflower Birthday Specialty Designer Series Paper and then adhered it to the left of the sentiment. I added Stampin’ Dimensionals to the back and adhered it to the front of the card.


To complete my card, I added three Blueberry Bushel Tinsel Gems below the sentiment and added two more to the rectangle. I also added a piece of Basic White cardstock to the inside.


Supply List
Below you’ll find all the Stampin’ Up! supplies I used for today’s card. If you need any stamping supplies, I’d love to be your demonstrator! You can place an order by clicking any of the images below to go to my Stampin’ Up! online store. The Specialty Plate is used with 3D Embossing Folders and Hybrid Embossing Folders.
Measurements
- Blueberry Bushel cardstock: 5-1/2″ x 8-1/2″ score at 4-1/4″
- Pretty in Pink cardstock: 5-1/4″ x 4″
- Basic White cardstock (rectangle): approx. 3-1/4″ x 4-3/4″
- Basic White cardstock (inside): 4″ x 5-1/4″
- Wildflower Birthday Specialty Designer Series Paper: birthday cake die cut
Today is the Last Day for Mediterranean Blooms Card Sampler

My Mediterranean Blooms Card Sampler #2 is now available! When you use the special host code 2ESWNNPT and your order is a minimum of $60 (before shipping/tax), I’ll send you two each of three cards. To create this card sampler, I used Mediterranean Blooms Designer Series Paper and the stamp set, Simply Said.
Here’s What You’ll Receive:
- All the paper and embellishments needed to make six cards. Envelopes will also be provided. For this sampler you only need to provide a stamp set, ink and adhesive (see below for what you’ll need).
- A PDF Tutorial with instructions, pictures, cutting measurements and a complete supply list of all the products used.
- Earn at least one Bradley Point (earn ten Bradley Points and redeem them for free product) when your order is $50 or more.
- If your order is over $150, please do not use the host code or you won’t receive your Stampin’ Rewards. After you place your order, simply email me and let me know that you’d like the Mediterranean Blooms Card Sampler #2 (you only need to do this if your order is over $150). You can send me an email on the sidebar.
All the Other Important Information:
- Your Mediterranean Blooms Card Sampler will be shipped first-class mail approximately April 17, 2025 and will be mailed to the address used on your online order.
- You’ll receive an email when I mail your Card Sampler and the PDF Tutorial will be included in that email.
- When using the Mediterranean Blooms Card Sampler host code to place your order, you will not qualify for other current host code rewards.
- Per Stampin’ Up! policy, card samplers can only be mailed within the United States.
You’ll receive all the materials to make six cards. You’ll quickly have beautiful cards ready to be mailed out to someone special. If you can’t make the cards once they arrive, no worries, each card is labeled in its own clear envelope which makes it easy to come back to later. Once you’ve made all the cards in the Sampler, you’ll be able to easily replicate each card by following the easy to follow directions in the PDF (pictures are included as well).
The special Mediterranean Blooms Card Sampler HOST CODE will close at the end of the day on April 7, 2025 and after that date, the Card Sampler will no longer be available.
Approximate ship date of the Card Sampler is April 17, 2025.

Click here to place an order
Supplies Needed To Create the Card Sampler
Listed below are the supplies you’ll need to complete the cards exactly as shown (or you can use what you already own). Simply click any of the products and you’ll be taken to my Stampin’ Up! online store. When placing your order, don’t forget to use the special Card Sampler Host Code (please do not use host code if your order is over $150 – see above).
Retiring In Colors 2023-2025
These colors are retiring. Some products have already sold out in these colors.

Last Chance Products
Click here to go straight to the Last Chance Products page on the Stampin’ Up! site!
Three New Stampin’ Up! Kits
Click each graphic below for more information about the kit.
Inked Occasions Paper Pumpkin Kit
Did you know that Paper Pumpkin has moved to the Stampin’ Up! website? You can now order subscriptions and manage your subscription on the Stampin’ Up! website! If you’d like to subscribe, please click the graphic below.
If you have a current subscription to Paper Pumpkin, you will need to claim your subscription. You can follow written directions, here or you can watch a video, here.

An additional coordinating add-on is available but only for Paper Pumpkin subscribers. Click the image below for more information.
Thanks for stopping by today!