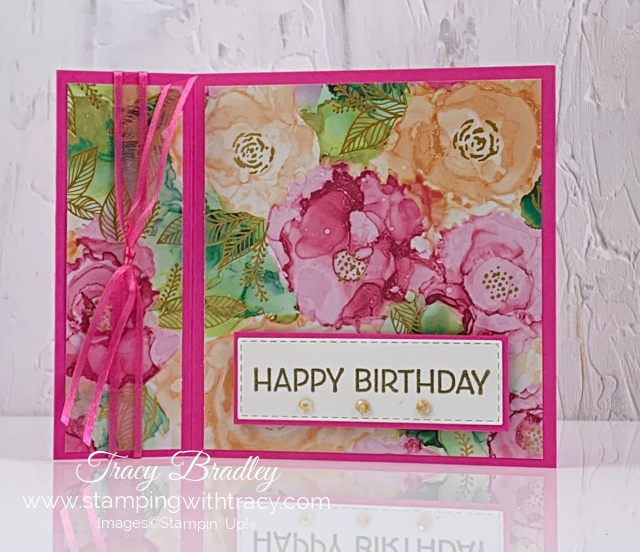
Today’s card is another book binding card that I made for a friend who just celebrated her birthday. She loves pink and I think she’ll like this very pinky card!
I started with a piece of Magenta Madness cardstock (you can find the measurements I used below the Supply List) and scored it in two places. Then I folded the card in half and then folded the other piece back. My post the other day shows where to put the adhesive and what the fold looks like. You can see it HERE.
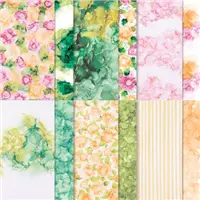
I adhered two pieces of Expressions in Ink Designer Series Paper to the two panels on the front and I added a piece of Basic White cardstock to the inside of the card. I wrapped a piece of Polished Pink Open Weave Ribbon around the left side of the card and tied a knot.
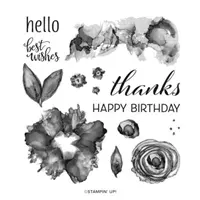
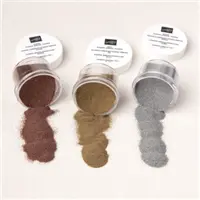
Using the Stitched Rectangles Dies, I cut a small rectangle for the sentiment. The sentiment was heat embossed onto the rectangle using gold embossing powder (included in the Metallics Embossing Powder set) and the stamp set, Artistically Inked. You can see the directions below for heat embossing. It’s very easy to do and gives your card a wow factor.
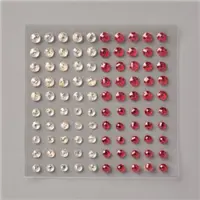
I adhered the sentiment to a piece of Magenta Madness cardstock, added Stampin’ Dimensionals to the back and adhered it to the front of the card. I didn’t want the pink flower in the middle to be covered up so I placed the sentiment towards the bottom. To complete the card, I added three Wonderful Gems below the sentiment. You might have missed these in the Holiday Catalog. They were in last year’s Mini Catalog and were brought back for this year’s Mini. The clear gems have flecks of gold in them which is just perfect the Expressions in Ink Designer Series Paper because many of the designs also have gold accents.
How to Heat Emboss
Prepare your cardstock by rubbing an anti-static pouch over the surface of the paper as it helps keep away stray particles of embossing powder (Stampin’ Up! no longer carries this product but it’s a must when embossing). Stamp your sentiment or image using a Versamark pad. This is very sticky ink and your embossing powder will stick right to it. Sprinkle embossing powder over the stamped image and then shake off any excess. Before applying heat to your paper, heat the Heat Tool first so the paper won’t warp (about 10 seconds). Direct the heat over your image and watch as your image is transformed!
Bundle Alert (save 10%); The Artistically Inked Bundle includes the stamp set Artistically Inked and the Artistic Dies.
Supply List
Below you’ll find all the Stampin’ Up! supplies I used for today’s card. If you need any stamping supplies, I’d love to be your demonstrator! You can place an order by clicking any of the images below to go to my Stampin’ Up! online store.
Price: $15.00
Measurements
- Magenta Madness cardstock: 11″ x 4-1/4″ score at 4″ and 5-1/2″
- Magenta Madness cardstock: 3″ x 1″
- Expressions in Ink Designer Series Paper: 4″ x 3-3/4″
- Expressions in Ink Designer Series Paper: 4″ x 1-1/4″
- Basic White cardstock (sentiment): approx. 3-1/8″ x 1″
- Basic White cardstock (inside): 4″ x 3-3/4″
Eden’s Garden Collection – Available November 2, 2021
Click HERE or the image below to see the two page flyer of all the products in the collection.
Gifts Galore Paper Pumpkin Kit
- Kit contains enough supplies to create nine treat packages—three each of three designs—and nine food-safe bags.
- This all-inclusive kit includes printed die cuts, die-cut boxes, cellophane treat bags, adhesive, and more!
- Includes an exclusive stamp set and a Classic Stampin’ Spot
- Coordinating colors: Evening Evergreen, Flirty Flamingo, Old Olive, Pool Party, Poppy Parade
- Subscribe by November 10, 2021
Click here to order Paper Pumpkin
You can cancel at any time or even skip a month
Enjoy your day! Thanks for stopping by!


