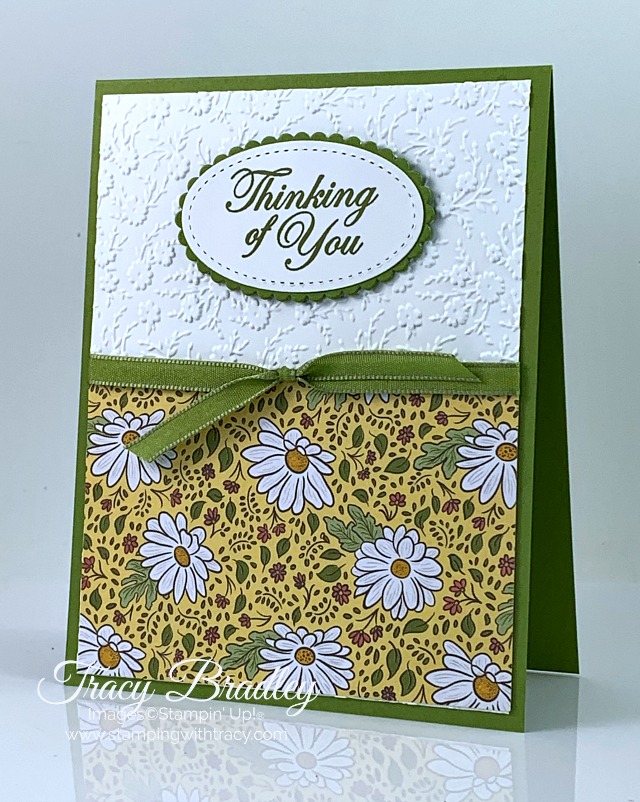
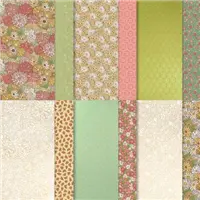
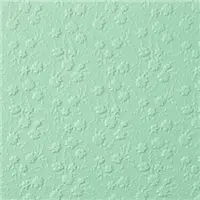
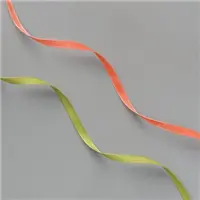
I began by running my Whisper White cardstock through the Ornate Floral Embossing Folder (you can find the measurements below the Supply List). Then I added a piece of Ornate Garden Designer Series Paper to the bottom half. I wrapped a piece of the Old Olive ribbon from the Ornate Garden Ribbon Combo Pack around the cardstock and tied a bow. Then I added Multipurpose Glue to the back and adhered it to an Old Olive card base. I’d recommend adding another piece of Whisper White cardstock to the inside of the card. (I don’t usually photograph my cards with the Whisper White inside because I like to write my message to the recipient before adhering it, just in case I make a mistake).
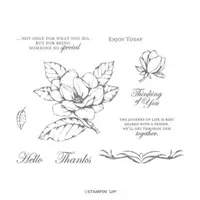
The sentiment was stamped onto Whisper White cardstock using Old Olive ink and the stamp set, Good Morning Magnolia. Do you know someone who would love to receive a thinking of you card?
Stay safe and healthy!
Supply List
If you need any stamping supplies, I’d love to be your demonstrator! You can place an order by clicking any of the images below to go to my Stampin’ Up! online store.If you have questions about products you’re considering purchasing or ones you’ve already purchased, I’m just an email away (click the Email Me button on the sidebar of my blog).
Today’s Tuesday Tutorial is for a fun fold card I posted last week. If you missed that post, you can see it here. You can access your free tutorial below the supply list. Enjoy your day!
Supply List
If you need any stamping supplies, I’d love to be your demonstrator! You can place an order by clicking any of the images below to go to my Stampin’ Up! online store.If you have questions about products you’re considering purchasing or ones you’ve already purchased, I’m just an email away (click the Email Me button on the sidebar of my blog).
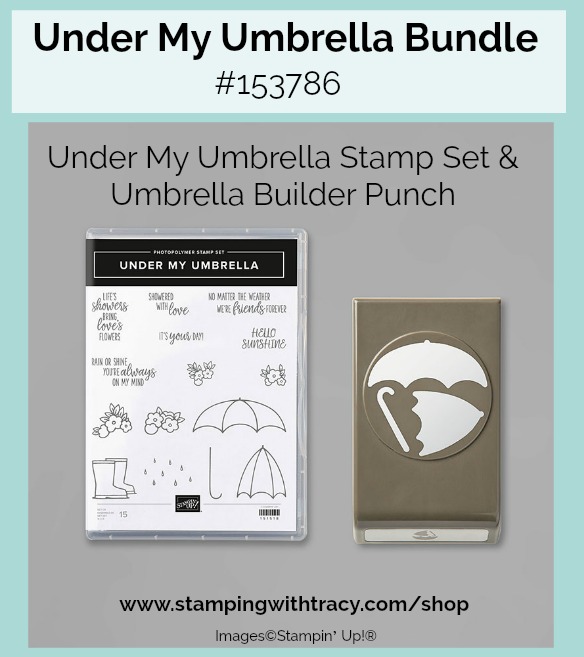
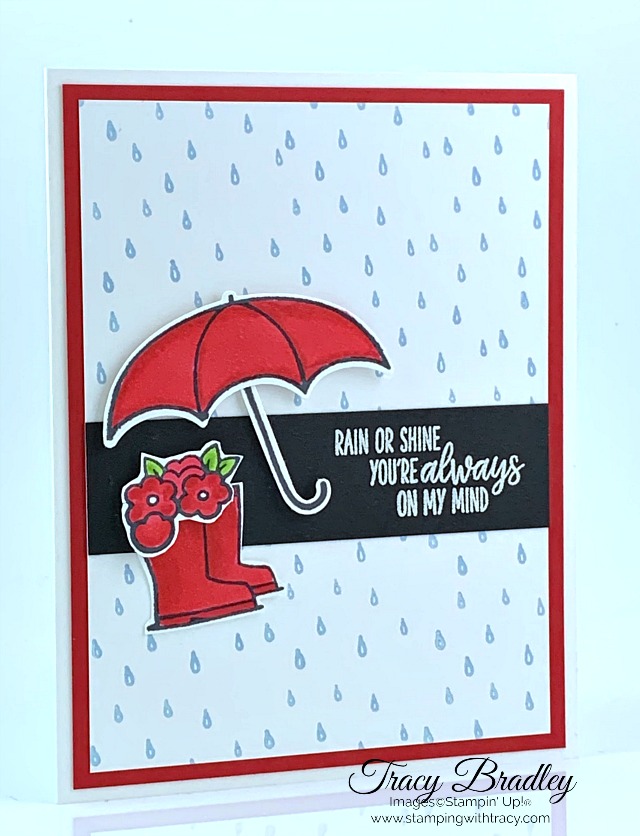
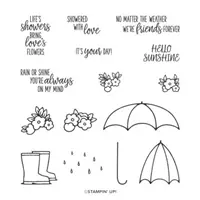
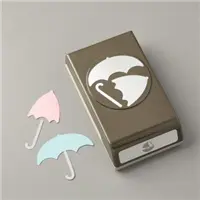
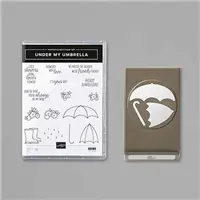
I used the bundle, Under My Umbrella, to create today’s card. This bundle includes the stamp set, Under My Umbrella and the Umbrella Builder Punch. You can purchase both of these products separately but if you want both of them, be sure to use the special bundle item number and you’ll save 10%.
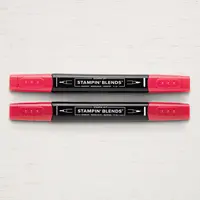
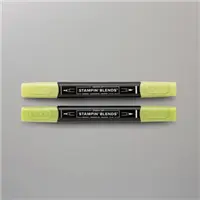
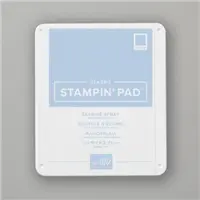
The base of my card is Thick Whisper White with a panel of Real Red cardstock. On Whisper White cardstock, I stamped the raindrops using Seaside Spray ink. The umbrella, handle, boots and flowers were all stamped onto Whisper White cardstock using Memento Ink and I used Real Red and Granny Apple Green Stampin’ Blends to color them all in. The umbrella and handle were cut out with the punch and I fussy cut the boots and flowers.
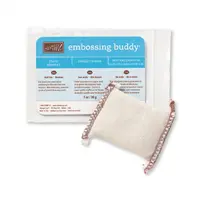
I embossed the sentiment and here are some quick instructions how to do that:
Prepare your cardstock by rubbing the Embossing Buddy over the surface (this helps keep away stray particles of embossing powder). Stamp your sentiment or image using a Versamark pad. This is very sticky ink and your embossing powder will stick right to it. Sprinkle embossing powder over the stamped image. Shake off any excess. Before applying heat to your paper, heat the Heat Tool first so the paper won’t warp (about 10 seconds). Direct the heat over your image and watch the magic happen!
The umbrella and flowers were both popped up with Stampin’ Dimensionals (the handle and boots were adhered with Multipurpose Glue).
If you’d like to make today’s card, you’ll find all the measurements below the Supply List.
Supply List
If you need any stamping supplies, I’d love to be your demonstrator! You can place an order by clicking any of the images below to go to my Stampin’ Up! online store.If you have questions about products you’re considering purchasing or ones you’ve already purchased, I’m just an email away (click the Email Me button on the sidebar of my blog).
I think the star of this card is the Ornate Floral Embossing Folder. Oh my gosh, it’s so pretty! I love using embossing folders because they completely transform a plain piece of cardstock into a work of art!
This is a very quick and easy card to make! After running Seaside Spray cardstock through my die-cutting machine using the Ornate Floral Embossing Folder, I wrapped our Seaside Spray Metallic Ribbon around the cardstock. I used Multipurpose Liquid Glue to attach it to the card base.
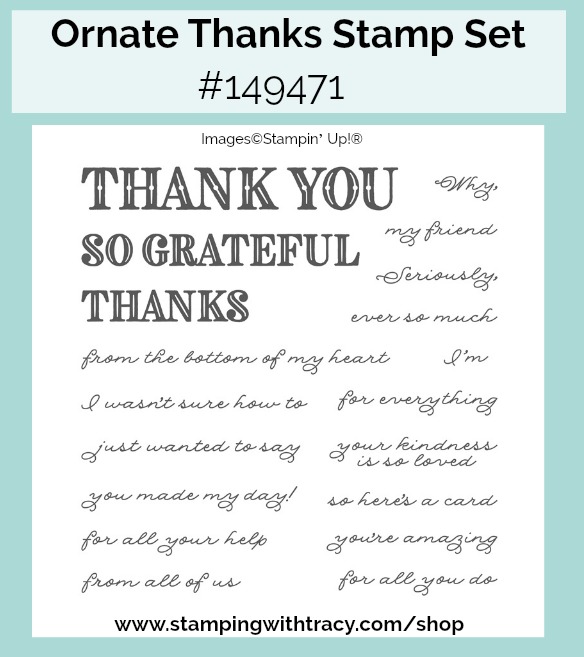
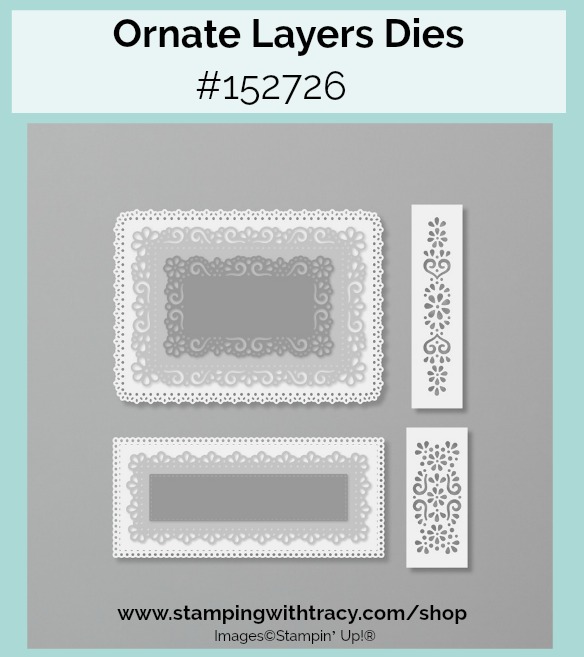
The sentiment was stamped onto Whisper White cardstock with Seaside Spray ink using the stamp set, Ornate Thanks. It was then cut out using a die-cutting machine using the Ornate Layers Dies.
If you’d like to create today’s card, here are the measurements!
Measurements
Seaside Spray cardstock; 11″ x 4-1/4″
Seaside Spray cardstock: 5-1/4″ x 4″
Whisper White cardstock: 5-1/4″ x 4″ (for inside)
Whisper White cardstock: scrap for sentiment
Supply List
If you need any stamping supplies, I’d love to be your demonstrator! You can place an order by clicking any of the images below to go to my Stampin’ Up! online store.If you have questions about products you’re considering purchasing or ones you’ve already purchased, I’m just an email away (click the Email Me button on the sidebar of my blog).
Today’s the last day to earn my FREE Mini Card Sampler. Place a $50 order using the host code R7JNSGQH and I’ll send you all the paper and embellishments you’ll need to create four cards using Golden Honey Designer Series Paper along with a PDF Tutorial. Please note: Golden Honey Designer Series Paper is no longer available. For more information, click here.
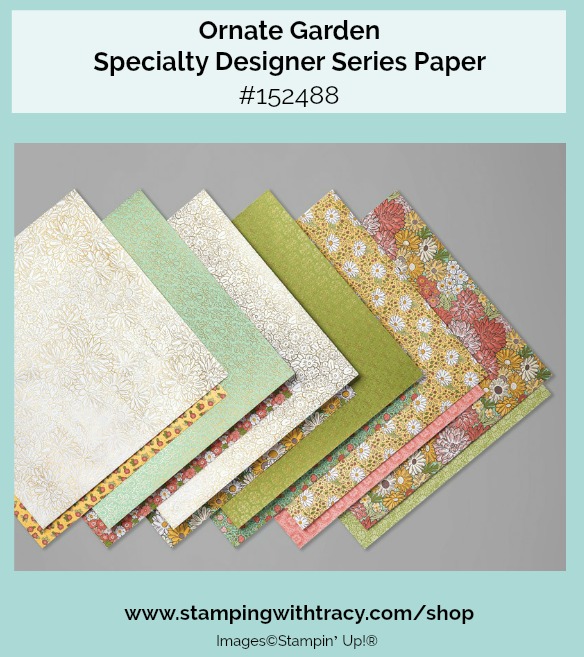
Sale-a-Bration is officially over but starting today a brand new suite of products is available – The Ornate Garden Suite! My card today showcases one of those new products: Ornate Garden Specialty Designer Series Paper.
It’s hard to see in my photos but this beautiful paper is covered in foil designs so I added some Gold Foil accents using our Gold Foil Sheets.
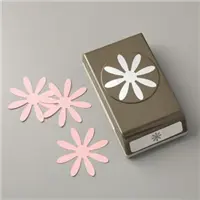
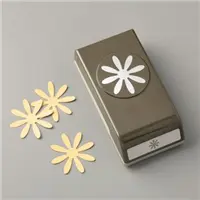
To create the daisy I used our Daisy Punch (the larger one) to cut a daisy out of gold foil and another one using Ornate Garden Designer Series Paper (DSP). The Medium Daisy Punch was used to cut another daisy out of the DSP. To add dimension, I placed a Stampin’ Dimensional between each layer of the daisy (a Mini Stampin’ Dimensionals was used under the smaller daisy). A Gold Faceted Gem was added to the center of the daisy for some extra sparkle. The Old Olive & Whisper White panel is also popped up with dimensionals. .
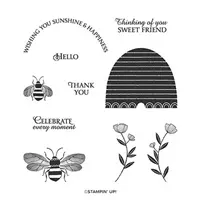
I used the Honey Bee stamp set for the sentiment and stamped it in Old Olive ink onto Whisper White Paper. It was cut out using the Layering Ovals Dies. The Gold Foil oval was also cut out using these dies. Stampin’ Dimensionals were added to the back.
All the supplies I used can be found in the supply list below. If you’d like to create today’s card, I’ve included all the measurements below.
Supply List
If you need any stamping supplies, I’d love to be your demonstrator! You can place an order by clicking any of the images below to go to my Stampin’ Up! online store.If you have questions about products you’re considering purchasing or ones you’ve already purchased, I’m just an email away (click the Email Me button on the sidebar of my blog).
Ornate Garden DSP: scrap for daisy and medium daisy
Whisper White cardstock: 5-1/4″ x 4″ (inside card)
Whisper White cardstock: 3-3/4″ x 2-3/4″
Whisper White cardstock: scrap for sentiment
Gold Foil Sheets: scrap for daisy & scalloped oval
Mini Card Sampler
My Mini Card Sampler is available until Thursday, April 2nd. Place a $50 order using the host code R7JNSGQH and I’ll send you all the paper and embellishments you’ll need to create four cards using Golden Honey Designer Series Paper along with a PDF Tutorial. Please note: Golden Honey Designer Series Paper is no longer available. For more information, click here.