by Tracy | Nov 27, 2019 | Uncategorized

Black Friday is almost here and I’m having a special! When you place your online order on Friday using the host code UQK3VSNJ you’ll receive free gifts from me! After you place your order, I’ll email you to find out your choice(s) or you can immediately email me.
- All orders will receive an extra card kit.
- $50-$74.99 order will receive a free package of rhinestones (choose from Holiday, Noble Peacock, or Basic Jewels)
- $75-$99.99 order will receive a free embossing folder (your choice)
- $100 -$149.99 order will receive both the rhinestones & embossing folder
- Orders over $150, do not use the Host Code so you’ll receive Stampin’ Rewards from Stampin’ Up! (free product) plus you’ll receive rhinestones and an embossing folder from me.
On Saturday I’ll place the orders for the free gifts. After I receive them from Stampin’ Up!, I’ll send them out to you (your free gifts should arrive in approximately two weeks).
Very important: If I don’t receive a response from you before 10:00 am (Pacific Time) on Saturday morning, November 30th, I reserve the right to choose your free gifts so I can finalize the order and the gifts will arrive in the time I stated above.
Offer valid in the U.S.
Click here to place your order!
Don’t forget to use the host code UQK3VSNJ
If you have any questions, please don’t hesitate to contact me. Enjoy your day!
by Tracy | Nov 26, 2019 | Designer Series Paper, Free Tutorial, Punches

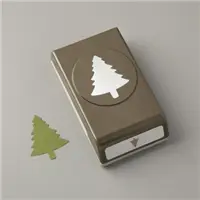
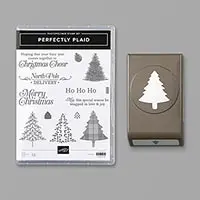
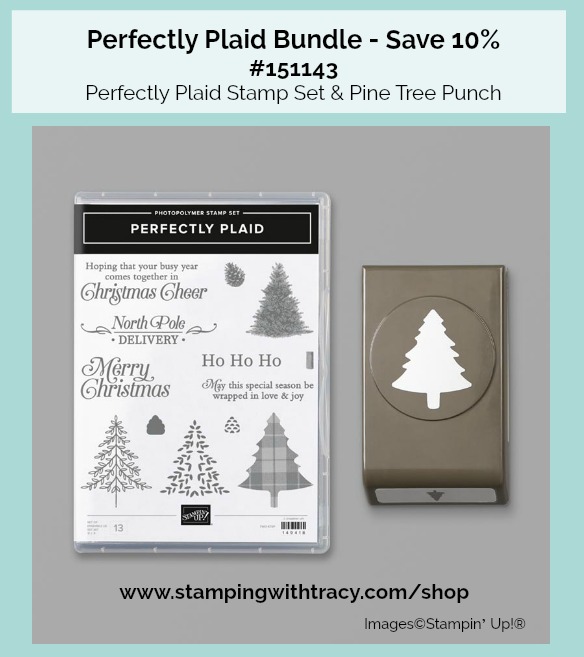
It’s Tuesday and time for another free PDF tutorial. Today’s tutorial features the stamp set Perfectly Plaid, Wrapped in Plaid Designer Series Paper and the Pine Tree Punch. This punch is currently on the Low Inventory List (see below). Get yours before it’s on backorder!

Bundle Alert
The Perfectly Plaid Bundle will save you 10% but it’s also currently on the Low Inventory List.
Several popular items are currently in Low Inventory status which means that more than likely they’ll go into backorder status soon. If you’ve been waiting to purchase any of the products below, be sure to place your order as soon as you can.
Low Inventory Products
Unfortunately several popular products from the Holiday Catalog are no longer available. Because new stock won’t be available until the Holiday Catalog period is over, these items have been discontinued:
- Merry Moose Bundle
- Moose Punch
- Feels Like Frost Designer Series Paper
- Feels Like Frost Suite Bundle
- Brightly Gleaming Designer Series Paper
- Brightly Gleaming Suite Bundle
- Delicata Metallic Inks
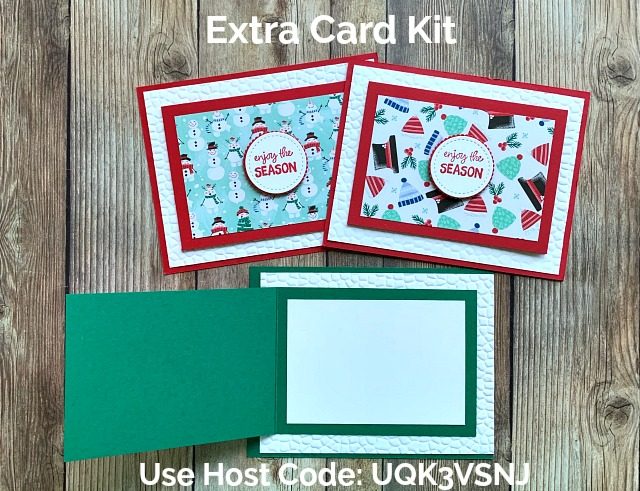
My current card kits are a Fun Fold, as pictured above, using a variety of holiday papers from the Stampin’ Up! Holiday Catalog (the samples were made using Let It Snow Designer Series Paper). Use the host code UQK3VSNJ when placing your online order and you’ll receive an extra card kit in your thank you package. You’ll also receive a PDF Tutorial with pictures, directions and a supply list. If your order is over $150, please do not use the host code or you’ll miss out on Host Rewards (free product for you from Stampin’ Up!) which starts at $150. If your order is over $150, text or email me that you placed your order and would like the extra card kit.
Click here to place an order!
by Tracy | Nov 25, 2019 | Designer Series Paper, Die-Cutting, Heat Embossing, Layering Circles Dies, Stitched Shapes Dies
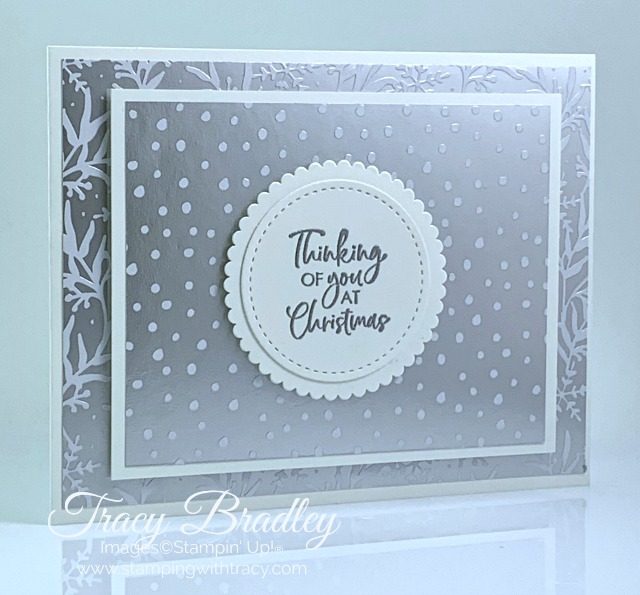
Happy Monday!
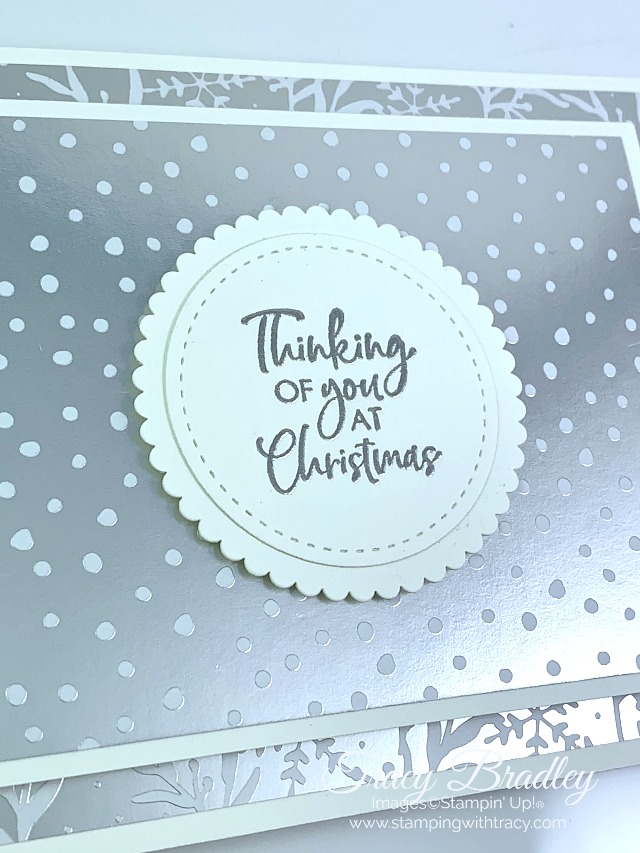
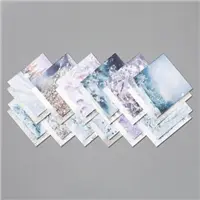
Today’s card is all about foil! If you like sparkle, you’re going to love Feels Like Frost Designer Series Paper. Each sheet in this 6″ x 6″ Designer Series Paper is double-sided with a beautiful foil pattern on one side and realistic designs on the other. I combined two of the foil designs to create today’s card. It can be really difficult to photograph foil paper and the beauty of the paper is hard to capture but it’s very pretty in person!
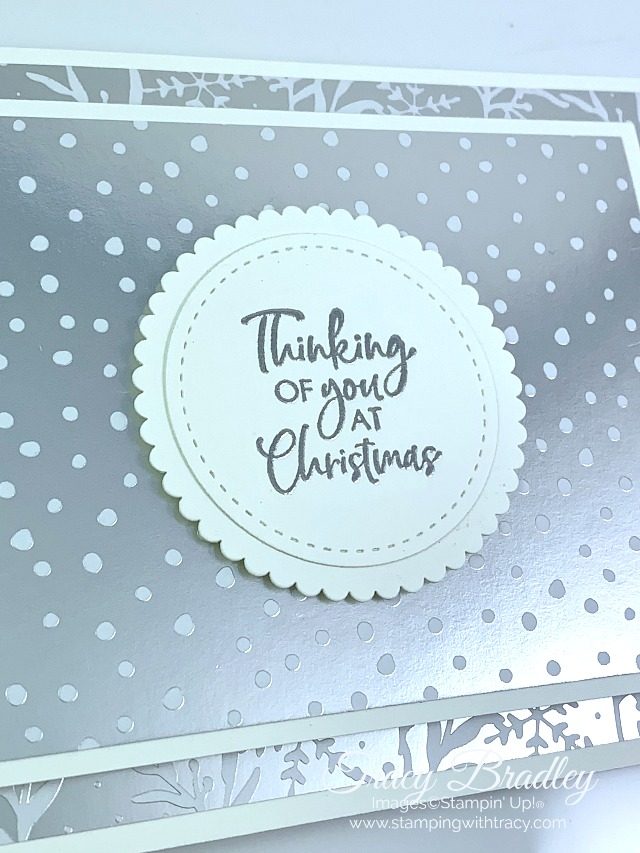
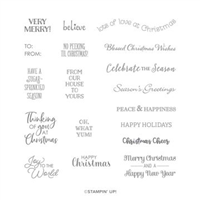
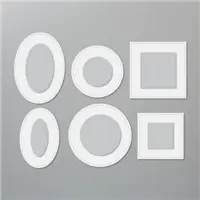
I embossed my sentiment from the Itty Bitty Christmas stamp set. At this time of year embossing adds a special touch to your cards. To cut the sentiment out, I used the Stitched Shapes Dies. The scalloped circle underneath it was cut out with the Layering Circles Dies. I added Stampin’ Dimensionals to the back of the scalloped oval as well as the smaller panel of foil and cardstock.
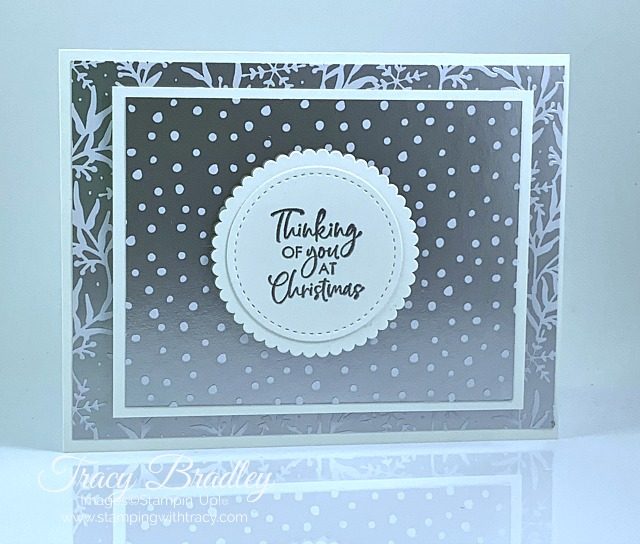
Heat Embossing Directions
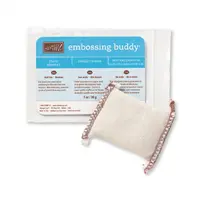
Prepare your cardstock by rubbing the Embossing Buddy over the surface (this helps keep away stray particles of embossing powder). Stamp your sentiment or image using a Versamark pad. This is very sticky ink and your embossing powder will stick right to it. Sprinkle embossing powder over the stamped image. Shake off any excess. Before applying heat to your paper, heat the Heat Tool so the paper won’t warp (about 10 seconds). Direct the heat over your image and watch the magic happen!
Supply List
If you need any stamping supplies, I’d love to be your demonstrator! You can place an order by clicking any of the images below to go to the homepage of my Stampin’ Up! online store. If you have questions about products you’re considering purchasing or ones you’ve already purchased, I’m just an email away (click the Email Me button on the sidebar of my blog).
Thanks for stopping by today! Happy Crafting!
Tracy’s Quick Links
Place an Order
My Customer Rewards
Bradley Points
$99 Starter Kit
Clearance Rack
Holiday Catalog
by Tracy | Nov 22, 2019 | Card Kit, Designer Series Paper
This is the last day to save 15% on select Stampin’ Up! cardstock and ink pads. Eight different bundles are also on sale! The sale ends tonight at midnight Mountain Time. Find out what’s on sale here!

All orders placed at my Stampin’ Up! online store receive at least one of my card kits as well as a PDF Tutorial. My current card kits are a Fun Fold using a variety of holiday papers from the Holiday Catalog. The samples above were made using Let It Snow Designer Series Paper and the one below uses Feels Like Frost Designer Series Paper. Simply place an order and you’ll receive at least one card kit (orders over $50 receive three). Use the host code UQK3VSNJ and you’ll receive an extra card kit.
Click here to place an order!

Tracy’s Quick Links
Place an Order
My Customer Rewards
Bradley Points
$99 Starter Kit
Clearance Rack
Holiday Catalog
by Tracy | Nov 21, 2019 | Designer Series Paper
This is the second day of the Online Extravaganza and some cardstock (Blackberry Bliss and Rich Razzleberry) have already gone into backorder status. The sale ends tomorrow so be sure to place your orders as soon as you can. To see everything on sale, click here.

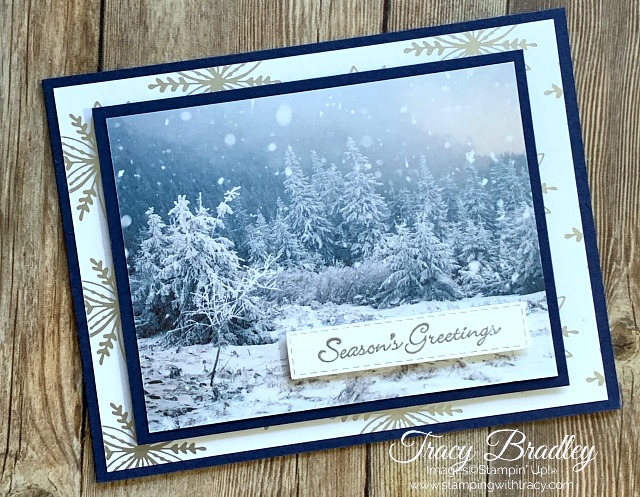
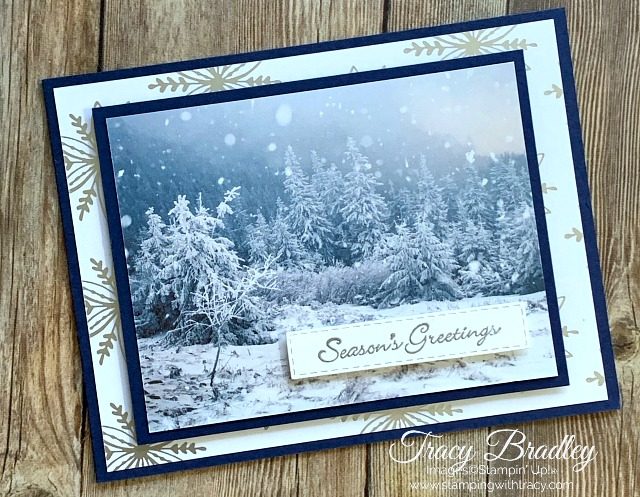
Today’s card combines Night of Navy cardstock with Feels Like Frost 6″ x 6″ Designer Series Paper. On one side of this paper, all the designs are in foil and on the other, realistic images. Absolutely stunning! Feels Like Frost has been on backorder multiple times but it’s now in stock!

The sentiment comes from the stamp set Itty Bitty Christmas. It has 18 different sentiments to choose from!

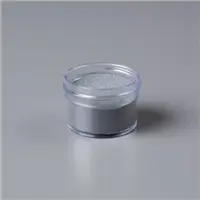
I heat embossed the sentiment using Silver Embossing Powder. I love the elegance embossing gives a card!
To heat emboss, prepare your cardstock first by rubbing the Embossing Buddy over the surface. Then stamp the sentiment or image using a Versamark stamp pad. Sprinkle embossing powder over the image and shake off the excess. Then use the Heat Tool to melt the powder. It’s so easy and the results are amazing!
Supply List
If you need any stamping supplies, I’d love to be your demonstrator! You can place an order by clicking any of the images below to go to the homepage of my Stampin’ Up! online store. If you have questions about products you’re considering purchasing or ones you’ve already purchased, I’m just an email away (click the Email Me button on the sidebar of my blog).
Tracy’s Quick Links
Place an Order
My Customer Rewards
Bradley Points
$99 Starter Kit
Clearance Rack
Holiday Catalog