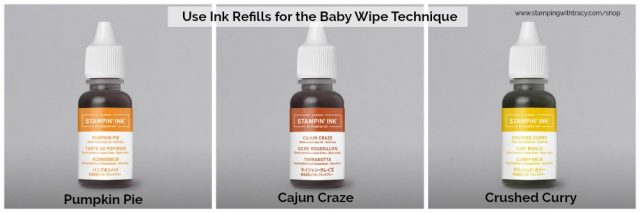
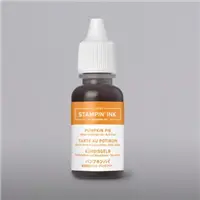
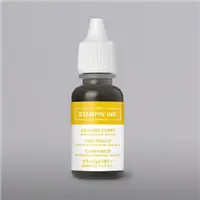
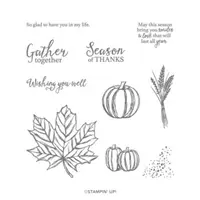
Today’s card was made using the Baby Wipe Technique (I also have a video). This technique is super easy and lots of fun! You’ll need baby wipes and our ink refills (I also refer to them as reinkers in the video). I used Pumpkin Pie, Cajun Craze and Crushed Curry.
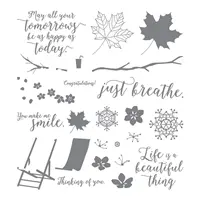
The leaf stamp is from Colorful Seasons and because I needed a small sentiment, I used the To Every Season stamp set. The base of the card is Pumpkin Pie with another layer of Cajun Craze.
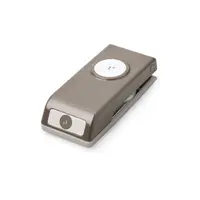
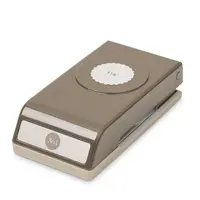
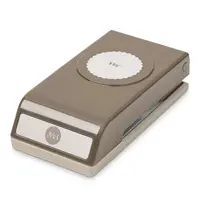
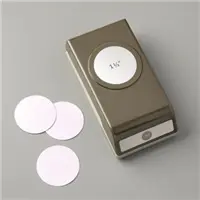
To cut out the sentiment, I used these punches (click the images in the supply list below for more information about the punches):
Sentiment: 1″ Circle Punch
Pumpkin Pie layer: 1-1/8″ Scallop Circle Punch
Cajun Craze layer: 1-3/8″ Scallop Circle Punch
Give this technique a try! I think you’ll really enjoy it!
Supply List
If you need any stamping supplies, I’d love to be your demonstrator! You can place an order by clicking any of the images below to go to the homepage of my Stampin’ Up! online store.If you have questions about products you’re considering purchasing or ones you’ve already purchased, I’m just an email away (click the Email Me button on the sidebar of my blog).
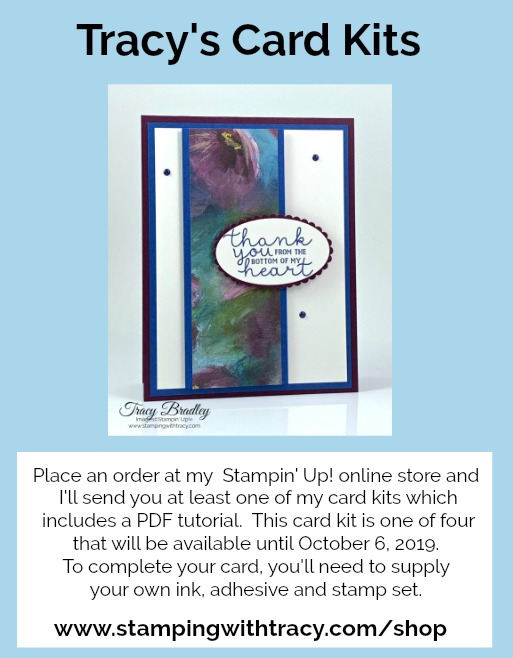
Place an order at my Stampin’ Up! online storeand I’ll send you at least one of my card kits which will include all the paper and embellishments needed to create a beautiful card. You’ll also receive a PDF Tutorial with pictures, directions, measurements and a supply list. The paper in your card kit may differ from the card above, but all of the kits are made with Perennial Essence Designer Series Paper (the cards with this design will be available until October 6th).
Use the host code VHD7EB7A when placing your order and you’ll receive an extra kit! This offer is available until October 6, 2019.
If you aren’t sure how to use a host code, click here.
To complete the card above, exactly as shown, you’ll need to supply your own adhesive, Balmy Blue ink and the stamp set, Bloom & Grow.
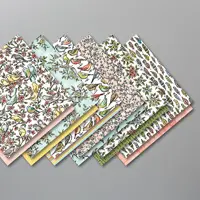
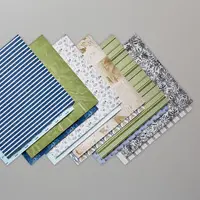
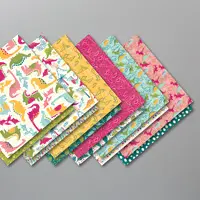
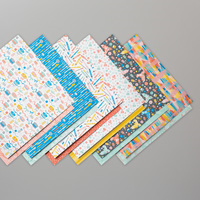
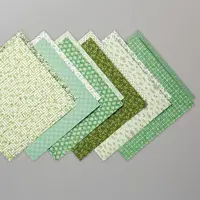
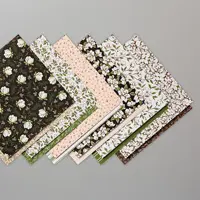
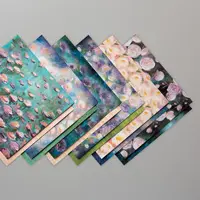
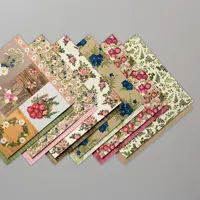
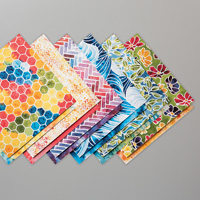
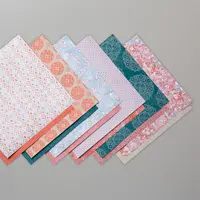
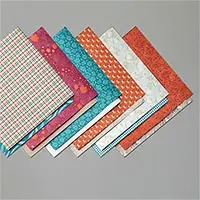
If you follow my blog, you already know I love our Perennial Essence Designer Series Paper. Truly, this paper is gorgeous and I can’t stop creating with it. Perennial Essence Designer Series Paper, along with nine other papers, is part of the Buy 3, Get 1 Free promotion currently going on. Choose three packages of paper and then you’ll be prompted to enter your FREE fourth package! I’ve listed all the papers included in the sale, below. Simply click any of the images to get a closer look! This sale ends on September 30, 2019.
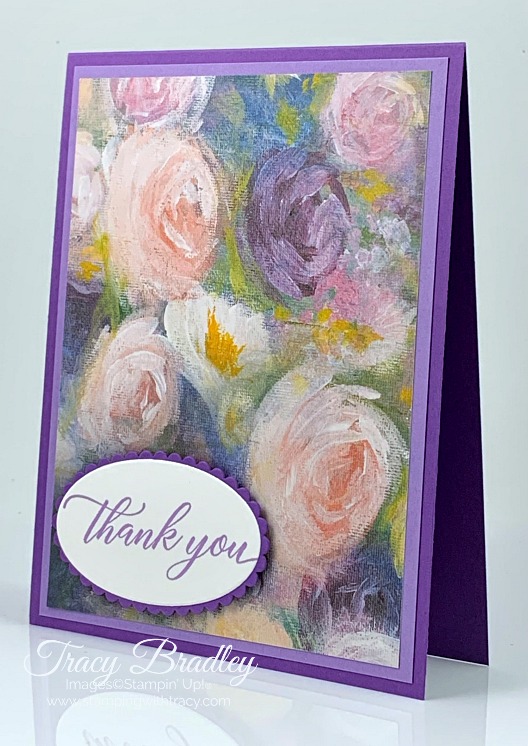
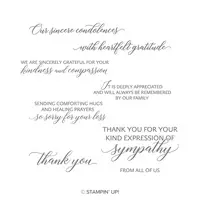
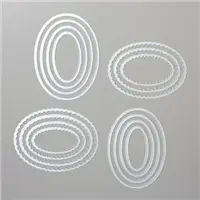
Today’s card fits into the quick and easy category. I used a base of Gorgeous Grape cardstock and paired it with Highland Heather. I used the stamp set, Kindness & Compassion along with Highland Heather ink for the sentiment and cut it out using the Layering Ovals Dies. Definitely an easy card to make and when you use beautiful paper, it doesn’t take much to create a beautiful card. I’ve included the measurements I used if you’d like to recreate today’s card!
Measurements
Gorgeous Grape cardstock: 11″ x 4-1/4 Score at 5-1/2″ and fold in half
Highland Heather cardstock: 5-1/4″ x 4″
Perennial Essence Designer Series Paper: 5″ x 3-3/4″
Gorgeous Grape cardstock: scrap for oval under sentiment
Whisper White cardstock: scrap for the sentiment
Supply List
If you need any stamping supplies, I’d love to be your demonstrator! You can place an order by clicking any of the images below to go to the homepage of my Stampin’ Up! online store.If you have questions about products you’re considering purchasing or ones you’ve already purchased, I’m just an email away (click the Email Me button on the sidebar of my blog).
Place an order at my Stampin’ Up! online store and I’ll send you at least one of my card kits which will include all the paper and embellishments needed to create a beautiful card. You’ll also receive a PDF Tutorial with pictures, directions, measurements and a supply list. The paper in your card kit may differ from the card above, but all of the kits are made with Perennial Essence Designer Series Paper.
Use the host code VHD7EB7A when placing your order and you’ll receive an extra kit! This offer is available until October 6, 2019.
If you aren’t sure how to use a host code, click here.
To complete the card above, exactly as shown, you’ll need to supply your own adhesive, Blueberry Bushel ink and the stamp set, Bloom & Grow.
It’s Tuesday which means I have a free tutorial for you! But first, I want to let you know that the Clearance Rack has been replenished! Many of the items are deeply discounted and you’ll find great prices on embossing folders, punches, paper, the Envelope Punch Board and more! Everything is while supplies last so check it out as soon as you can. Click here to go right to the Clearance Rack!
My FREE tutorial is for the card pictured below. If you missed the original post when I featured this card, you can see it here.
Sign up by October 10th to receive the next Paper Pumpkin kit! Click here to sign up and for more information!
Before I share today’s card and video, I want to let you know that today is the last day to sign up for my September Online Card Class. To receive all the paper and embellishments needed to create six cards (two of three different designs), place a minimum $50 order at my Stampin’ Up! online store (before the end of today) using the host code, H2J6FK66. Click here for more details!
Today’s card is an easy to make fun fold! Be sure to check out the video below that will show you how to make it.
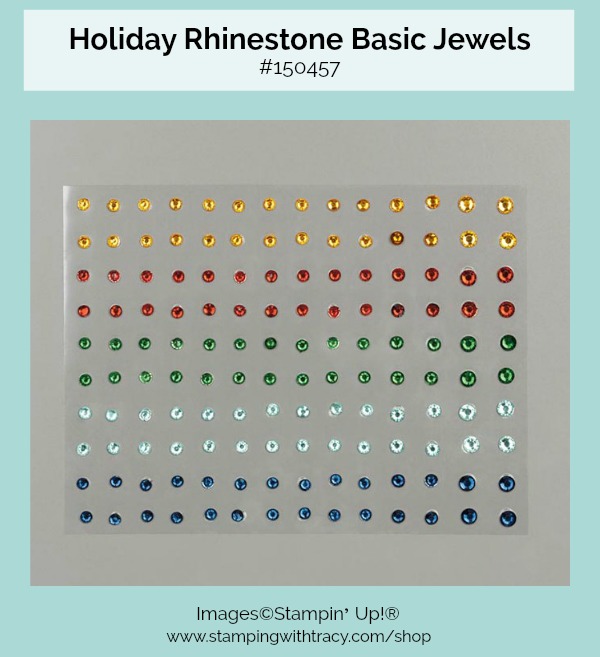
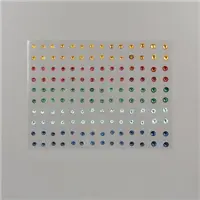
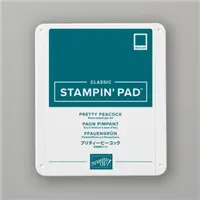
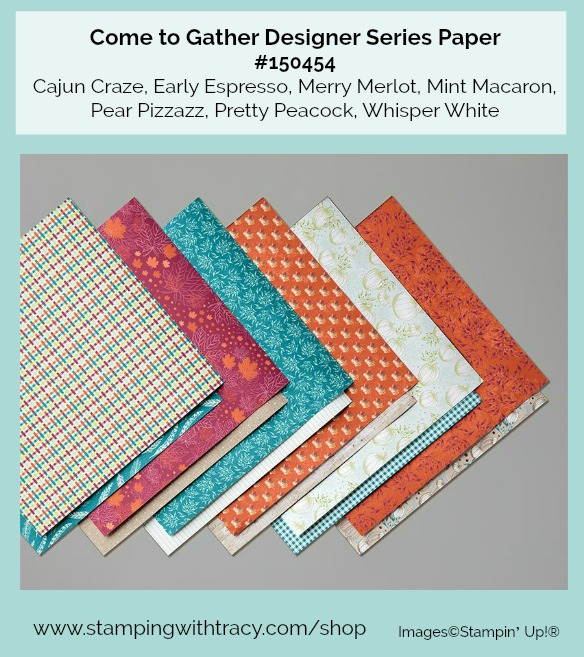
I used the stamp set Gather Together and Come to Gather Designer Series Paper, both which can be found in the Holiday Catalog. I also used Pretty Peacock and Mint Macaron cardstock and our new Holiday Rhinestone Basic Jewels.
Supply List
If you need any stamping supplies, I’d love to be your demonstrator! You can place an order by clicking any of the images below to go to the homepage of my Stampin’ Up! online store.If you have questions about products you’re considering purchasing or ones you’ve already purchased, I’m just an email away (click the Email Me button on the sidebar of my blog).
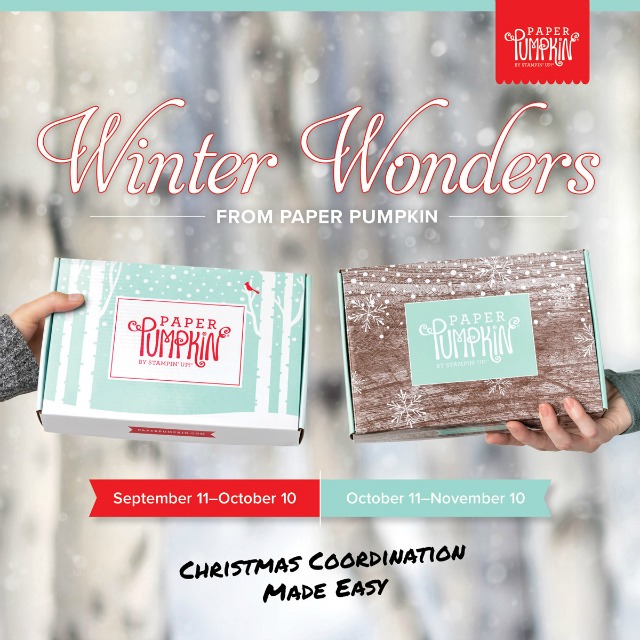
The October and November Paper Pumpkin kits coordinate! Sign up by October 10th to receive the October kit which will include 10 cards and envelopes. Both the October and November kits will include these coordinating colors: Early Espresso, Pool Party, Poppy Parade and Shaded Spruce. These two kits coordinate but each kit is all-inclusive and can stand alone. (The November kit will include 24 holiday themed gift tags of 4 various sizes and designs). Sign up here to receive the October Paper Pumpkin Kit (the November kit will be available next month).
If you have any questions, don’t hesitate to contact me!
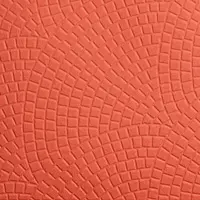
Today’s card features Come to Gather Designer Series Paper and the Mosaic3D Embossing Folder.
The base of the card is Merry Merlot cardstock and I added another layer of Merry Merlot, embossed with our Mosaic 3D Embossing Folder.
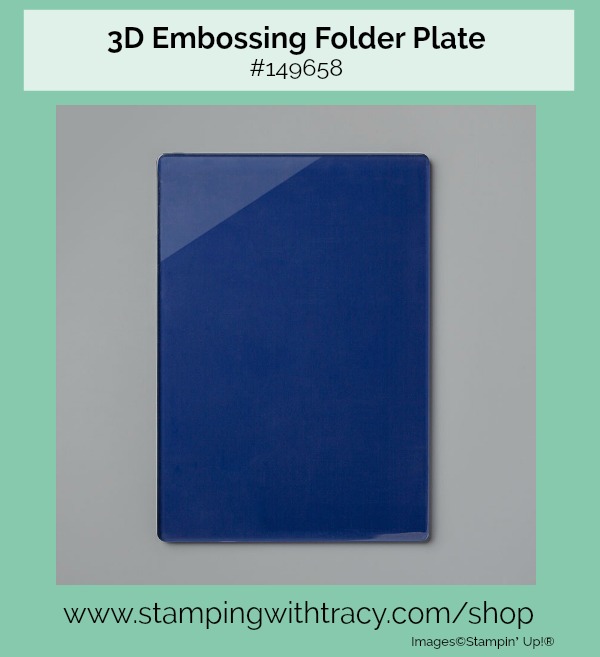
To achieve the very best results when using our new style of 3D Embossing Folders, I used our 3D Embossing Folder Plate . This plate replaces the standard cutting plates when using the 3D folders but you’ll use the regular cutting plates for all other embossing folders. This is the sandwich you’ll use when using a 3D folder and the 3D Embossing Folder Plate:
Embossing Machine Platform
Embossing Folder with cardstock inside
3D Embossing Folder Plate
You won’t find this plate in a current catalog but you can find it in my online store here or by clicking the image of the plate below. If you have any questions, please reach out to me!
Let’s get back to my card! The piece of Come to Gather Designer Series Paper is layered with Cajun Craze cardstock, two colors I wouldn’t have paired together had I not seen how beautiful these colors are in this paper! This layer has Stampin’ Dimensionals on the back.
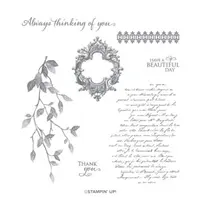
The sentiment is from the stamp set, Very Versailles, and it was cut out with a 1″ Circle Punch. I tend to primarily use Whisper White cardstock but for today’s card, I used Very Vanilla when stamping the sentiment. It sits on a layer of Merry Merlot cardstock that was cut using the 1-1/8″ Scallop Circle Punch and a Cajun Craze layer using the 1-3/8″ Scallop Circle Punch. If you’d like to make today’s card, I’ve included the measurements below the supply list!
Supply List
If you need any stamping supplies, I’d love to be your demonstrator! You can place an order by clicking any of the images below to go to the homepage of my Stampin’ Up! online store.If you have questions about products you’re considering purchasing or ones you’ve already purchased, I’m just an email away (click the Email Me button on the sidebar of my blog).