by Tracy | Nov 13, 2024 | Birthday Card
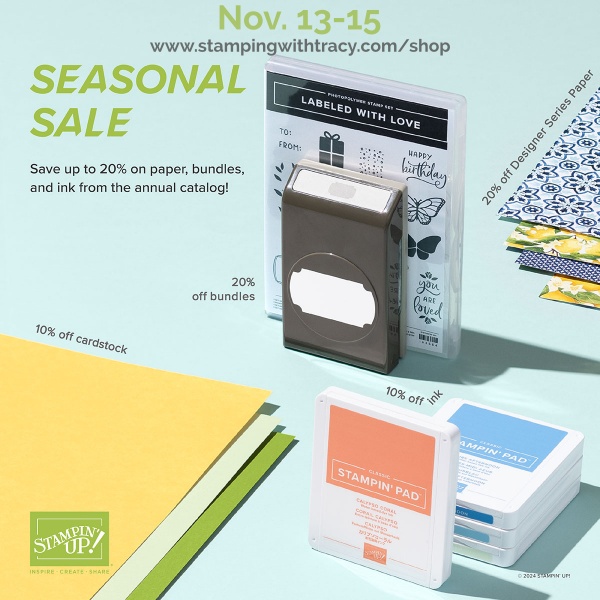
Before sharing my card with you today, I want to let you know that the Seasonal Sale starts today! You’ll save on products in the Annual Catalog! See below for all the details.
From the 2024–2025 Annual Catalog:
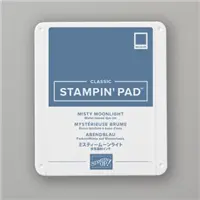
- 10% off ink, including pads, refills, markers, and Stampin’ Blends. Ink pad bundles and third-party ink pads are NOT included.
- 10% off cardstock. Close To My Heart cardstock is NOT included.
- 20% total off all stamp and die bundles and stamp and punch bundles. (Stamp bundles are normally 10% off. With this sale you get an additional 10% off.)
- 20% off all Designer Series Paper.
Important Information:
- Products are available while supplies last.
- Discounts are automatically applied when sale items are added to any order, including Starter Kits.

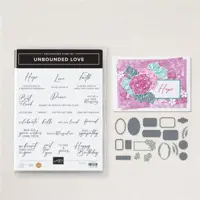
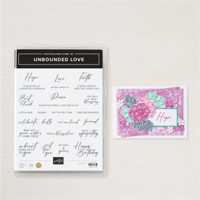
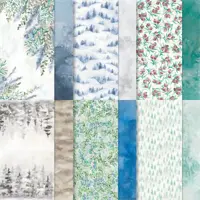
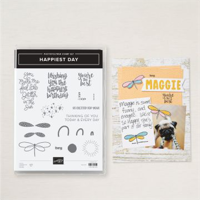
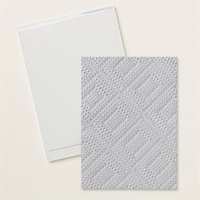
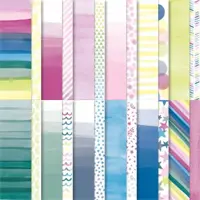
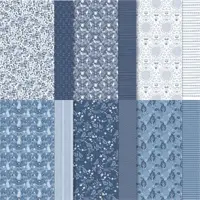
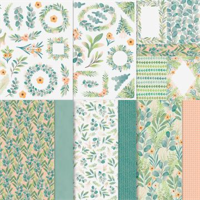
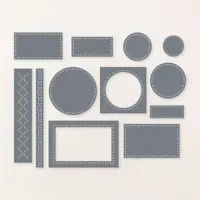
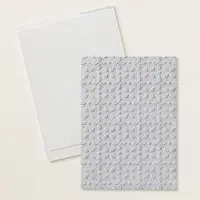
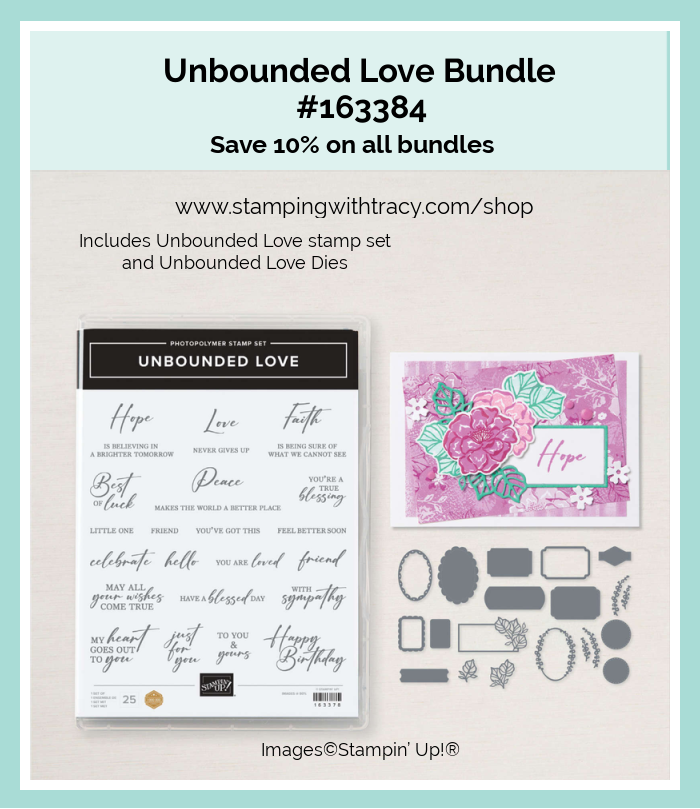
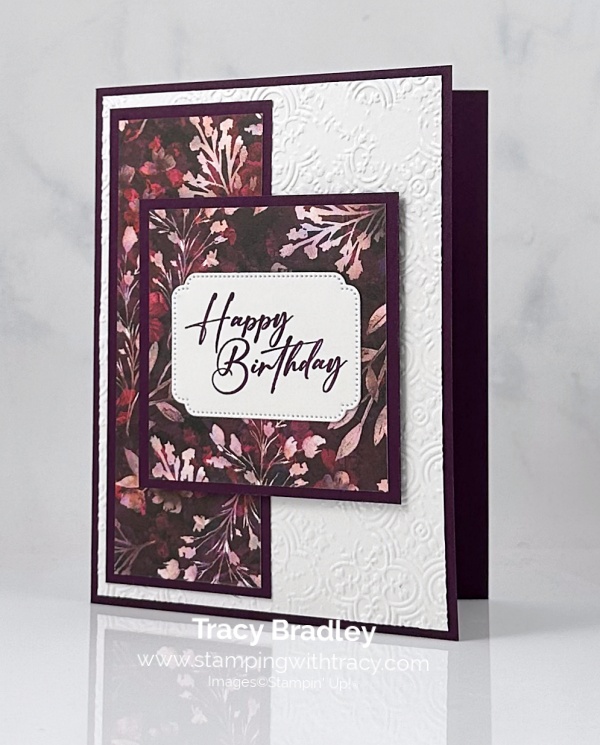
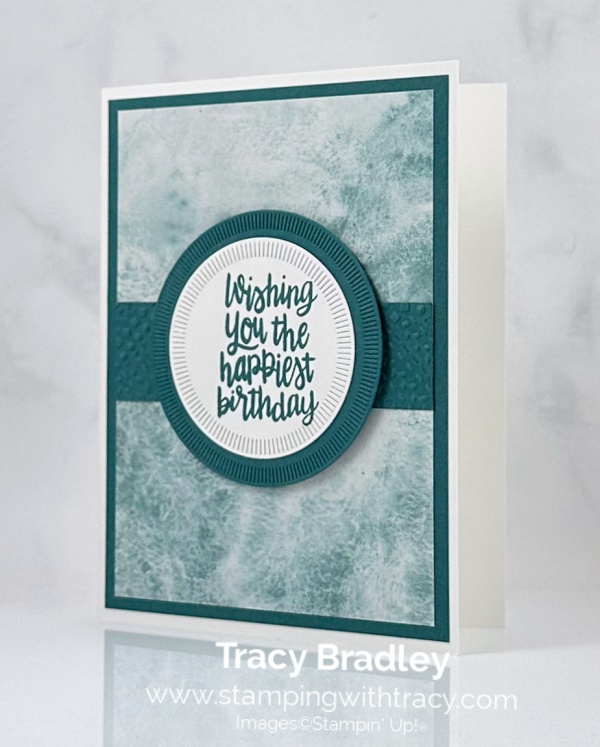
The card I’m sharing today is a birthday card! I used the Unbounded Love Bundle (on sale), Regal Winter Designer Series Paper, and the Distressed Tile 3D Embossing Folder. You can see the Christmas card I made using this same layout, here.
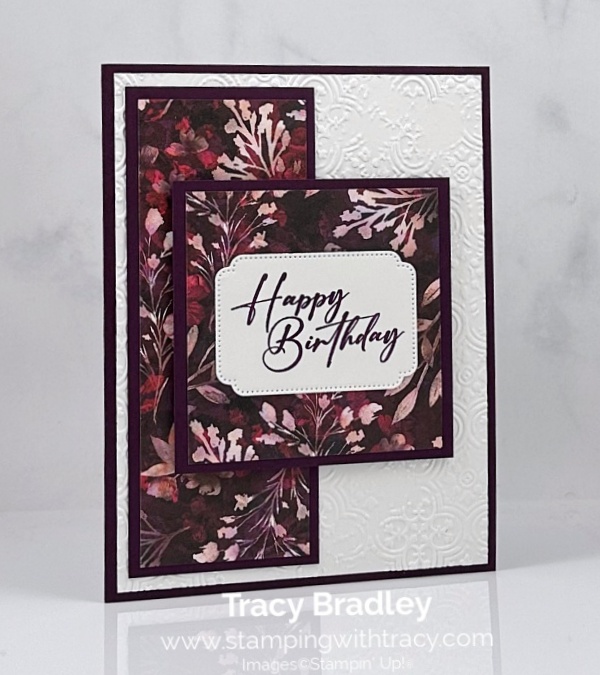
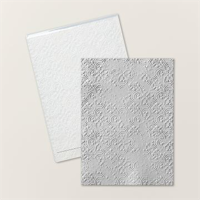
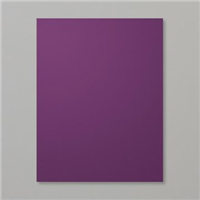
I started with a piece of Blackberry Bliss cardstock for the base of my card. Then, I embossed a piece of Basic White cardstock using the Distressed Tile 3D Embossing Folder and my Stampin’ Cut & Emboss Machine. Once I embossed it, I adhered it to the front of the card.
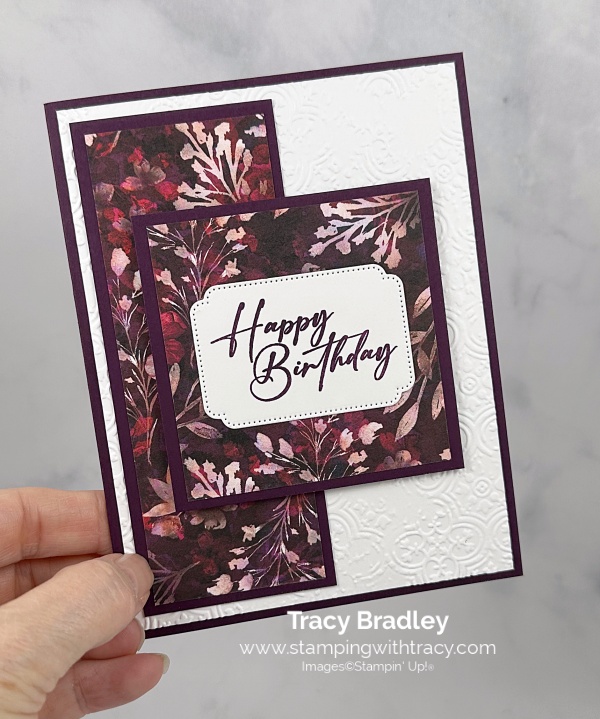

I cut two pieces of Blackberry Bliss cardstock and two pieces of Regal Winter Designer Series Paper (you can find all the measurements I used below the Supply List). I adhered the DSP to the cardstock and then adhered the long one onto the front of the card. With the square one, I added Stampin’ Dimensionals to the back and adhered it to the front of the card.
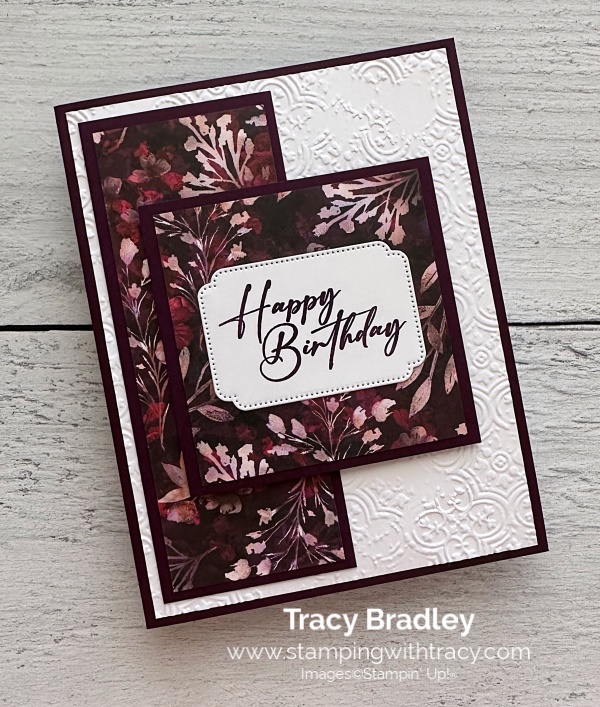

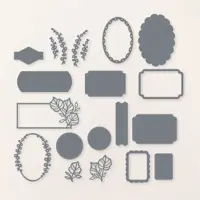
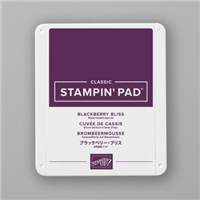
I stamped the sentiment onto Basic White cardstock using Blackberry Bliss ink and the stamp set, Unbounded Love. I cut the sentiment out using the Unbounded Love Dies. I then adhered the sentiment to the front of the card.
To complete my card, I added a piece of Basic White cardstock to the inside (I added it after I took the picture).
Supply List
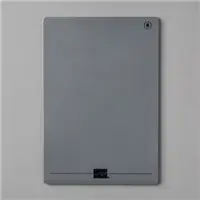
Below you’ll find all the Stampin’ Up! supplies I used for today’s card. If you need any stamping supplies, I’d love to be your demonstrator! You can place an order by clicking any of the images below to go to my Stampin’ Up! online store. The Specialty Plate is used with 3D Embossing Folders.
Measurements
- Blackberry Bliss cardstock: 8-1/2″ x 5-1/2″ score at 4-1/4″
- Blackberry Bliss cardstock: 5″ x 2″
- Blackberry Bliss cardstock: 3″ x 3″
- Basic White cardstock (embossed and inside): (2) 5-1/4″ x 4″
- Basic White cardstock (sentiment): approx. 2-3/4″ x 2″
- Regal Winter Designer Series Paper: 4-3/4″ x 1-3/4″
- Regal Winter Designer Series Paper: 2-3/4″ x 2-3/4″
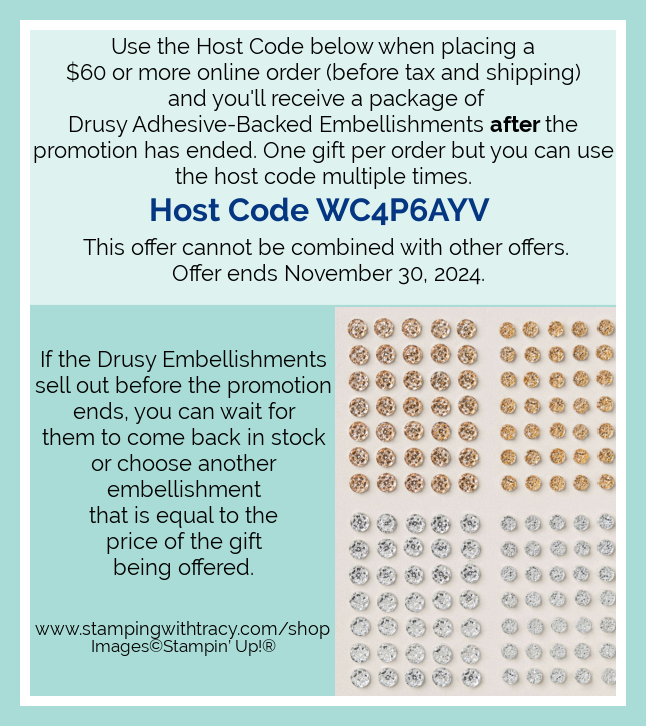
Free Drusy Adhesive-Backed Embellishments with an Order of $60 Using the Host Code

New Online Exclusives
New Online Exclusives went live last week. Click here to see what’s new!

Two New Stampin’ Up! Kits!
Click each graphic for more information!
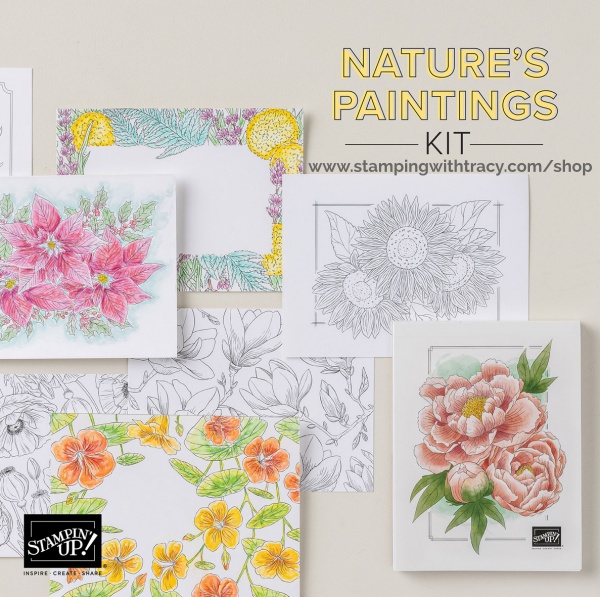
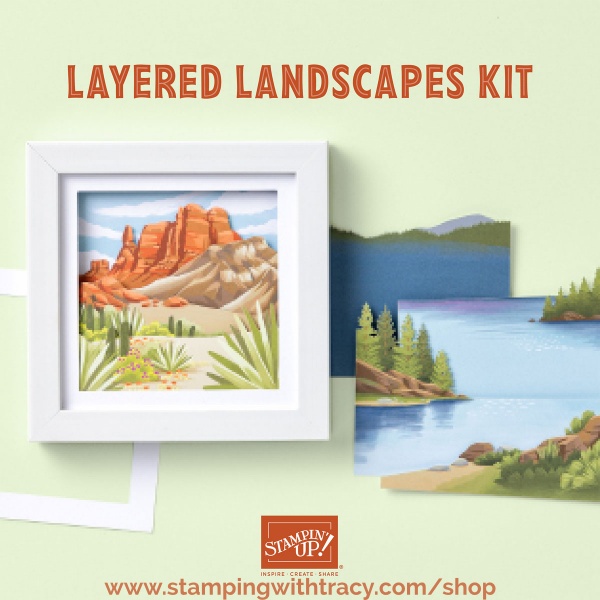
December Paper Pumpkin Kit
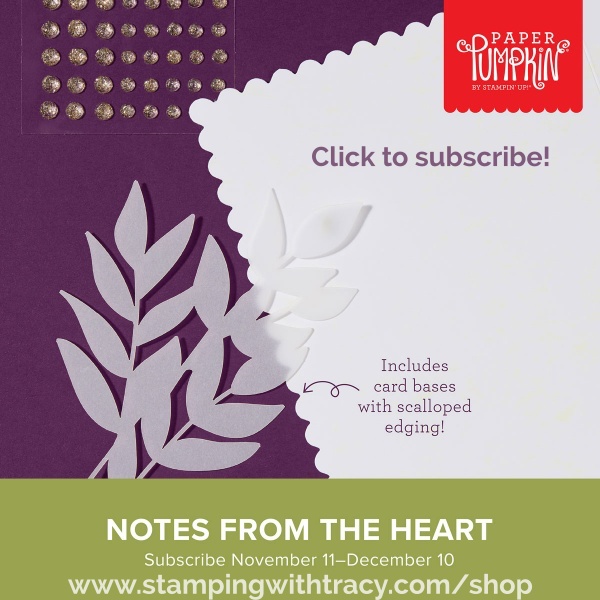
An additional coordinating add-on is available but only for Paper Pumpkin subscribers. Click the image below for more information.

Thanks for stopping by today!
by Tracy | Aug 28, 2024 | Birthday Card
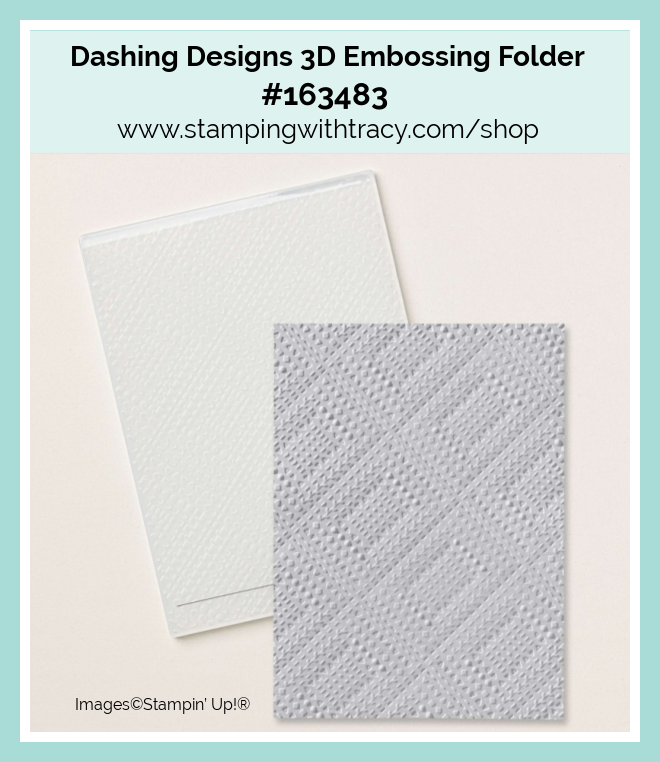
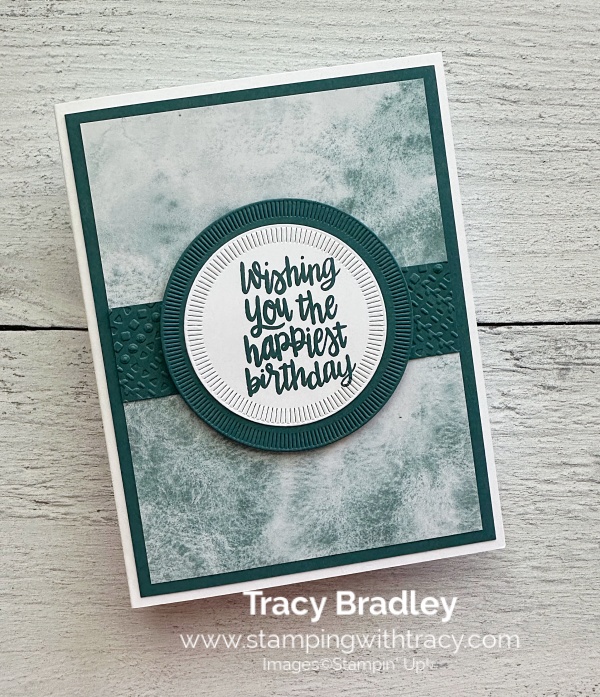
I needed a card for my son-in-law’s birthday and I’m sharing the card I made for him. I used Winter Meadow Designer Series Paper (DSP). This has been unavailable for a few weeks but it’s now in and on sale until August 31st. I also used the Happiest Day stamp set, Spotlight on Nature Dies and the Dashing Designs 3D Embossing Folder. I have another version of this card using Wildly Flowering Designer Series Paper and you can see that card here.
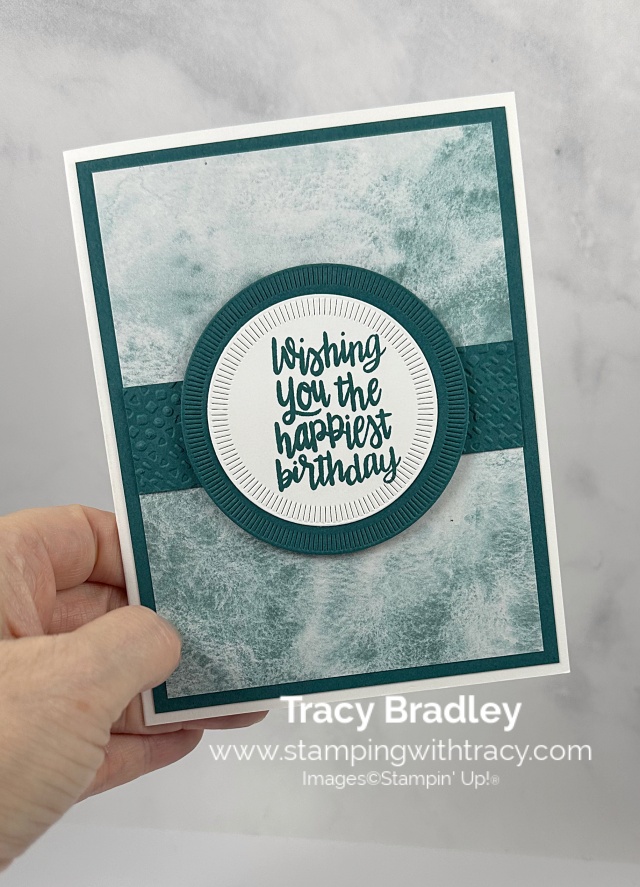

I started with a piece of Thick Basic White cardstock for the base of my card. Then I cut my Winter Meadow DSP (you can find all the measurements I used below the Supply List) and then added a strip of Pretty Peacock cardstock that I embossed using the Dashing Designs Embossing Folder. I try to cut it a little bit a longer than needed and then I can just trim it off. I adhered the DSP to a piece of Pretty Peacock and then adhered the entire piece to the front of my card.
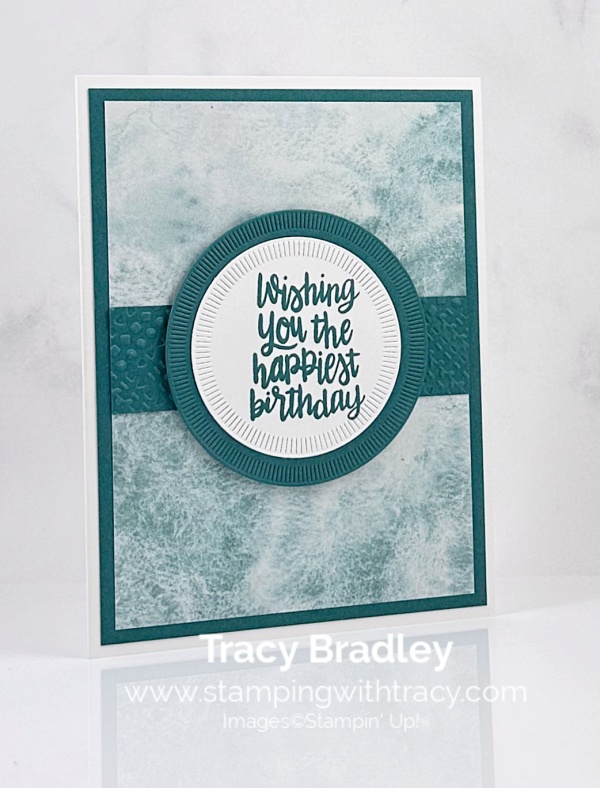
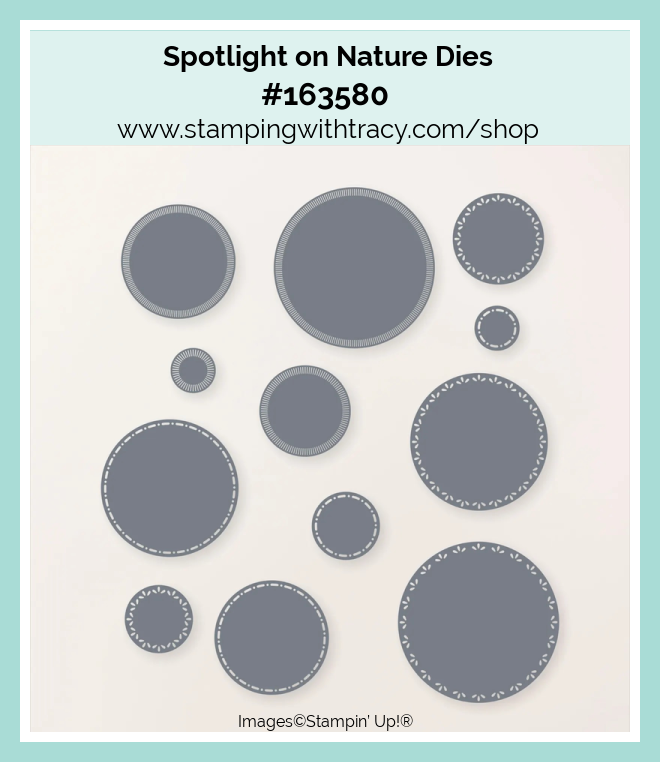
I stamped the sentiment in Pretty Peacock ink onto Basic White cardstock using the stamp set, Happiest Day. I then cut it out using the Spotlight on Nature Dies (these dies are currently unavailable but are estimated to be back in stock the week of September 9th, but sometimes products do come in earlier than anticipated). I cut a larger circle out of Pretty Peacock cardstock and then adhered the sentiment to the front. I added Stampin’ Dimensionals to the back and adhered it to the front of the card.

Supply List
Below you’ll find all the Stampin’ Up! supplies I used for today’s card. If you need any stamping supplies, I’d love to be your demonstrator! You can place an order by clicking any of the images below to go to my Stampin’ Up! online store. The Specialty Plate is used with 3D Embossing Folders.
Sale: $10.62
Price: $12.50
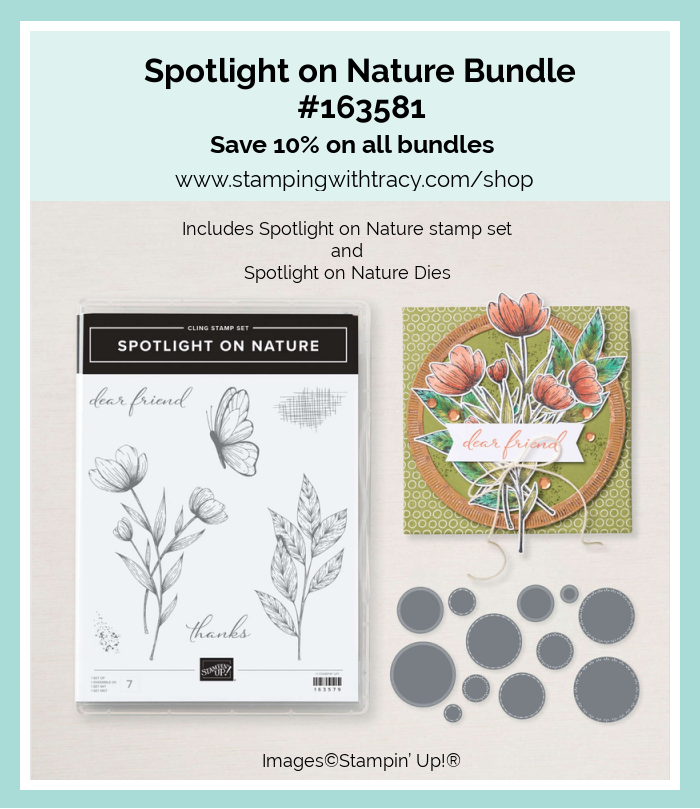
Bundle Alert: The Spotlight on Nature Bundle is available with a 10% discount rather than buying the products separately but it’s out of stock right now. It’s estimated to be back in stock the week of September 9, 2024.
Measurements
- Thick Basic White cardstock: 8-1/2″ x 5-1/2″ score at 4-1/4″
- Pretty Peacock cardstock: 5-1/4″ x 4″
- Pretty Peacock cardstock (embossed): 3-3/4″ x 1″
- Pretty Peacock cardstock (under sentiment): approx. 3″ x 3″
- Basic White cardstock (sentiment): approx. 2-1/2″ x 2-1/2″
- Winter Meadow Designer Series Paper: 5″ x 3-3/4″
Designer Series Paper Sale – This Sale Ends This Saturday, August 31st!
Here’s what on sale and you’ll find the sale prices below each paper. This promotion ends on August 31, 2024 however product is only available while supplies last.
Update: Stock of Country Woods DSP has been depleted. It’s estimated to be back in stock the week of September 2nd. Both Thoughtful Journey DSP and Country Lace DSP are on the Low Inventory List.
Sale: $10.62
Price: $12.50
Sale: $10.62
Price: $12.50
Sale: $10.62
Price: $12.50
Sale: $10.62
Price: $12.50
Sale: $10.62
Price: $12.50
Sale: $10.62
Price: $12.50
Sale: $10.62
Price: $12.50
Sale: $10.62
Price: $12.50
Sale: $10.62
Price: $12.50
Sale: $10.62
Price: $12.50
Sale: $10.62
Price: $12.50
Sale: $10.62
Price: $12.50
Sale: $10.62
Price: $12.50
Sale: $10.62
Price: $12.50
Online Exclusives

Click here to shop Stampin’ Up! Online Exclusives!
Don’t Forget to Redeem Your Bonus Days Coupons by August 31st!
Two New Kits by Stampin’ Up!
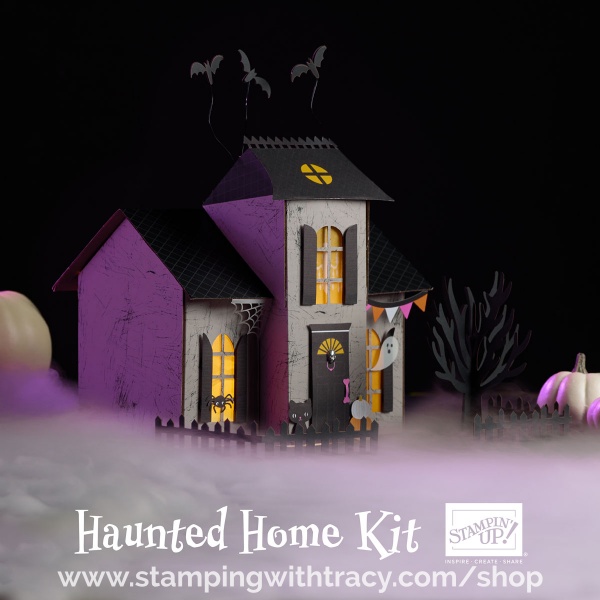
Click each image for more information. I do have some information about the Haunted Home Kit. See below.
Stampin’ Up! was blown away by the interest in the Haunted Home Kit! The Haunted Home Kit will be replenished but they’re not projected to arrive until after Halloween. Stampin’ Up! is saying they’ll arrive in November, barring any unforeseen external delays. Fortunately, we plan to carry this cute kit through Halloween 2025, so you can place an order when they arrive and plan on having some frightful fun with them in the future.
Autumn Abundance Paper Pumpkin Kit
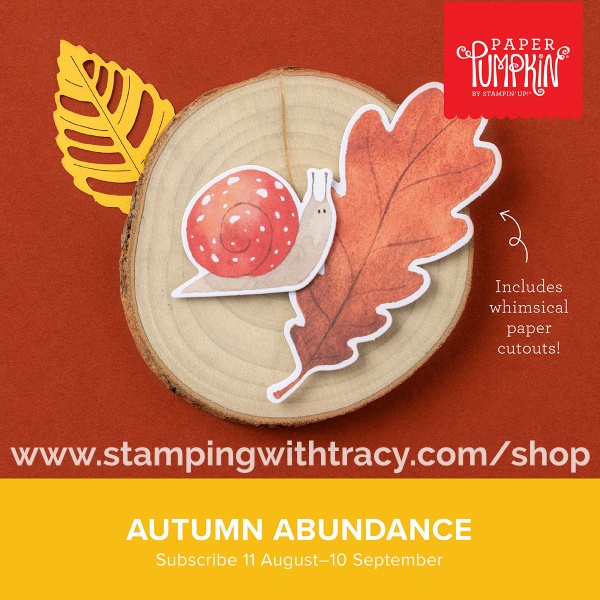
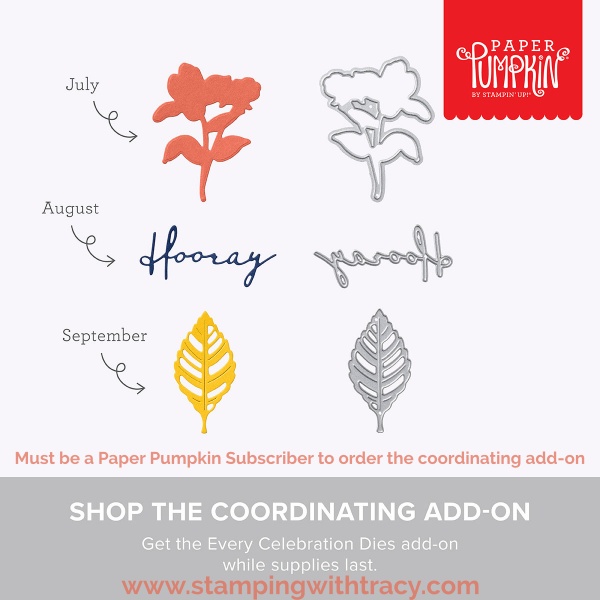
Click here to order the Autumn Abundance Paper Pumpkin Kit. An additional add on is available but only for Paper Pumpkin subscribers.
Thanks for stopping by today!
by Tracy | Aug 24, 2024 | Birthday Card
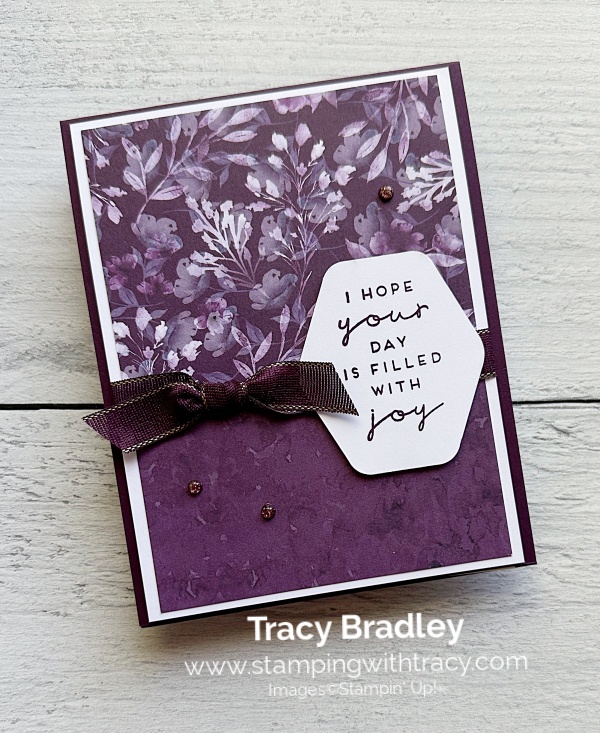
I have a sneak peek of new products today! Stampin’ Up! knocked it out of the ballpark with Regal Winter 12″ x 12″ Designer Series Paper! Today I am showcasing three new products that will be available on September 4, 2024. They are:
- Regal Winter 12″ x 12″ Designer Series Paper (#164156)
- Regal Foiled Adhesive-Backed Dots (#164038)
- Blackberry Bliss & Gold 1/2″ Textured Ribbon (#164039)
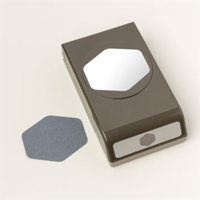
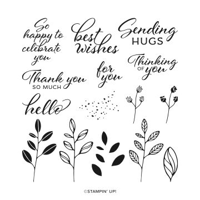
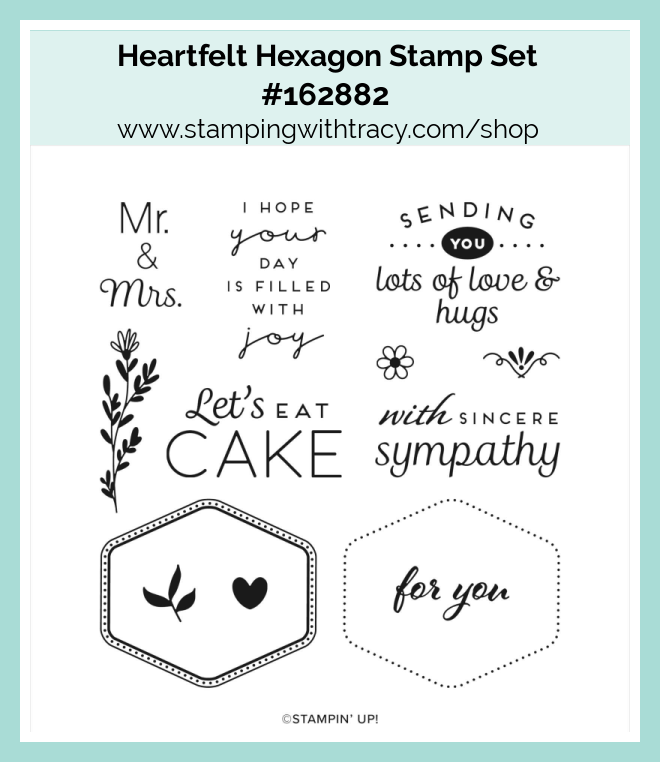
I also used the Heartfelt Hexagon stamp set and the Heartfelt Hexagon Punch.
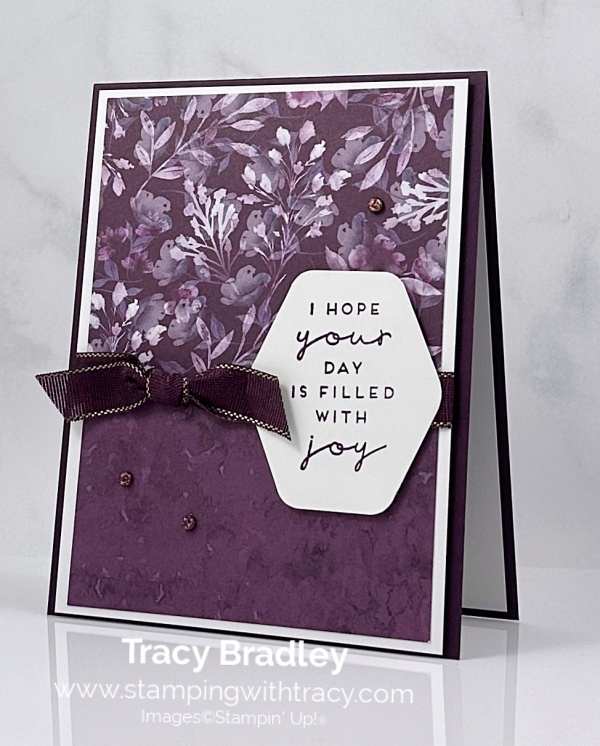
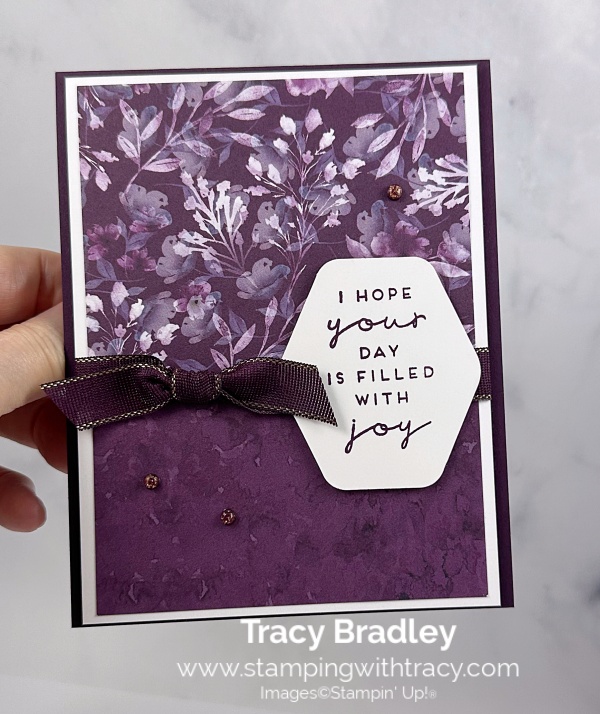
This is the same card layout that I posted yesterday. If you would like to see yesterday’s card, you can see it here.
I started with a piece of Blackberry Bliss cardstock for the base of my card. I added two pieces of Regal Winter DSP to a piece of Basic White cardstock. I then wrapped the beautiful Blackberry Bliss and Gold Textured Ribbon around this piece and tied a knot. I added Stampin’ Dimensionals to the back and adhered it to the card front.
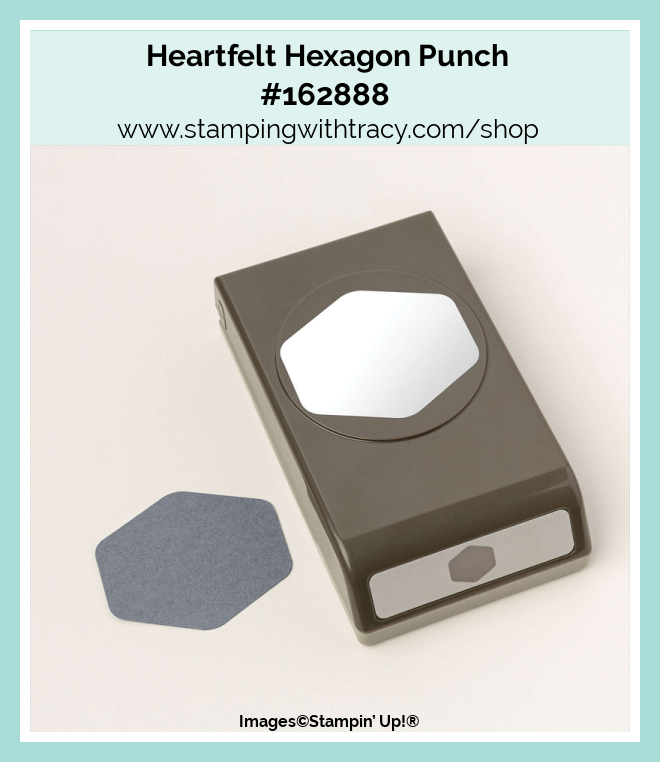
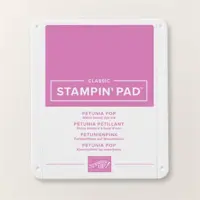
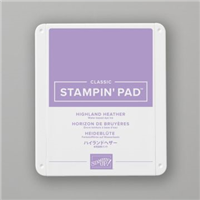
I stamped my sentiment onto Basic White cardstock using Blackberry Bliss ink and the stamp set, Heartfelt Hexagon. I then used the Heartfelt Hexagon Punch to cut it out. I added Stampin’ Dimensionals to the top and bottom and adhered it to the front of the card. I put Dimensionals at the top and bottom because sometimes when I add them all over the back of the sentiment, it doesn’t sit properly on the ribbon.
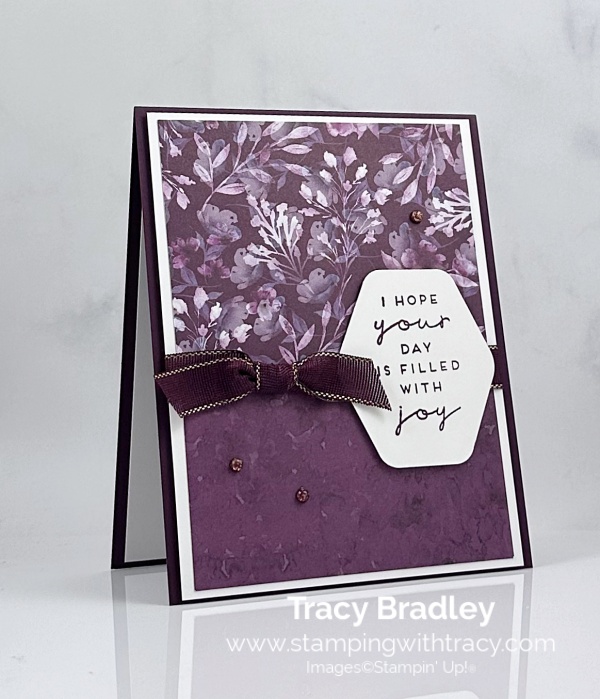
To complete my card, I added a piece of Basic White cardstock to the inside and then added three Regal Foiled Adhesive-Backed Dots to the front of the card.
Supply List
Below you’ll find all the Stampin’ Up! supplies I used for today’s card. If you need any stamping supplies, I’d love to be your demonstrator! You can place an order by clicking any of the images below to go to my Stampin’ Up! online store.
I also used the products below and they will be available on September 4, 2024.
- Regal Winter 12″ x 12″ Designer Series Paper (#164156)
- Regal Foiled Adhesive-Backed Dots (#164038)
- Blackberry Bliss & Gold 1/2″ Textured Ribbon (#164039)
Measurements
- Blackberry Bliss cardstock: 11” x 4-1/4” scored at 5-1/2” OR 8-1/2” x 5-1/2” scored at 4-1/4
- Basic White cardstock: (2) 5-1/4″ x 4″
- Regal Winter Designer Series Paper (top): 3-3/4″ x 3″ (3-3/4″ is how wide the DSP is)
- Regal Winter Designer Series Paper (bottom): 3-3/4″ x 2″
- Basic White cardstock (sentiment): scrap
Layering Leaves Mini Card Sampler
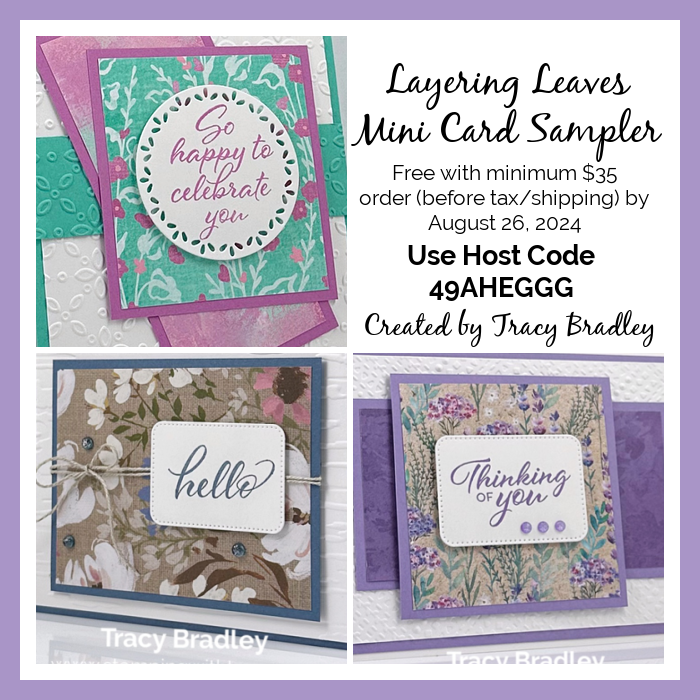
I’m offering a Mini Card Sampler. When you use the host code 49AHEGGG and your order is a minimum of $35 (before shipping/tax), I’ll send you one each of three different cards. I used the stamp set, Layering Leaves, Unbounded Beauty Designer Series Paper, Perennial Lavender Designer Series Paper and Wildly Flowering Designer Series Paper to make this Card Sampler. All three of these Designer Series Papers are on sale until August 31, 2024, or while supplies last.
If you’re using a Bonus Days coupon, the total must be $35 after the coupon(s) have been applied.
Here’s What You’ll Receive:
- All the paper and embellishments needed to make three cards. Envelopes will also be provided. For this Sampler you only need to provide a stamp set, ink and adhesive (see below for what you’ll need).
- A PDF Tutorial with instructions, pictures, cutting measurements and a complete supply list of all the products used.
- Earn at least one Bradley Point (earn ten Bradley Points and redeem them for free product) when your order is $50 or more.
- If your order is over $150, please do not use the host code or you won’t receive your Stampin’ Rewards. After you place your order, simply email me and let me know that you’d like the Layering Leaves Mini Card Sampler (you only need to do this if your order is over $150). You can send me an email on the sidebar.
All the Other Important Information:
- Your Layering Leaves Mini Card Sampler will be shipped first-class mail approximately September 1, 2024 and will be mailed to the address used on your online order.
- You’ll receive an email when I mail your Card Sampler and the PDF Tutorial will be included in that email.
- When using the Layering Leaves Mini Card Sampler host code to place your order, you will not qualify for other current host code rewards.
- Per Stampin’ Up! policy, card samplers can only be mailed within the United States.
You’ll receive all the materials to make three cards. You’ll quickly have beautiful cards ready to be mailed out to someone special. If you can’t make the cards once they arrive, no worries, each card is labeled in its own clear envelope which makes it easy to come back to later. Once you’ve made all the cards in the Sampler, you’ll be able to easily replicate each card by following the easy to follow directions in the PDF (pictures are included as well).
The special Layering Leaves Mini Card Sampler HOST CODE will close at the end of the day on August 26, 2024 and after that date, the Card Sampler will no longer be available.
Approximate ship date of the Card Sampler is September 1, 2024.
Click here to place an order
Supplies Needed To Create the Card Sampler
Listed below are the supplies you’ll need to complete the cards exactly as shown (or you can use what you already own). Simply click any of the products and you’ll be taken to my Stampin’ Up! online store. When placing your order, don’t forget to use the special Card Sampler Host Code (please do not use host code if your order is over $150 – see above).
Click here to place an order
Designer Series Paper Sale – This Sale ends on Saturday, August 31st!
Here’s what on sale and you’ll find the sale prices below each paper. This promotion ends on August 31, 2024 however product is only available while supplies last.
Update: Stock of Country Woods DSP has been depleted. It’s estimated to be back in stock the week of September 2nd. Both Thoughtful Journey DSP and Country Lace DSP are on the Low Inventory List.
Sale: $10.62
Price: $12.50
Sale: $10.62
Price: $12.50
Sale: $10.62
Price: $12.50
Sale: $10.62
Price: $12.50
Sale: $10.62
Price: $12.50
Sale: $10.62
Price: $12.50
Sale: $10.62
Price: $12.50
Sale: $10.62
Price: $12.50
Sale: $10.62
Price: $12.50
Sale: $10.62
Price: $12.50
Sale: $10.62
Price: $12.50
Sale: $10.62
Price: $12.50
Sale: $10.62
Price: $12.50
Sale: $10.62
Price: $12.50
Online Exclusives

Click here to shop Stampin’ Up! Online Exclusives!
Don’t Forget to Redeem Your Bonus Days Coupons!

Two New Kits by Stampin’ Up!
Click each image for more information. I do have some information about the Haunted Home Kit. See below.
Stampin’ Up! was blown away by the interest in the Haunted Home Kit! This is what Stampin’ Up! had to say about this specific kit: “Wow! Your interest in the Haunted Home kit has been overwhelming. Like you, we love it, and we must admit we didn’t anticipate it would vanish like a ghost, selling out in just days in most markets. Ordinarily, we wouldn’t release an update on an out-of-stock kit, but we see how this is a special circumstance as it relates to your holiday crafting plans. We’re happy to say, we have more Haunted Home kits on their way, and we felt it important to let you know they’re not projected to arrive until after Halloween. We anticipate they’ll arrive in November, barring any unforeseen external delays. Fortunately, we plan to carry this cute kit through Halloween 2025, so you can place an order when they arrive and plan on having some frightful fun with them in the future. Thank you for your patience and support.”


Autumn Abundance Paper Pumpkin Kit

Click here to order the Autumn Abundance Paper Pumpkin Kit. An additional add on is available but only for Paper Pumpkin subscribers.

Thanks for stopping by today!
by Tracy | Aug 2, 2024 | Birthday Card
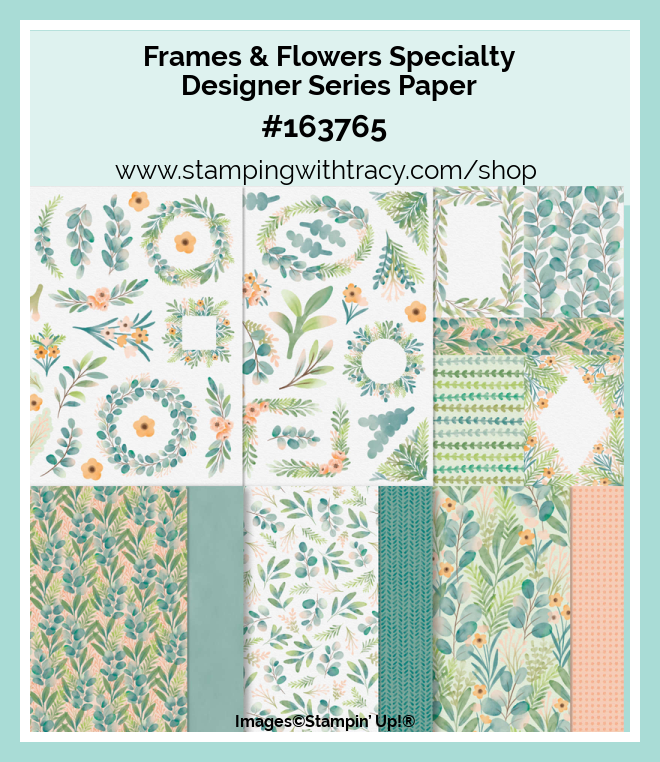
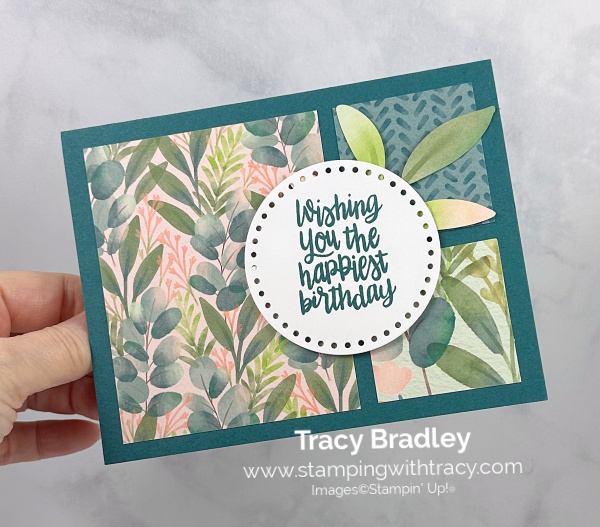
Today I’m sharing a card using Stampin’ Up! Frames & Flowers Specialty Designer Series Paper, the Happiest Day stamp set and the Everyday Details Dies. I used this same layout several days ago when I used Country Woods Designer Series Paper. If you’d like to see that card, please click here.
The Frames & Flowers Specialty Paper has three sheets of double-sided designs with floral and greenery designs on one side and all-purpose patterns on the other. It also has three sheets of die-cut greenery elements that you can use on card fronts or to frame photos on scrapbook pages.
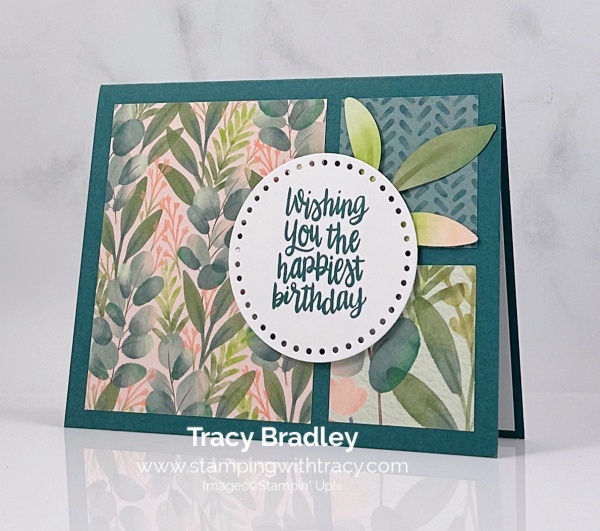
I started with a piece of Pretty Peacock cardstock for the base of my card. Then I cut the Frames & Flowers Designer Series Paper and adhered them to the front of the card base. You can find the measurements I used below the Supply List.

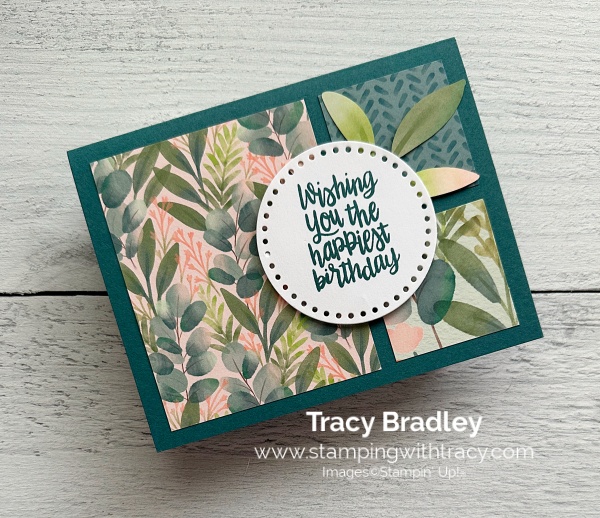
I stamped my sentiment onto a piece of Basic White cardstock using Pretty Peacock ink and the stamp set, Happiest Day. I then cut it out using the Everyday Details Dies. I took one of the die cuts that comes with the paper and adhered it to the back of the sentiment using Mini Glue Dots. Then, I added Stampin’ Dimensionals to the back and adhered the sentiment to the card front.

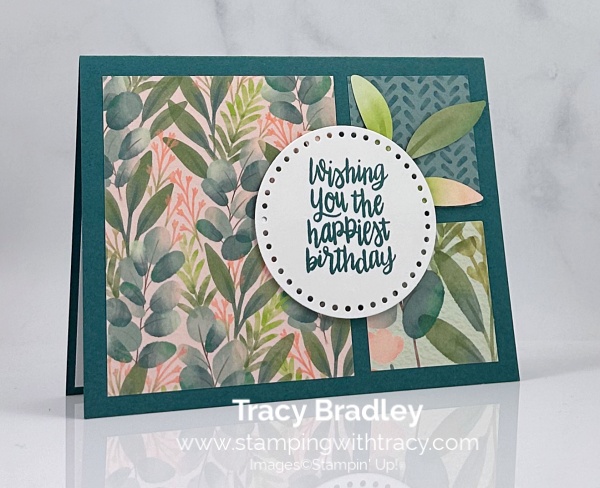
To complete my card, I added a piece of Basic White cardstock to the inside of the card.
Supply List
Below you’ll find all the Stampin’ Up! supplies I used for today’s card. If you need any stamping supplies, I’d love to be your demonstrator! You can place an order by clicking any of the images below to go to my Stampin’ Up! online store.
Measurements
- Pretty Peacock cardstock: 8-1/2″ x 5-1/2″ score at 4-1/4″
- Basic White cardstock (inside): 5-1/4″ x 4″
- Basic White cardstock (sentiment): approx. 3-1/4″ x 3-1/4″
- Frames & Flowers Specialty Designer Series Paper: 3-3/4″ x 3″
- Frames & Flowers Specialty Designer Series Paper: (2) 1-3/4″ x 1-3/4″
Unbounded Love Card Sampler
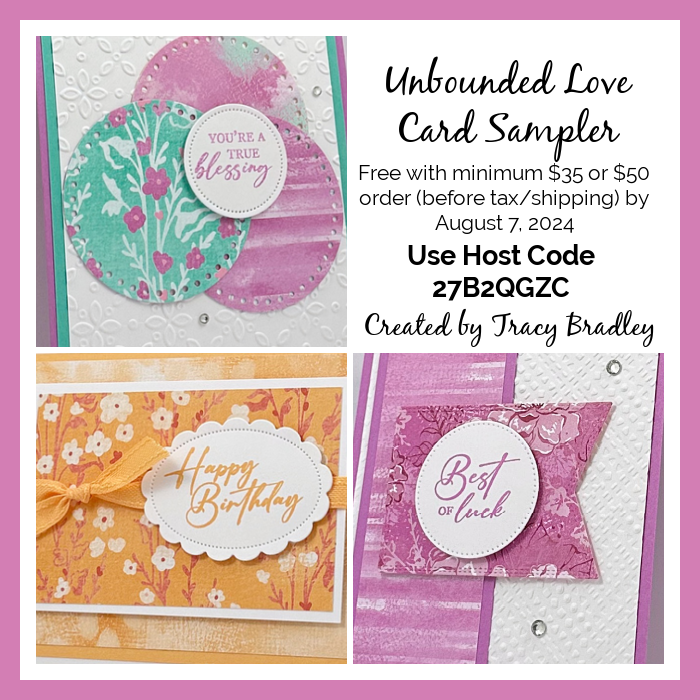
To create this Card Sampler I used Unbounded Beauty Designer Series Paper and the Unbounded Love stamp set.
Place a minimum $35 or $50 order (before shipping/tax) using my special host code 27B2QGZC and my gift to you will be my Unbounded Love Card Sampler.
Please note: If you’re using a Bonus Days coupon, the total must be $35 or $50 after you’ve used your coupon and before shipping/tax!
- Place a minimum $35 order (up to $49.99) and you’ll receive one each of three different cards for a total of three cards.
- Place a minimum $50 order and you’ll receive two each of three different cards for a total of six cards.
Here’s how you can earn it FREE!
- Place a minimum $35 or $50 order (before tax/shipping) at my Stampin’ Up! online store.
- Use my special Unbounded Love Card Sampler Host Code when placing your order (see below) BUT if your order reaches $150 or more, please DO NOT use the host code so you can receive Stampin’ Rewards (free product directly from Stampin’ Up!). Once you place your order, simply drop me an email (only necessary if your order is over $150) letting me know that you’d like the Unbounded Love Card Sampler.
- Place your order on or before August 7, 2024.
For more information about the Unbounded Love Card Sampler and the supplies you’ll need to complete the cards, please click here.
Designer Series Paper Sale Coming on August 6th
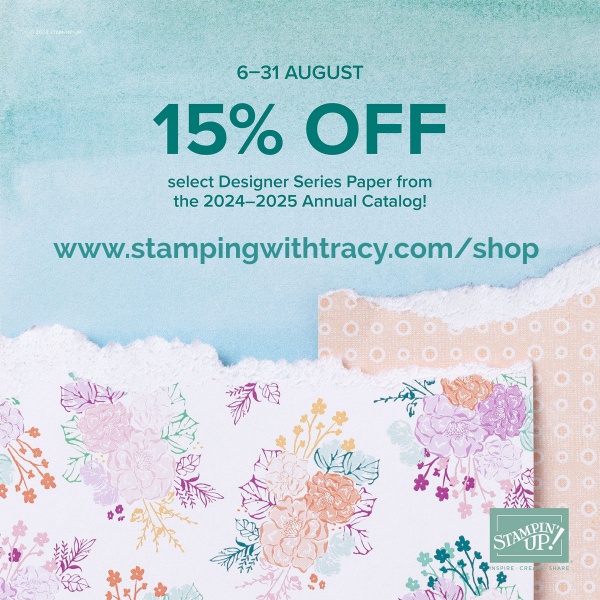
Fourteen packages of Designer Series Paper will be on sale 15%! This sale will last all month long beginning on August 6, 2024! Please note below for additional details:
- You must open and close your order during the dates of the sale for the discount to be applied.
- There are NO limits on ordering. However products are only available while supplies last so shop early!
- The sale ends on August 31, 2024
- Please note: It’s come to my attention that Stampin’ Up! made a mistake on the first flyer I posted. It lists Thoughtful Journey as 12″ x 12″ paper when in fact it’s 6″ x 6″. You can find the corrected version below.
Click here for the flyer so you can see which products will be on sale!
2024 Back to School Tax Holiday Information
Thirteen states and Puerto Rico offering a sales tax holiday for school supplies during the months of July and August. Products that are eligible according to the statute include “items normally used by students in a standard classroom for educational purposes.” To see the names of participating states, products exempted from tax, and sales tax holiday dates, click here.
Please note you must place your order with Stampin’ Up! during the tax holiday period to receive these items tax-free (which is midnight on the first day to midnight on the last day of the tax holiday). Also, keep in mind that this is a state sales tax holiday; the state statute may not apply to county, city, and special jurisdiction taxes.
Please note that Georgia, Illinois, Louisiana, New Jersey, and Wisconsin have suspended the sales tax holiday this year.
New Online Exclusives

Click here to shop!
It’s Time to Redeem Your Bonus Days Coupons!

Two Kits by Stampin’ Up!
Click the images below to get more information about these kits.
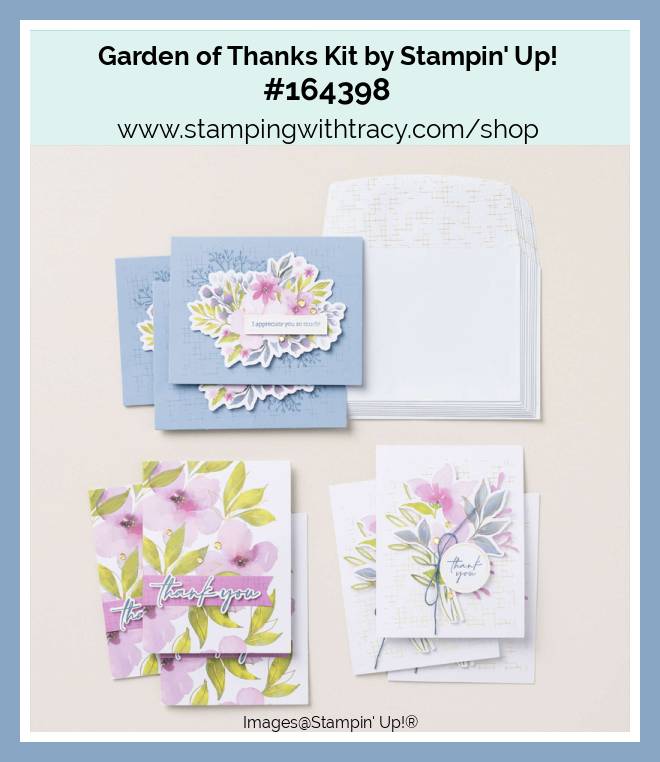
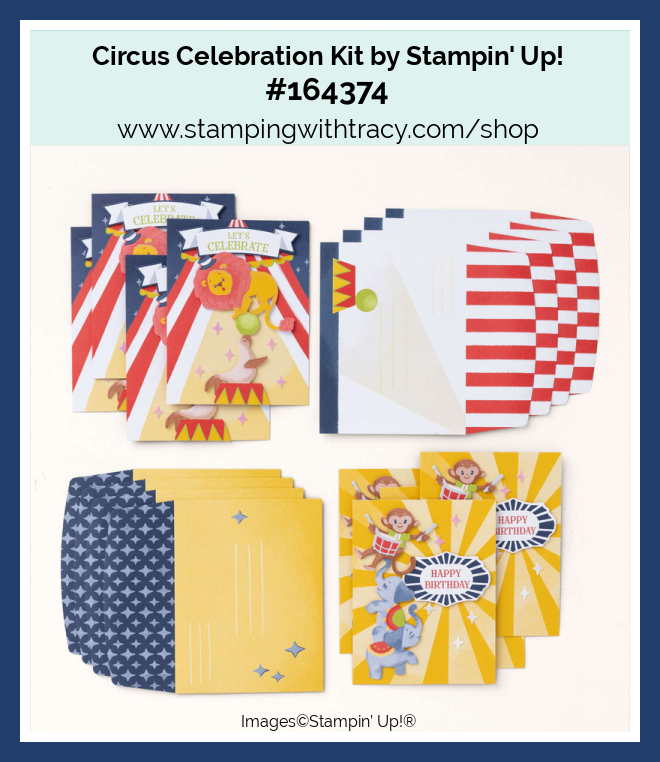
Time for Cake Paper Pumpkin Kit – Order by August 10th
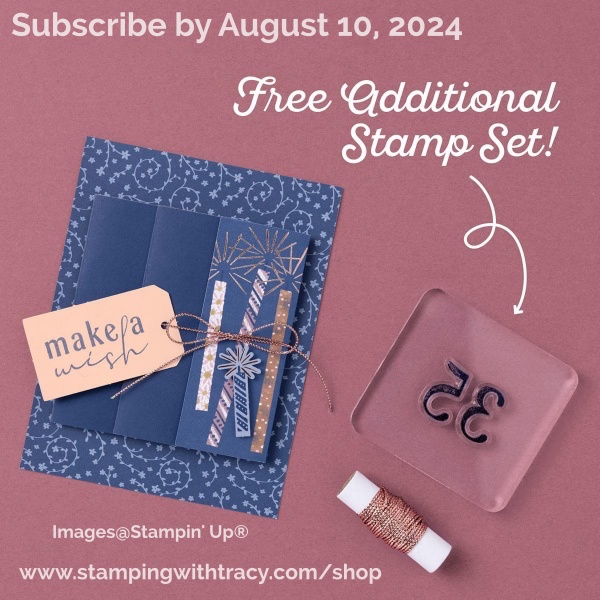
Click here to order the Time for Cake Paper Pumpkin Kit and learn how Paper Pumpkin works. An additional add on is available but only for Paper Pumpkin subscribers.

Thank you for stopping by today! Have a wonderful weekend!
by Tracy | Jun 28, 2024 | Birthday Card
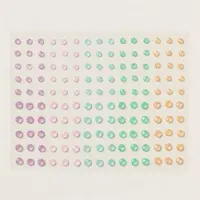
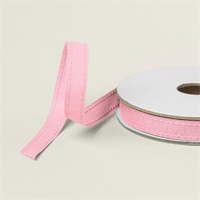
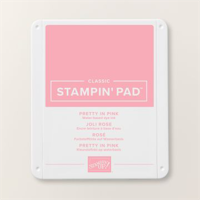
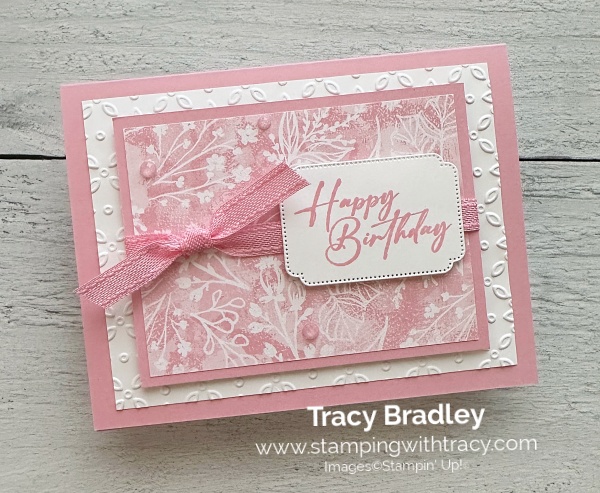
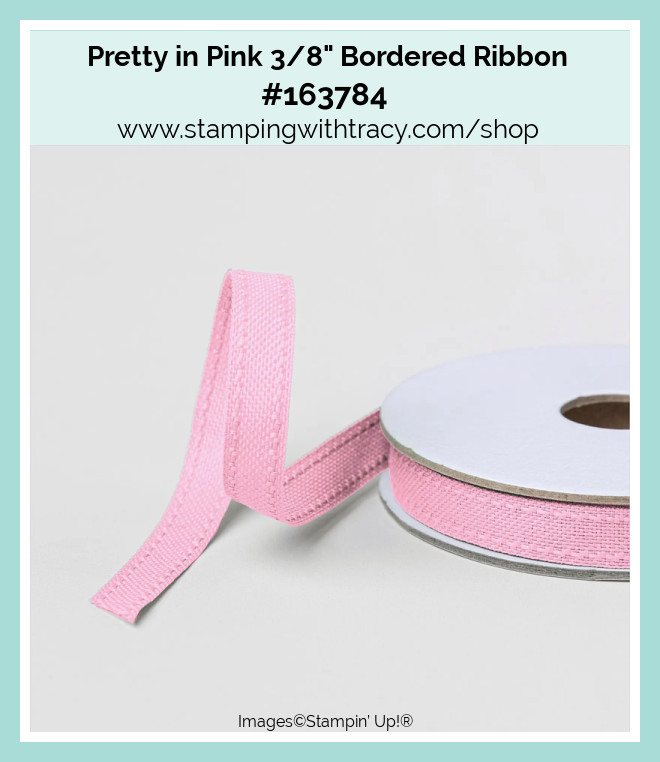
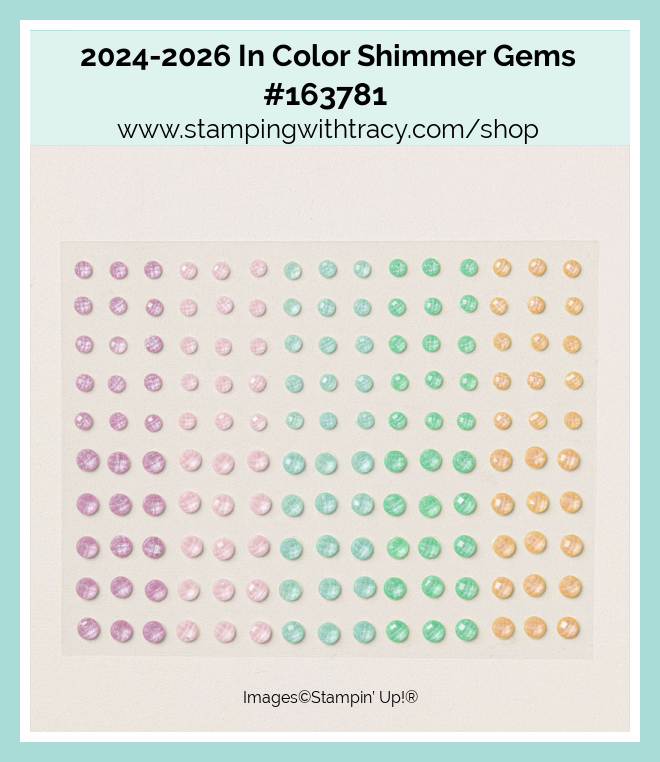
Today’s card was made using the Unbounded Love Bundle which includes the Unbounded Love stamp set and the Unbounded Love Dies. This bundle is on sale but only until this Sunday, June 30th. I also used Unbounded Beauty Designer Series Paper (DSP), Eyelet 3D Embossing Folder, Pretty in Pink Bordered Ribbon and 2024-2026 In Color Shimmer Gems.
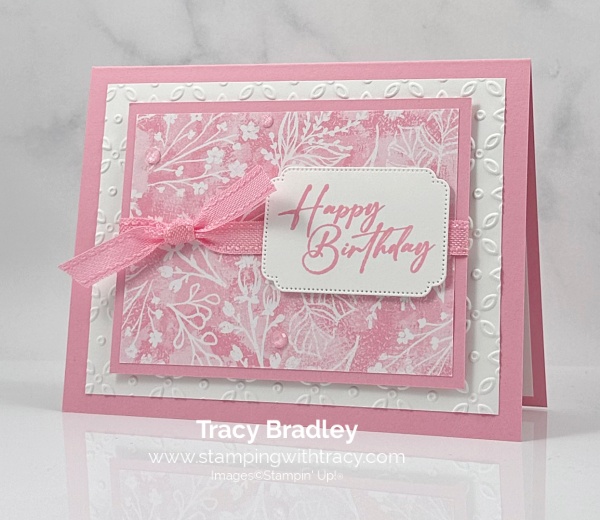

I started with a piece of Pretty in Pink cardstock for the base of my card. Then I embossed a piece of Basic White cardstock using the Eyelet 3D Embossing Folder and my Stampin’ Cut & Emboss Machine. After embossing it, I adhered it to the front of the card.
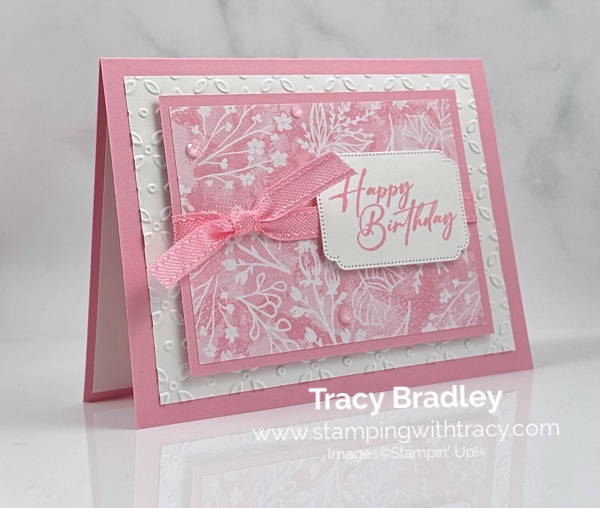
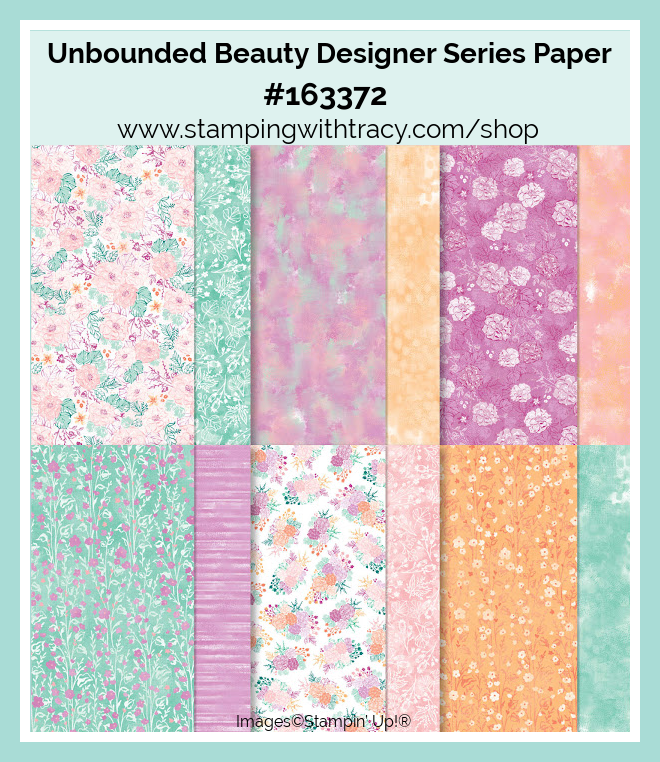
I adhered a piece of Unbounded Beauty DSP to a piece of Pretty in Pink cardstock. Then, I wrapped a piece of Pretty in Pink Bordered Ribbon around the piece and tied a knot. Next, I added Stampin’ Dimensionals to the back and adhered it to the front of the card.
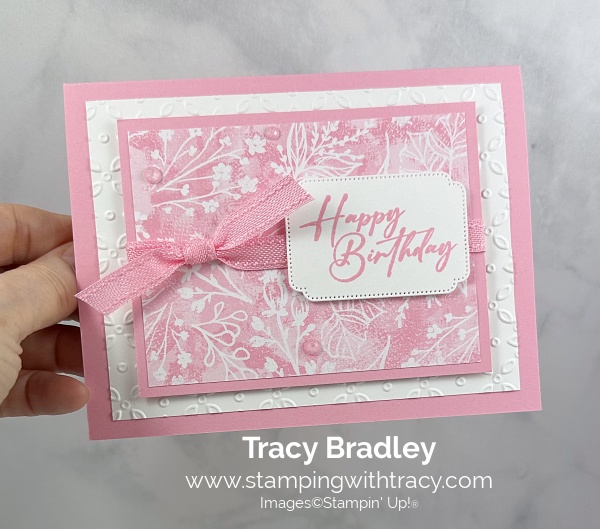

I stamped the sentiment onto Basic White cardstock using the Unbounded Love stamp set and Pretty in Pink ink. I cut the sentiment out using the Unbounded Love Dies. I added Stampin’ Dimensionals, on the back, at the top and the bottom and then placed it on the card. To complete my card, I added a piece of Basic White cardstock to the inside and added three In Color Shimmer Gems in Pretty in Pink.
Supply List
Below you’ll find all the Stampin’ Up! supplies I used for today’s card. If you need any stamping supplies, I’d love to be your demonstrator! You can place an order by clicking any of the images below to go to my Stampin’ Up! online store. The Specialty Plate is used with 3D Embossing Folders.
Sale: $48.75
Price: $54.75
Sale: $117.00
Price: $130.00
Measurements
- Pretty in Pink cardstock: 8-1/2″ x 5-1/2″ score at 4-1/4″
- Pretty in Pink cardstock: 4-1/4″ x 3-1/4″
- Basic White cardstock (embossed): 5″ x 3-3/4″
- Basic White cardstock (sentiment): approx. 2-3/4″ x 2″
- Basic White cardstock: 5-1/4″ x 4″
- Unbounded Beauty Designer Series Paper: 4″ x 3″
Bonus Days July 3-31
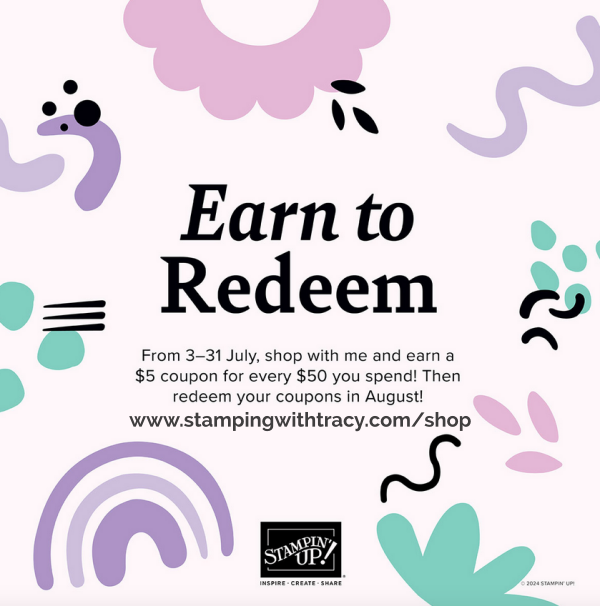
Bonus Days are starting on July 3 which is the same day the new Online Exclusives go live! Here’s all the details:
- Earn a $5 coupon for every $50 spent (before shipping and tax).
- All coupon codes will be emailed right after a qualifying purchase has been made. Customers must have a customer account with a valid email address to earn coupons when they shop. Be sure to set up an account before Bonus Days begin.
- If a participant earns multiple codes from a single order, they will receive one email with multiple codes. If they earn multiple codes from multiple orders, they will receive separate emails for each code earned. Be sure to save these codes because Stampin’ Up! cannot retrieve them for you!
- Orders started before the promotion begins will not count toward earning coupon codes. For example, if you add items to your cart before 3 July and wait to purchase until that date or later, then those items will not qualify towards earning coupons. You must add items to your cart and complete your purchase during the earning period.
- There is no limit to the number of coupon codes participants can earn per order or throughout the duration of the earning period.
- Customers must use a valid email address during checkout in order to receive their coupon code. If a customer places an order over the phone, they must still provide a valid email address to receive their coupon code.
- Starter Kit orders are excluded from this offer. All other order types qualify.
Redemption Period: 1–31 August 2024
- There is no limit to the number of coupon codes participants can redeem on an order during the redemption period. If using multiple codes, they must be separated by a space.
- Coupon codes may be redeemed one time only. They cannot be redeemed after August 31st.
- Bonus Days coupon codes can be applied to month-to-month Paper Pumpkin subscriptions and new prepaid subscriptions.
An Additional 10% Off Stamp/Die Bundles and 10% Off Stampin’ Cut & Emboss Machines
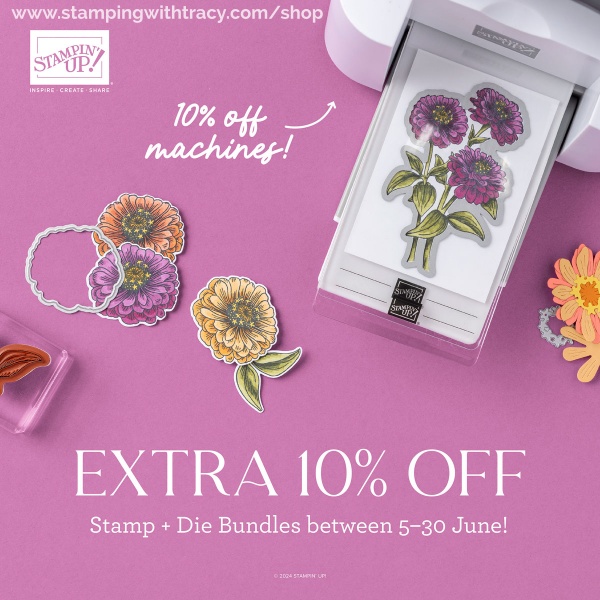
Stampin’ Up! is offering an additional 10% off all stamp and die bundles (that’s a total of 20% off)! PLUS, save 10% off the Stampin’ Cut & Emboss Machine and the Mini Stampin’ Cut & Emboss Machine. It’s very rare that I don’t emboss or die cut when making a card. I love my Stampin’ Cut & Emboss Machine!
- This promotion does not include stamp & punch bundles.
- The Mini Stampin’ Cut & Emboss Machine comes in white and Boho Blue. Boho Blue is available while supplies last.
- The 10% discount will be applied automatically to stamp and die bundles.
- This promotion ends on June 30th.
- Click here to shop the sale!
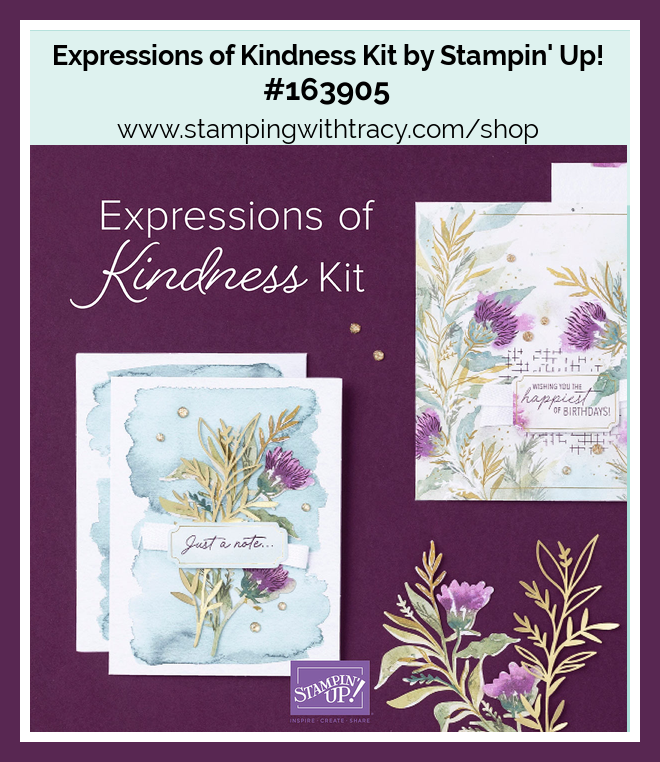
Two New Kits by Stampin’ Up!
Click each image for more information about the kit.
Mystery Boxes
What’s a Mystery Box?
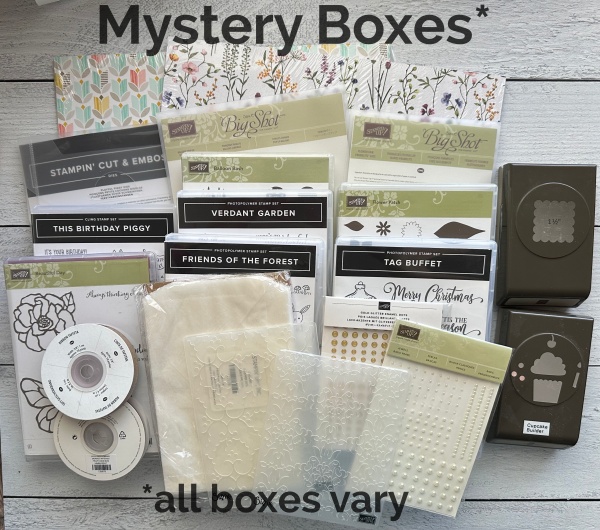
A Mystery Box is filled with retired products that I’d like to give to a new home. I’ve been a demonstrator for almost 15 years so you can just imagine how much I have! I have Medium Rate Flat Rate USPS shipping boxes stuffed with retired Stampin’ Up! product.The boxes contain stamps, dies, ribbon, embellishments and more! The boxes are already sealed and every box will be different and a mystery as to what’s inside! The value of each box is well over $200.
All of the products in the Mystery Boxes have retired but some have never been used, some are used and all are “as is”. Some of the stamp sets are wood mount.
You can place an order HERE.
There are two ways to get a Mystery Box
- Place a $125 or more order (before shipping/tax) at my Stampin’ Up! online store using the host code KQB3BP3Q and I will send a Mystery Box to you as a free gift and I’ll even pay the postage! Using the host code will alert me that you want a Mystery Box. If your order is $150 or more, please DO NOT use the host code so you can receive Stampin’ Rewards (free product) directly from Stampin’ Up!. After you’ve placed your order (only if your order is $150 or more), please email me that you’d like a Mystery Box (click “Email Me” on the sidebar).
- If you don’t want to place an order, you can purchase a Mystery Box for $80 plus $15.00 postage. Email me that you want a box and I’ll send you a PayPal invoice (click “Email Me” on the sidebar).
More Information
- You must use the host code KQB3BP3Q when placing your order (if your order is over $150, do not use the host code – see above)
- $125 order must be before tax/shipping amount
- One box per order
- Using the host code will let me know you want a Mystery Box
- You’ll receive at least TWO Bradley Points with your order
- No refunds or exchanges.
- Each box will be different and a mystery! The boxes are already sealed up and I’m unable to take requests for the contents of the boxes.
- All of the original Mystery Boxes are gone but I’m boxing up more!
- Feel free to email me before placing an order to see if I have boxes available.
.
New Paper Pumpkin Kit – Ends July 10th
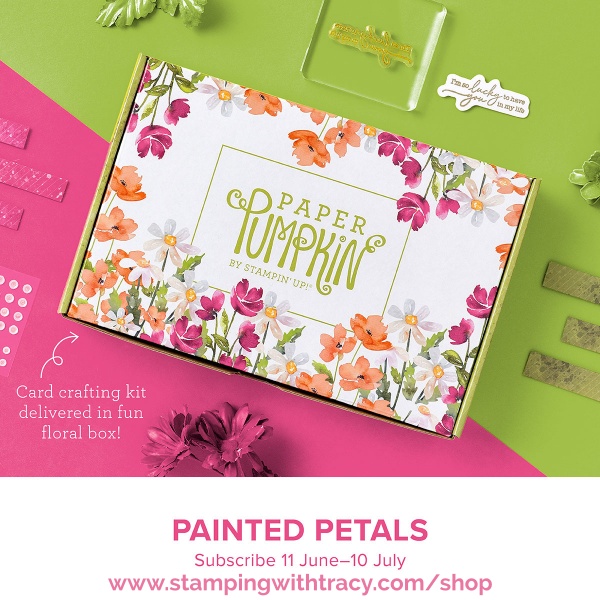
Click here to order the Painted Petals Paper Pumpkin Kit and learn how Paper Pumpkin words. An additional add on is available but only for Paper Pumpkin subscribers.

Thank you for stopping by today!
by Tracy | Jun 3, 2024 | Birthday Card
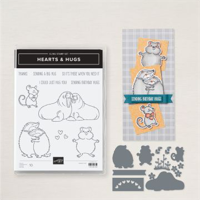
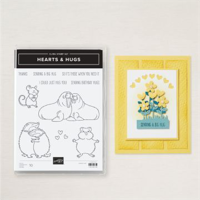
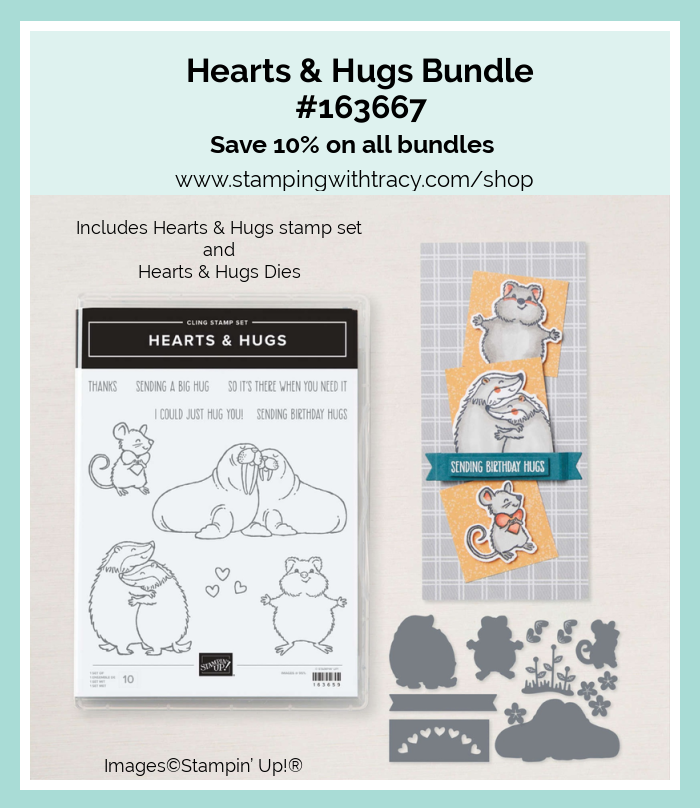
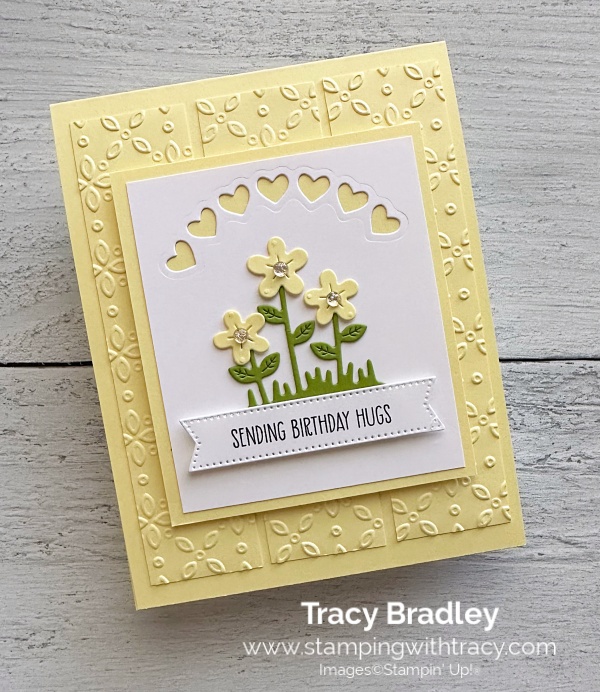
Today I have another card using the Hearts & Hugs Bundle. On Friday I posted another card using this bundle and you can see it here. I got the inspiration for this card from the sample in the Annual Catalog on page 61 and changed a few of the elements.
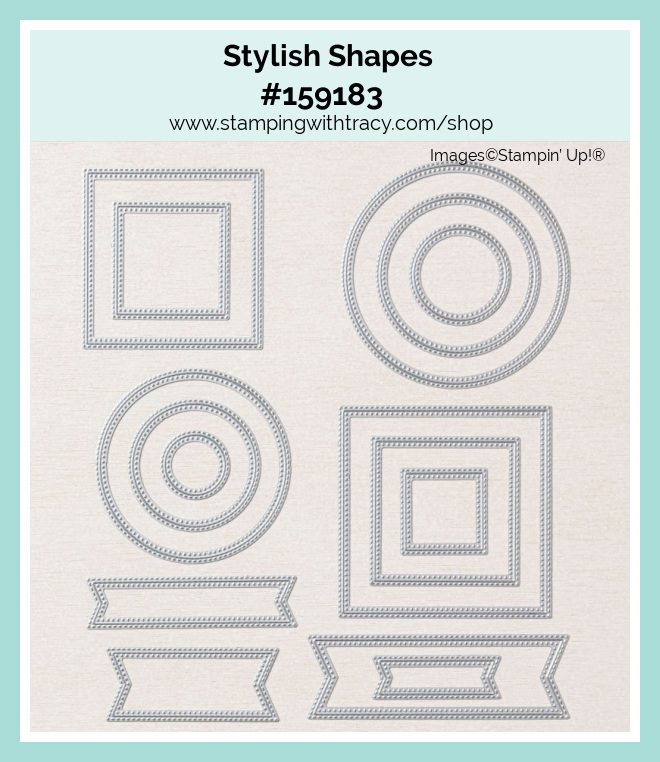
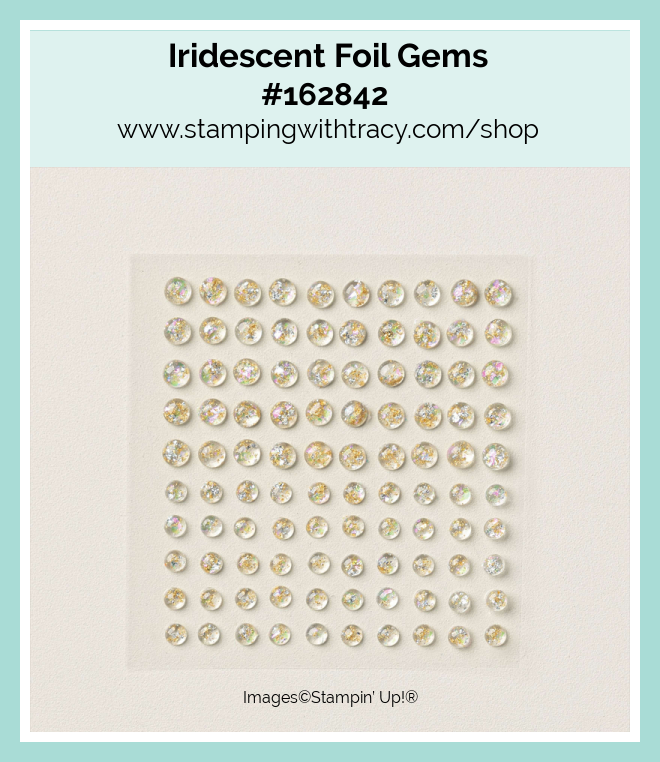
I also used the Stylish Shapes Dies, the Eyelet 3D Embossing Folder and Iridescent Foil Gems.
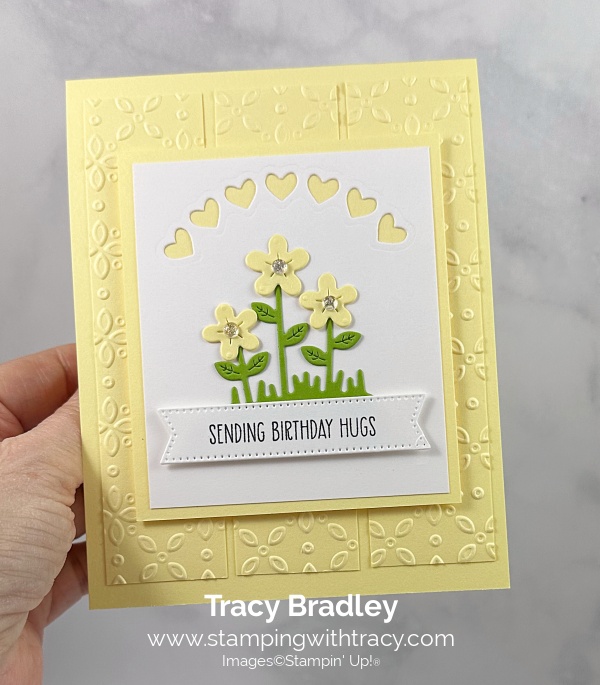
I started with Lemon Lolly cardstock for the base of my card. Then, I cut three strips of Lemon Lolly cardstock (you can find the measurements I used below the Supply List) and inserted them into the Eyelet 3D Embossing Folder and ran them through the Stampin’ Cut & Emboss Machine. Next, I adhered them to the Lemon Lolly base.
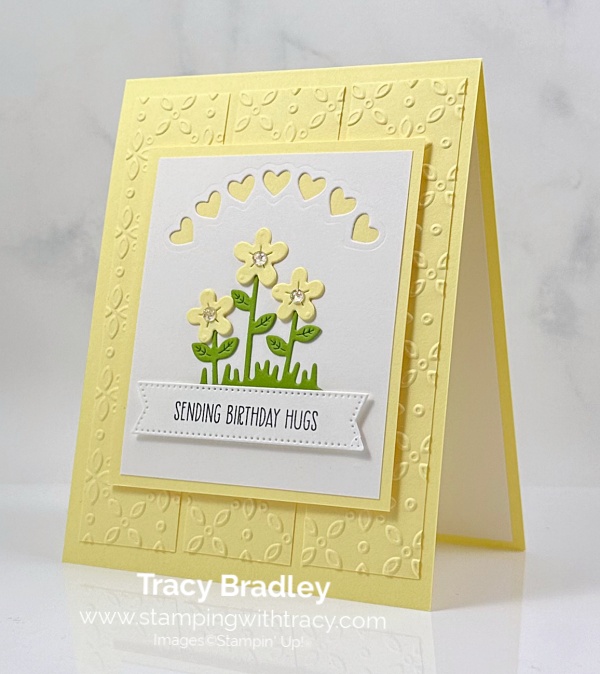

I cut a another piece of Lemon Lolly cardstock and layered it with a piece of Basic White cardstock but before adhering it to the Lemon Lolly cardstock, I used the Hearts & Hugs Dies to die cut the hearts at the top. I added Stampin’ Dimensionals to the back of the Lemon Lolly cardstock and adhered it to the card.
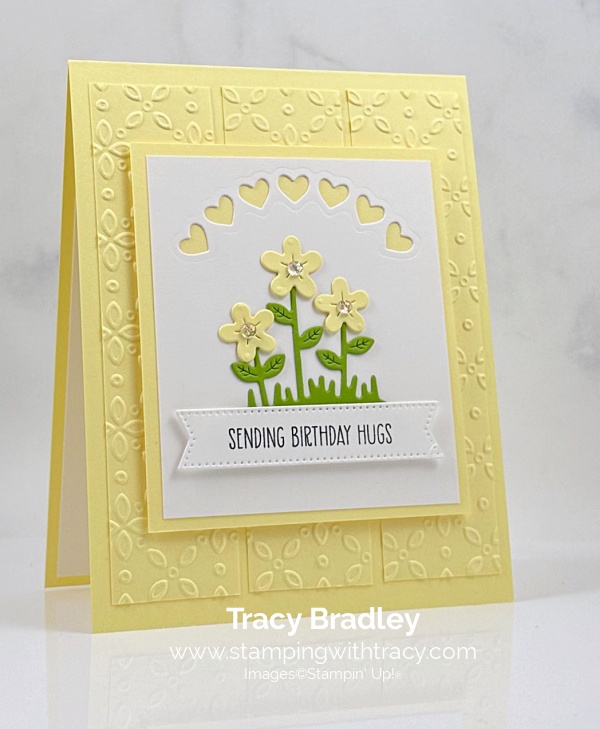
I die cut Granny Apple Green cardstock for the leaves & grass using the Hearts & Hugs Dies and Lemon Lolly cardstock flowers using the same set of dies. I added Multipurpose Glue to the back of the leaves and grass and added it to the Basic White cardstock. I used Mini Glue Dots to attach the flowers to the stems and then added an Iridescent Foil Gem to the center of the flowers.
I stamped the sentiment in Memento Ink using the Hearts & Hugs stamp set and then cut it out using the Stylish Shapes Dies. I added Stampin’ Dimensionals to the back and adhered it to the card front.
To complete my card, I added a piece of Basic White cardstock to the inside.
Supply List
Below you’ll find all the Stampin’ Up! supplies I used for today’s card. If you need any stamping supplies, I’d love to be your demonstrator! You can place an order by clicking any of the images below to go to my Stampin’ Up! online store.
The Specialty Plate is used with 3D Embossing Folders.
Measurements
- Lemon Lolly cardstock: 11” x 4-1/4” scored at 5-1/2” OR 8-1/2” x 5-1/2” scored at 4-1/4”
- Lemon Lolly cardstock: (3) 5″ x 1-1/4″
- Lemon Lolly cardstock: 3-3/4″ x 3-1/4″
- Lemon Lolly cardstock (flowers): scraps
- Granny Apple Green cardstock (leaves and grass): scrap
- Basic White cardstock: 3-1/2″ x 3″
- Basic White cardstock (sentiment): approx 3-1/4″ x 1″
- Basic White cardstock (inside card): 5-1/4″ x 4″
New Promotion Begins June 5th!

Starting on June 5th, Stampin’ Up! is offering an additional 10% off all stamp and die bundles (that’s a total of 20% off)! PLUS, save 10% off the Stampin’ Cut & Emboss Machine and the Mini Stampin’ Cut & Emboss Machine.
- This promotion does not include stamp & punch bundles.
- The Mini Stampin’ Cut & Emboss Machine comes in white and Boho Blue. Boho Blue is available while supplies last.
- This promotion ends on June 30th.
Mystery Boxes

What’s a Mystery Box?
A Mystery Box is filled with retired products that I’d like to give to a new home. I’ve been a demonstrator for almost 15 years so you can just imagine how much I have! I have Medium Rate Flat Rate USPS shipping boxes stuffed with retired Stampin’ Up! product.The boxes contain stamps, dies, ribbon, embellishments and more! The boxes are already sealed and every box will be different and a mystery as to what’s inside! The value of each box is well over $200.
All of the products in the Mystery Boxes have retired but some have never been used, some are used and all are “as is”. Some of the stamp sets are wood mount.
You can place an order HERE.

There are two ways to get a Mystery Box
- Place a $125 or more order (before shipping/tax) at my Stampin’ Up! online store using the host code KQB3BP3Q and I will send a Mystery Box to you as a free gift and I’ll even pay the postage! Using the host code will alert me that you want a Mystery Box. If your order is $150 or more, please DO NOT use the host code so you can receive Stampin’ Rewards (free product) directly from Stampin’ Up!. After you’ve placed your order (only if your order is $150 or more), please email me that you’d like a Mystery Box (click “Email Me” on the sidebar).
- If you don’t want to place an order, you can purchase a Mystery Box for $80 plus $15.00 postage. Email me that you want a box and I’ll send you a PayPal invoice (click “Email Me” on the sidebar).
More Information
- You must use the host code KQB3BP3Q when placing your order (if your order is over $150, do not use the host code – see above)
- $125 order must be before tax/shipping amount
- One box per order
- Using the host code will let me know you want a Mystery Box
- You’ll receive at least TWO Bradley Points with your order
- No refunds or exchanges.
- Each box will be different and a mystery! The boxes are already sealed up and I’m unable to take requests for the contents of the boxes.
- All of the original Mystery Boxes are gone but I’m boxing up more!
- Feel free to email me before placing an order to see if I have boxes available.

Life is Sweet Paper Pumpkin Kit – Subscribe by June 10th
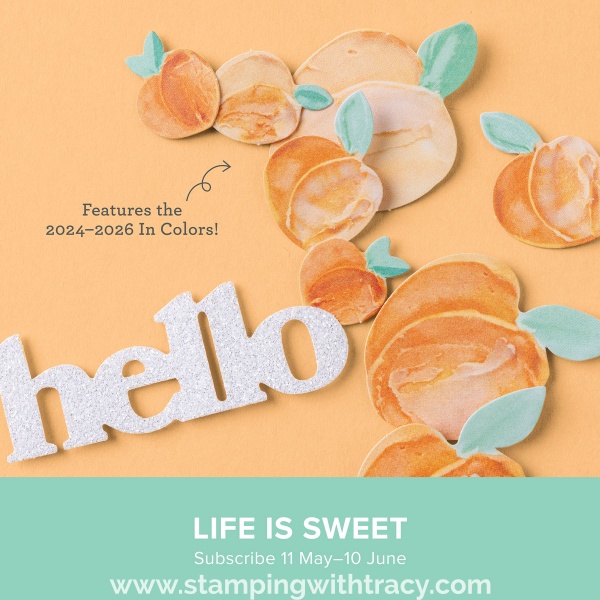
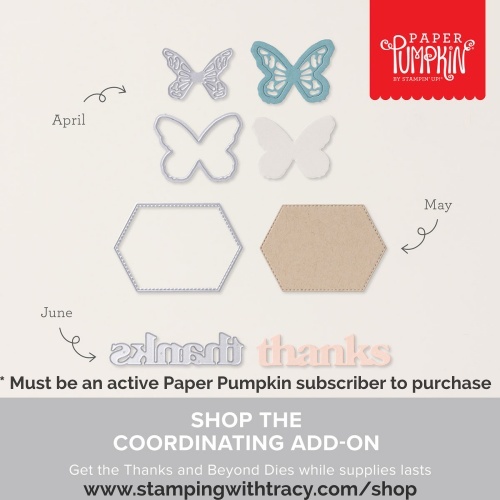
Click here to learn about Paper Pumpkin and you can subscribe here too!
Thank you for stopping by today.


