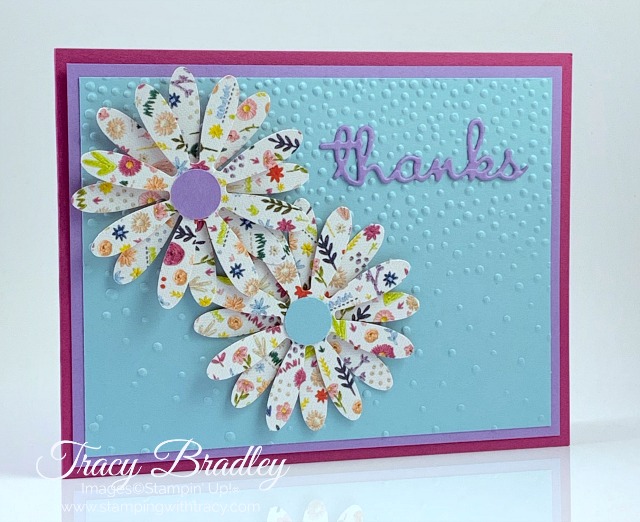
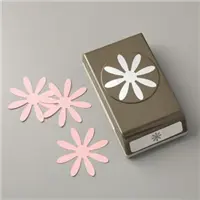
Create quick and easy flowers with the Daisy Punch! I used this punch and our Needlepoint Nook Designer Series Paper to create the daisies on my card today. This punch has been on and off the backorder list since it debuted last year and it has been THE most popular punch of all time, but it’s currently in stock!
The products used on my card that are now on the Retiring List and only available while supplies last are:
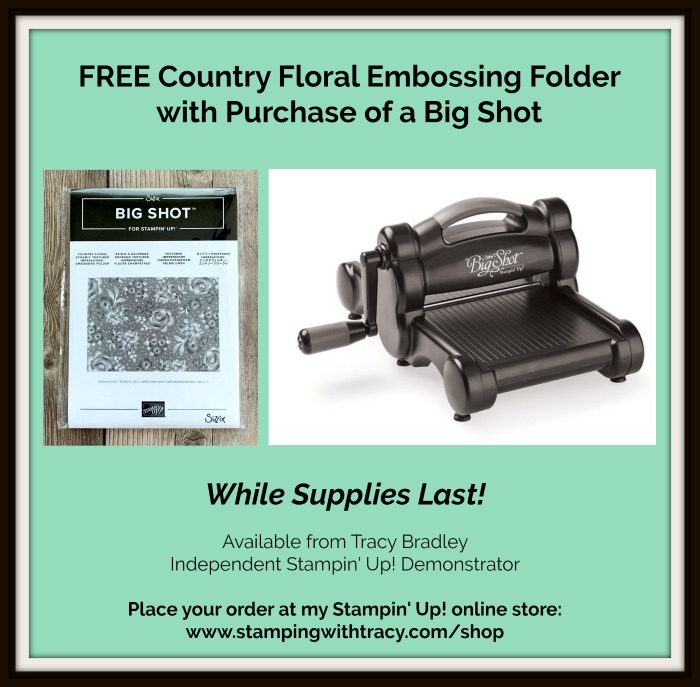
- Big Shot
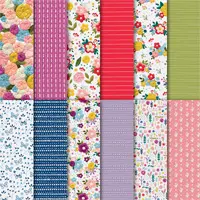
- Needlepoint Nook Designer Series Paper
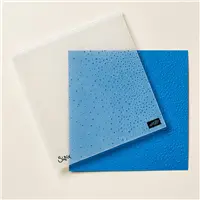
- Softly Falling Embossing Folder
- Multipurpose Adhesive Sheets
Our Multipurpose Adhesive Sheets are a wonderful way to get adhesive on the back of words or intricate die pieces. This product is being retired from the catalog and my recommendation is to get it while you can! I used it to adhere “thanks” to my card and I personally find it easier than adding a liquid glue. It’s available while supplies last or June 3rd, whichever comes first so grab it while you can!
All the products I used can be found in the Supply List below.
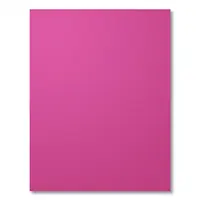
- Cut a piece of Berry Burst cardstock that measures 11″ x 4-1/4″. Score at 5-1/2″ and fold in half.
- Cut a piece of Highland Heather that measures 5-1/4″ x 4″. Attach to the front of the card.
- Cut a piece of Balmy Blue that measures 5″ x 3-3/4″. Place it inside the Soflty Falling Embossing Folder and run it through the Big Shot. Place on the front of the card.
- Punch out four daisies using the Daisy Punch and Needlepoint Nook Designer Series Paper. To make one flower, stagger two daisies together and place a Stampin’ Dimensional between them. Place a small amount of Multipurpose Glue to the underside of one daisy, in the middle of the flower, and place it towards the bottom of the card (see photo). On the other daisy, add a Stampin’ Dimensional in the middle and attach to the front of the card.
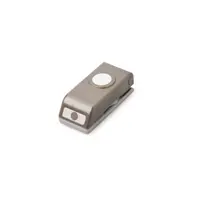
- Cut two circles using the 1/2″ Circle Punch in Highland Heather and Balmy Blue. Add a small amount of glue to the back of each circle and attach to the middle of each flower.
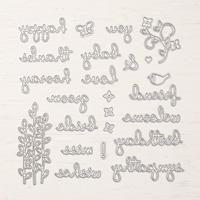
- Attach a small piece of Multipurpose Adhesive Sheet to Highland Heather cardstock. Place the word “thanks” from the Well Written Dies on top of the Highland Heather cardstock and run it through the Big Shot. Take off the adhesive sheet and place “thanks” on your card. You’re done!
Thank you for visiting today! If you’d like to place an order, click here. For more information about the supplies I used, click on the images below.
If you need any stamping supplies, I’d love to be your demonstrator! You can place an order by clicking any of the images below to go to the homepage of my Stampin’ Up! online store. If you have questions about products you’re considering purchasing or ones you’ve already purchased, I’m just an email away (click the Email Me button on the sidebar of my blog).

